Before I show my project, I just wanted to know if any of you have seen the new K & Co Smash Time Capsules??? They look like sooooo much fun, and what a clever idea! I think they would be fun to give to your kids to make, then save them, and give them back in 5-10 years, or when they grow up. OR when they have a child the same age as when they made it! I just think they are so very cool! I think I'll give one to my oldest niece this year sometime!
Ok, on to my project!
I saw this paper at Michaels quite a while ago:
I knew right away that I wanted to make a match game out of it!
So, I cut two of each character out that matched, and I was able to get two different cards of each character for a total of 12 matches, (or 24 cards.)
The character squares turned out to be just barely under 1 3/4" so I decided to mat on purple cardstock cut at 2" x 2"
I used this Mickey paper for the back sides, (also found at Michaels, and also cut down to 2" x 2"
I then laminated them with my Xyron.
I then cut them apart, and made a simple pizza - style box to house them in!
And the final step is to PLAY!!
I like that I made two of each character, because when I play with my 2 year old niece, 12 cards is plenty! But when I play with her big sister, my 6 year old niece, we need the full 24 cards!
This was SUCH a simple project! The entire thing maybe took me a half hour, (and that's only because I'm blind and can't see to cut very well!
I hope you like my project! Have a great weekend, and thanks for stopping by!
Hello friends!
I know it has been a very long time since I have posted anything. My illness has just been horrible these past months. I have crafted here and there, but nothing like I used to. I do have some pictures I'm hoping to get up soon.
I just got home from spending another week in the hospital, and I was so glad to get home in time to make some Valentine's! So that is what I have to share today.
This one is for my baby nephew, it's his first Valentine's Day!
Inside:
The next two are for my other two nephews.
inside (same for both):
Here are the cards I made for my three nieces:
inside (sorry it's on its side, I haven't yet figured out how to rotate an image on my kindle, lol!)
next one:
inside:
last niece card:
inside:
And finally, I made 2 of these cards for a couple friends: (I just love the vintage Valentine paper!)
I am happy with how these all turned out, for making them in such little time.
I was pretty bummed that I wasn't able to make treat boxes/bags for the kiddos classes, but between the hospital, recovering, home health nurse daily visits, and doctor appointments, I'm surprised I accomplished what I did!!!
I hope you all have a lovely Sweetheart's Day!
I took on two pretty big projects over the summer. The first was the 200 Birthday Cards that I made for two elementary schools in my area, and the second was Flash Card Sets fir Five teachers. About a year and a half ago, my sister in law asked me to make flash cards of the Sight Words in the Kindergarten curriculum for her daughter (my niece.) And of course, I said yes! I made a regular rectangle set, and a FUN set!! They are Disney fanatics, so I decided to make the flash cards out of Mickey Mouse Heads! They turned out great, and my niece loved them!
To view the post where I made the original set of Mickey Flash Cards, click HERE
Well, my sister-in-law was having a teacher meeting at her house, and the other teachers saw the flash cards and asked where she got them. She said that I made them, and they asked if I would make a set for each of them. I said yes, of course! And I had NO IDEA how much work I would be taking on!! Lol!
I didn't really remember making the first set, I mean, I DO remember how I made them, just not how long it took,etc. So I think I started them back in July??? Yeah, around there. And I hoped to have them done for the start of the school year. That didn't happen. I was sick a lot more than usual, which means...no crafting! But I finished them this past Sunday. So here's a video of them:
Here are a few pictures showing the process of how I made each card:
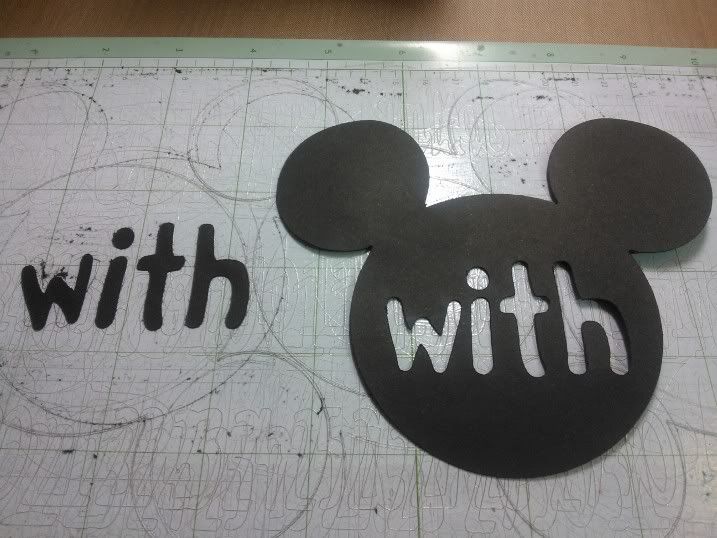
First I used my Gypsy to put the sight word inside the mickey head. The size of the font (from the Pooh Font Cartridge) varies from 0.85" to 1.5: depending on how long the word was (it did have to fit inside the head, afterall! ha.) And the Mickey Heads are sized at 4.25" tall. Next, I welded the words into the Mickey heads, and the Cricut cut out everything it was supposed to!
I then discarded the letters that cut out, and just kept the "negative" cut.
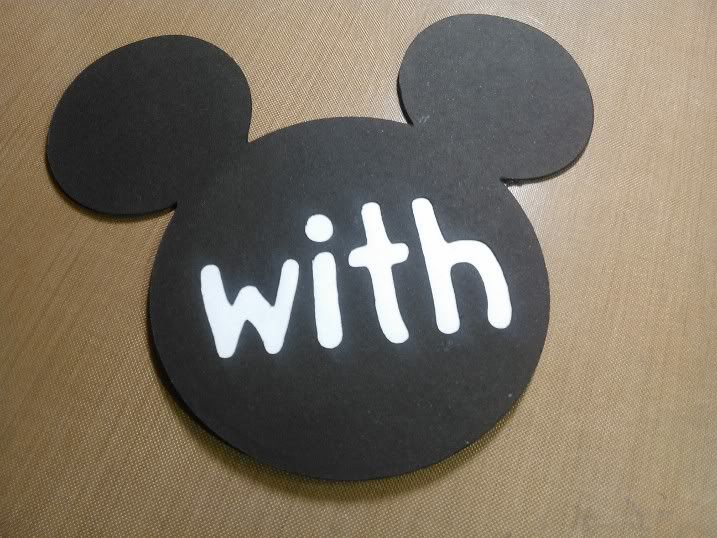
I then placed a 3 inch white circle behind the word, so on the back of the mickey head:
So that the front now looks like this:
I probably should have used a different word for my example. Because in this word, there were no inside pieces that I needed to save. Let's say I used the word, "some." Instead of discarding the letters, I would save the middle part of the "o" and hte "e" so that I could glue them in the proper place on the flash card. (I hope that made sense!! Eek!)
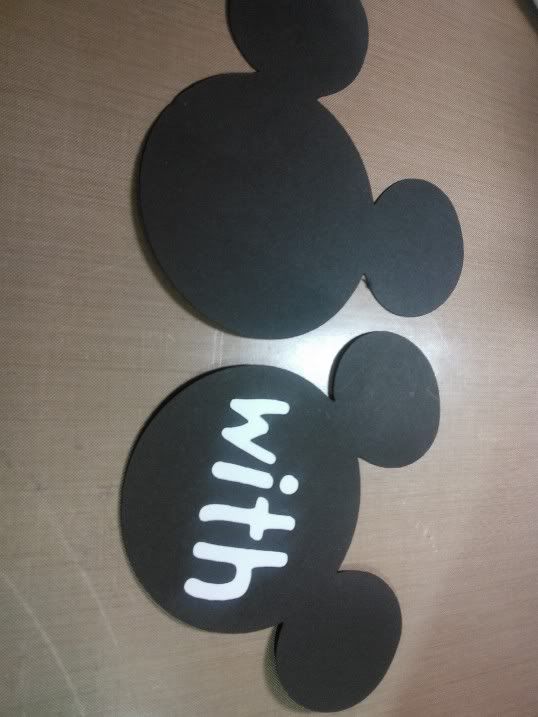
Then I glued a plain black Mickey head onto the back of the flash card, to hide the white circle, and to make the flash card more complete and solid.
I used Scotch Quick Dry Adhesive for all of these, and it works WONDERFULLY! I love how when it dries, it hardens. The finished project feels almost like chipboard! And, again here's a picture of what the finished card looks like:
I then punched holes into the left ear (ha, I pierced Mickey's ears!) with my crop-a-dile to put them on a binder ring. (I first welded a hole where I wanted it using my Gypsy, and for some reason it would cut out in a different place every time. Even though I copied the entire mickey head. ODD! So I just went old school and punched the holes myself.)
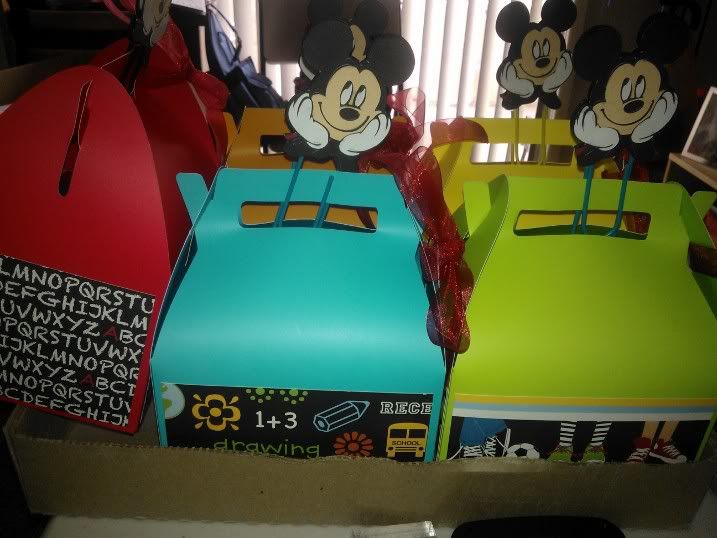
I also made Mickey paper clip bookmarks for the teachers, and added them to the top of the ga le boxes that I cut out to put the flash cards in:
That is a horrible picture, I know. I forgot to take pictures of the bookmarks alone, and also forgot to take pictures of the individual gable boxes that I made! ARG! I hate when that happens! But you guys can get the idea.
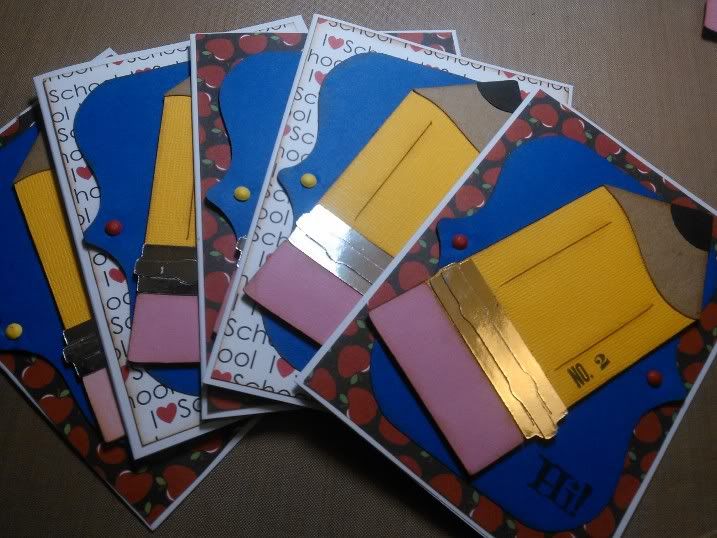
I also made each teacher a quick, simple card just apologizing that I didn't have them complete by the start of the school year. (I feel HORRIBLE about that!!) And giving my contact info in case anything is wrong with them. :) So here's the cards I made:
I just LOVE that pencil cut from the My Community Cricut Cartridge. It's probably one of my top ten favorite cuts!!
This was a super long post, so thanks for hanging in there with me! Let me know what you think about my flash cards!! Have a grand week everyone!
I hope everyone is having a great week! I just wanted to share a few cards that I have made recently. Between the 200 birthday cards that I made, and the other huge project over the summer, I didn't have much time to craft for myself. Which is totally fine...crafting is crafting, right?! :)
Here are some cards:
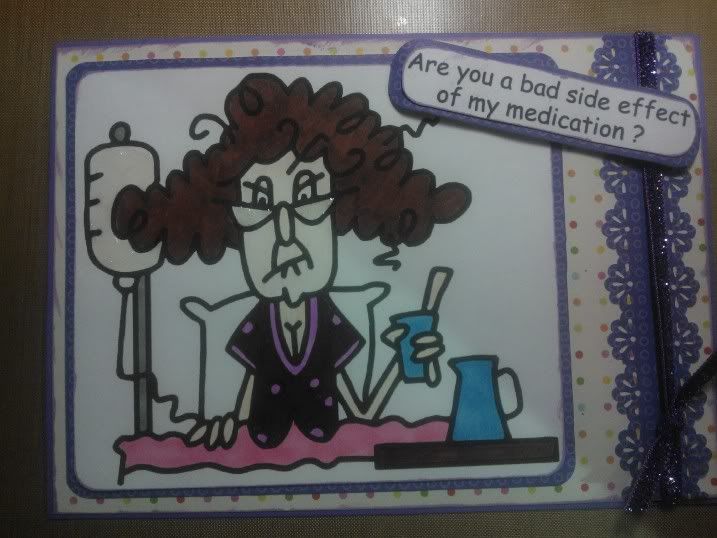
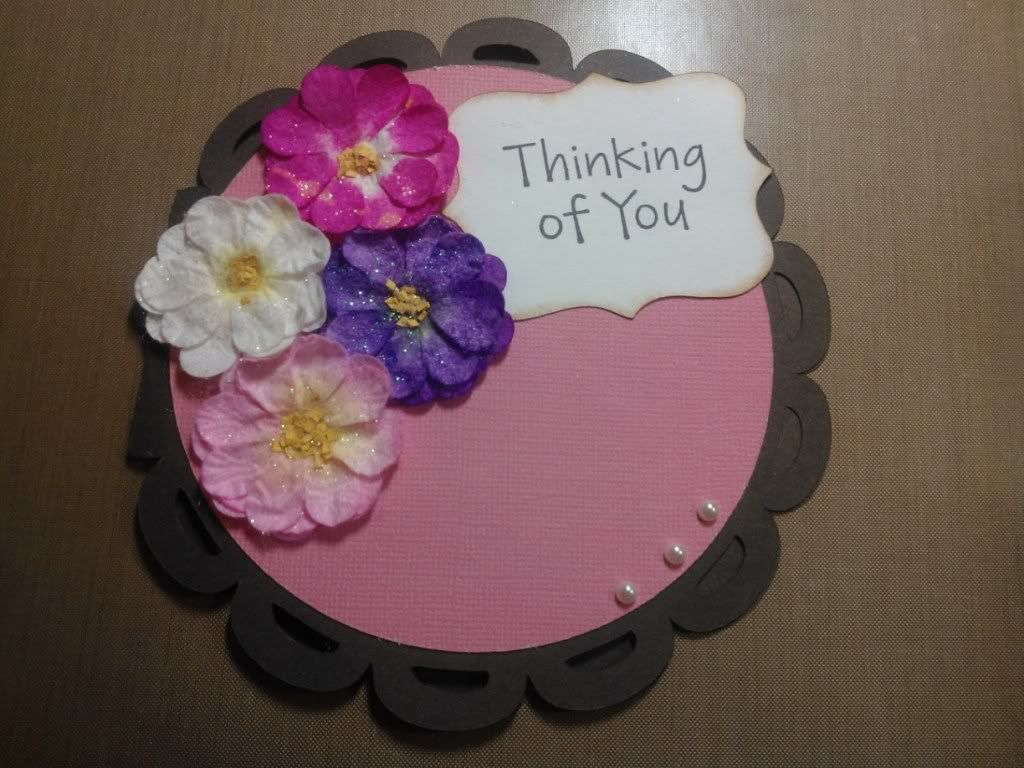
This first one is a card that my mom requested for a friend of hers who just had surgery.
I absolutey LOVE the sentiment!! I feel like saying that to people some days. (lol!) The image is from Bugaboo stamps (which I also LOVE!)
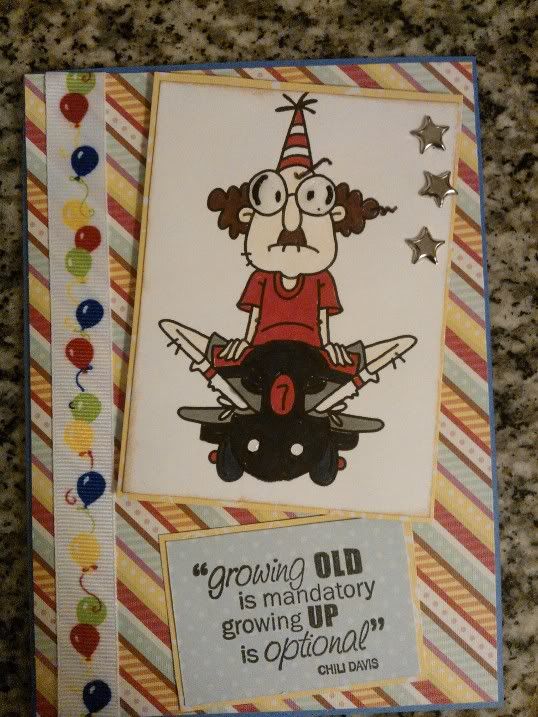
This next card is a birthday card for my oldest brother.
I love this image, and all of the "Gus" images from Bugaboo stamps! They just crack me up!
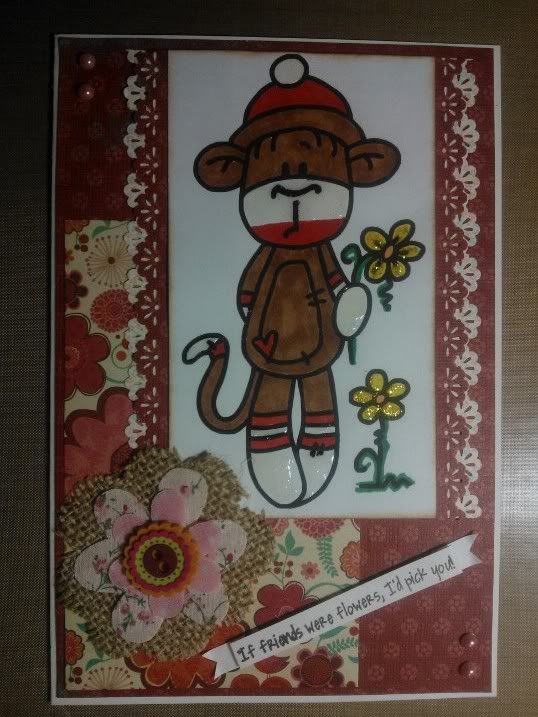
This next one is also a Bugaboo Stamps image, (gee, maybe that should have been the title of this entry! haha)
Sock Monkeys are one of my favorite things. They remind me of my childhood. My grandmother had made them LONG before they ever got popular! Ha. I think she had been making them for at least 60 years. Who knows. I should ask my mom about that. All I know, is that I LOVE seeing them in the crafty-community again!
Here is the last card for this post:
I believe this is the first card that I have ever made using a sketch. Can you believe that?! And now I know why I never used them. My GOSH it was a challenge for me! I have no clue why, either! It just seemed like nothing fit together properly, and it was rough. But I do like the finished card. I think this one took me around 14 hours to make. And there isn't even any cricut or stamping involved! Yeah, I'm pathetic. LOL!
I do have to mention that the colored images on the first three cards were not colored by me. I purchased some digi stamps and asked my mom if she would color them for me. She did, of course, because she is the best mom ever!! And she actually enjoyed it so much that she wants to get into card-making with stamps and digi stamps! YAY! I am STOKED!! We used to scrapbook together, but she never got into the card making side of it. So I am THRILLED!! I do wish I could do a good job coloring though! You all know that I'm "blind," and I just can not color in the lines. Besides that, I don't know what color I'm even using!!
I just thought of something. Someday I should post some of the images that I've attempted to color, just for laughs. You would all crack up, seriously! My 2 year old niece can stay in the lines WAY better than I can! Some day soon, I will post two pictures, one colored by me, and one colored by my niece and have you all guess who did which. That would be pretty funny!
Alright, thanks for stopping by! I hope you all have a fab week!
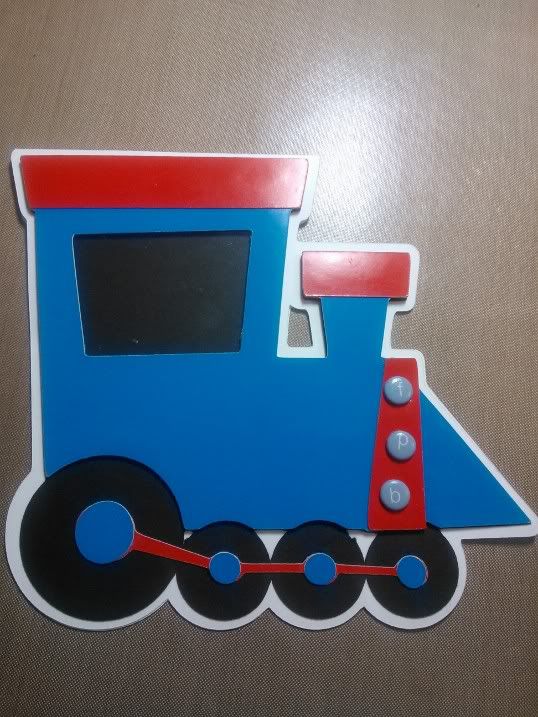
I just wanted to share a real quick card I made for my Mother to give her new grandson. He's about three months old now, and just sooooooo adorable! The most handsome lil' guy! :) (Yes, I'm a proud aunt! hehe)
Well, my mom saw some cute material at JoAnns and wanted to make a little blanky for him the other day, so I made a card to match! Here is my card:
It's a shape card that I made by welding this adorable choo-choo train cut from the Boys Will Be Boys Cricut Cartridge.
Here is a view of the blanket my mom made, along with the card,
Thanks for checking out my post!
Hope you're having an excellent week!
Ok, here is what I have been busy with this summer. I apologize for not making another Wild Card 2 Series video. I started that project before I agreed to doing this one! And since this birthday card project had a deadline, I had to choose. :)
Hope you like my cards! Let me know what you think!! I LOVE comments!!
So.... my Gypsy broke. And right after that, my heart!!! I feel like I lost a limb. I can not craft with my Cricut without the Gypsy. I'm not being high maintenance, I just can't see well enough to use the Cricut on it's own. I can't see the images in the little handooks, I can't see the buttons on the keypad overlays, etc. Even with the Gypsy it is difficult for me. I've heard that when you weld and use other features, the lines turn colors! I can't see that stuff. On my Gypsy, everything looks black to me. (haha) I also have to use the zoom feature in order to use the Gypsy at all.
BLAH!!
So, what happened is the port that the cord goes into (that connects the Gypsy to the Cricut, or the Gypsy to the Computer) BROKE!!! Quoting the support helper, "there is nothing we can do when the port breaks. That can not be repaired. You have to buy a new one."
ARG!!!
I think the reason that I am most upset is because I was working on a couple summer projects for my sister in law. She is a teacher, and I made some stuff for her last year, and her co-workers saw it, and all wanted a set. I said, "OF COURSE I'LL DO IT!!!" and now.... I can't! I have them about 1/3 of the way done too!
Oh well. I guess I'm off to look at a few places to see if anyone has a Gypsy on sale. Oh, and how frustrating is it that you have to send in your brand new one, with the old one, so they can transfer the SN's just so you can re-link all your cartridges! AND!!! I lose ALL of my PROJECTS saved on the Gypsy! I think I am going to cry.
So here are a few projects that I have done over the summer:
This is a card I made for my niece who turned 2 in June. She loves La La loopsy, so I designed a card to look like a La La Loopsy doll. After I was done, I showed it to my mom who said, "You gave her the wrong color of eyes." I said, "what? I copied it from the picture of the doll I bought her!!" Mom said: "A doll? That looks like Tessa!!!" Haha.
So I changed the button eyes to brown like my niece, and voila!
Then another niece had a b-day on July 4th, and for her card, I made a cheerleader. She is a SF49ers fan, and wanted me to make a cheerleader with the paper doll cartridge. Well, once I got the newer Paper Doll Teen Scene cart, I had to make one with it!!
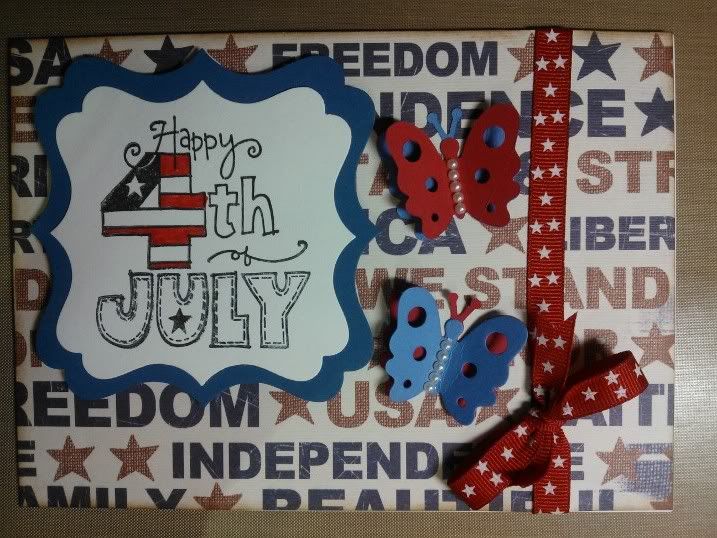
And finally, here are a couple 4th of July cards that I made:
I apologize for not posting in so long. I've been sick (as usual) and In my rare moments of feeling ok, I have been working non-stop on those projects for my sister in law. I will try to post more frequently in the future.
I hope you're all having a better crafting week than I am!
'Till next time!
Today I have a video for you all! ::Pause for reaction:: I know, it's rare that I do a video. And that is because of how long it takes me to do simple things like line up paper, and layers of cricut cuts. My eyes are just too bad. SO....I am challenging and pushing myself. I just got the Wild Card 2 cartridge, and decided that I wanted to make every single card on it, and then decided that I would make a video for each of them! YAY!! So, hopefully I will be able to do this!
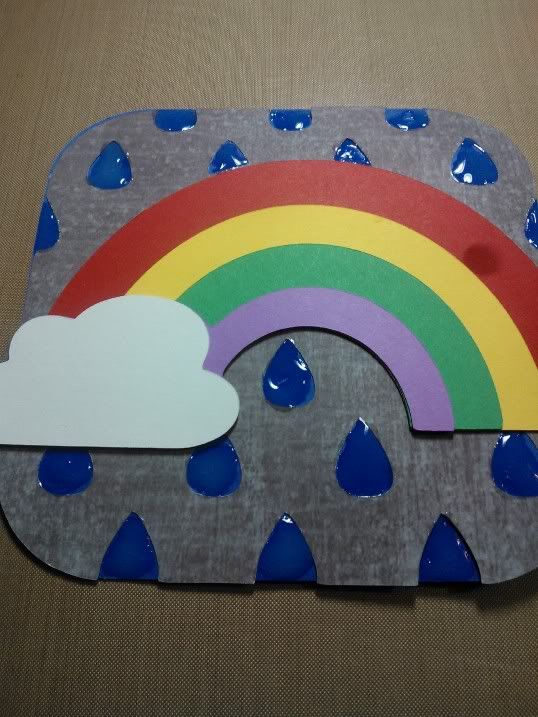
Here is the first one... keep in mind I do not make videos often, and am not good at it, nor do I claim to be!! :)
I did go back and add Glossy Accents to the raindrops, I really like how it looks!
Thanks for stopping by!! Check in again for the next episode in the series!
Notice how I go forever without posting, and then suddenly have a LOT to post? Yeah, that's the fun of my illness. I may get a card or project done in a week, but will not be able to post them for a long time.
:::Sigh:::
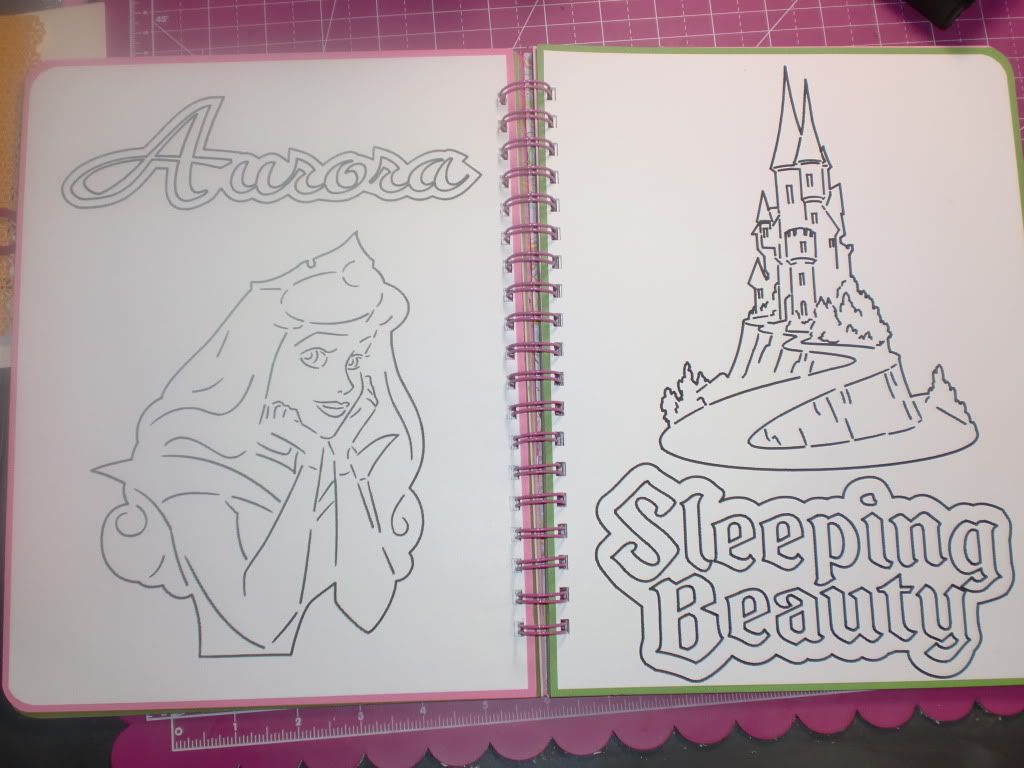
A few weeks ago two of my little nieces were in the hospital. (Not at the same time, thank goodness!) But my 5-year old niece was in the ICU for a couple days, and while she was there, I made her a few quick coloring pages using my Cricut. Well, those few coloring pages turned into a personalized coloring book!
Then, my 2 year old niece (they are sisters) split her mouth open, and had to have a plastic surgeon fix it! Oh the drama! That lil' girl is fiesty!! She was NOT letting the doc near her! (lol) Well, they are both fine now, and all healed up. But while they were recovering, I wanted them to have a "Quiet-Time" activity. So here goes:
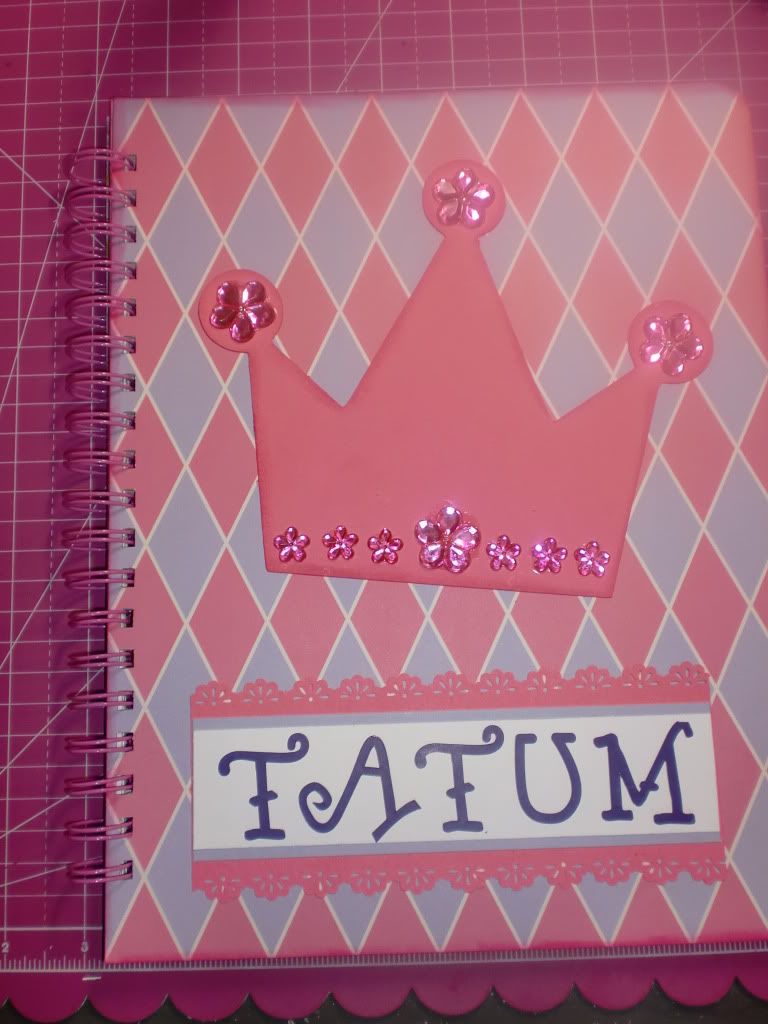
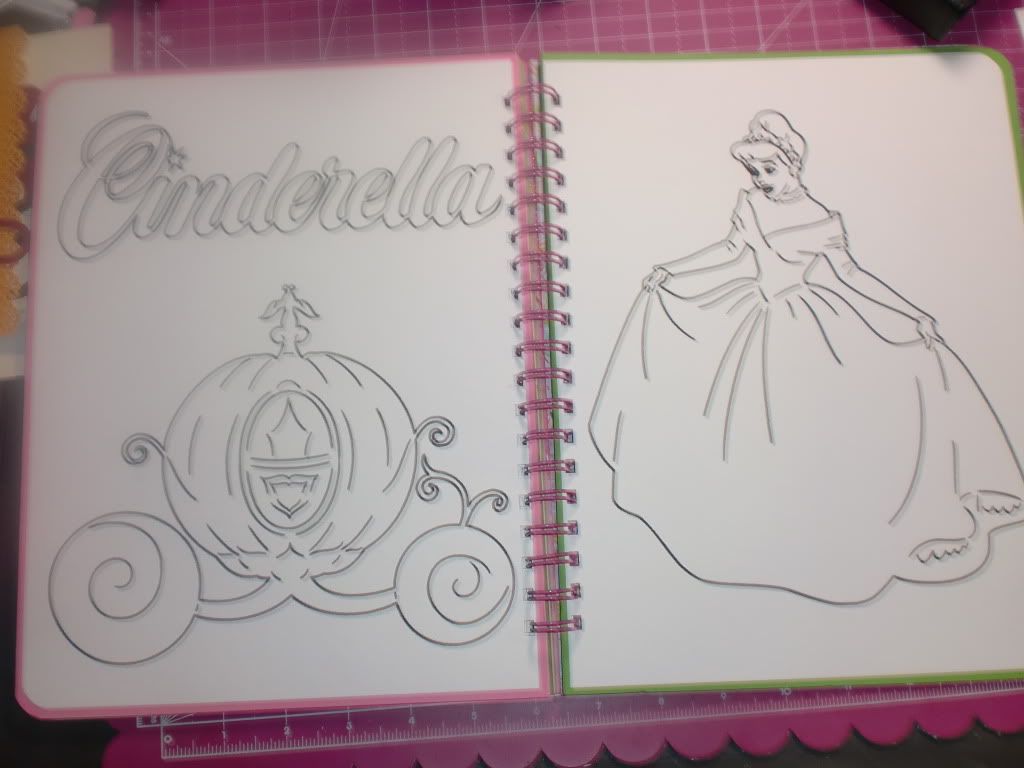
For my 5 year old niece, she is all about the princesses.
Cover:
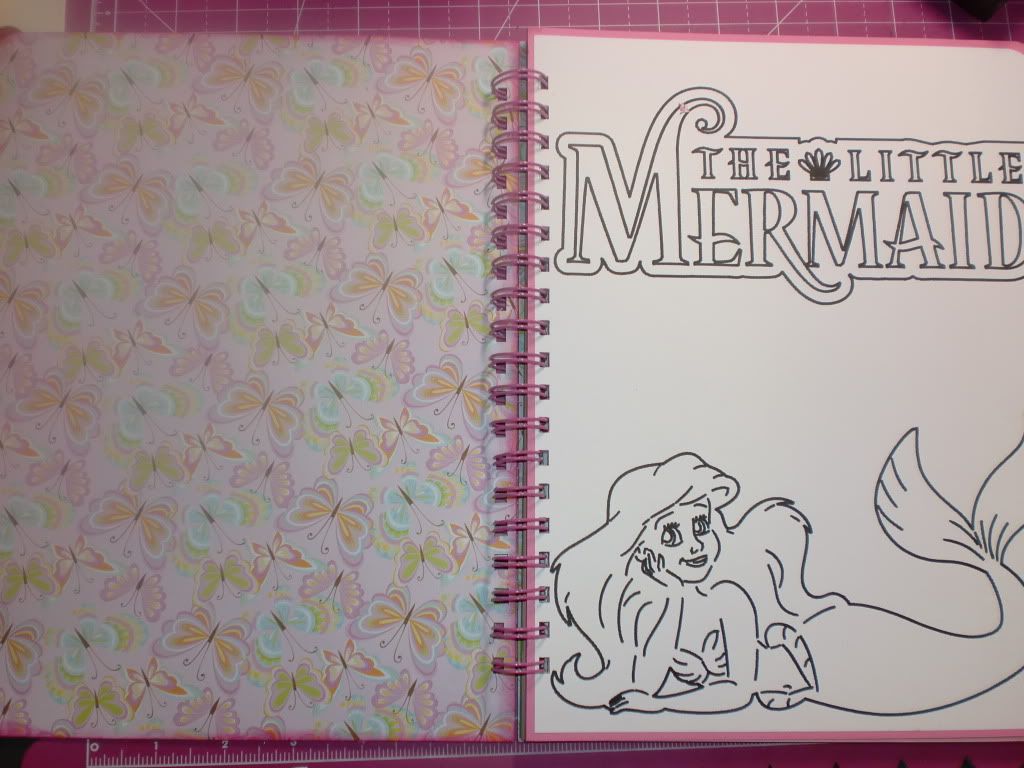
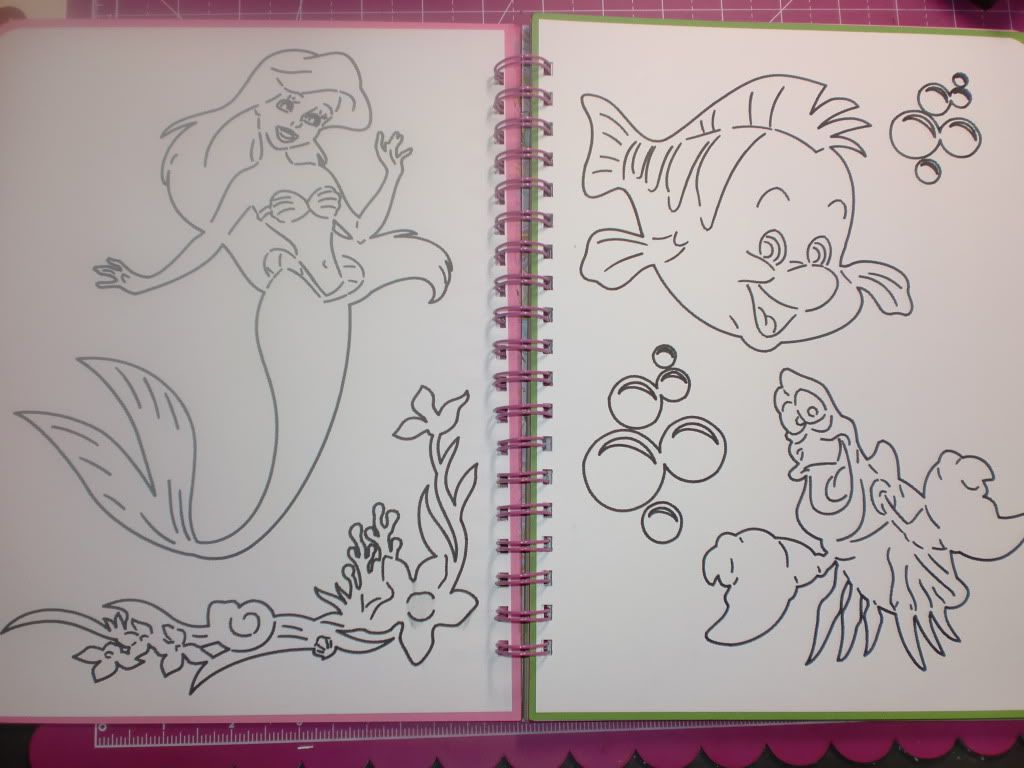
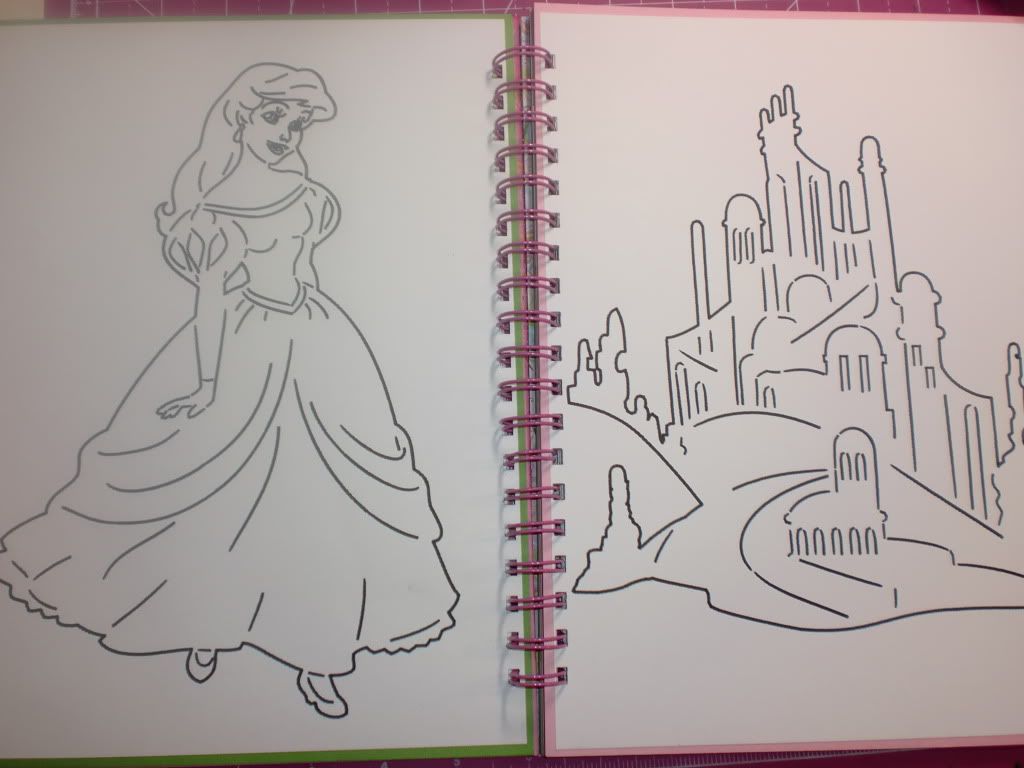
Then I did each of her favorite princesses by section, so Ariel is first:
Snow White Pages:
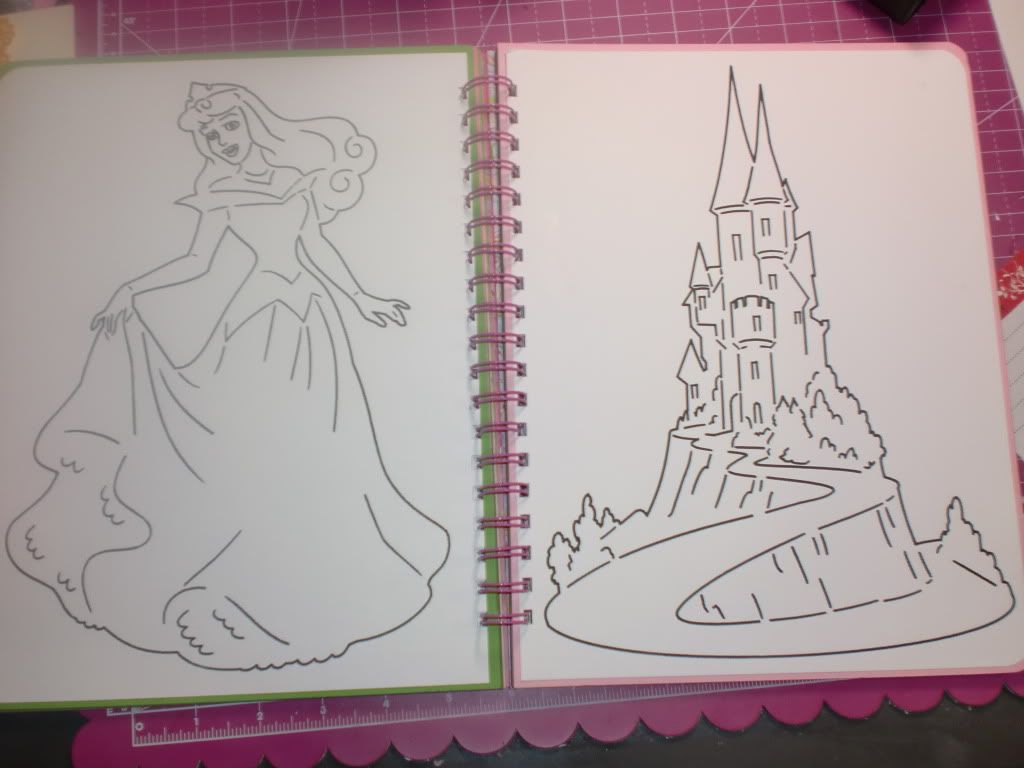
Sleeping Beauty (Aurora):
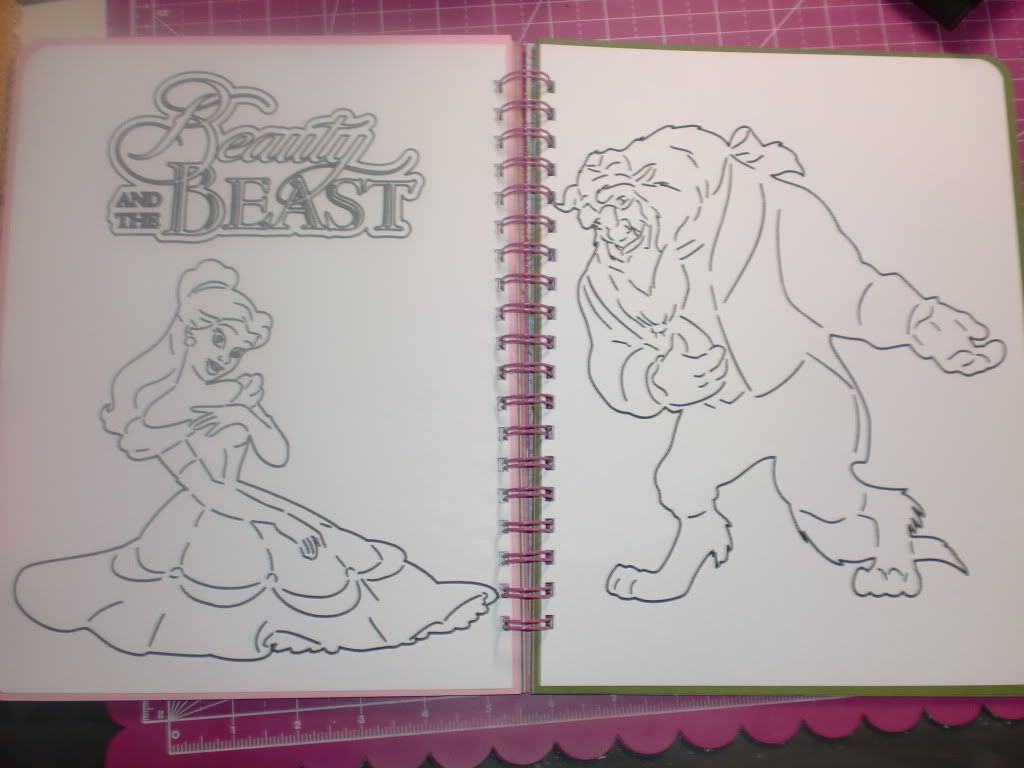
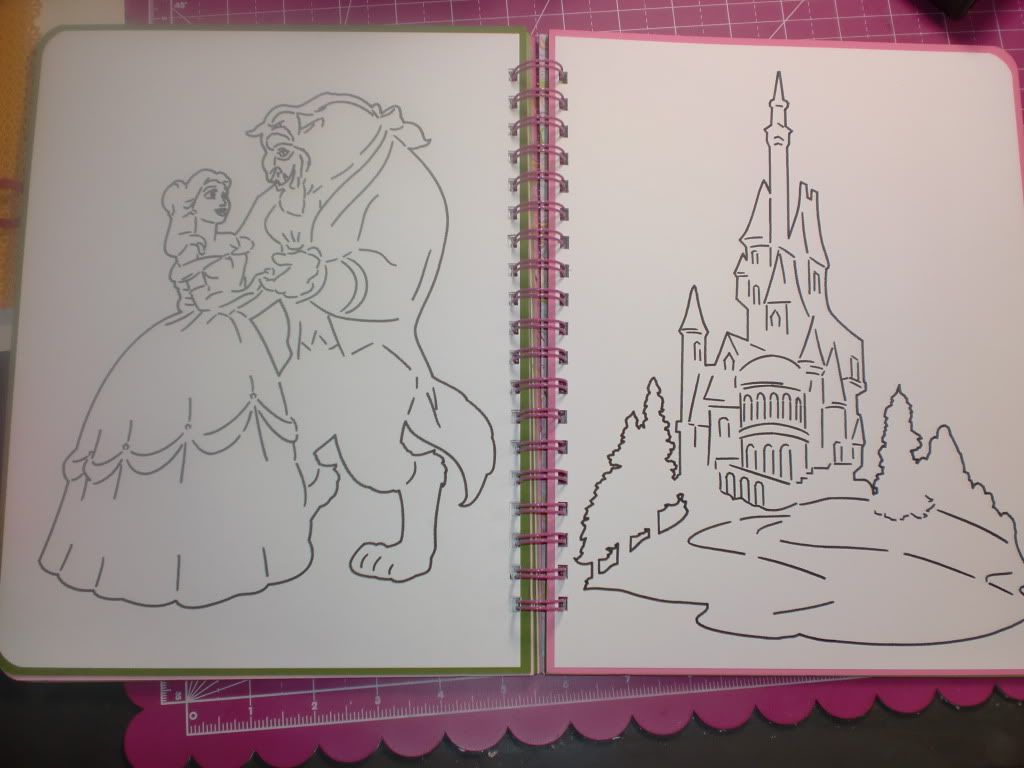
Belle/Beauty And The Beast:
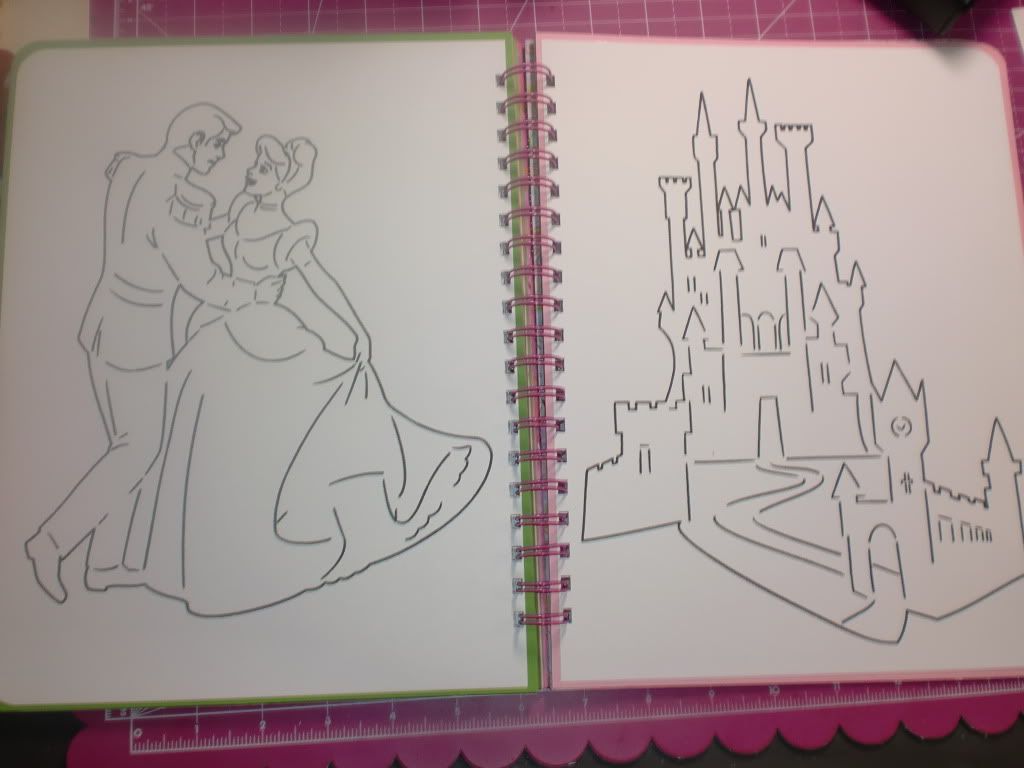
Cinderella:
Jasmine and Aladdin:
I tried to include each of the princess's castles/dwellings. :) The book measures 8.5" x 11". She loved it!!
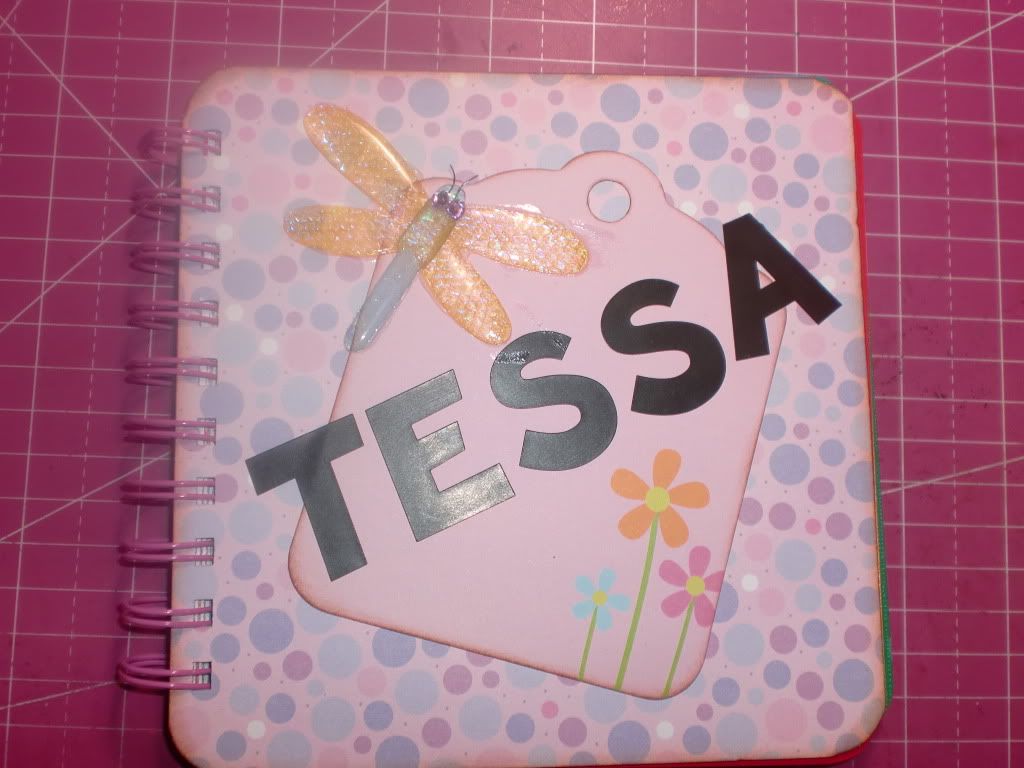
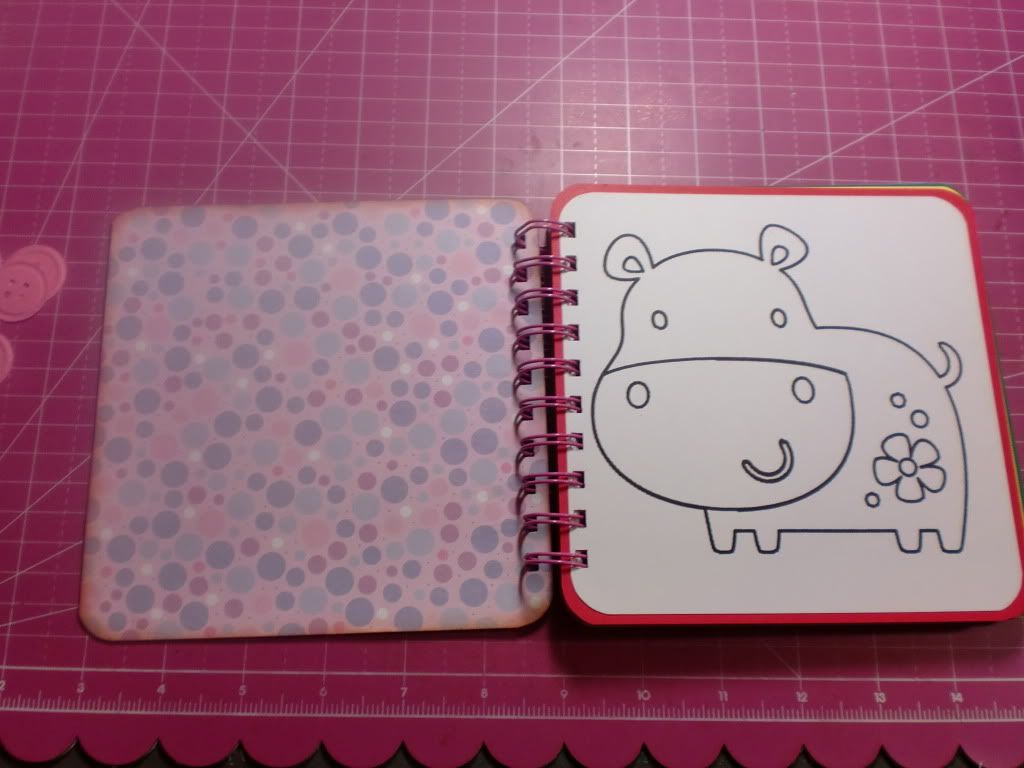
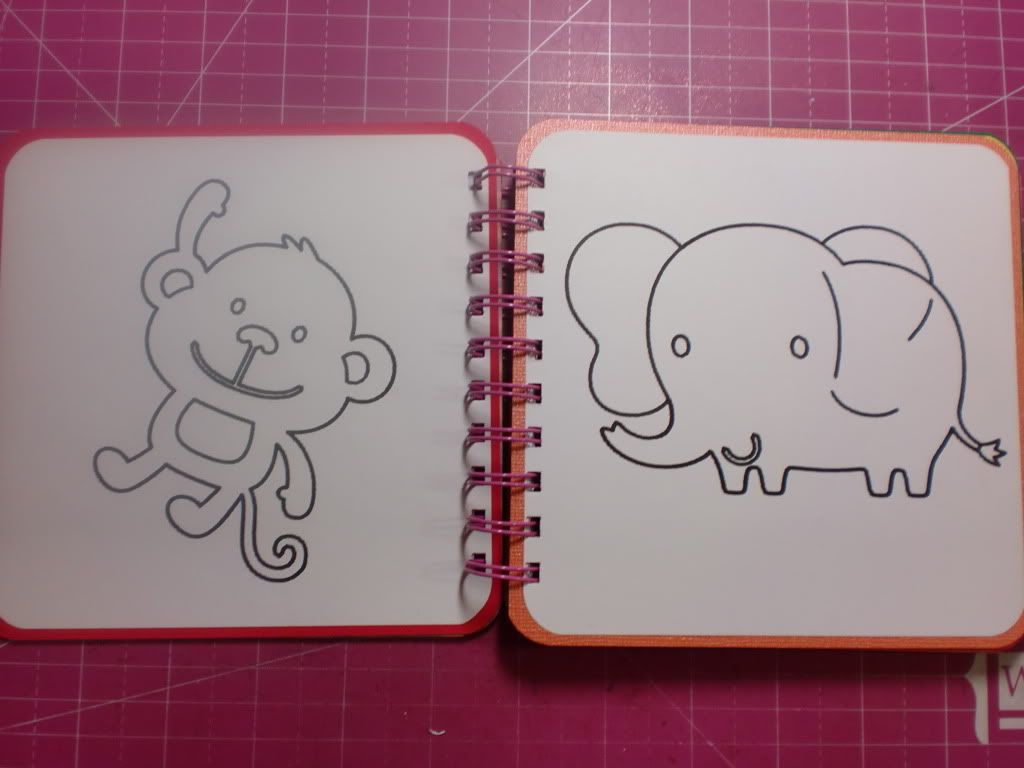
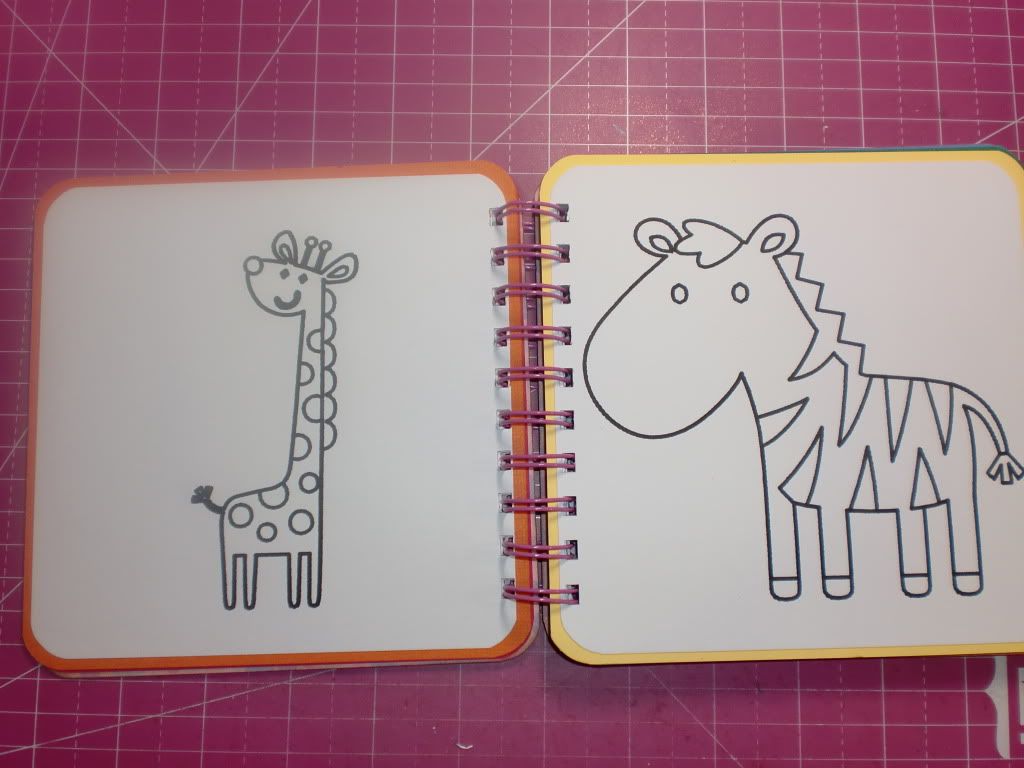
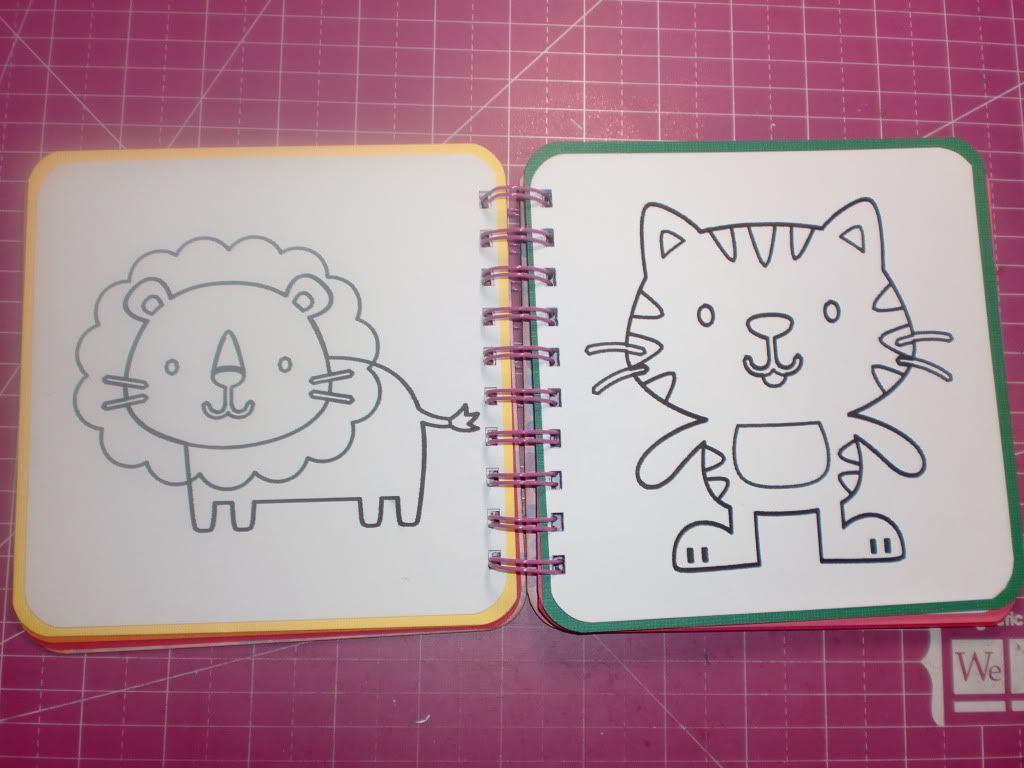
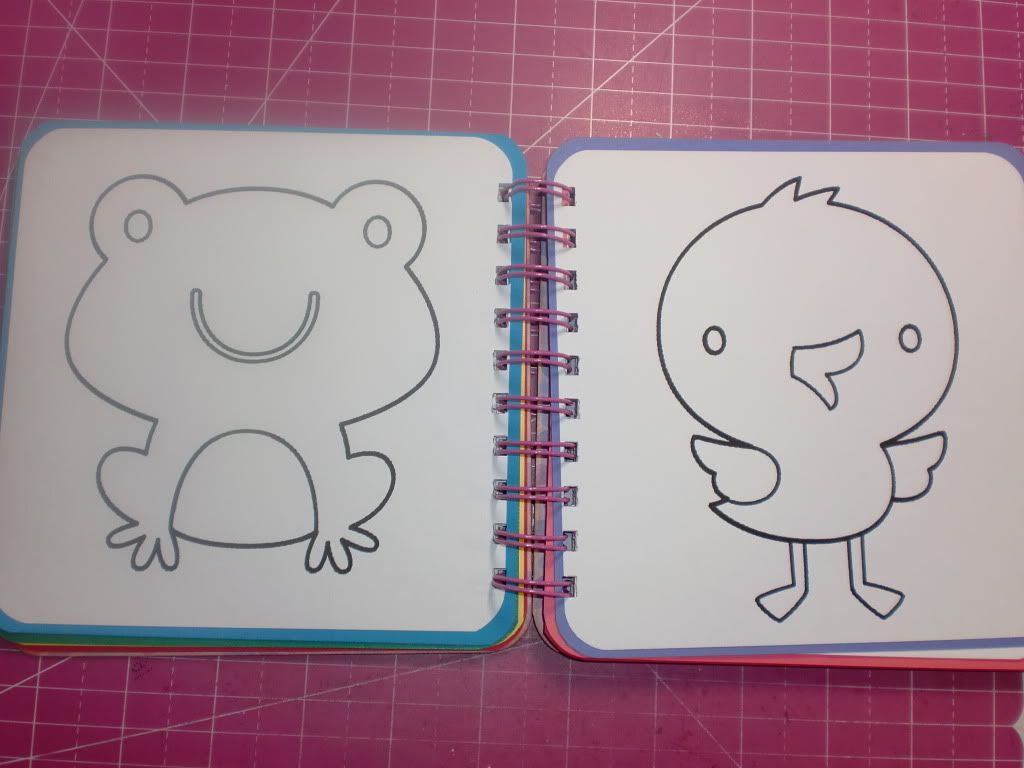
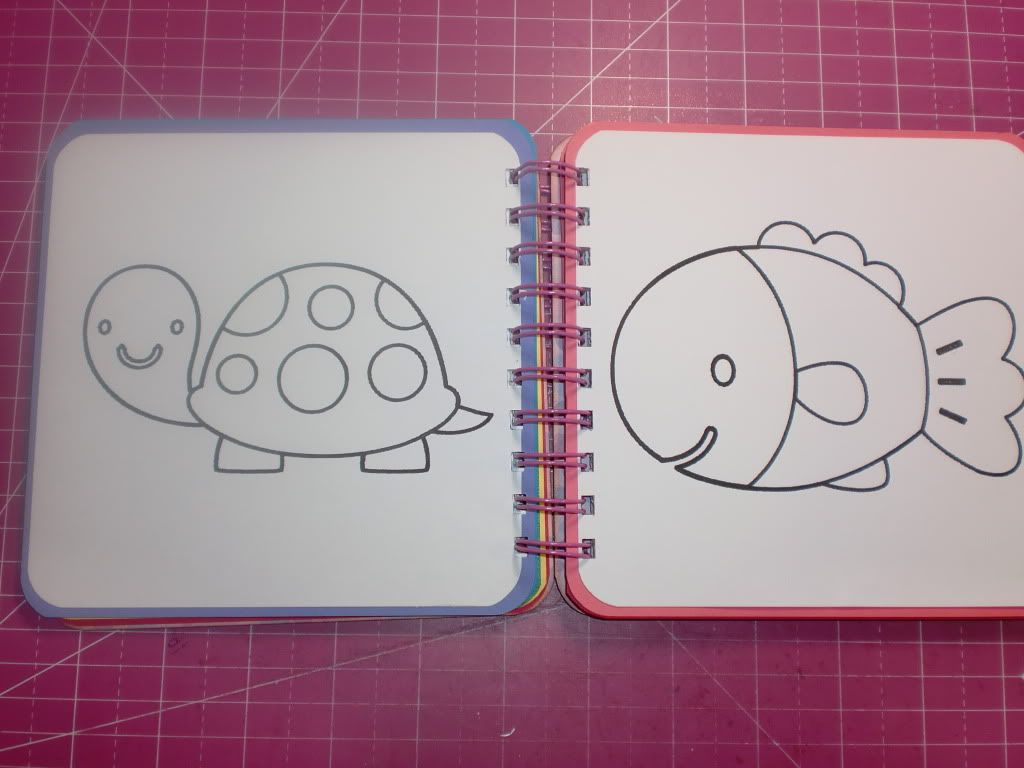
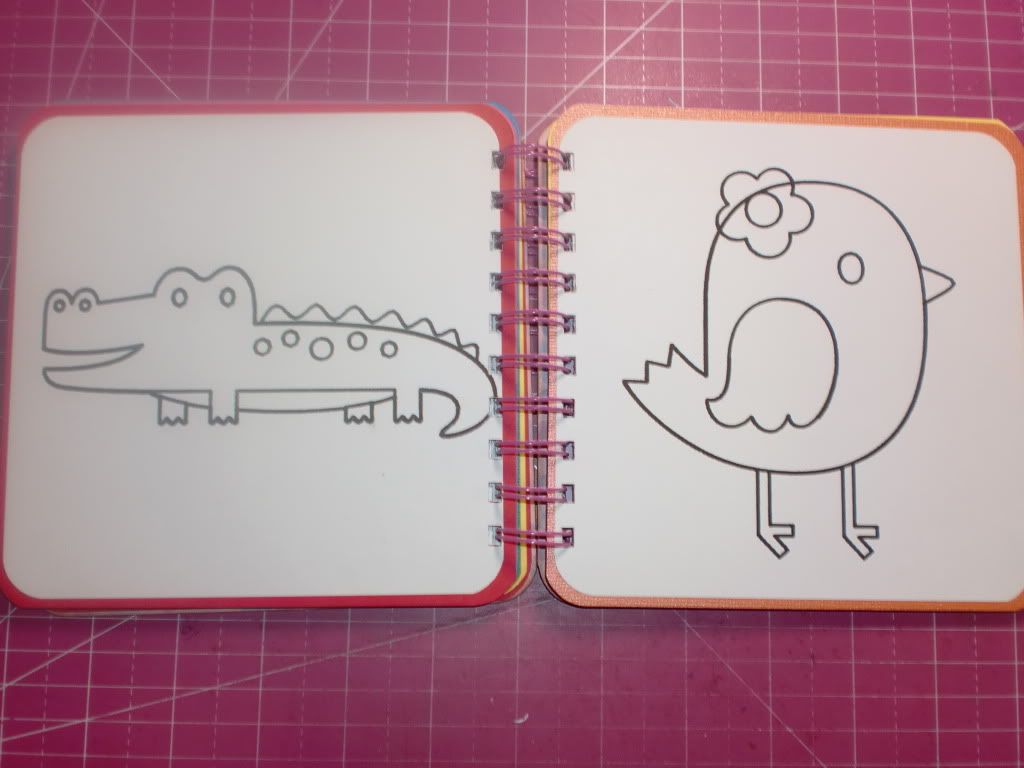
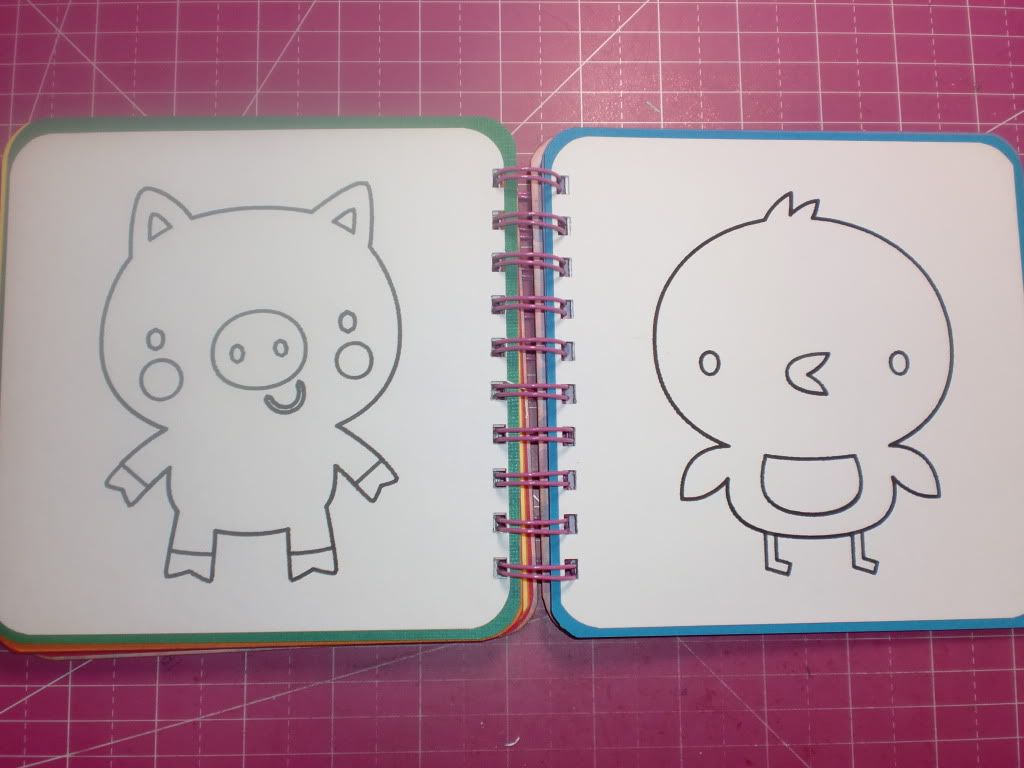
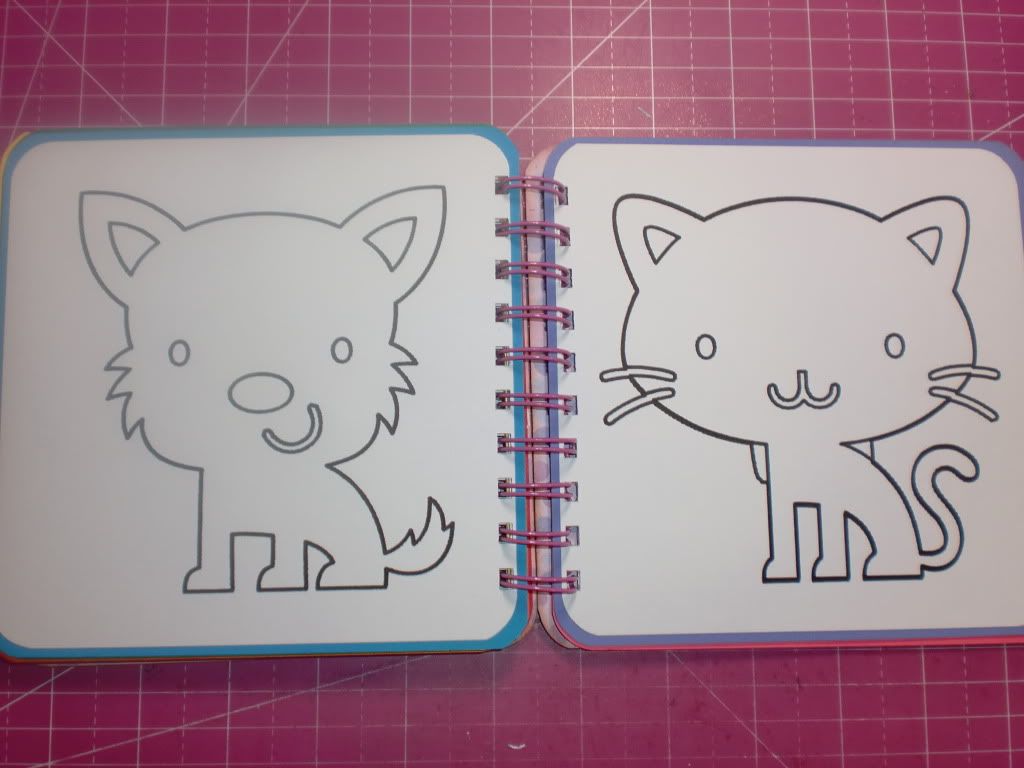
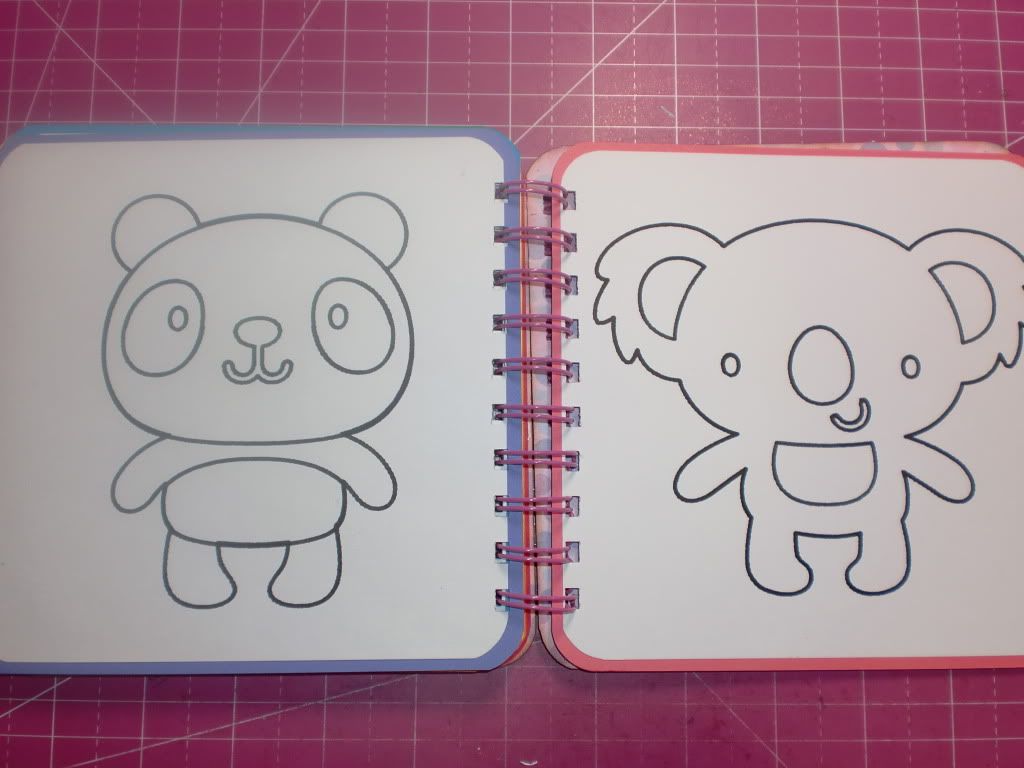
Now, here's an Animal Coloring book for her little sister. I made it like this so that she can learn the animals names and sounds!! (She already knows so many, but has so much fun saying their names, and sounding out the sounds they make!! MOOOOO!!)
Cover:
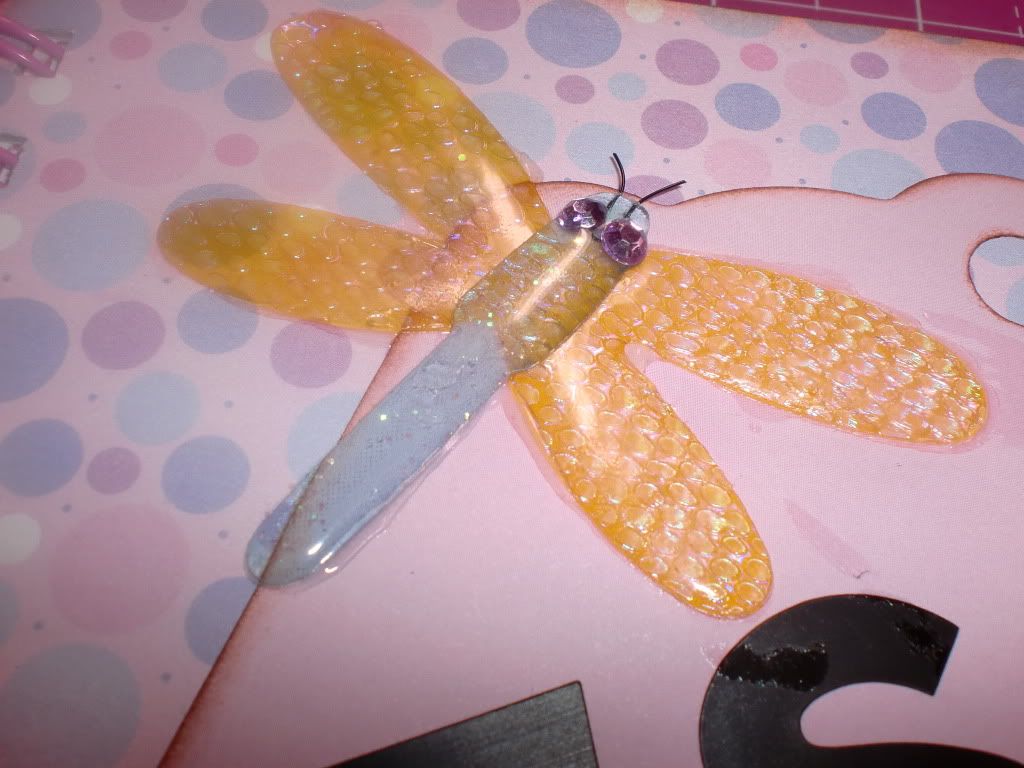
Close up of the Dragonfly sticker:
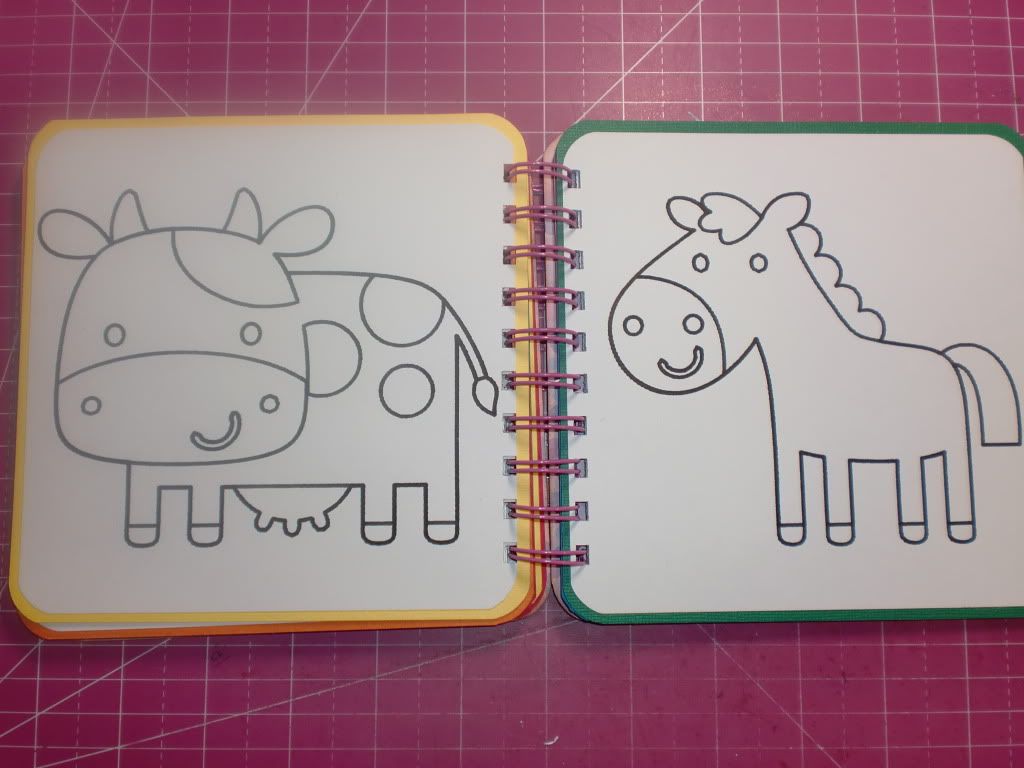
and the inside pages:
I had to throw the adorable apple in there:
And that's it! This book measures 6" X 6". A smaller book for smaller hands! :)
.jpg)


