"What we do for ourselves dies with us. What we do for others and the world remains and is immortal."
-Albert Pine

Tuesday, December 28, 2010

Wine Charms

Hey!

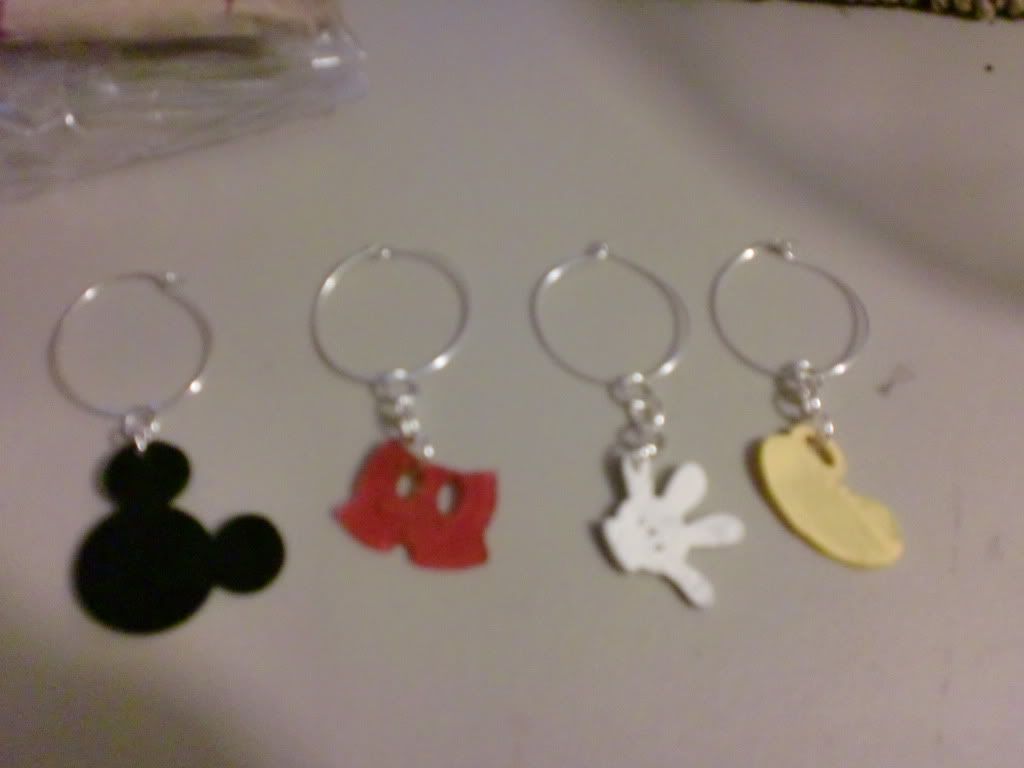
Sooo, one of the gifts I gave at Christmas time was a wine theme.  Wine glasses, Bottle of wine, books about wine, etc.  So I decided to add a personal touch and make wine charms.  This person is a Mickey Mouse/Disney fanatic, so I thought these were appropriate.  (and now that I think about it...a little odd.  A child's show...turned into wine charms?!? Haha.)

I decided to cut Mickey mouse icons; his head, pants, shoes, and glove.  I loved them!  This is how they looked before the beads and all the extras... but I thought they were so cute!
I also made a different set of just the head outline, in four different colors... here is the picture of the black one: 
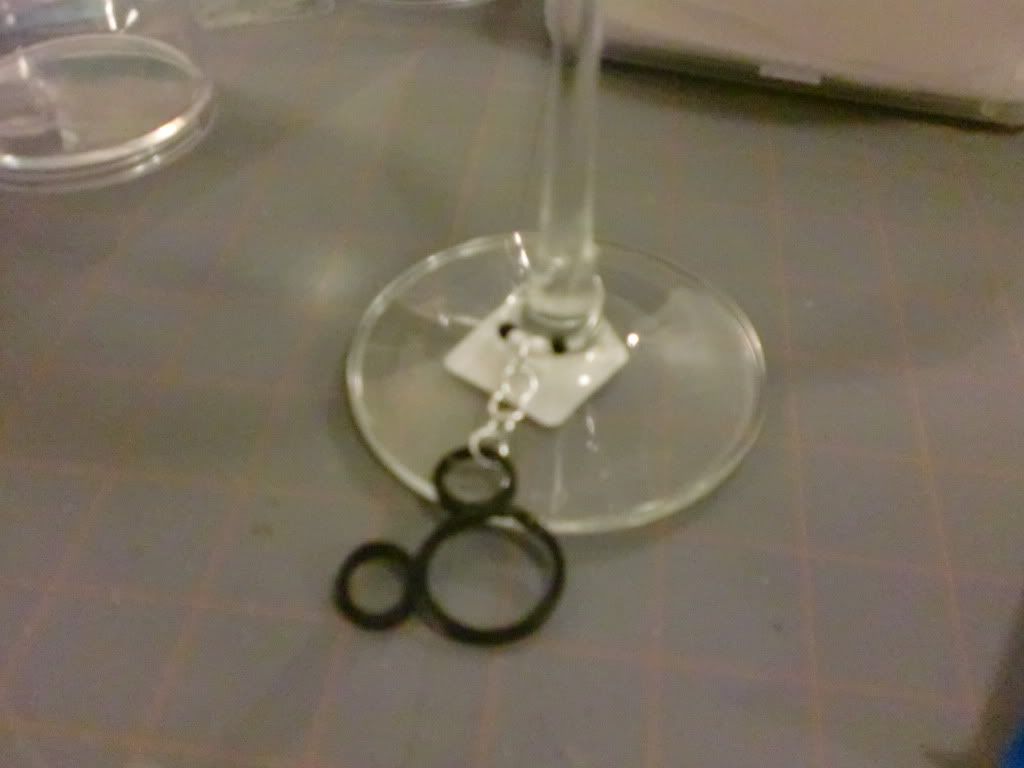
I cut them with the Cricut, (they are plastic) so I figured I could make whatever design I wanted, and I ended with Mickey.  It took quite a chunk of time to finish them!  But, it was worth it! I had fun!

Thanks for looking! I hope everyone had a wonderful Christmas! 
Oooh, I forgot to mention, I got a nwe desk for Christmas! My brother and sister-in-law take old items, and re-do them as their own.  They do AMAZING work!  So they got me an old metal desk, I think it was one of the old-school teacher's desks like that my grade school teachers had. (love those!)  And they painted it and re-did it.  It is AMAZING!  I took pictures, I just haven't posted them yet. I just had to mention it, because I'm so excited to have a new workspace to create on!! :)  Thanks guys!!  

Thanks for looking!

Cricut Cake 1st Attempt

Hello all!

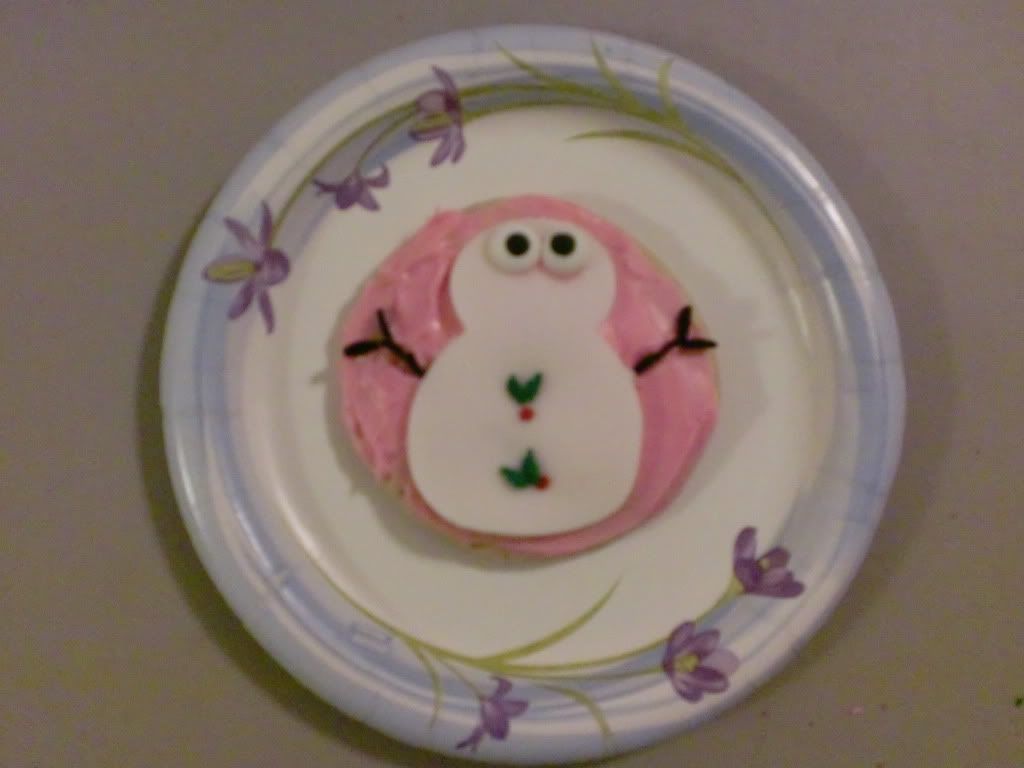
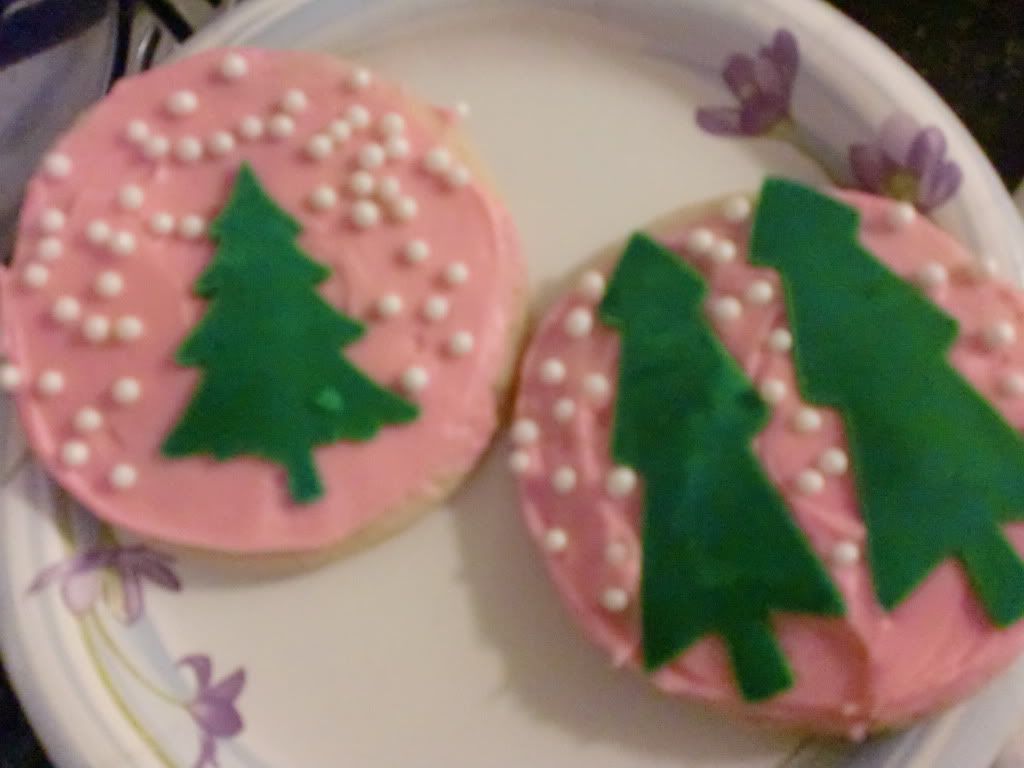
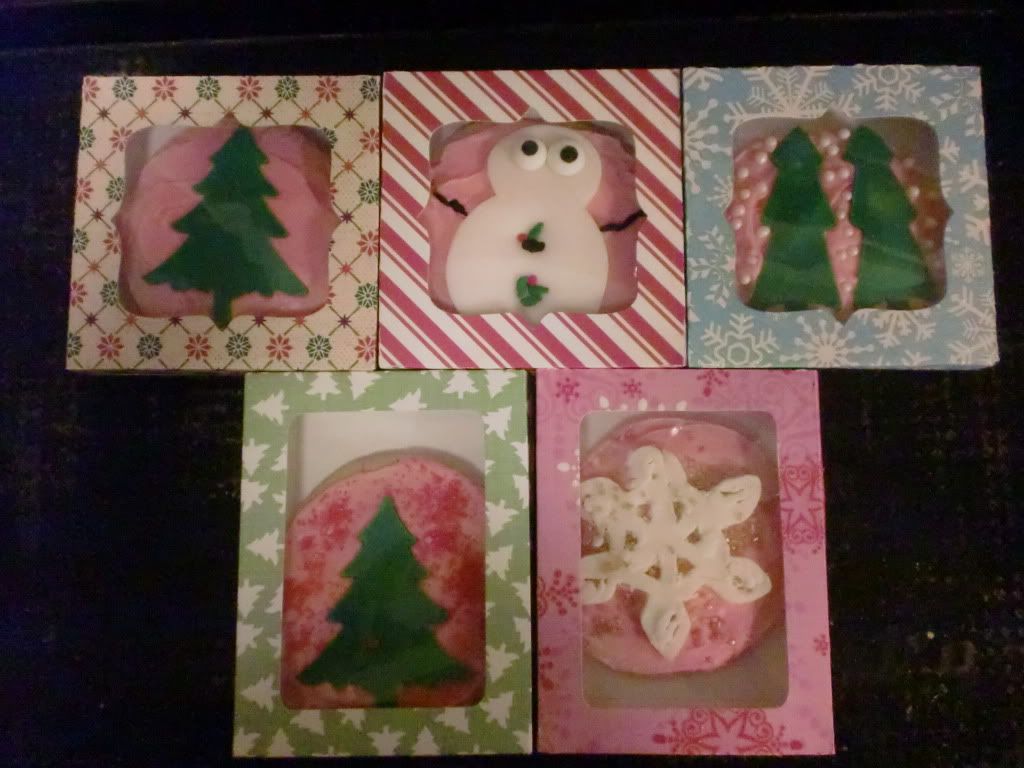
I was actually brave and attempted the Cricut Cake this past week!  I just decided to make sugar cookies and decorate them with the very most basic of cuts.  I was not about to attempt anything too intricate on my first try!  I also made cookie boxes to individually wrap them.  Because....I am just silly like that.  Here is how they turned out:

And here are the cookies in their boxes: 

I can't wait to try something else next time!!  I think I will decorate a cake next.  Oooh the possibilities! 

Thanks for looking!

TGI....after Christmas!!!

Don't get me wrong, Christmas is great.  But the stress of planning and purchasing presents for my immediate family alone,  let's just say I'm super glad Christmas only comes once a year!!

I haven't had the time, or felt good enough to get on the computer and actually post any of my projects in a while.  I hate that.  I wish I could post them right as I finished one!  :(

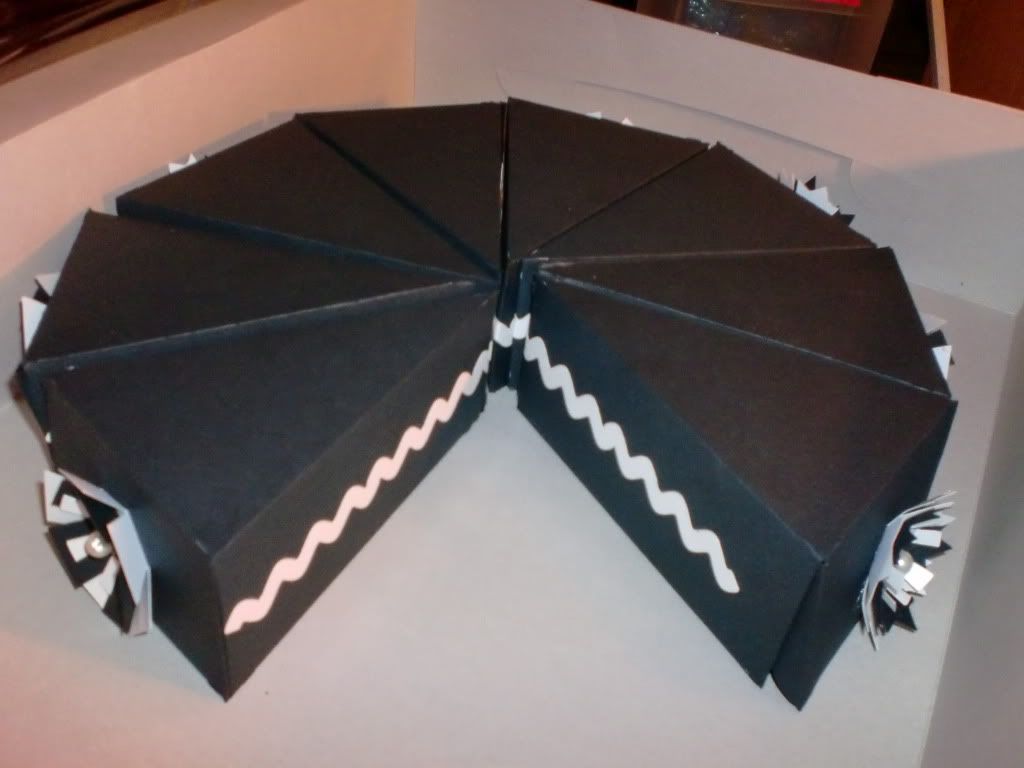
So this will be my first of two or three posts tonight.  This one, I wanted to put up the night I finished it, but it was for my sister-in-law, and it needed to be a surprise, so I couldn't post until after I gave it to her.  This is keeping with the tradition of making a paper cake for each of my family member's birthdays.  I did a elegant looking black and white for her.  I loved how it turned out! I made flowers for the outside/ends of the pieces, they have a pearl in the center.

Inside of cake view:

And the top of the finished cake had a white scalloped circle (like frosting) and in cursive, it said, "Happy Birthday [sister-in-law's name]"  And it was stuffed with candy.

Thanks for looking!

Friday, December 10, 2010

Christmas Gift Organizer

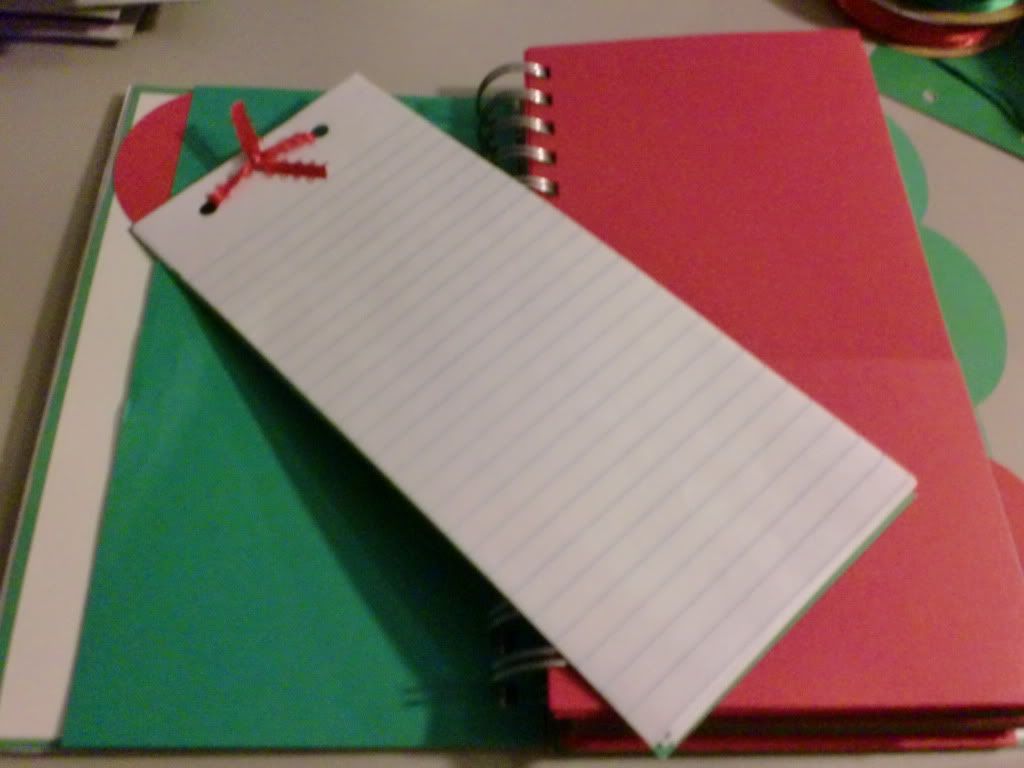
I decided to make a Christmas Gift Organizer this year.  My family is getting bigger every year, and it gets harder and harder to keep everything straight.  It also seems like each Christmas there are duplicate presents, so I always keep my receipts.  So, I figured, why not put my Cricut and Bind-It-All to use, and make myself an organizer!?
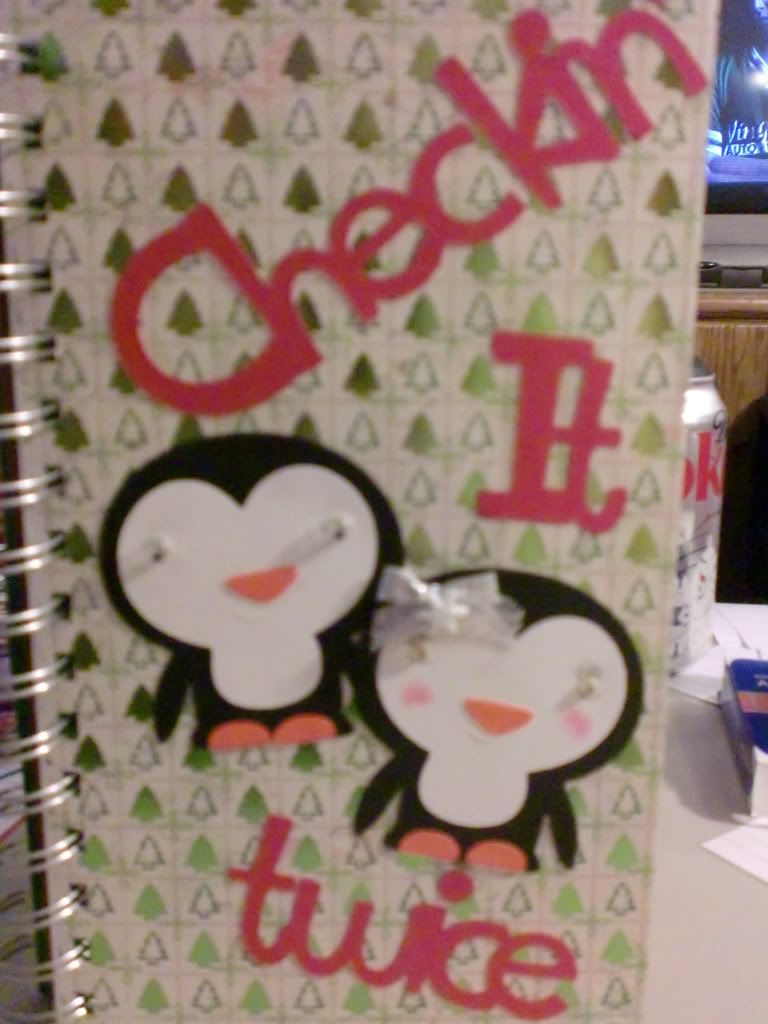
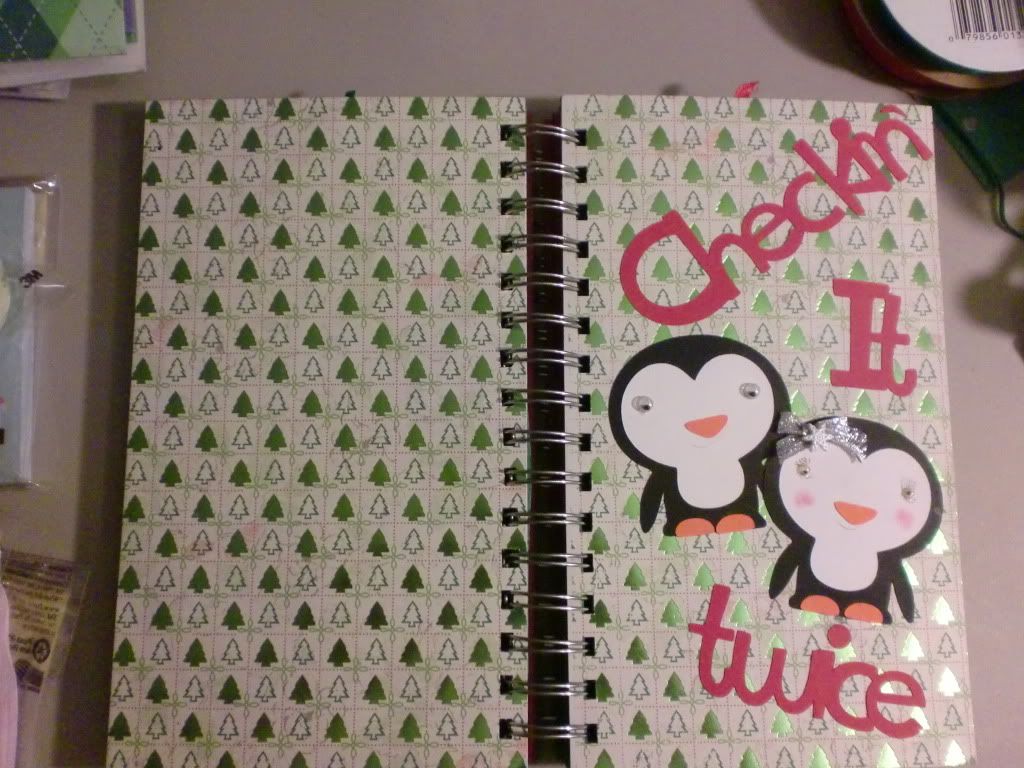
Here is the cover.  I cut the penguins from Create A Critter, and I believe the font is Cuttin' Up, (but I might be wrong.)  The background paper on the cover is from K & Co.
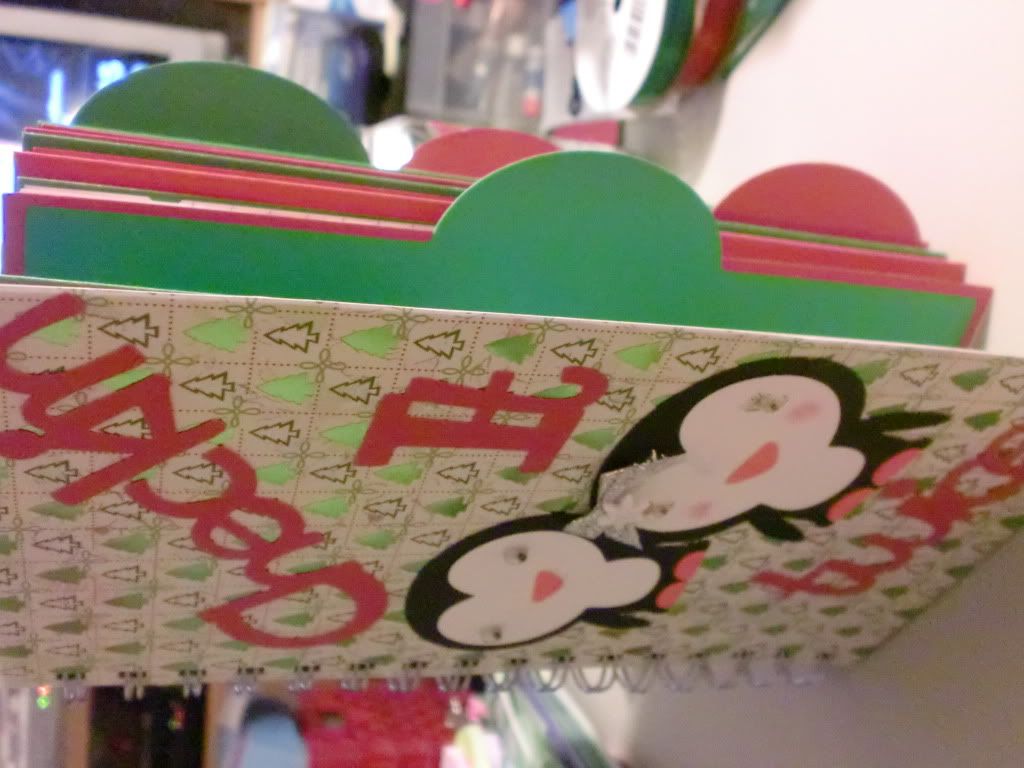
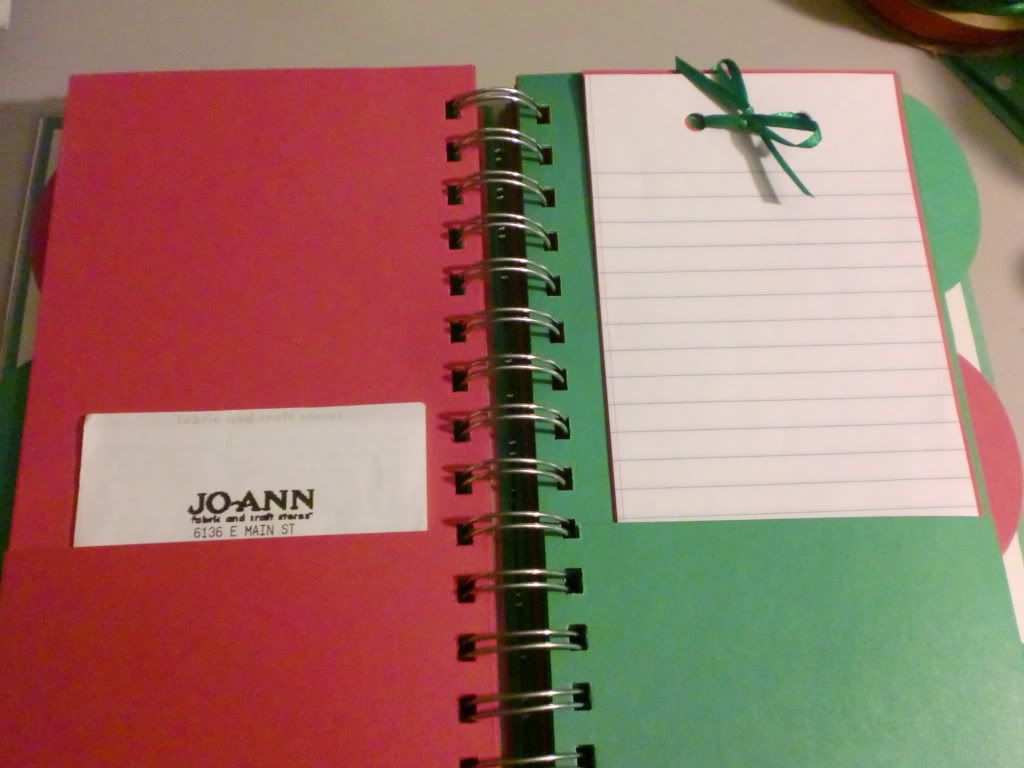
I then made dividers using the From My Kitchen cartridge, (The recipe box dividers) And used my Gypsy to stretch them to the size I needed.  I also cut down 12"x12" paper and folded to make my pockets.  I made a divider for each of my brothers, and then within each divider are pockets representing each of their family members. (I also make extra dividers for my mom and a few friends that I buy gifts for.) 


I now have the names wrote on the tabs and pockets, I just didn't want to photograph the names.


I also made little pull-out notepads so that I could write what I have bought for each person, and what I still need to buy.  If I don't do this, I will end up forgetting soneone, or forget a take a present that I bought to that person, and I'll find it a week later, (no joke!)


I really like how this project turned out!  I think it's cute and I will get a lot of use out of it!
I titled it "checkin' it twice" as in, "making a list, checking it twice, ..."  Because I will for sure be checking it more than twice!!  Haha.
I made a few coupon organizers similar to this earlier this year, prior to my blog, and I can't remember if I posted pictures of them or not.  But having these handy lil' organizers makes life just a little less chaotic!  :)


Thanks for looking!!!

Saturday, December 4, 2010

Thanks Sew Much

Hey people!!

I can't believe how fast Christmas is approaching!  It's unreal.  This entire year has gone by so quickly! 

This is a card that I made for my Momma.  She helps me out so very much, and I appreciate her so very much. So I made her a card this week to give to her along with a little gift. My mom loves sewing, knitting, and all things crafty.  So this card fitted her perfectly.


The sewing machine and table is from Country Life.   The background paper is a Cosmo Cricket stack, called 'Material Girl.'  It is super cute paper!  It has all different sewing themed pictures....very cute.

Thanks for looking!!

Monday, November 29, 2010

Paper Bobble-Head!!

Hello there!!

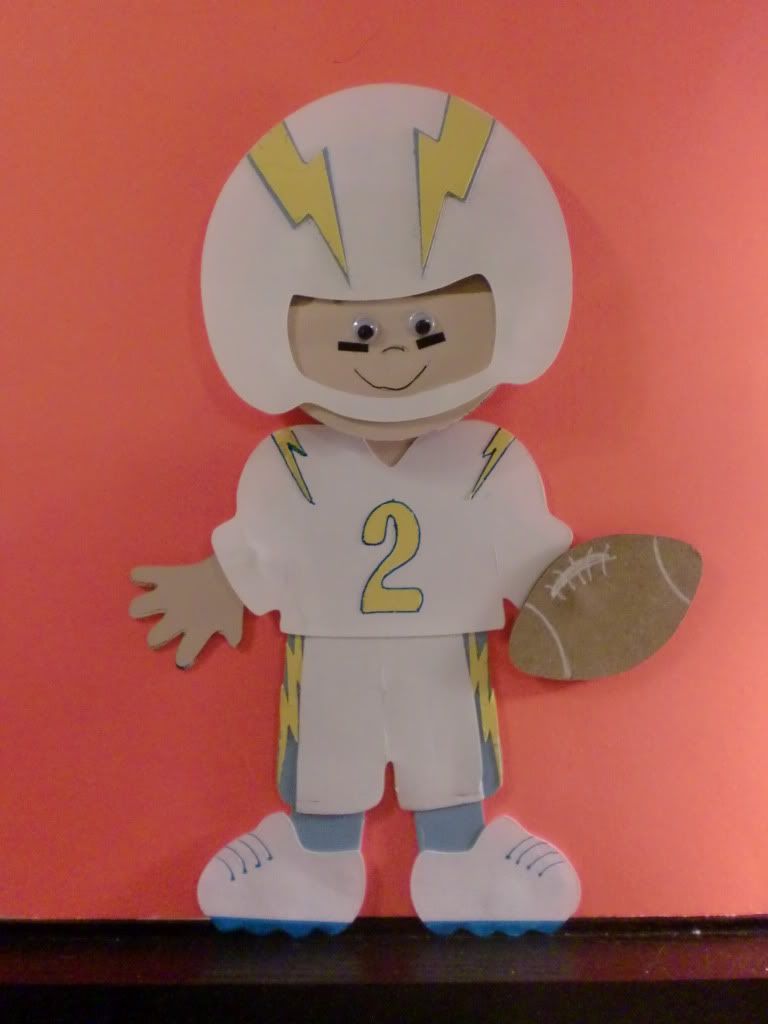
So...... on Thanksgiving, I took my Cricut over to my bro's house to do a demo for my Sister-in-law.  We ended up cutting out a bunch of things, and I had so much fun!  The kiddos were also interested in it, so I cut out a couple paper dolls for the girls.  My nephew wanted a football player.... and I didn't have the right colors, or enough time. And I felt HORRIBLE that I had to tell him "no."  So, I made this for him tonight!! 


He is a San Diego Chargers FANATIC!   I used Everyday Paper Dolls, and an Action Wobble to make the head 'bobble-head like'  I really REALLY love how it turned out!!   Here is a quick video of the bobble-action! haha...


I made three mini-albums this past week too.  And I don't know how this happened, but I managed to give them all away without taking ANY pictures!!! :(  I am sooo bummed!   They were dog word albums, and had pictures of the pup, along with doggie quotes and sayings.  I had a lot of fun making them, and put a TON of time into them.. so I am really bummed that I didn't get any pictures.  Ah well.  It's ok!!

I hope everyone had a wonderful Thanksgiving weekend!!  Food, Family, and Football... can't beat that!!


Wednesday, November 24, 2010

Shocked Turkey!

Hey paper pals!!

I can NOT believe tomorrow is Thanksgiving!!  I feel like the turkey on my card...shocked that it is here already!!  I had the idea for this card in my head for a long time now, and just got it made earlier this week.  Then, last night I was youtube-ing, and saw a video of the (almost) exact same card!!!! That is freaky when that happens, right?!?!  

And now I feel bad because I had planned to put a link/shout out to that gal, and I can't for the life of me remember who it was, or find the sheet of paper I wrote it on!!!  So if you see this post, I am SO SORRY!!  :(  But I did love your card!!! :) 

So here is my card: 


The [live\] turkey is from Create A Critter, the thought bubble is from Smiley Cards (with a few extra little circles from head to thought bubble) and the baked turkey is from Doodlecharms.  I threw some over sized  google-eyes on the turkey to make him looked shocked, like they were popping out of his head.  Haha. The background paper is from a Specialty  photo mat stack by Cloud  9, and if it has a name, I can't find it.  But it has fall papers, Halloween, and Christmas.  I love it!  I bought the 12x12 and the photo stack.  

Thanks for stopping by!  Have a super nice Thanksgiving everyone!!!


A Thanks Card, but not for Thanksgiving

Hey Paper Pals!!

Sorry that I have been absent from cyber world.  I was in the hospital (again) and have just felt like crafting the past couple days. (I was released from the hospital about a week ago...thank goodness I'm not in there for Thanksgiving this year!!)

A little while ago, I met a relative that I never knew even existed thanks to one of my favorite websites, Ancestry.com!!  I absolutely LOVE that site!!  (Plus, they have a commercial out right now, that for some reason, CRACKS me up!!)  Ok...  so, I met this relative of mine because my Grandma's cousin and best friend was renting a house, and when she moved into a nursing home, (or was moved into a nursing home) they accidently left behind a box of her belongings.  The super super nice homeowner looked into the box, and realized it was all family pictures and heirlooms, and did not want to just throw it out if there was family who would appreciate it.  So he hopped onto Ancestry, and contacted a few people who had her last name in their family tree.  Just so happened that she actually WAS my relative!!  But, she was also this other woman's relative.  So she actually contacted the man with the box first, (because I was in the hospital that time too) and so he sent the box to her.  She them emailed me and said she would scan the pictures that pertained to her, and send the box on to me!  I couldn't believe how nice these people are!  I didn't think people cared enough anymore, but this was refreshing.  So I made a thank you card to send on to her for sending me the box.   Here is the card:

The tree is from the Heritage cartridge, and I can't remember where I cut the "Thanks" from.  It's put on a pre-embossed card from DCWV. (Love those things!!)

Thanks for stopping by!! :)

Friday, November 5, 2010

Fall Sign

I realize I should be making winter signs, but it's still in the upper 90's here...and it just doesn't feel very "winter-ish."  Come to think of it, it's not very "fall feeling" either!!  But ah well.

I made this sign for the same neighbor as the Band Aid card.  


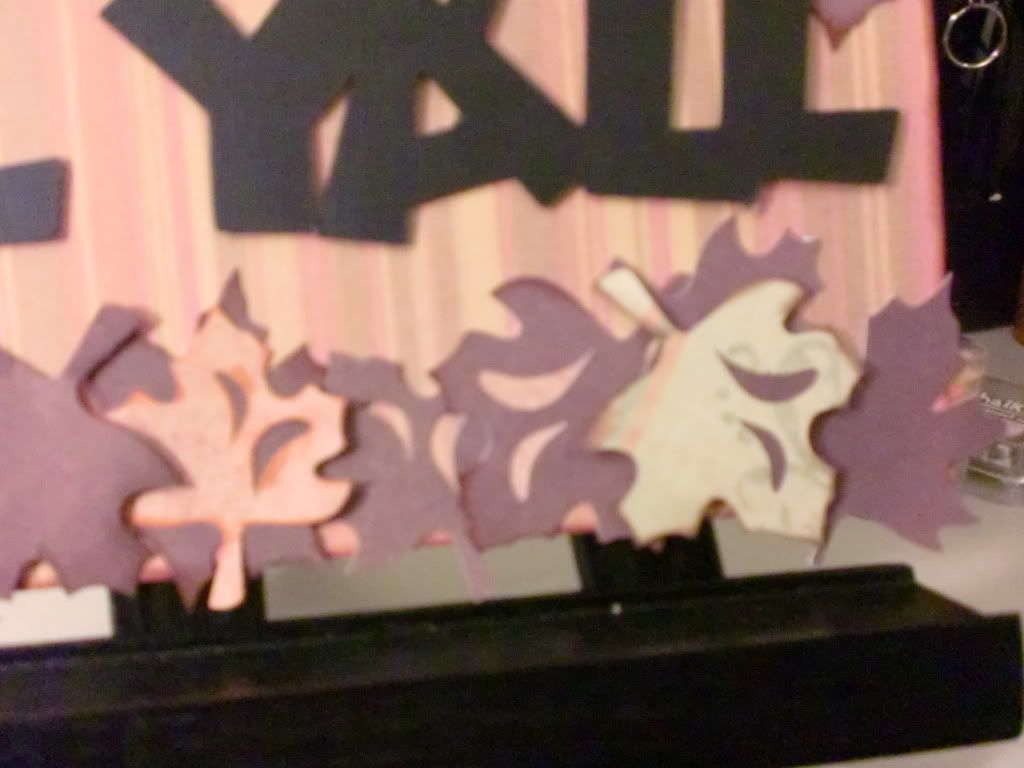
The sign measures 8" x 12".  I used Mickey Font for the wording, (welded with my gypsy,) and Gypsy Wanderings for the leaves. I inked the edge of the sign, as well as the leaves.  I like how it turned out.  I used pop dots to pop up some select leaves to give it some depth.  

Here's a close up on the leaves:


I had fun making this!!  Thanks for looking!

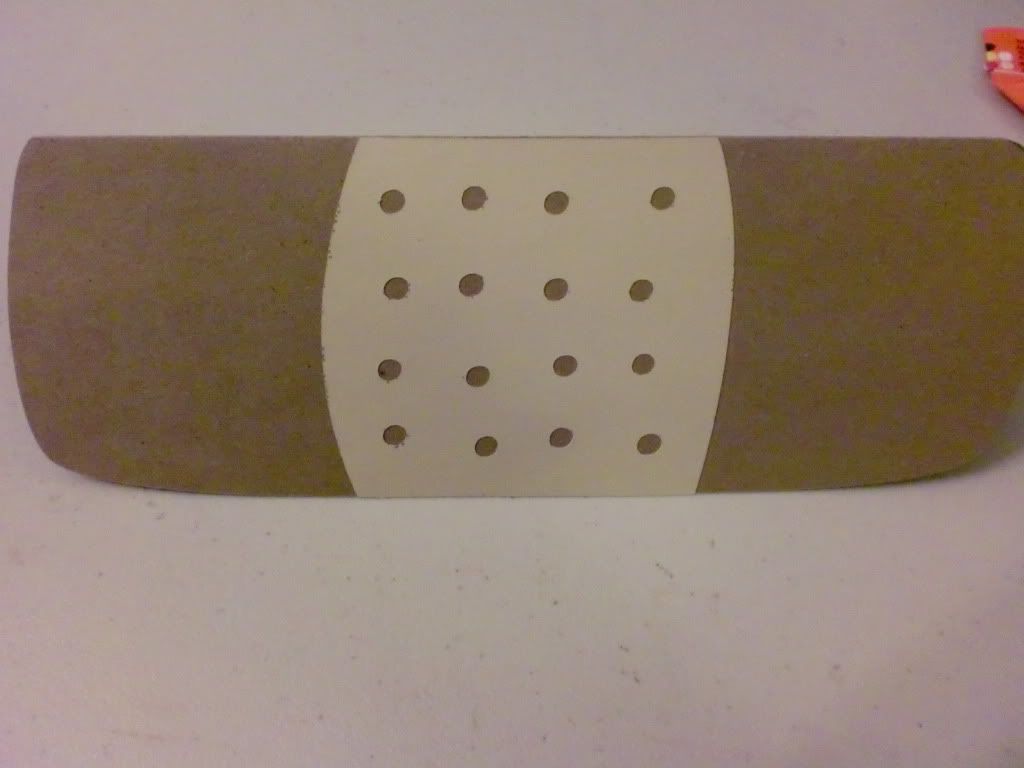
What a big Band Aid you've got there.

Hi Paper Pals!!

Wild Card is one of my all time favorite cartridges!!  I haven't used all of the cards from it yet, but I plan to for sure!!  It seems that there is always something from that cart that can be used for any project!!  

Ok, this card was made for a neighbor that I used to live by.  She's having lots of surgeries lately, so I just wanted to give her a little something.  And I just love this Band Aid Card!!  


Card and envie both cut at 6.5 inches.   The inside sentiment is from Beyond Birthdays.

I like simple and quick cards when I don't have much time.  

Thanks for looking!
Saturday, October 30, 2010

Last Minute Halloween Projects Part 2

Hey Paper Pals!!
Here is part 2 of the post for today.  I had to make some goodie bags for my nieces and nephews.  I get a litle carried away when I'm in my craft room, if you couldn't tell. Hee hee.

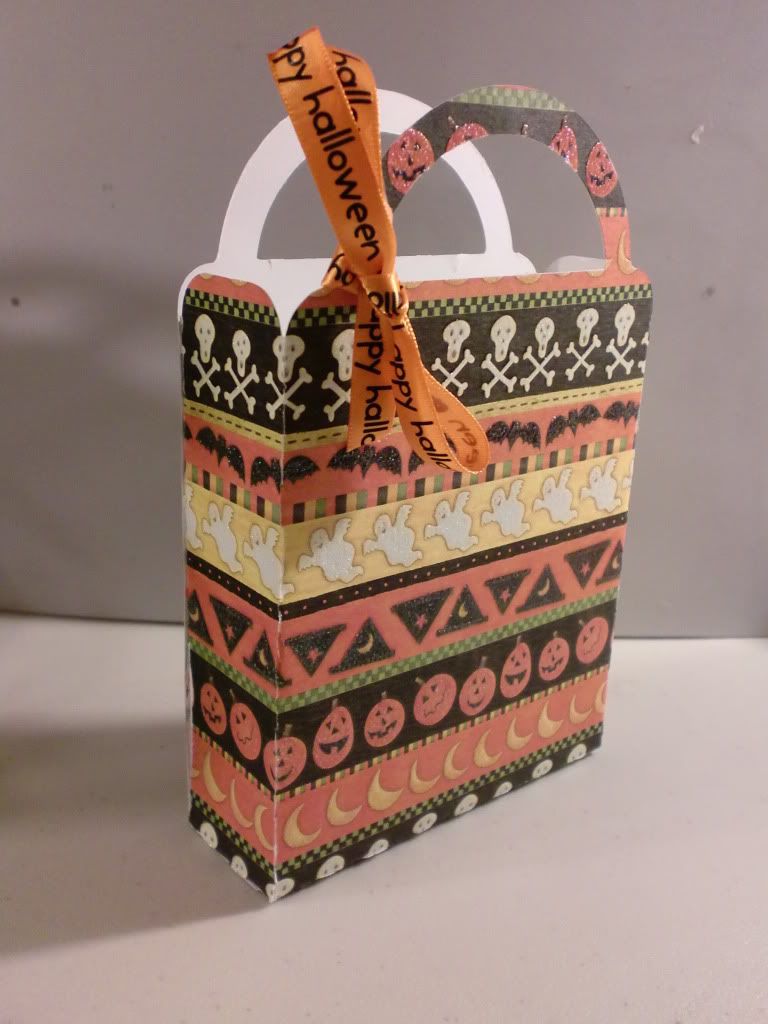
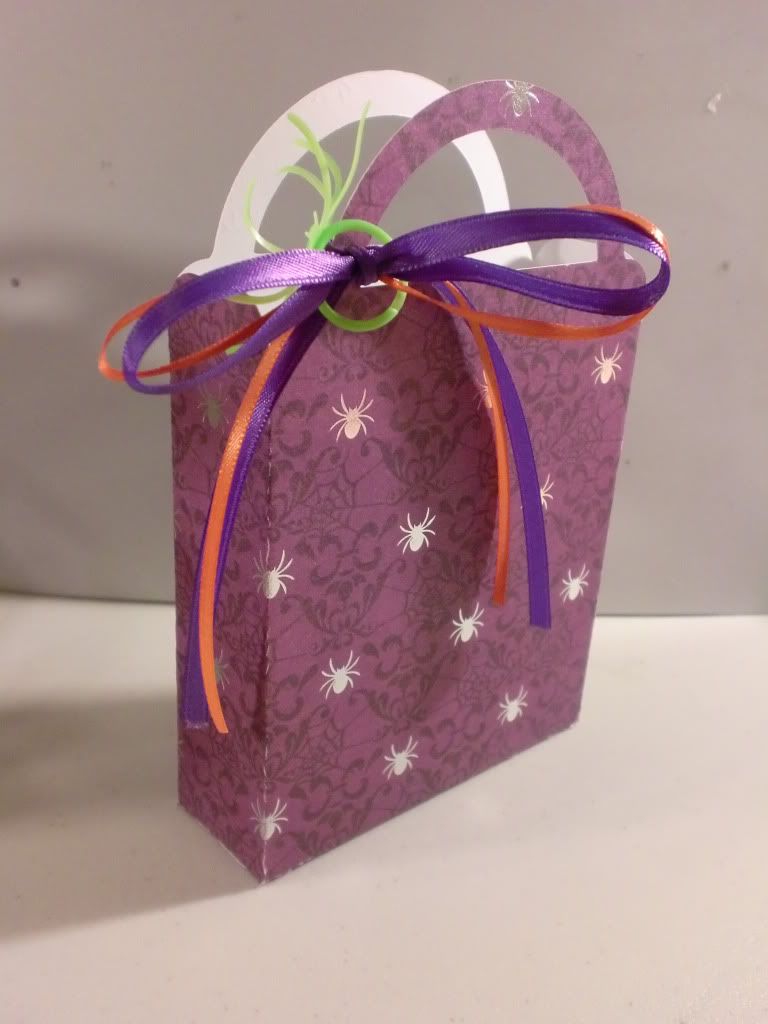
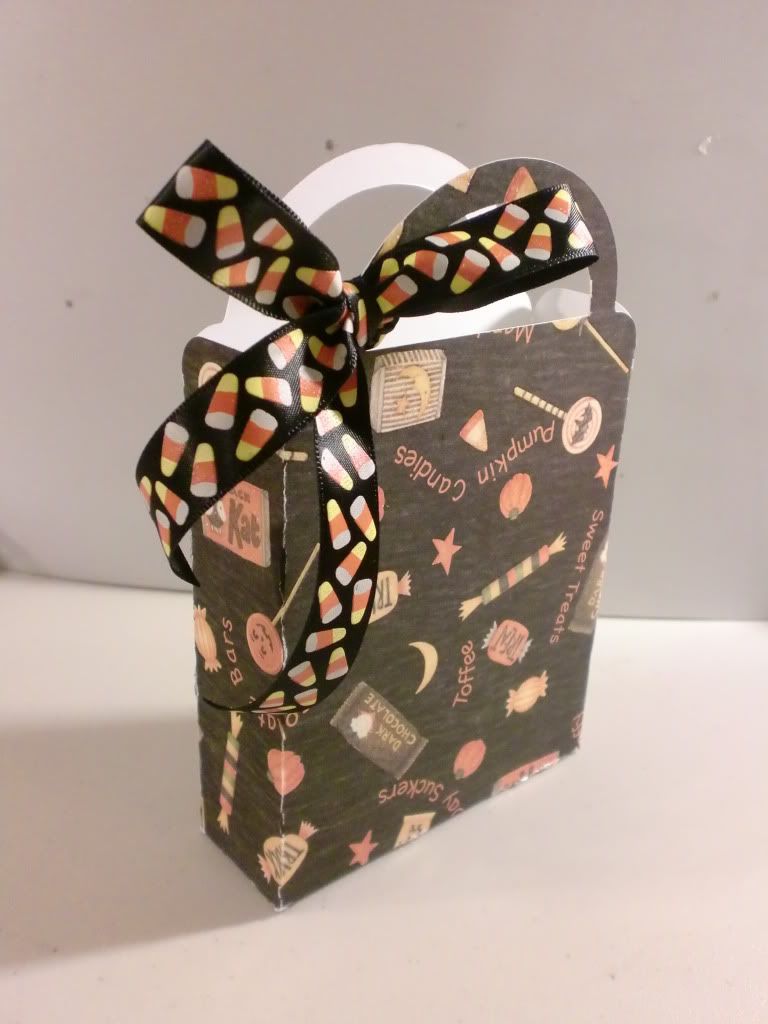
I made some regular bags from the Plantin Schoolbook cart, and just cut them out of Halloween Paper (DCWV The Midnight Spell, and some from the Cloud 9 Fall Stack) and put some ribbon on them. (After the photos were taken, I also put emellishments on them.  I don't know why I didn't take pics of them then???!
Here are three of the bags:


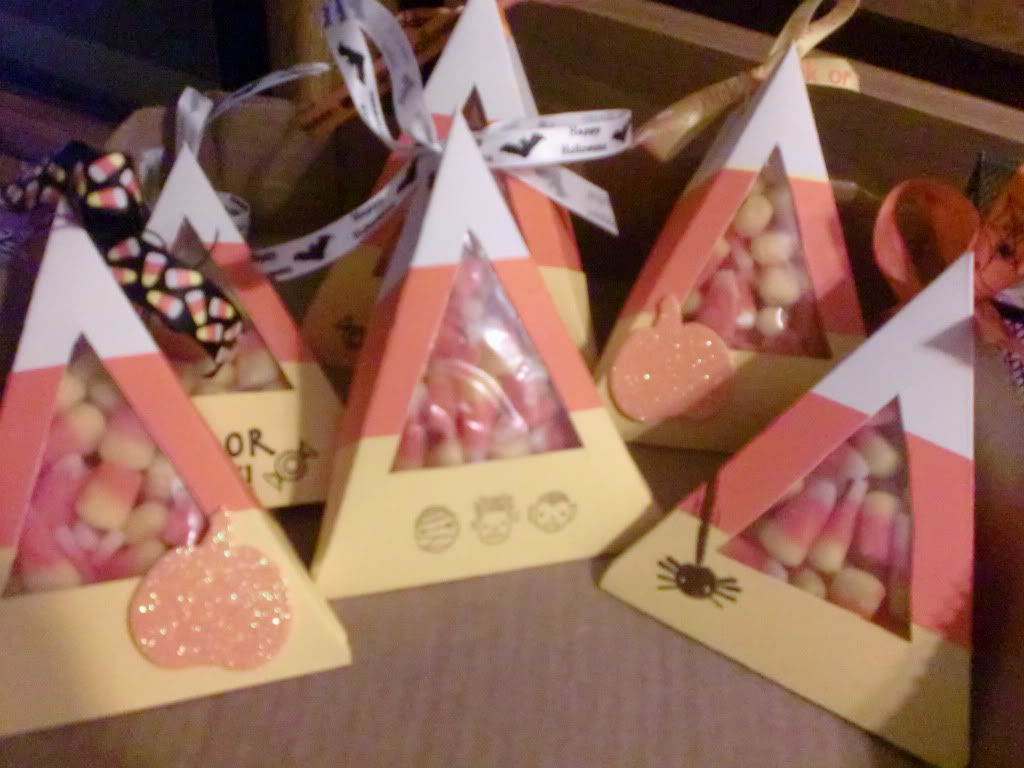
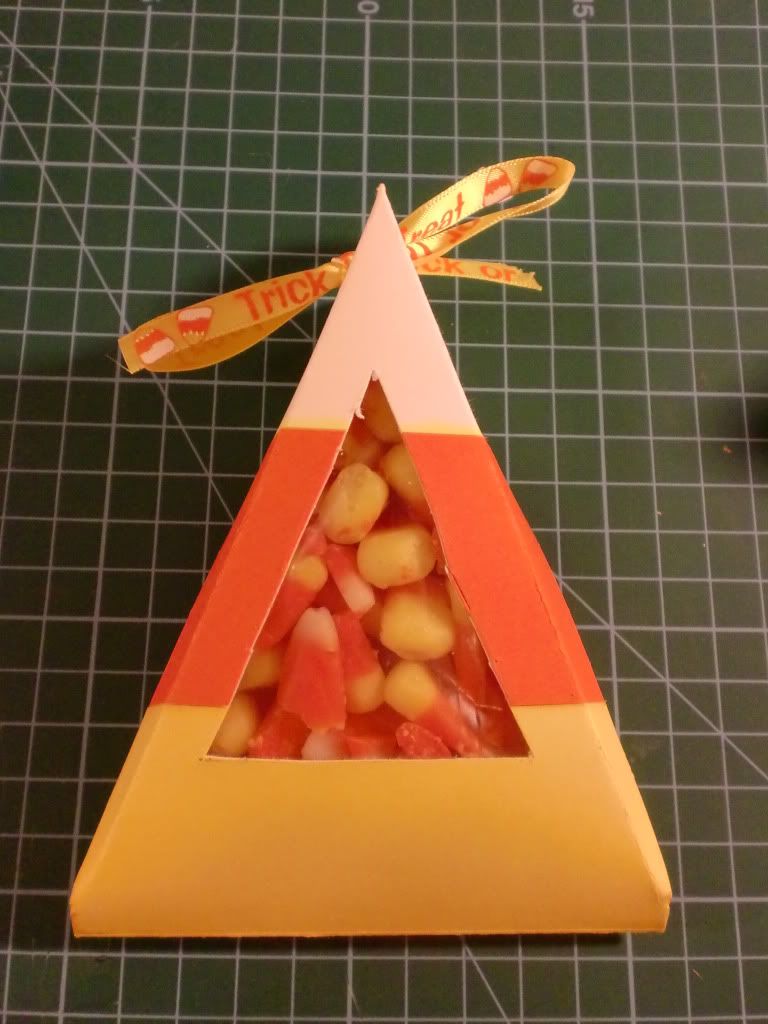
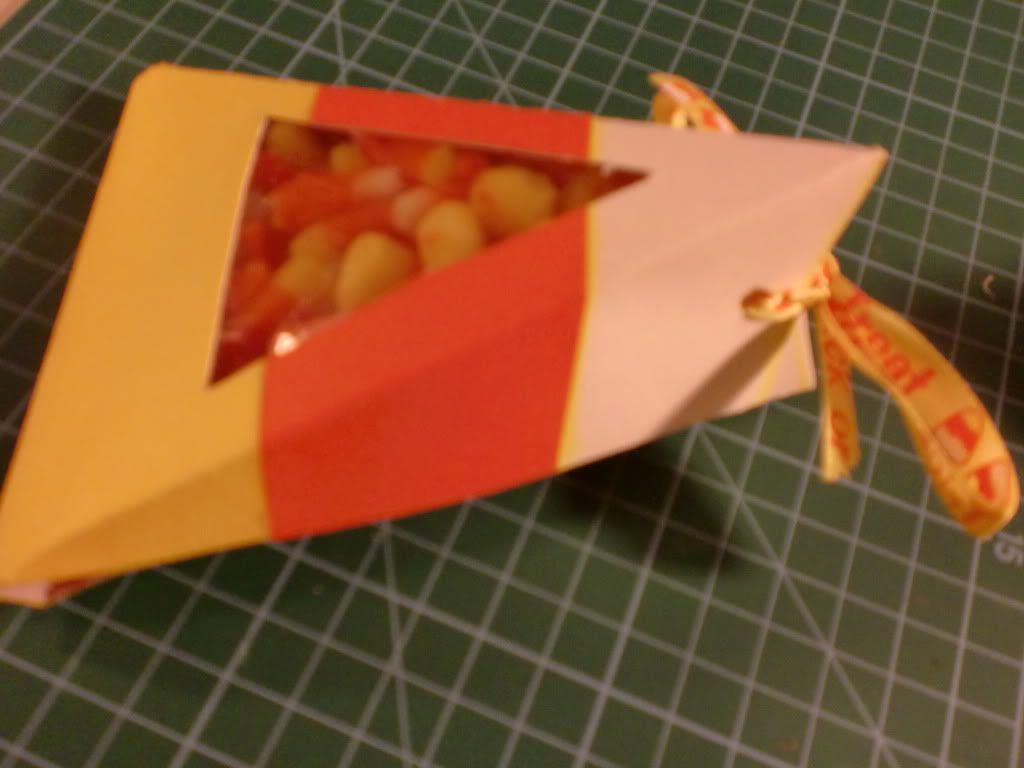
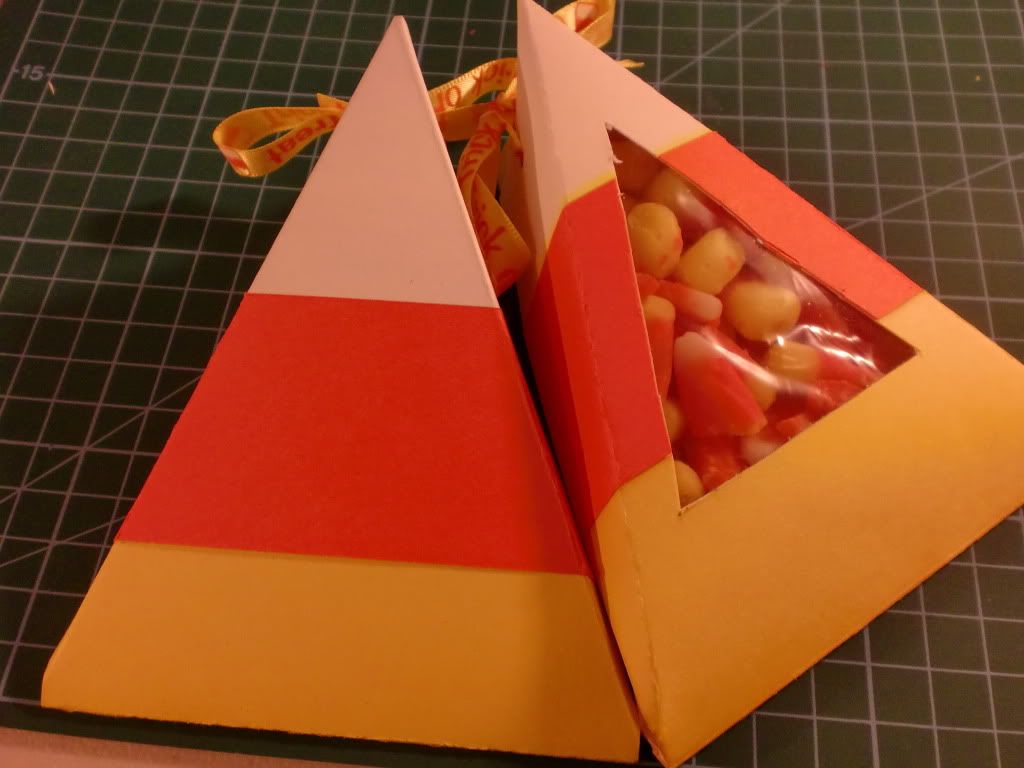
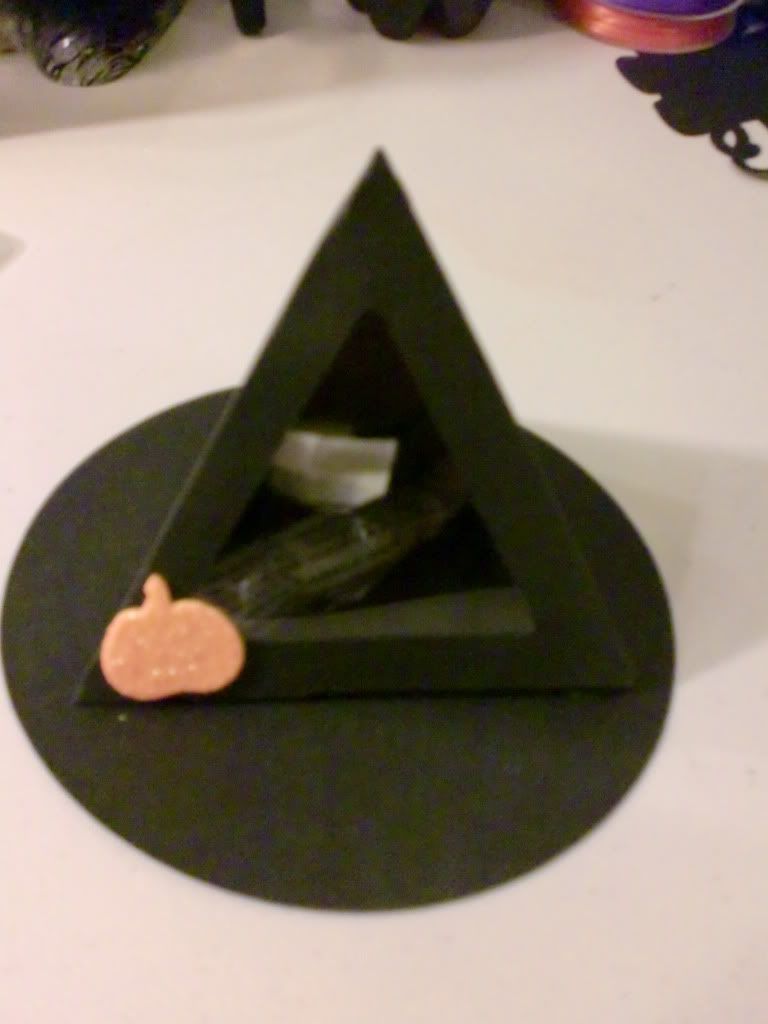
And now for my most proud project of the week.  Candy Corn Boxes!!!  There were made entirely by hand, no cricut.  I had so much fun making these!!! 


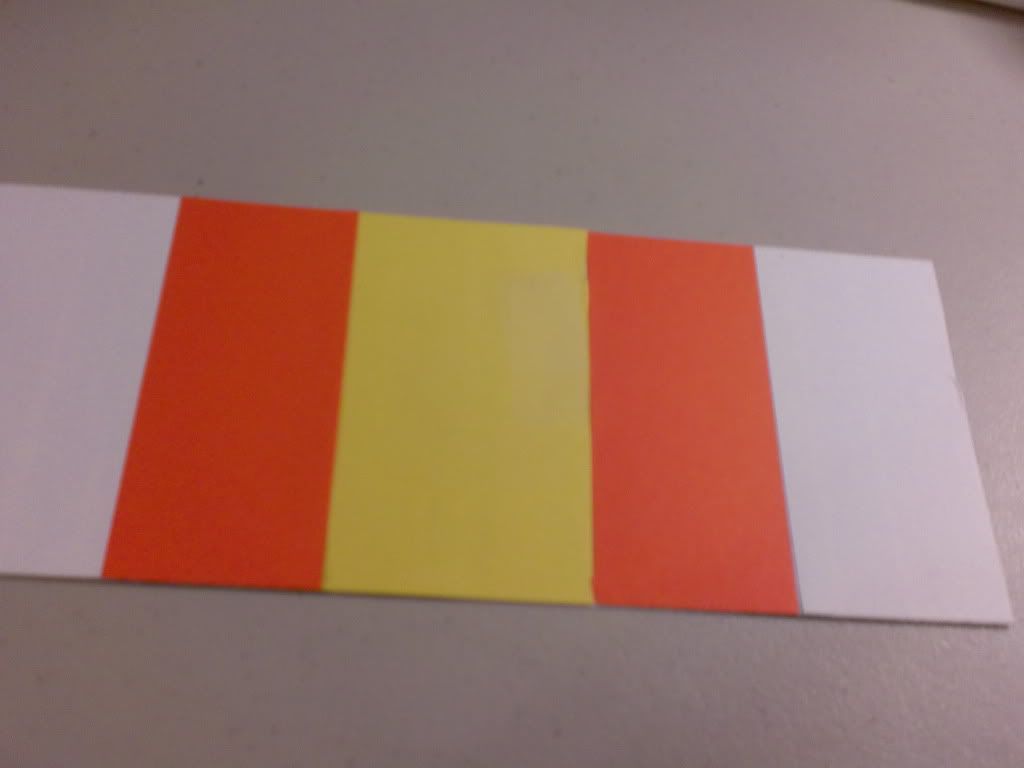
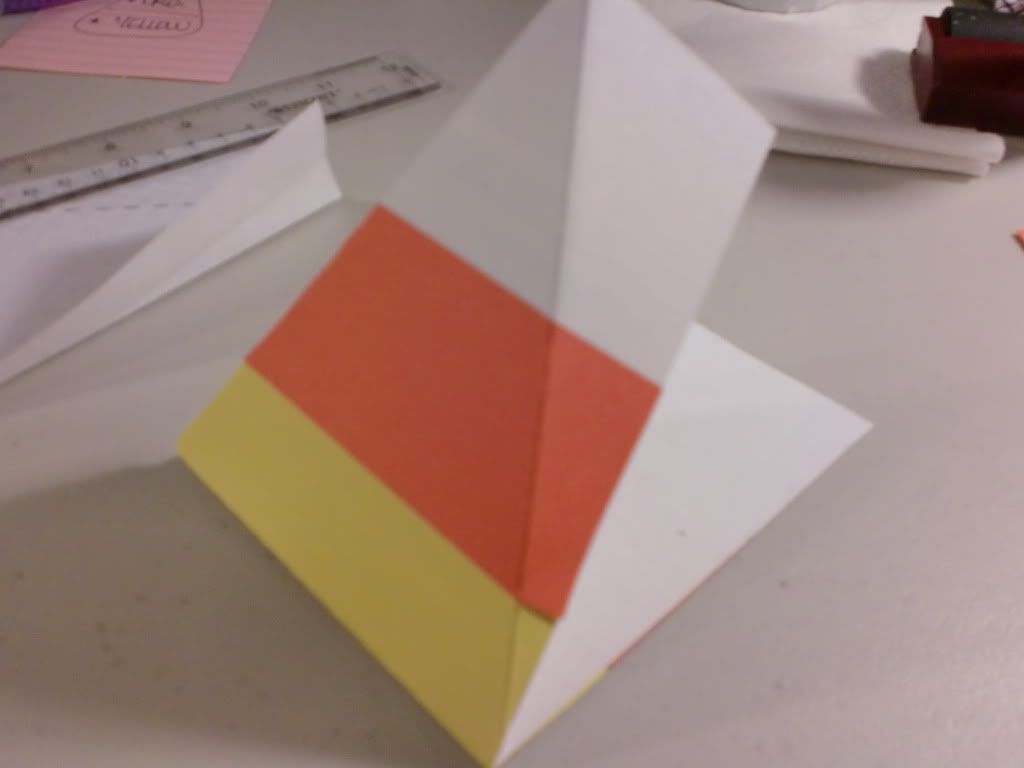
I started with a 4x10" piece of cardstock.  I added a stirp of yellow, orange, and white to make the layers of the candy corn.  I then used a craft knife and cut out the triangle window, and placed acetate to cover it.  Then I filled with candy corn (what else?!) and tied them closed with ribbon!  They are so much fun!  It's times like these I wish I had kids to make stuff like this for their classrooms!  Haha.


Thanks for stopping by!  Let me know what you think!! 

Friday, October 29, 2010

Last Minute Halloween Projects Part 1


I haven't posted in a few days because I haven't been feeling too great, and when I was feeling alright, I was craftin'! 

I had to finish a card for my nephew, and then I decided to make little goodie bags to put the kiddos candy in... then it all got out of hand from then.  Ha.

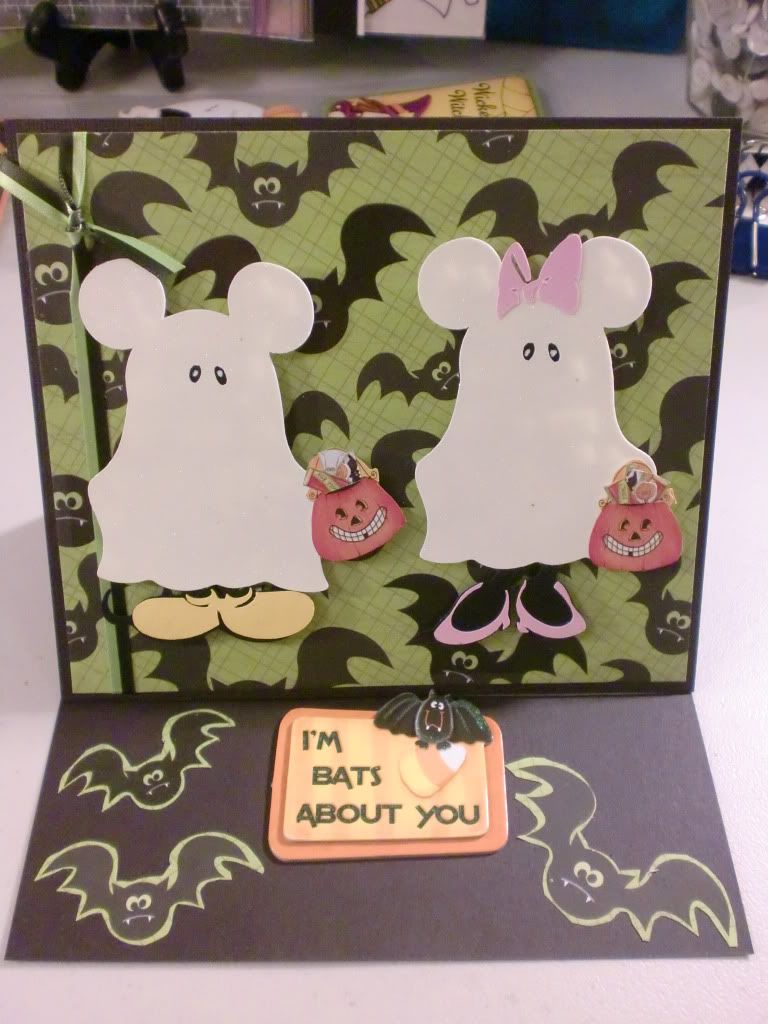
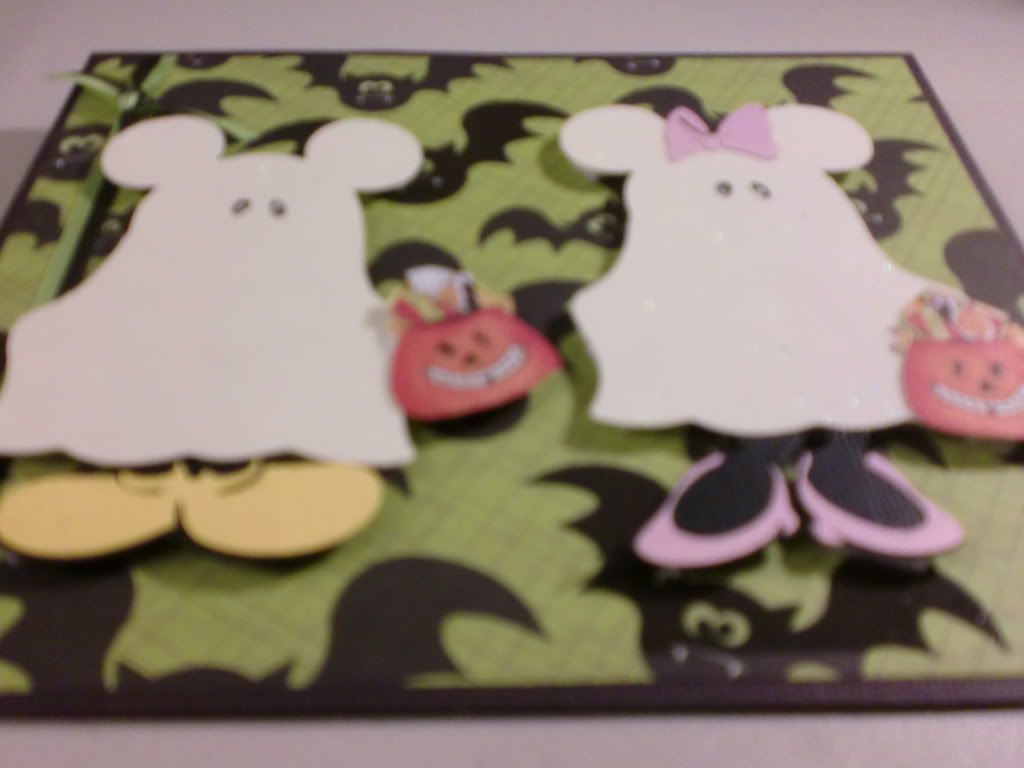
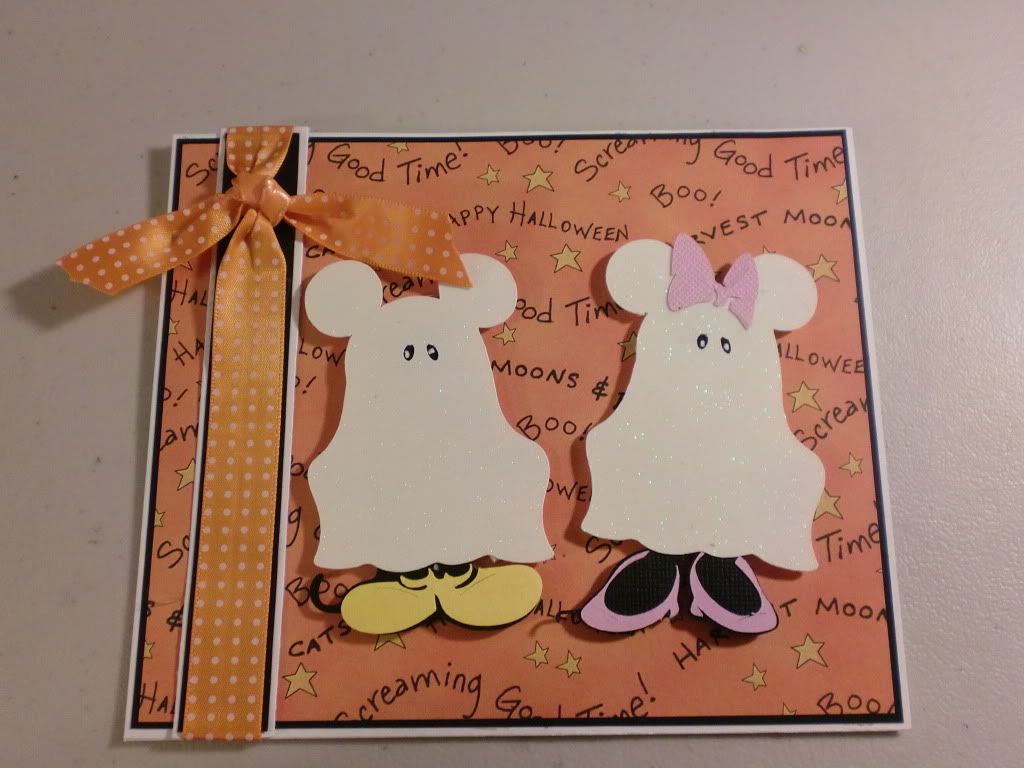
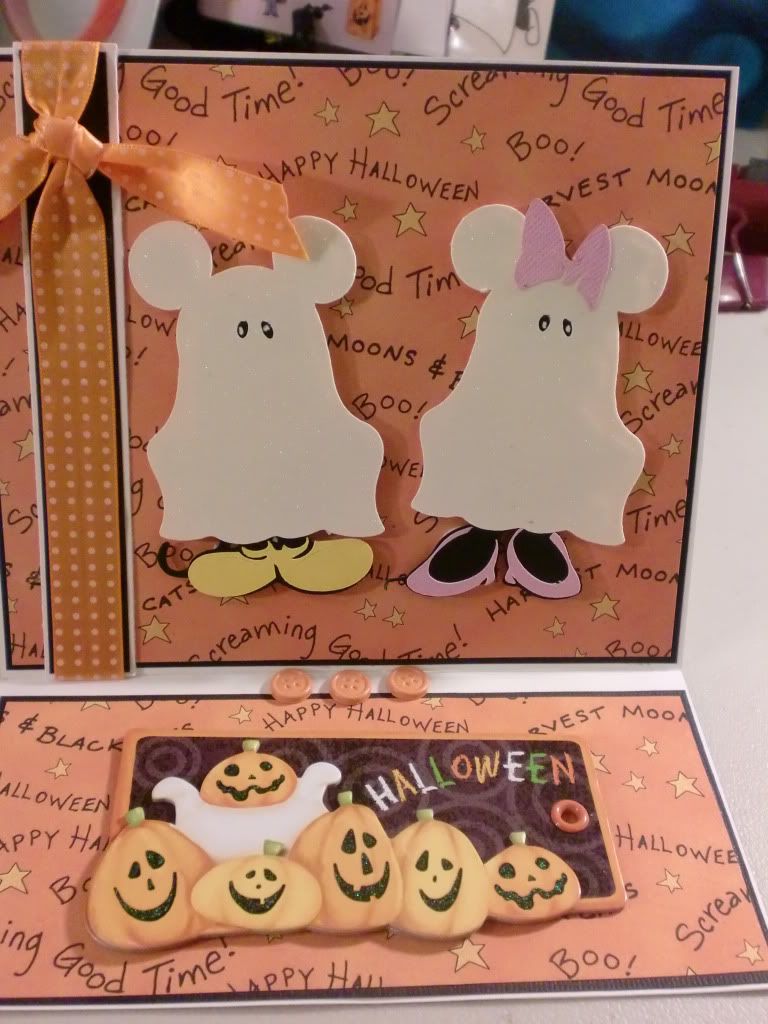
Here are a few cards that I made.  I had to continue the "Character Dress-Up" Halloween Cards for the kiddos.  I used my Gypsy and welded a mickey mouse head to a ghost from PDDU, and this is what I came up with:  


I had to make two different variations of the card.  They are both easel cards, and here is version 2:


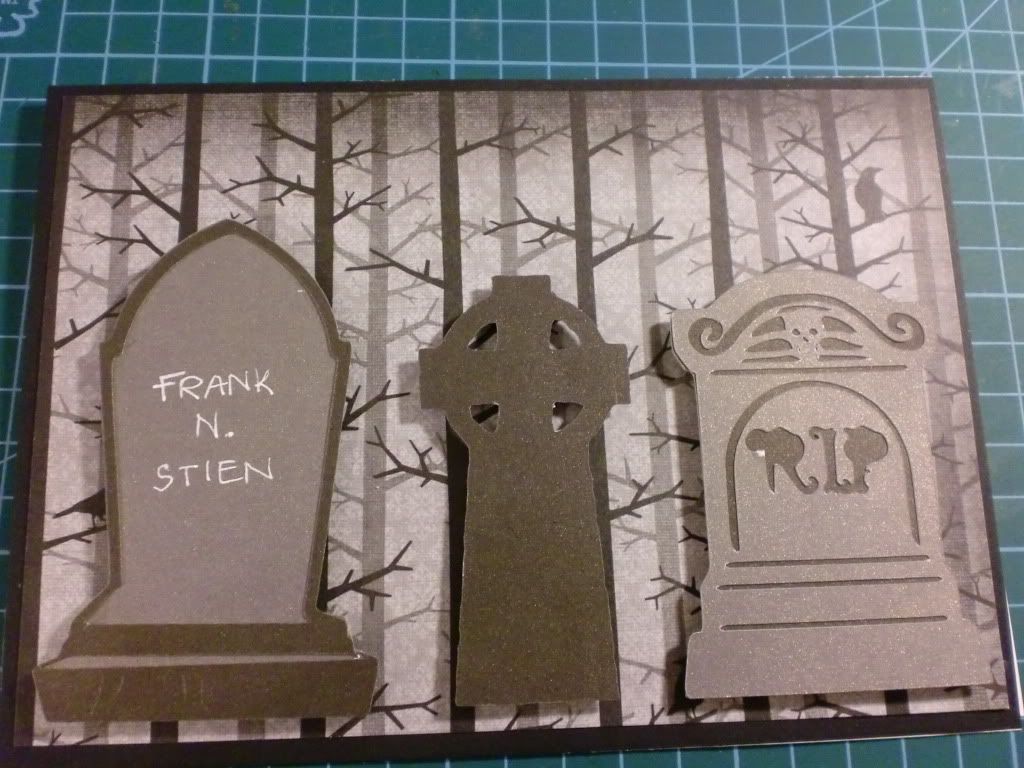
Then, for my nephew, I wanted to do something a little less 'childish' since he's 10, and getting into the whole teenage type thing...I decided to make him an eerie grave yard.  Here is his finished card:  


Thanks for looking!!

-Lori

Friday, October 22, 2010

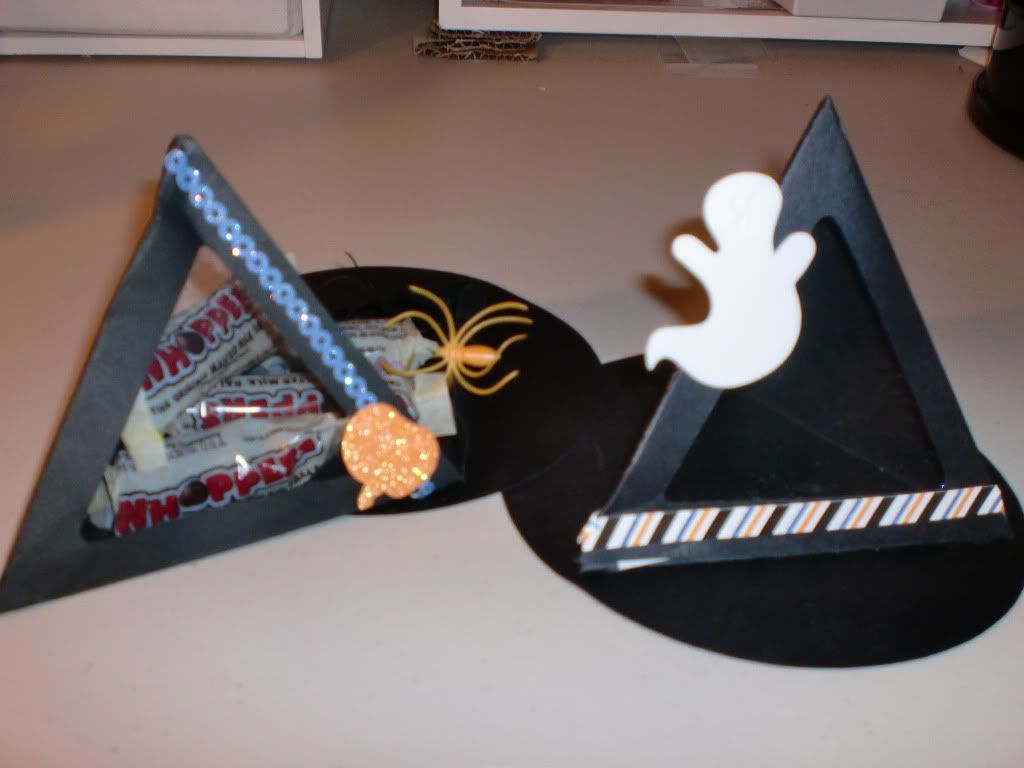
Witch Hat Treat Containers


Hello Everyone!!

This is my very first video....and I have public speaking nerves.  Lol.  

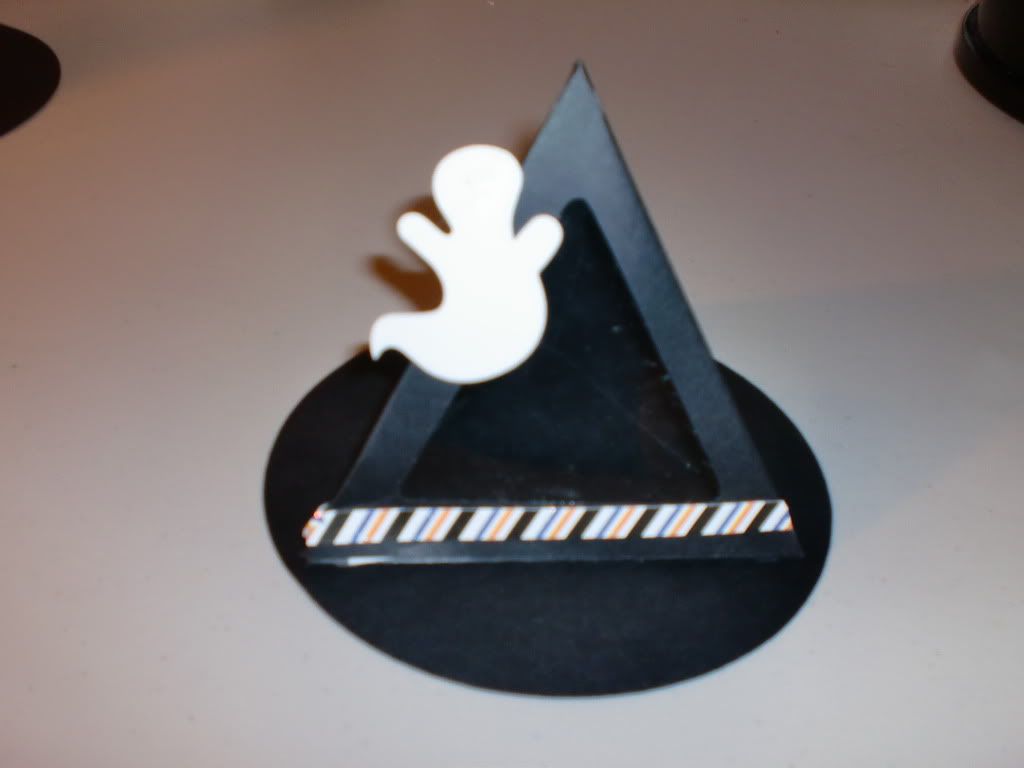
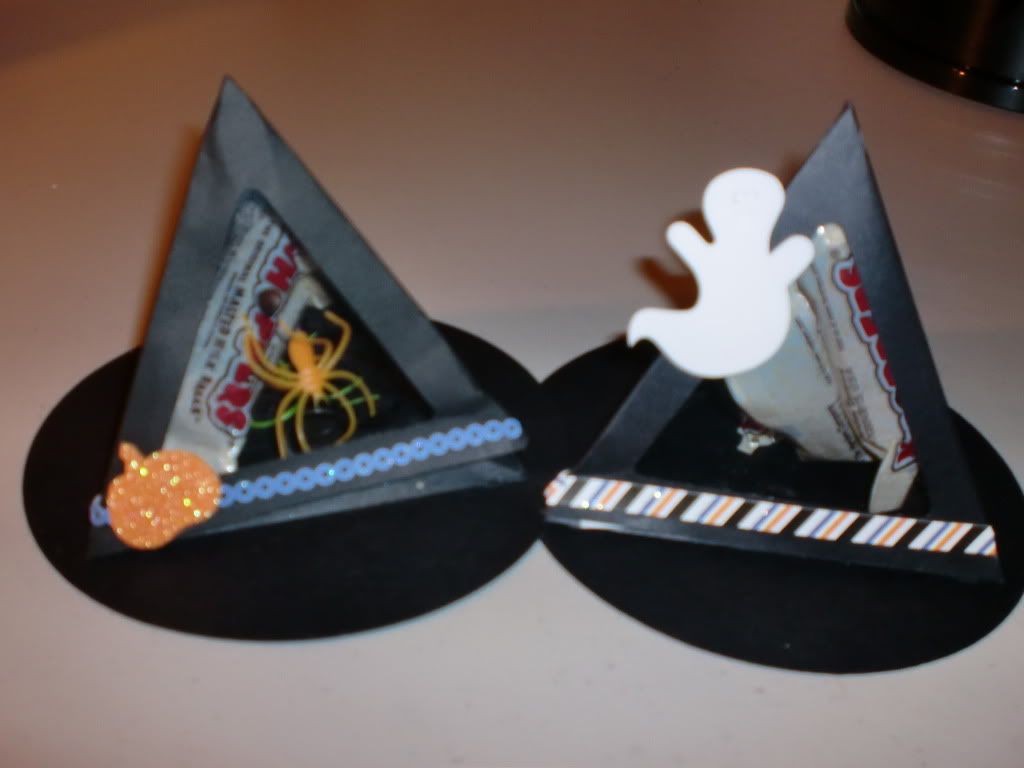
The past couple of weeks I have been working on these silly hat.s  Not these actual ones, but the idea of them.  This design was my second choice.  I originally wanted to use the Sesame Street Elmo's Party cartridge.  It has a Party Hat on it, and I thought it would be PERFECT for the hat.  I couldn't get it to work right.  I don't know if it is my eyes,. or I just couldn't get it...but no matter how I tried making a witch hat out of it...it didn't look right.

So, this is my Witch Hat Treat Box using the Tags, Bags, Boxes, and More cartridge!! 

 
It uses the Pyramid cut on page 125 of the handbook (TBBM.)  Using the window feature, cut at 5", then I used some acetate to cover the window. (So my goodies can't escape. Hehe.)  I then attached the pyramid to a circle cut at 5 1/4".  I used 'Terrifically Tacky' tape for these hats.  I typically use it on all of my bags/boxes because I really like how well it holds things in place.   So that is what I used attach the pyramid to the circle.  For the closure of the Witch Hat, so it can open and close, I used Re-positional Glue. (Scotch Brand, if anyone wants to know.) And that makes it like a Post-it, where you can stick, unstick, stick, unstick, etc.   I like using that stuff for closures that I want to be able to open and close again.


If anyone has ideas on other ways to do the closure, so that it is able to open and re-stick with ease....(but is still hidden from view) I would LOVE to know!!!! 

Thanks for stopping by!! I appreciate all comments!!

Thursday, October 21, 2010

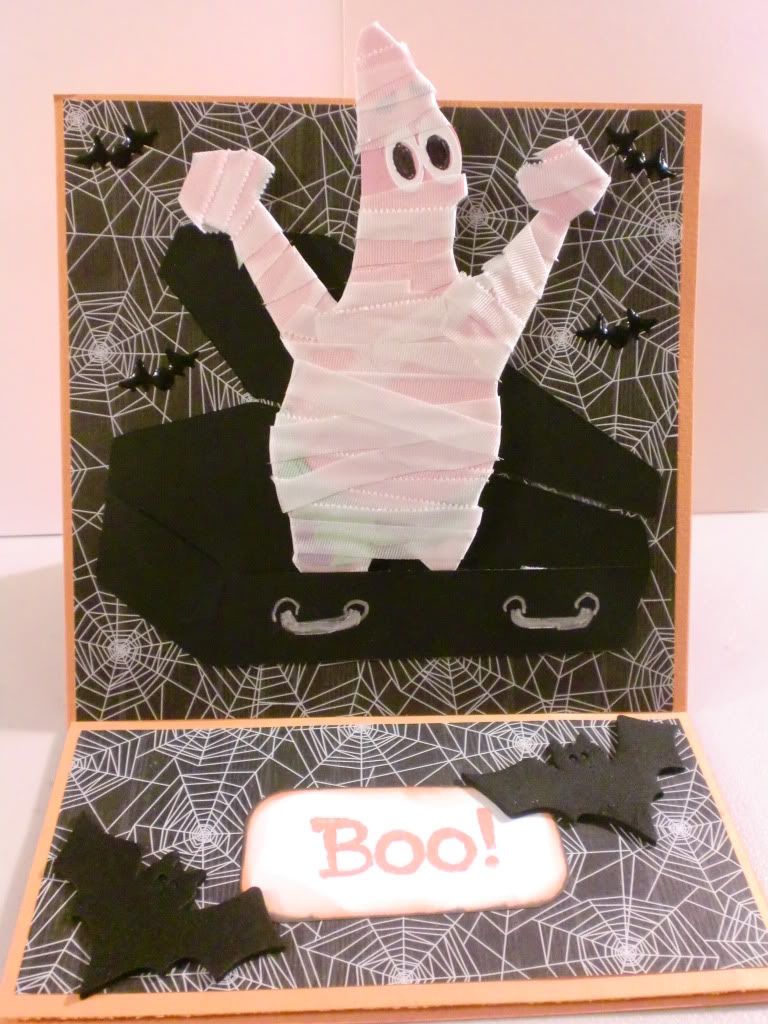
Patrick dresses up too! 4th card for the day!!!


Ok peeps, this is my last card for today, I promise!!!   I typically am not able to make this many in a day.  I typically can't even make ONE in a day!!  So this was amazing for me!  (Although I did cut out some of the cuts the night before.. hehe.)

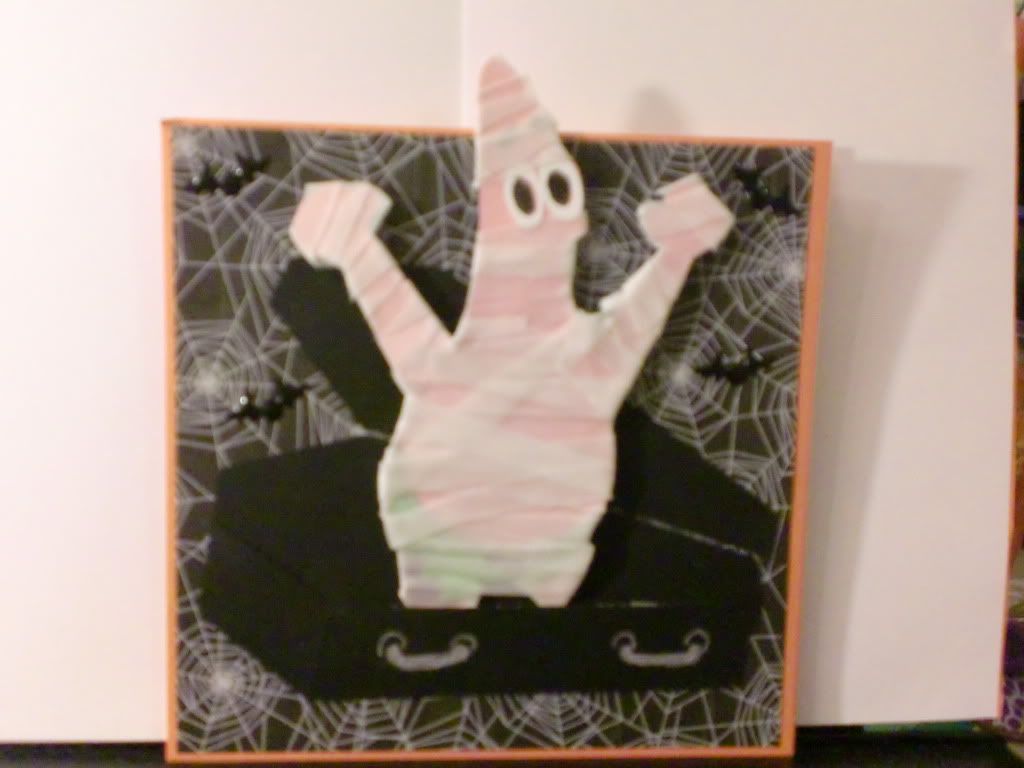
One of my nephews, and his sister, absolutely LOVE Sponge Bob, and since I did a Sponge Bob already, I figured this one would be Patrick. (Now I just need to decide which card to give to whom!) Haha.


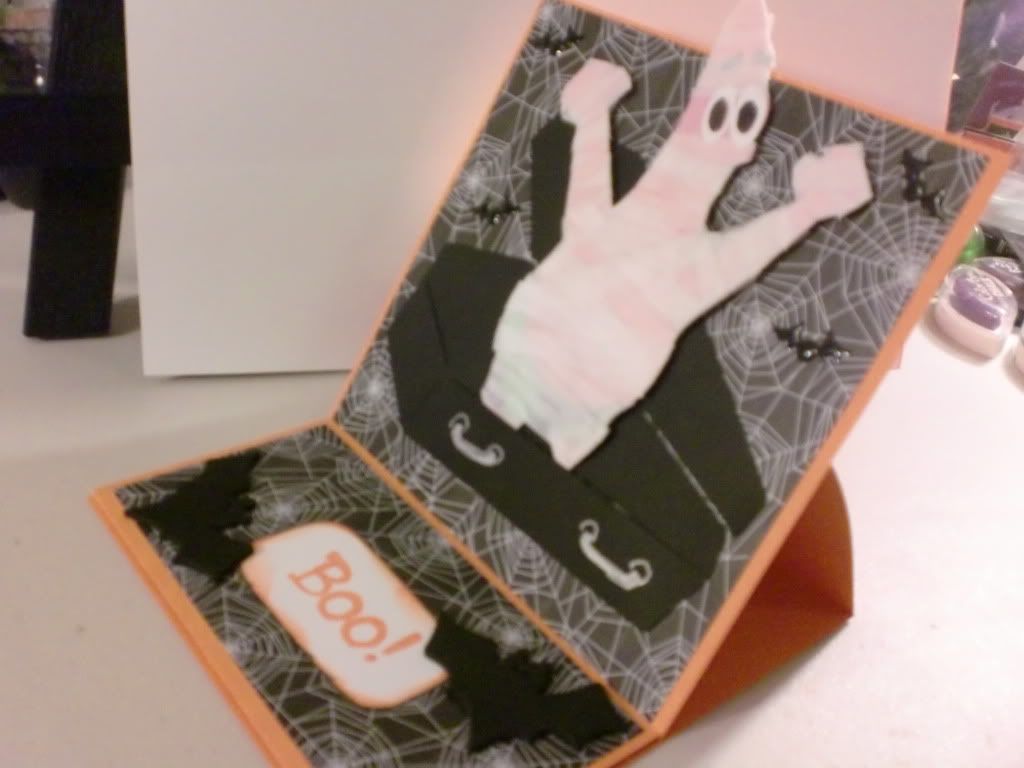
I wanted Patrick to either be a monster, (with his arms up like this, I thought it would be funny to put a monster head on him, like he was scaring someone..)  but it didn't look right.  So I mummied-him-up!  Ha!  I took actual Gauze tape and cut it about 1/3" thick and wrapped him up!  It took me a little bit of time to do this, (not nearly as long as it takes for me to layer all the pieces together with my eyesight!!)  But it was worth it.  I really like how he turned out!! Then of course, I had to have him climbing out of a coffin!


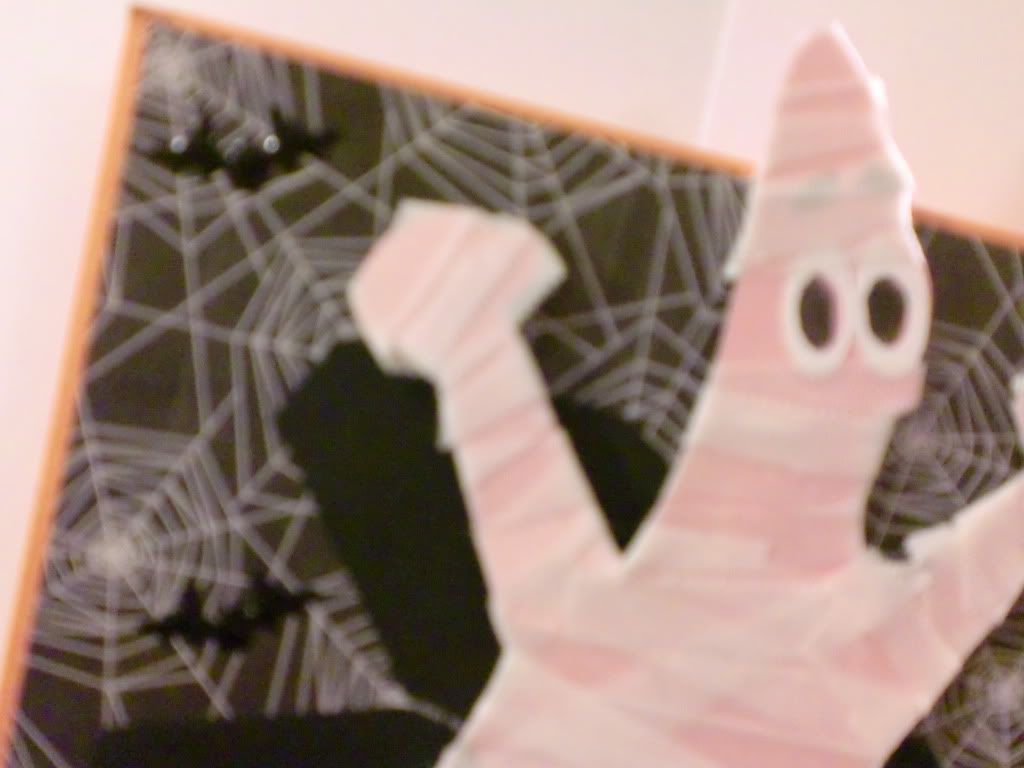
This is also an easel card.  I like that style of cards!   The Patrick cut is from Sponge Bob, (of course!)  The coffin is the one from Paper Doll Dress Up.  The teeny tiny bats are  Heidi Grace Stickers, the background paper is from ... um... it was the open stock paper at Hobby Lobby, so what is that...'the paper studio' brand?  I'm not sure.  But, that's the make-up of it.  Oh!  And the sentiment says "Boo"  in case you can't read it in my fuzzy picture. Ha.

Thanks for looking!!!  I appreciate ALL comments!!


Sponge Bob Celebrates Halloween Too!!!!

Hey Paper Pals!!!

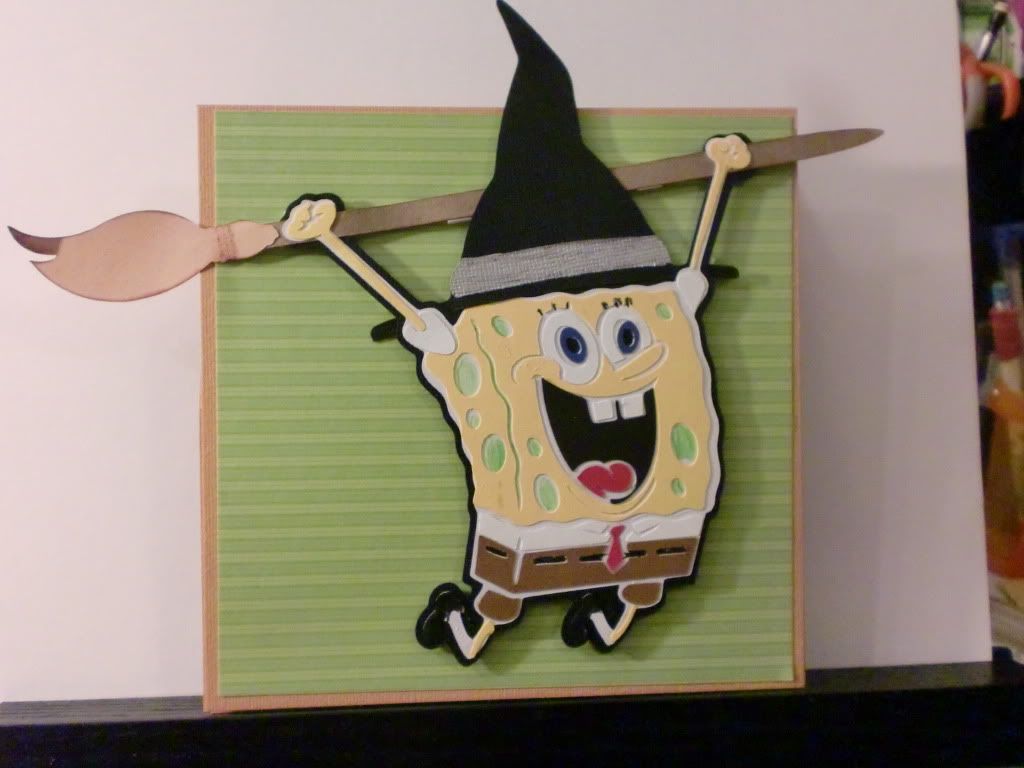
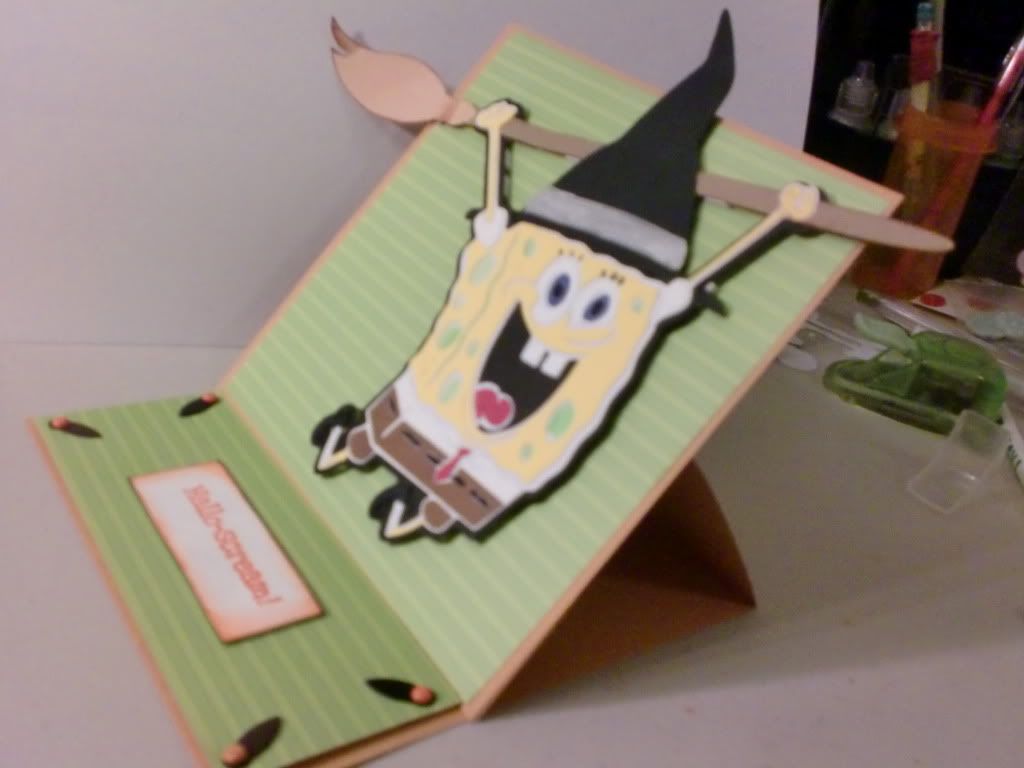
I figured that Sponge Bob needed to celebrate Halloween too.  It's my favorite holiday, so it should be his too!  haha.  No, but Sponge Bob IS one of my niece and nephews FAVORITE cartoon, so I had to make them each a Sponge Bob Cart cut.  Here's the first one.  

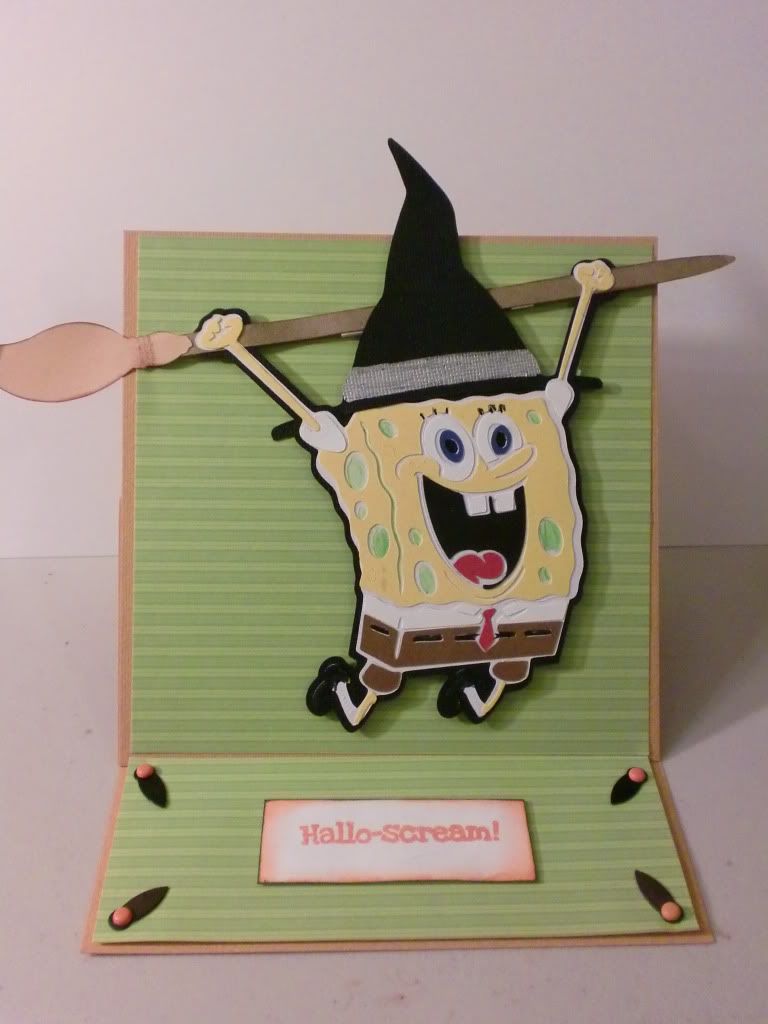
I made Sponge Bob into a Witch for Halloween, but he hasn't quite mastered the broom-riding yet! LOL.


This cut is supposed to be him jumping up in the air, but once I saw it, I just HAD to make him hanging from a broom!!  I love the way it turned out!!  It is an easel card.  


I don't think you can read the sentiment, but it says "Hallo-SCREAM!!!"  Ha.  I thought it seemed appropriate, Sponge Bob could be screaming!! Ha.  

This was a fun one to make!!
Thanks for stopping by!!


Kitty In A Cat Costume (Card #2 for today)


Hey Paper Pals!!

I hope everyone is having a wonderful week!  

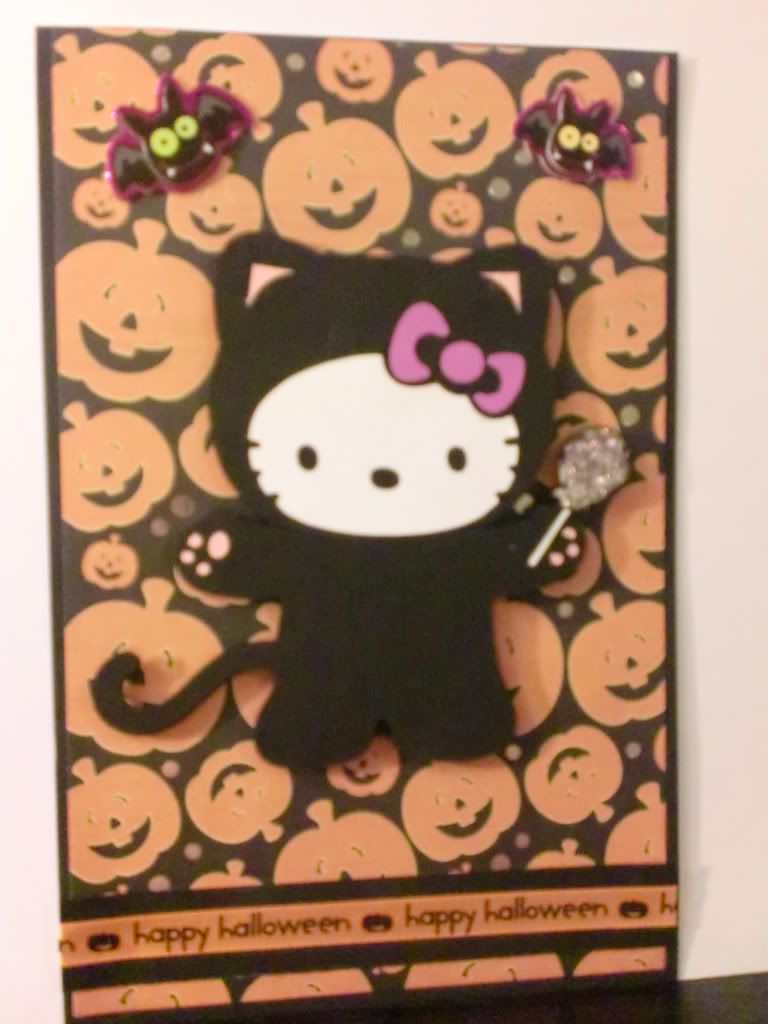
I have to start this post by saying how funny I think it is, that Hello Kitty is dressed as a CAT for Halloween!  That's like me, putting on a woman costume. LOL.  Except she is WAY cuter!! Ha!

I made this card for one of my nieces.   She likes Hello Kitty stuff, so I just had to make this cut once I saw it on the Cartridge!! :)  A cat in a cat costume!!! Classic!  Haha.


The paper is from a Cloud 9 Design stack I bought at JoAnns.  The stack doesn't have a name, but it's their specialty Fall stack.  It has some pretty neat papers in it!  Then the cut is from The Hello Kitty cart, of course.  I used stickles to glitter the lollipop.  Popped her up with pop-dots.  And ran some "happy halloween" ribbon across the bottom, and put some bat stickers in the top corners.


Thanks for looking!!