Happy Sunday!
Today I decided to post an old craft that I did with my niece. Last year, I was able to see my niece a lot. My mom watched my brothers kids while he and his wife worked. So, if I was having a good day, I was able to hang out with my mom and my niece (nephew was in school.) My niece was three at the time of this craft, and she was just so very excited about crafting!! She would sit in my craft room and wok for HOURS at a time!! She loved punches, and paper, and stickers, and "grue" (glue.) She always wanted to make cards or different projects to take home to her mommy and daddy. She was so proud of them, and I had so much fun making crafts with her!!
Since she first picked up a pencil/marker/crayon, she loved having me trace her hands. Eventually, she learned to do it by herself. So when I saw this craft project in Disney's Family Fun magazine, I knew we just had to make it!!! They are Hand Print Easter Lilies.
Here is how we made them:
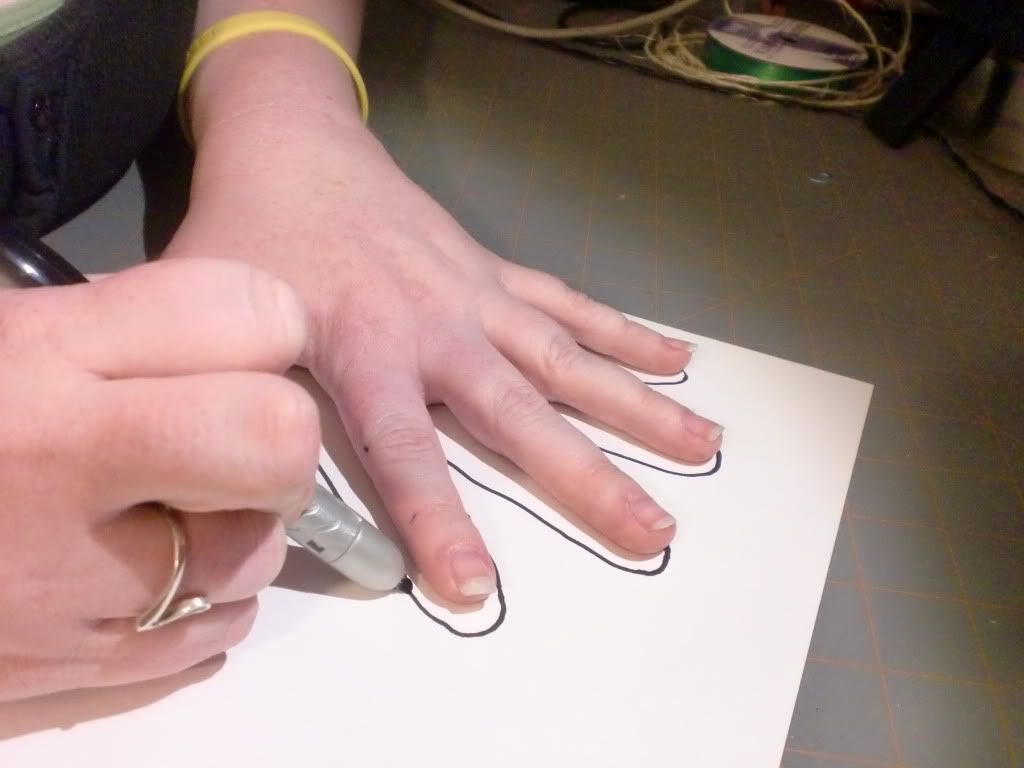
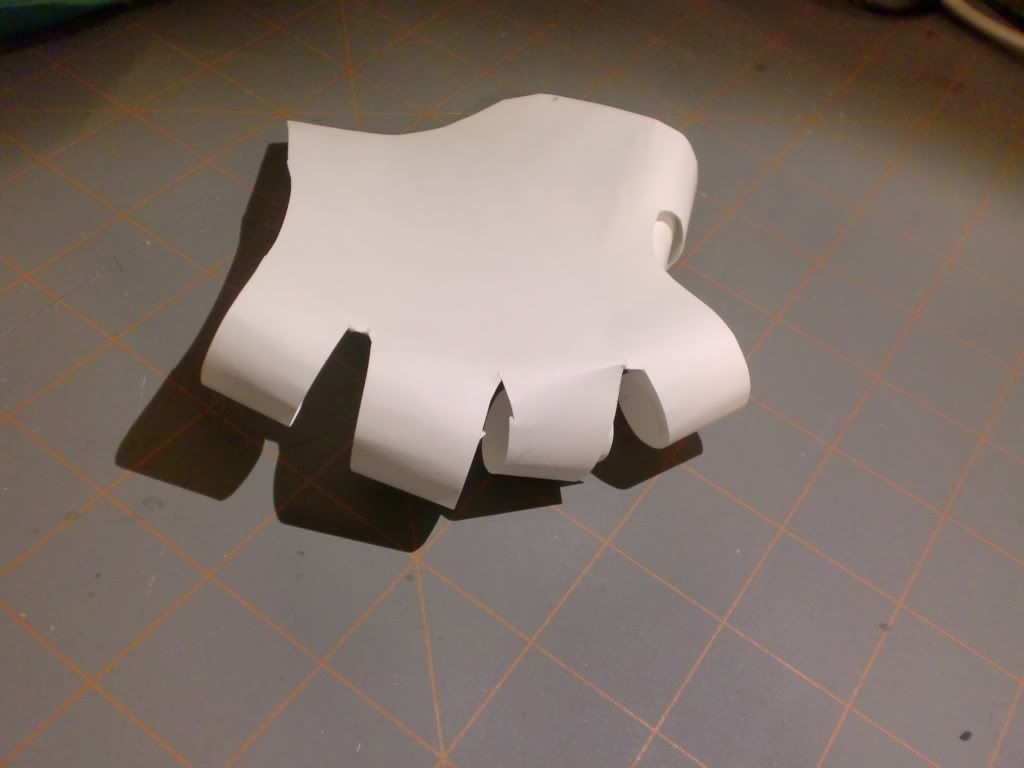
Start with white cardstock, and trace your kids hands, or let them trace their own if they are old enough! :)
I like to trace a little wider than the actual size of the hand, because I cut on the inside of the line, rather than right on the line. (So the line does not show on the finished flower.)
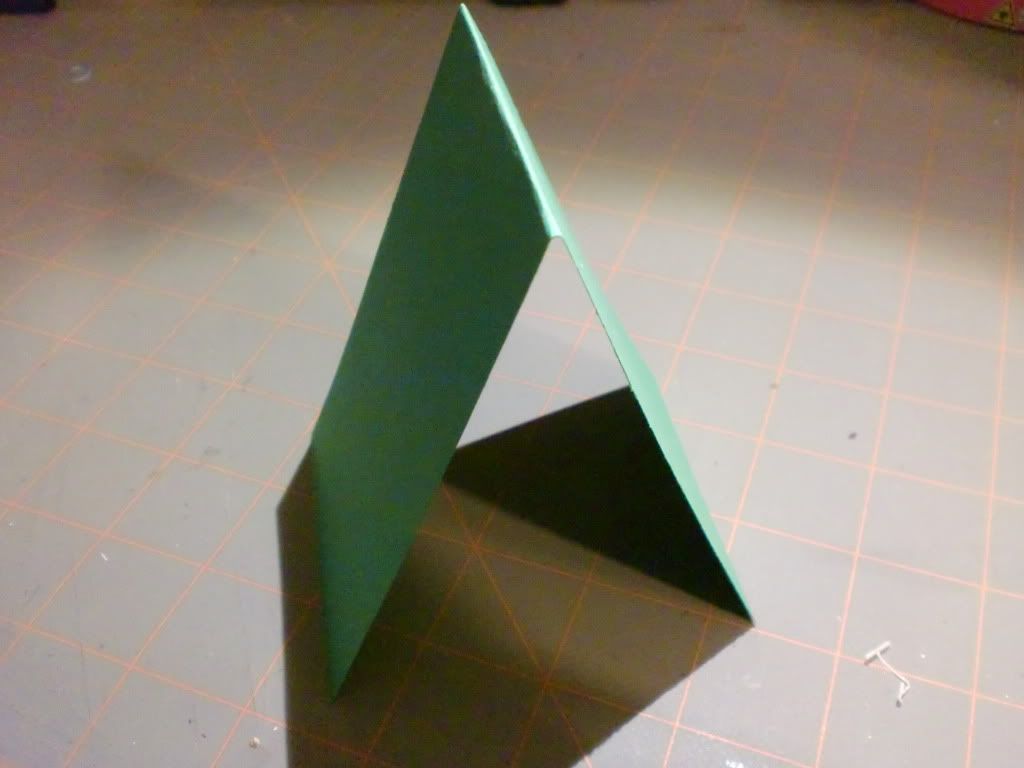
Go ahead and cut out the hand prints, and set them aside for now. next, take a piece of green cardstock and fold it in half. (This will be your leaves...eventually. haha)
You can either draw free hand, or you could always weld two leaves together (if you have gypsy or a design studio) and cut them out on the cricut. I just drew this one free hand...I'm SURE you can tell!! Lol.
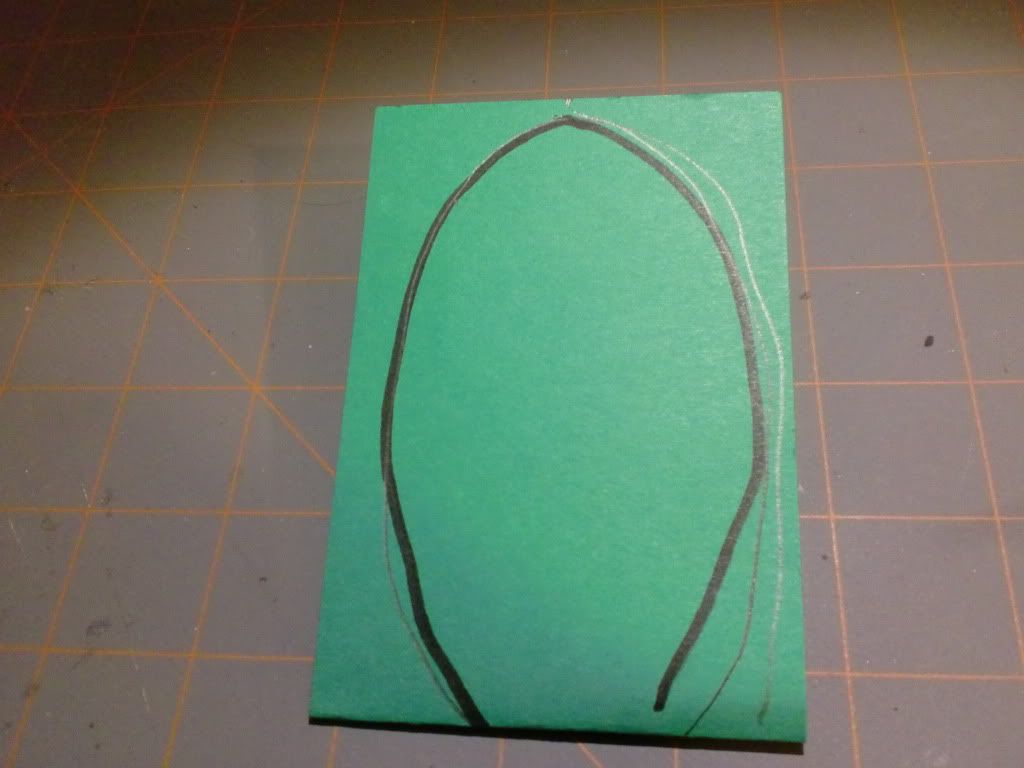
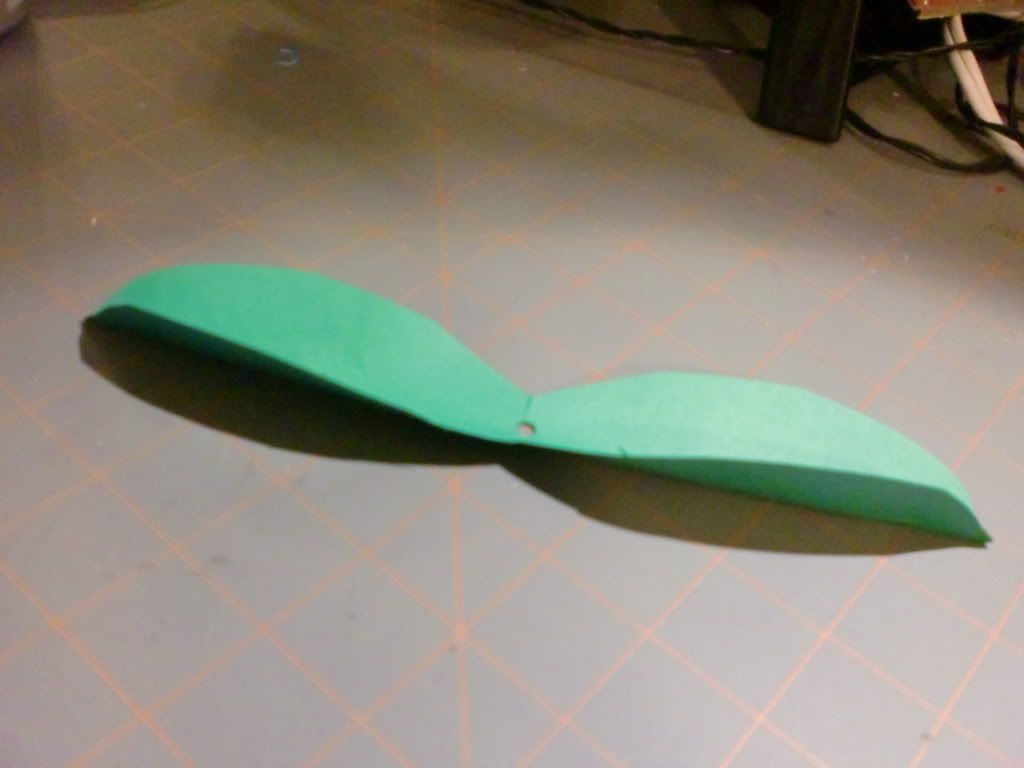
Make sure to draw the leaf on the fold, so that when you cut it out, it is two leaves, connected in the middle. (I really hope that made sense.)
This is what it should look like, after it is cut out:
Next, punch a hole in the center:
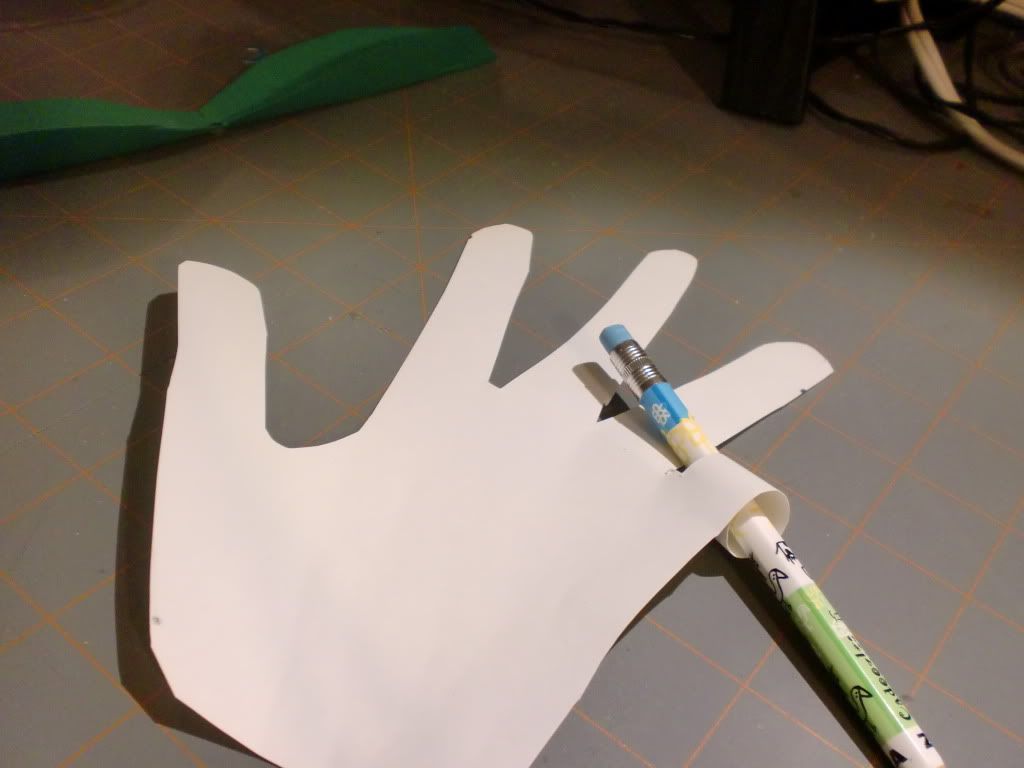
To finish the project, you will need pipe cleaners (green and yellow) and either tape or glue. You will also need a pencil or something round to curl the 'fingers' of the hand print with.
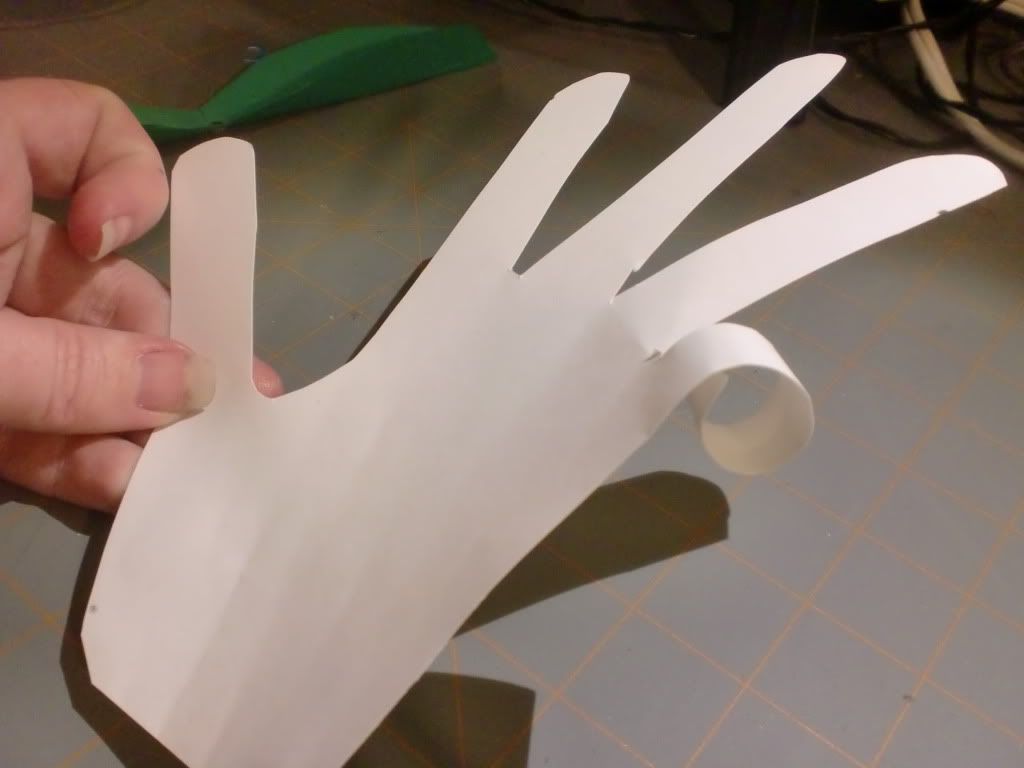
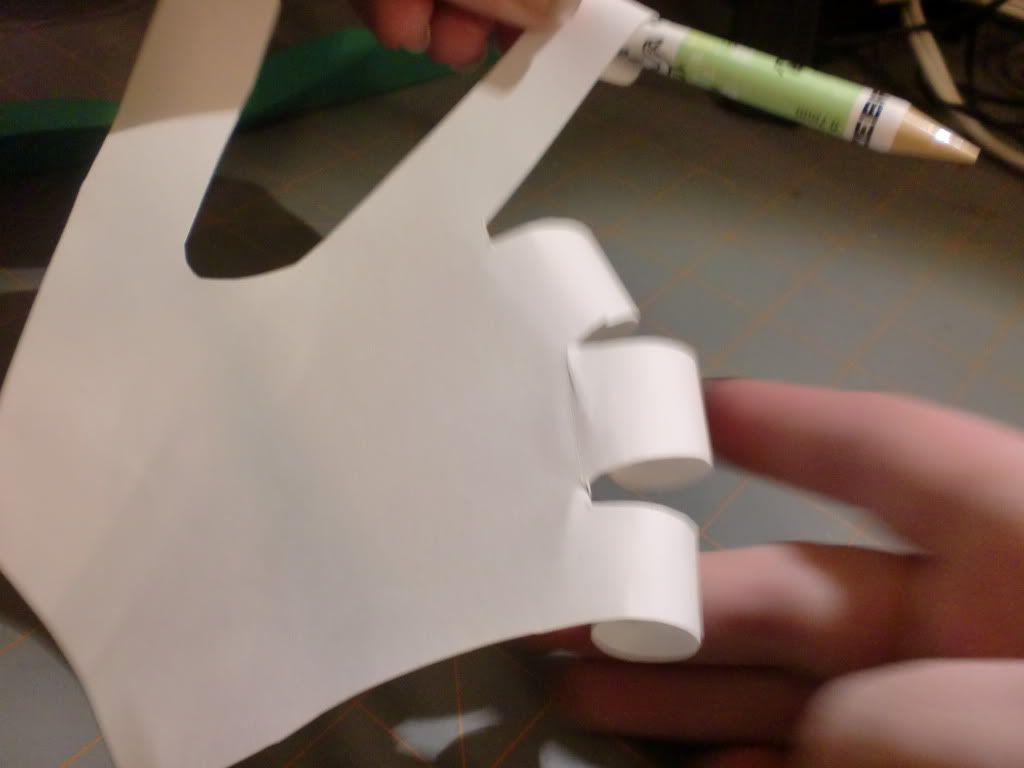
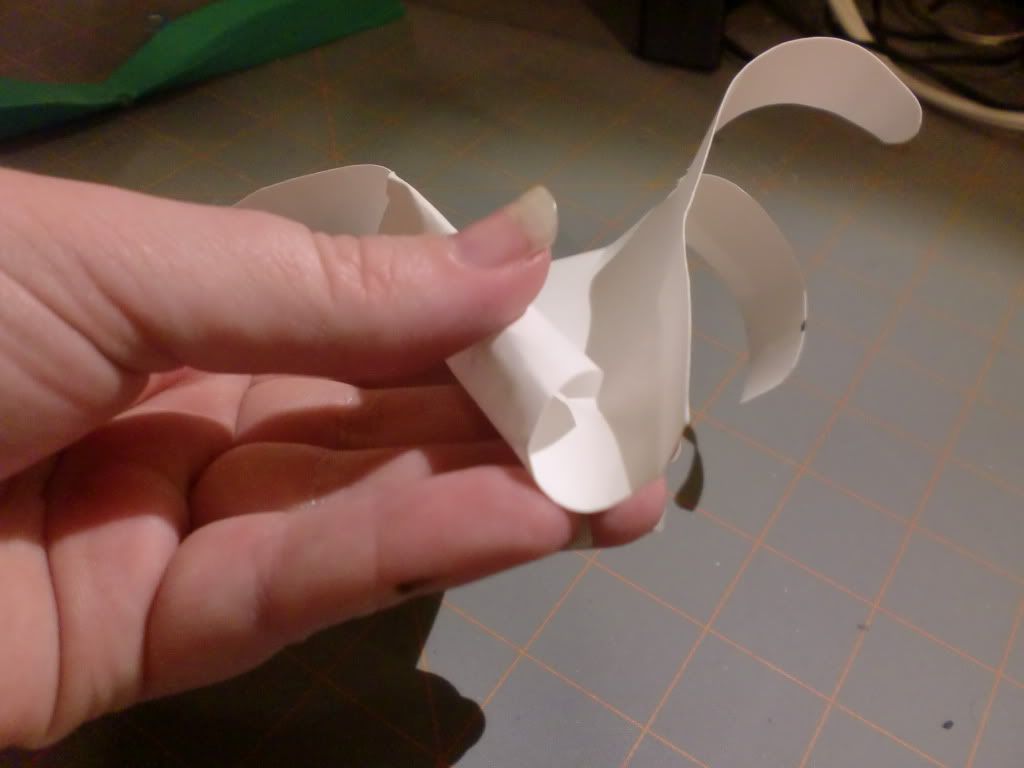
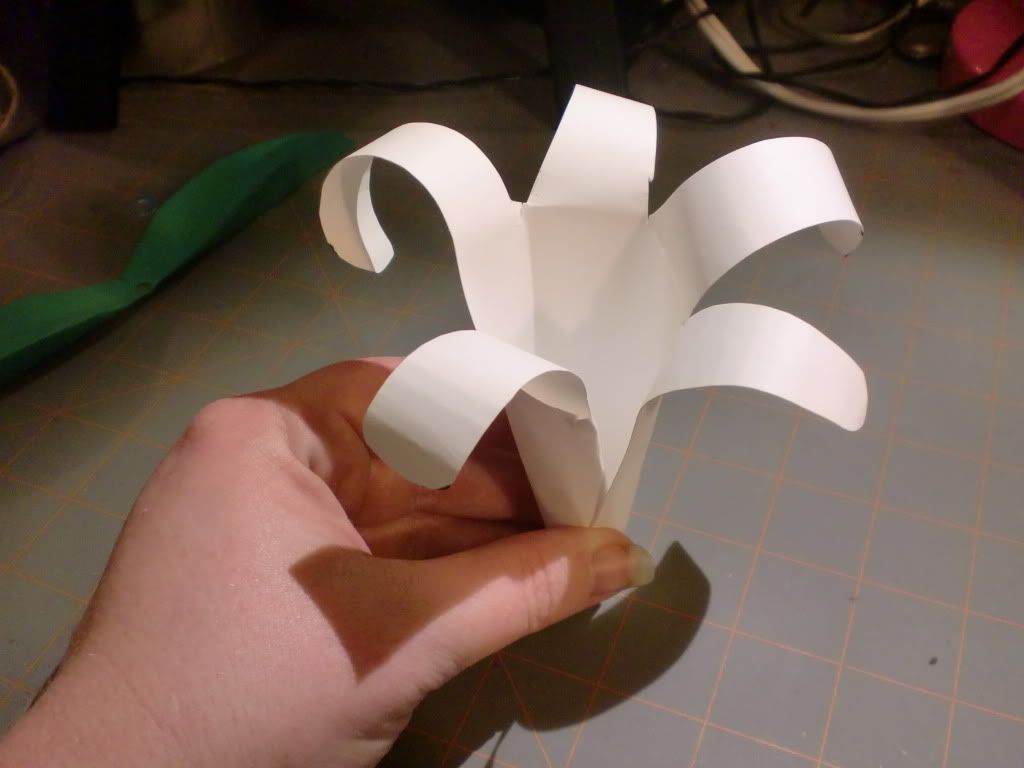
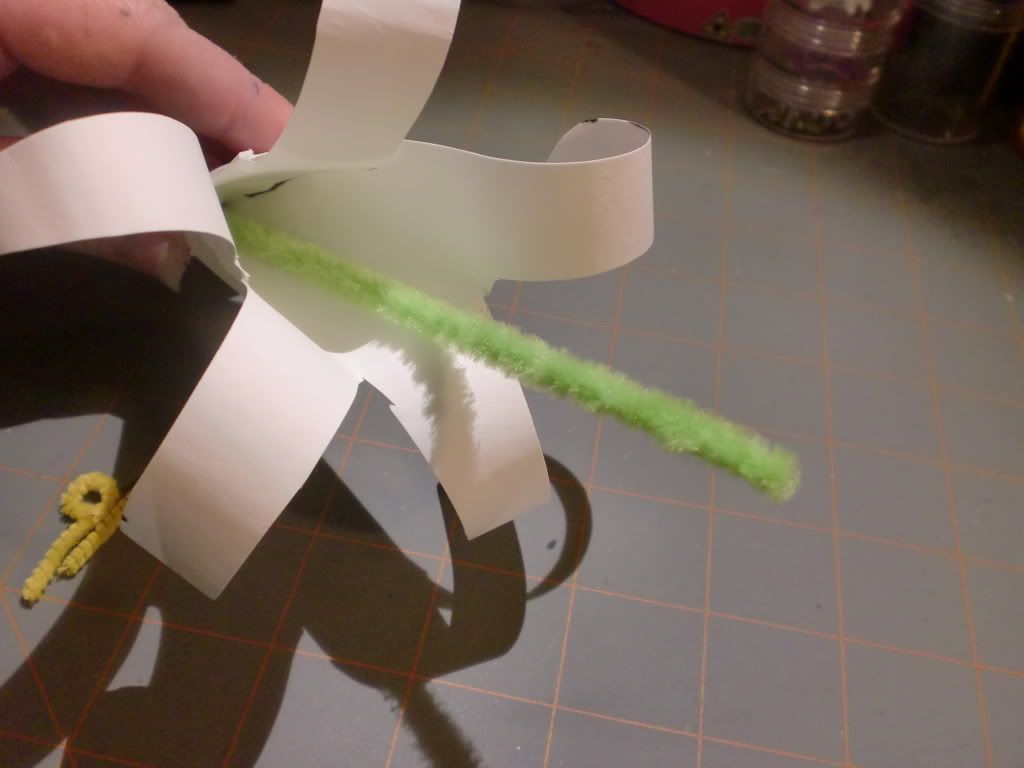
Take your pencil, and curl the fingers back one at a time:
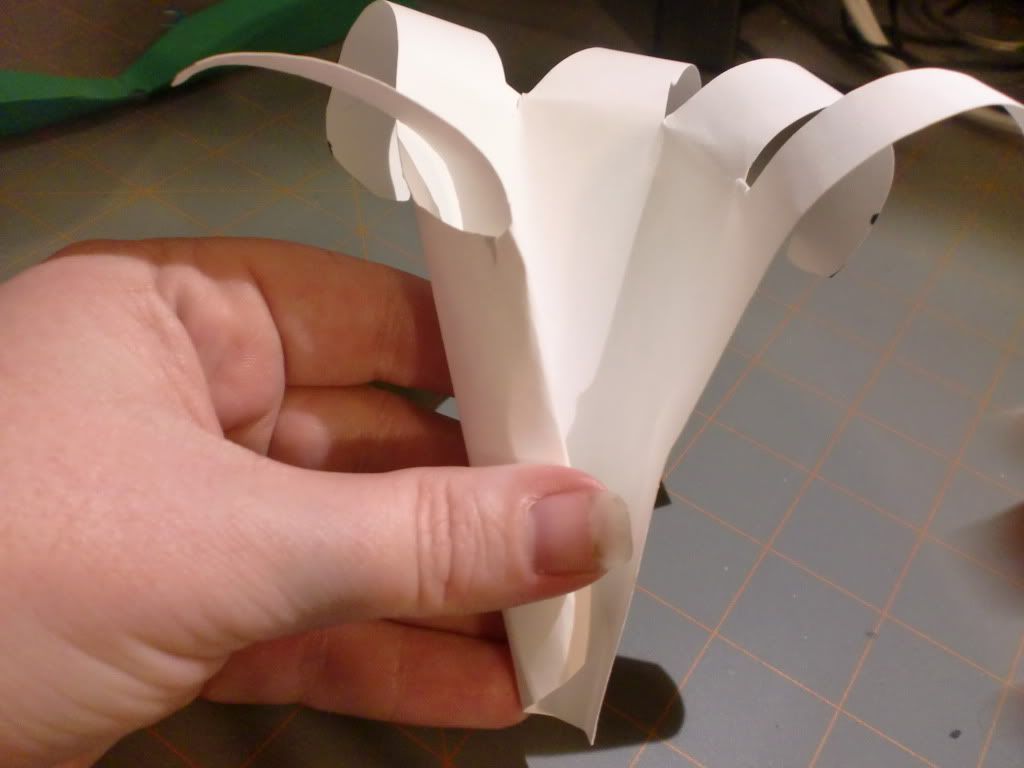
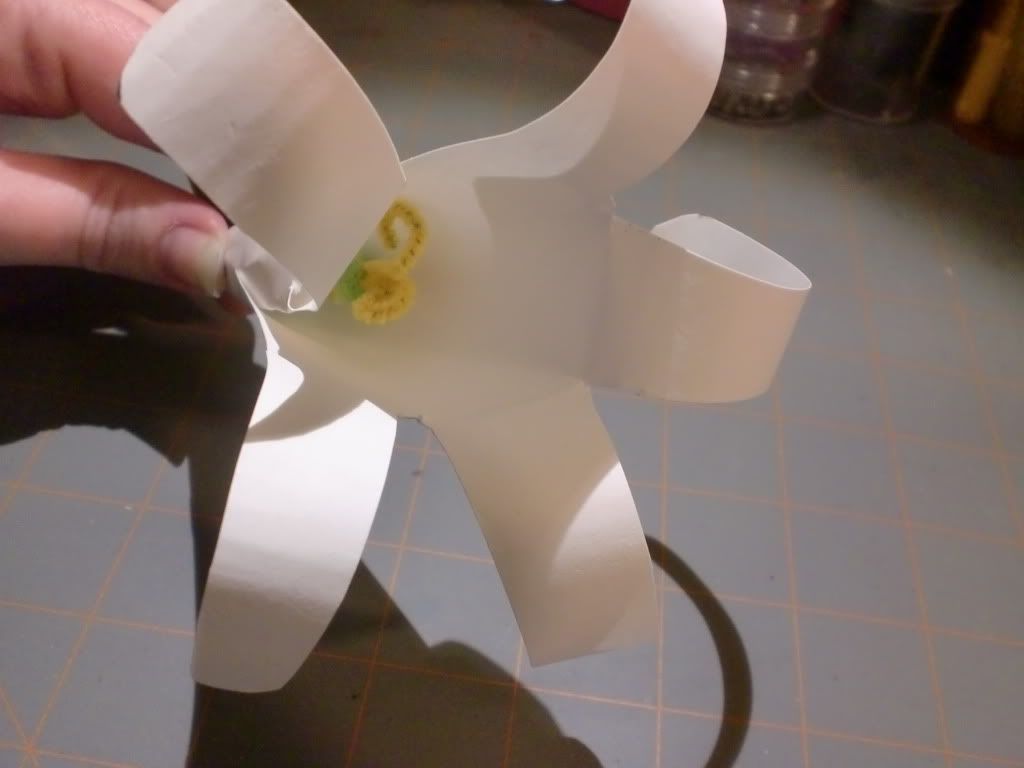
Once all the fingers are curled back, take the base of the hand, and fold it as if you are creating a cone type shape.
You can take the bottom shut, or use a drop of glue. (I used tape for this tutorial, but I usually use glue.)
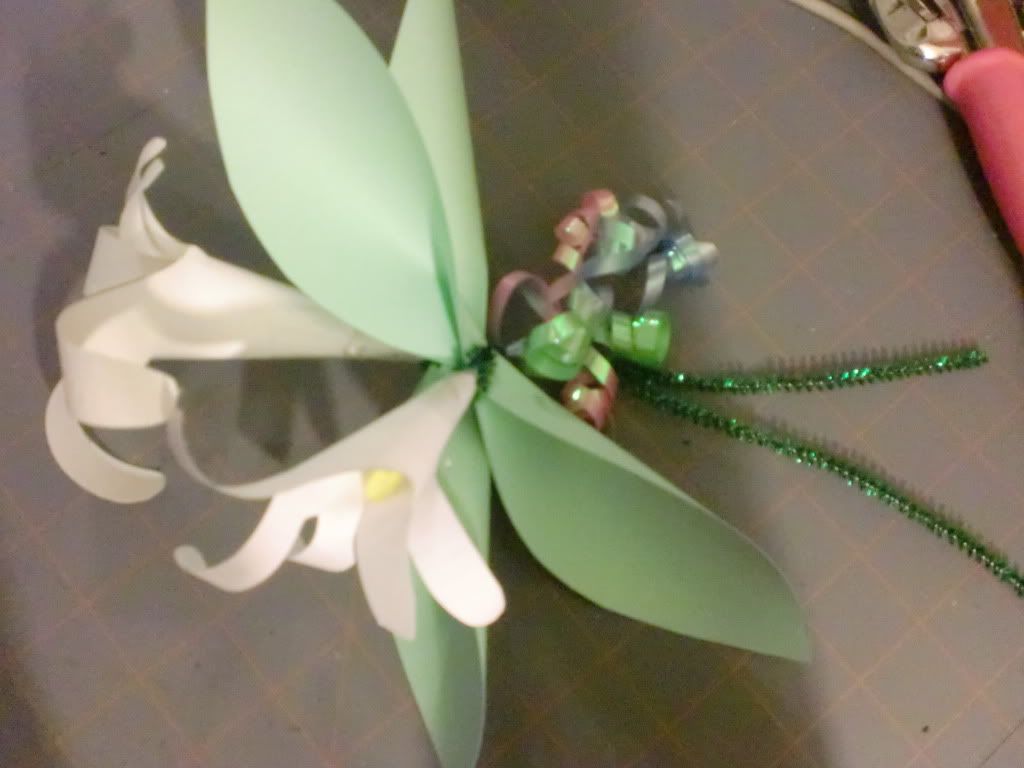
Now, keep in mind that when you are making these..you will probably want to find supplies that coordinate better than what I have here! Lol. My leaves color doesn't match my pipe cleaner, and I really don't like the color of the yellow pipe cleaner that I had on hand. :(
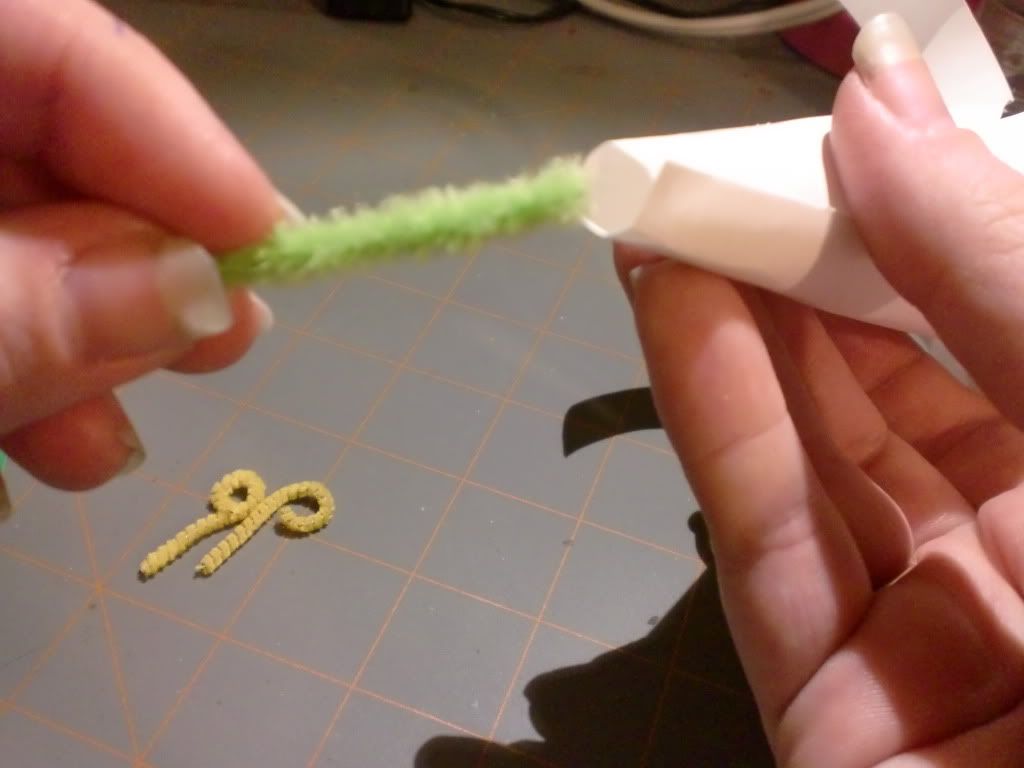
But here is the rest of the supplies you need, and what they look like so far:
With the yellow pipe cleaner, you will need to cut two pieces that are each about 2" long, and curl the ends like shown.
Take the green pipe cleaner, and insert it into the bottom of the lily:
Push the green pipe cleaner up through the lily so that you have enough space to work with. You will be able to pull it back down.
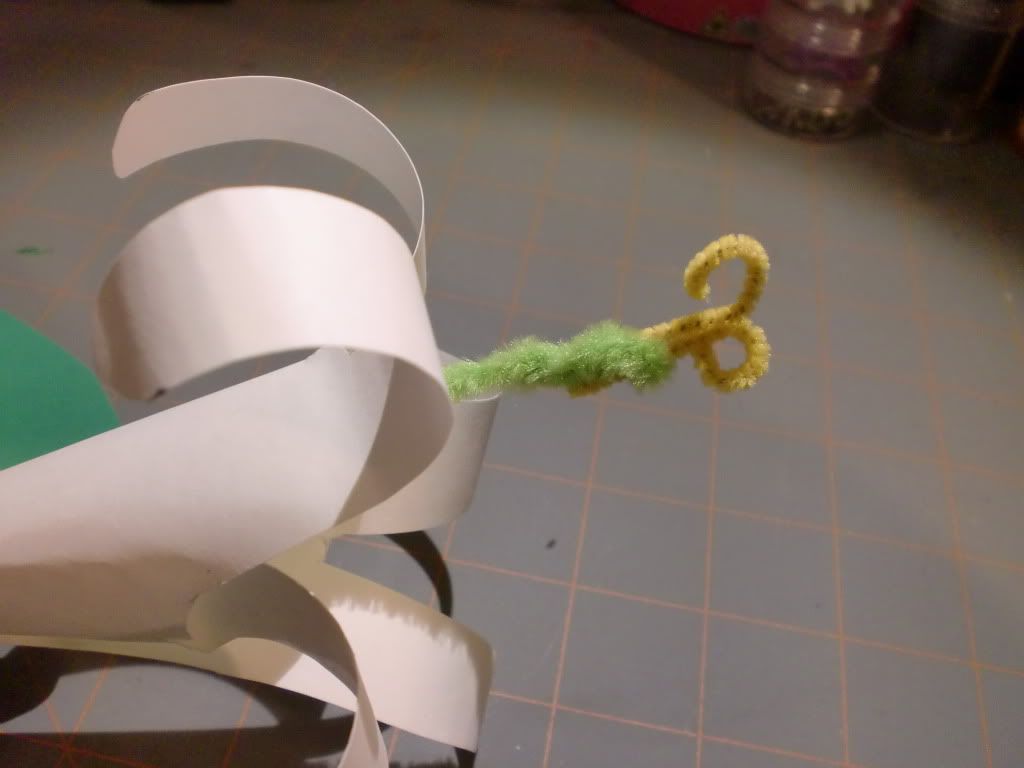
Take the two yellow pieces that you have created, and twist them onto the green pipe cleaner (stem)
Pull the stem (green pipe cleaner) back down through the flower, so that the yellow sits at the base of the flower.
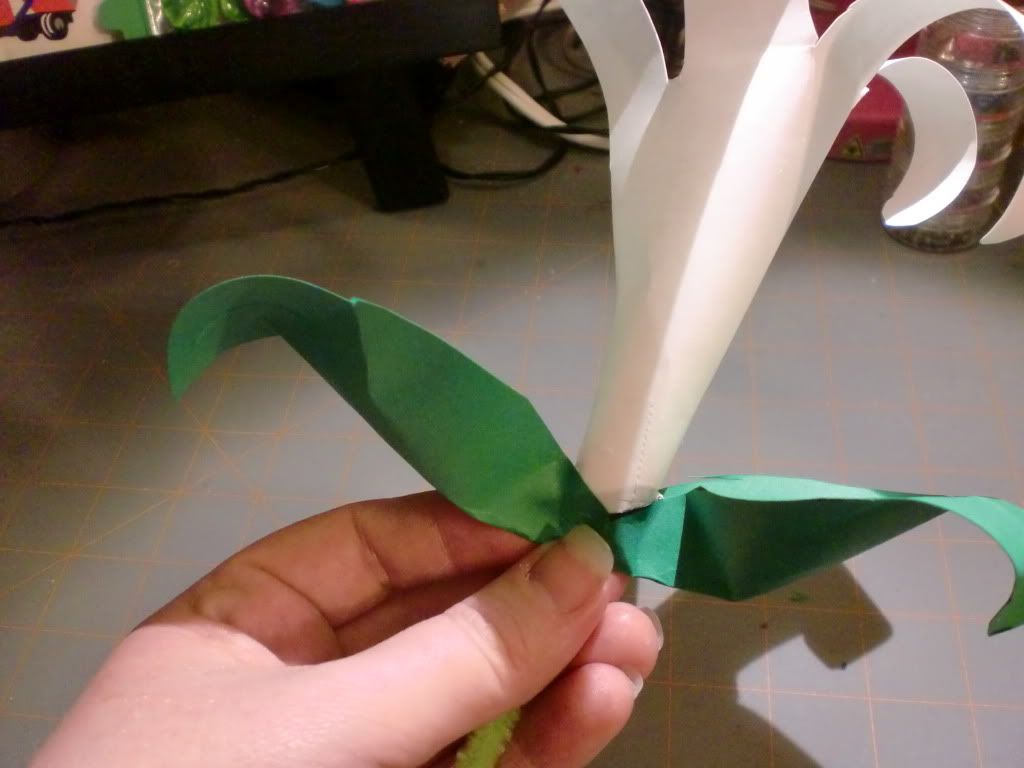
Next you will add the leaves. I like to pinch the ends up, so that it adds some depth to the leaves. This is how I form them:
Take and slide the pipe cleaner through the hole in the leaves
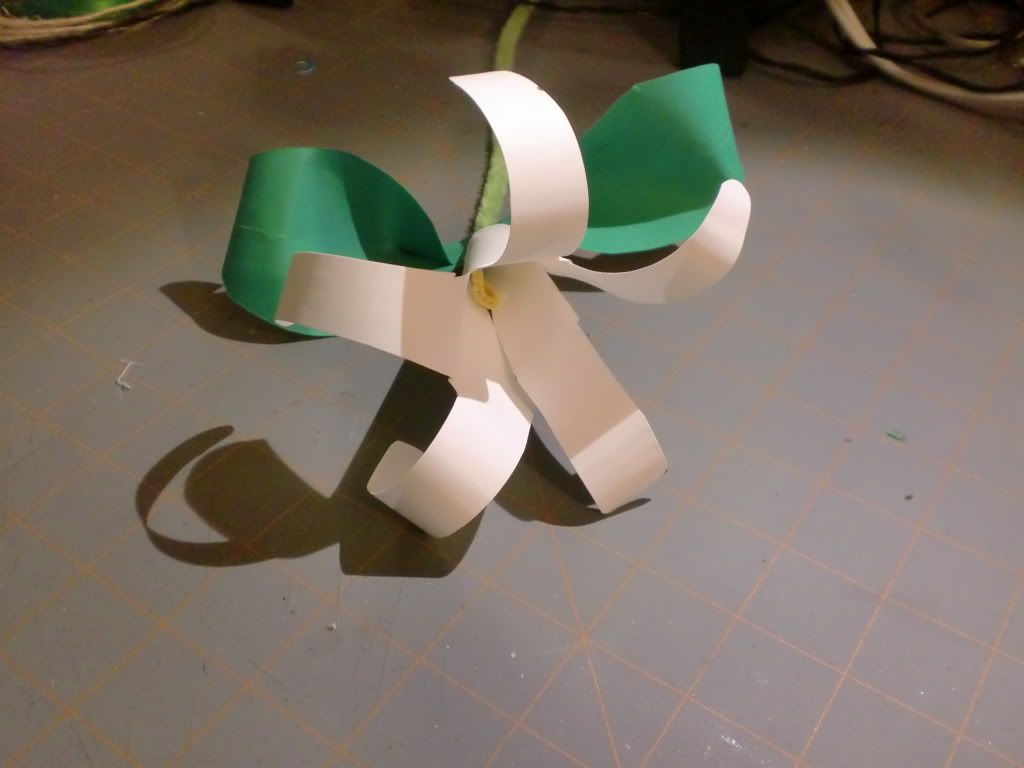
I add a drop of glue to the base of the flower, where the leaves meet the flower, to hold it in place.
You are done!!
You can add ribbon to the step, bunch a few of them together, etc. I love that they are made out of the hand prints of your children, grandchildren, nieces/nephews, etc! It makes them so much more special. My sister in law loved these so much when she was given hers last year, that she asked me to come into her kindergarten class and do them with her students for their parents!!
They are fun, simple, and do not take much time at all! :)
If you have any questions or comments, don't hesitate to contact me!!!
Thanks for looking at my project today!