"What we do for ourselves dies with us. What we do for others and the world remains and is immortal."
-Albert Pine
Showing posts with label Christmas. Show all posts

Thursday, November 28, 2013

Secret Santa Gift Bag

Hi Everyone!

I hope you are all having a lovely Thanksgiving week!  Food, family, football... it's my favorite time of year!  lol!  Today I have a gift bag to share.  I participated in a Secret Santa Swap on youTue, hosted by Nicole Kerr.  (HERE is the link to her YT channel .  She is the owner/creater of My Style Stamps, and she is just a super talented and sweet lady!)  She wanted to do a swap for the holidays, so she decided to do a secret Santa!  I have always LOVED secret santa's!!  So I signed up right away!  The only requirements were that it be a 5" x 7" bag (or as close to those measurements as possible) and that it be YOUR crafting style, and then include at least 3 goodies for your partner.    Well, it's not really a "partner," I knew who I was sending my package to, but I did not know who I was getting it from.  That's the secret.  Here is the bag that I made:


The bag was to represent your crafting style.  I don't really think that I have a "style."  I mean, I like a little bit of everything!  My crafting style really depends on who I am making the project for!  So I just went with the clean and simple look.  I colored an image (which I am HORRIBLE at, but LOVE doing!) and popped her up on foam adhesive, made it look like she's sitting on the ribbon.  I added paper from The Paper Studio, a Christmas stack called, "Spunky-Funky Christmas."  I purchased it from Hobby Lobby at least two years ago.  It's a really cute paper stack though! :) 
Then, the bag I ended up using was just a regular lunch sack.  I glued down the bottom part to make a pocket on the front of my bag.  I did this intentionally, because one of my three goodies was going to be a gift card.  So this is what it looks like with the gift card in the pocket:


I made the gift card holder at another time from the bag, and so they don't really coordinate that well!  LOL!  Oh well, it's the thought that counts, right?! Hahaha!  I also added some pretty red adhesive flat-backed pearls just to give it a little something extra.  Here is the back of the bag:


Nothing too fancy, just some pretty paper and my handmade by stamp. 

I also made a small, simple 3" x 3" card to send along with my package.  I used my new die that I just purchased yesterday! YAY!! 


It's the Tim Holtz Tattered Poinsettia Die.  I went to Michaels last night, and it was just hanging there on an end-cap!  I had never even seen it before, but it's not at all new.  I don't know where I've been! Lol!  I just cut it out with some vintage looking Christmas sheet music paper, and added some yellow-ish pearls to the center.  It is a super simple card, but I think it turned out quite pretty.  I just needed something to write a little note in, and thought it worked out nicely.

I do have a video of the project, (since I try to record a video rather than write out a long blog post like this one! lol But today I was feeling well enough to actually post!)  Here's the video if anyone would rather watch:
 Thanks for stopping by today!  Let me know what you think!  And I hope everyone has a safe, happy Thanksgiving!!  :) 


"Don't glue anything I wouldn't glue!!"
               

Friday, December 10, 2010

Christmas Gift Organizer

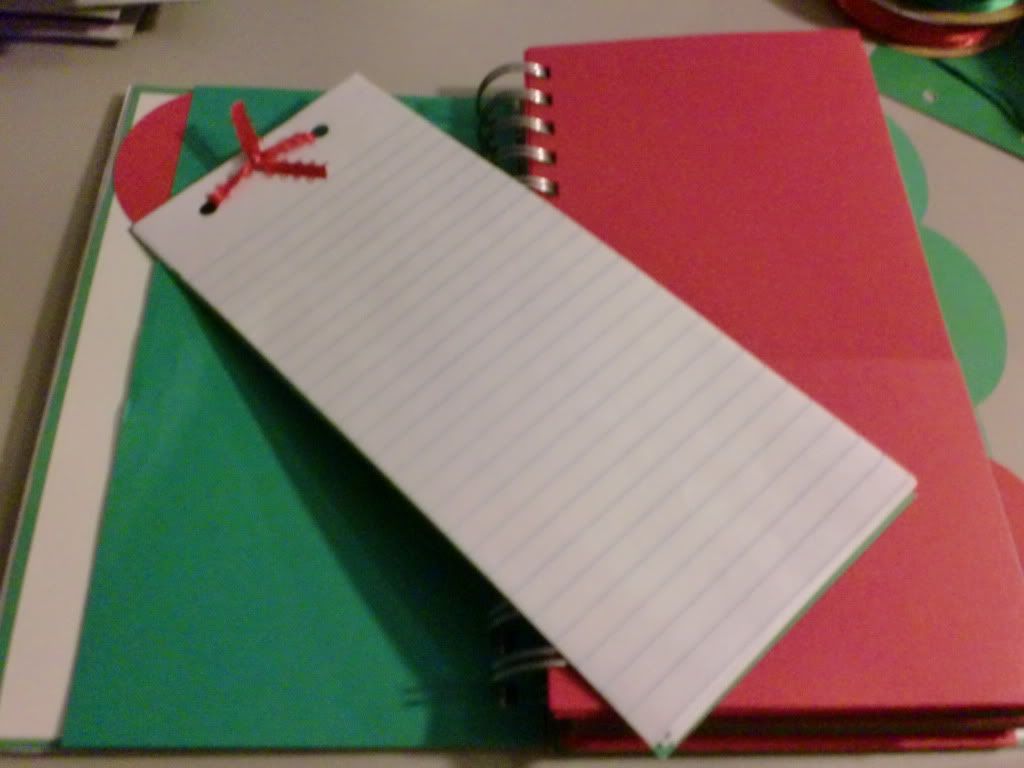
I decided to make a Christmas Gift Organizer this year.  My family is getting bigger every year, and it gets harder and harder to keep everything straight.  It also seems like each Christmas there are duplicate presents, so I always keep my receipts.  So, I figured, why not put my Cricut and Bind-It-All to use, and make myself an organizer!?
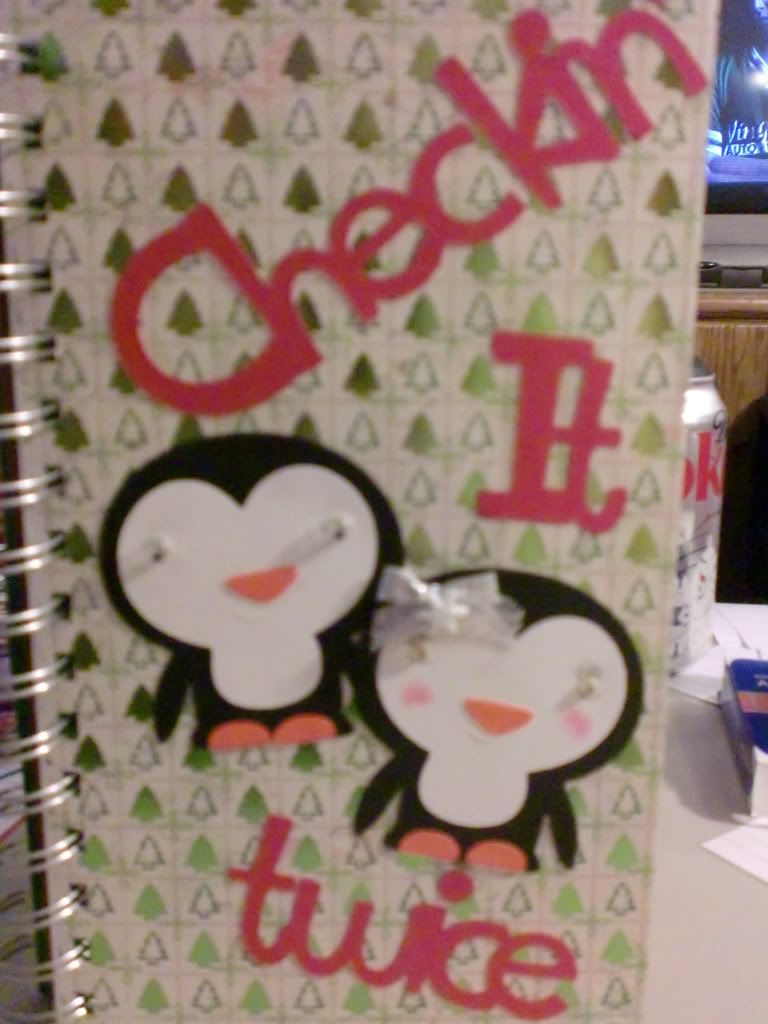
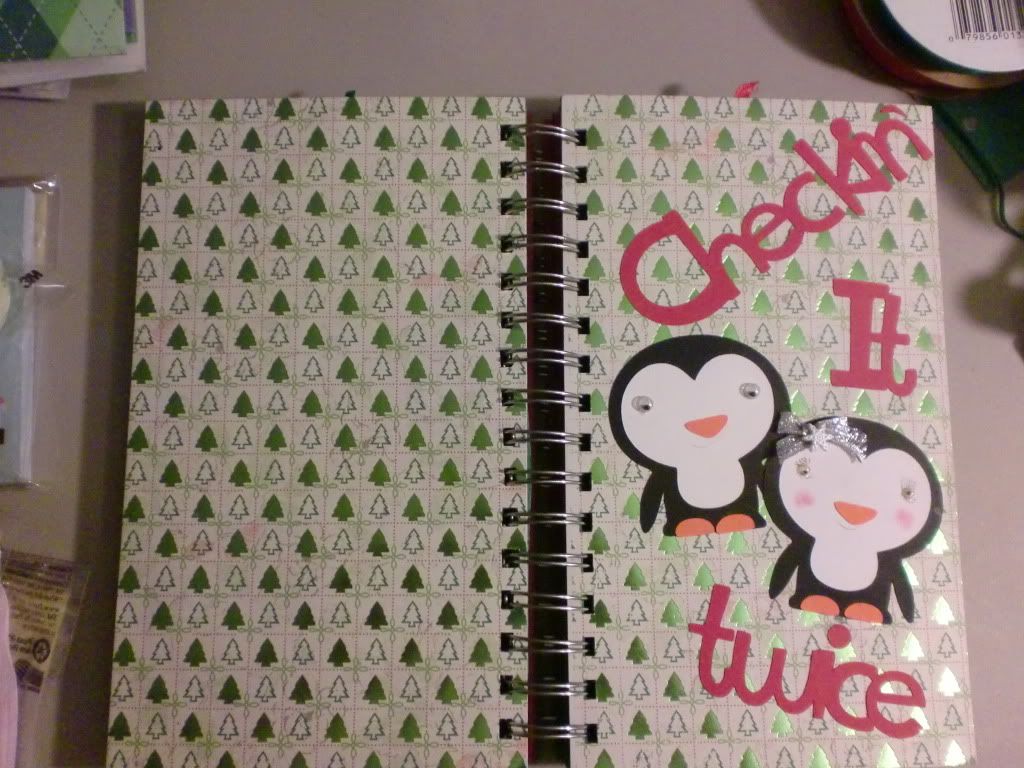
Here is the cover.  I cut the penguins from Create A Critter, and I believe the font is Cuttin' Up, (but I might be wrong.)  The background paper on the cover is from K & Co.
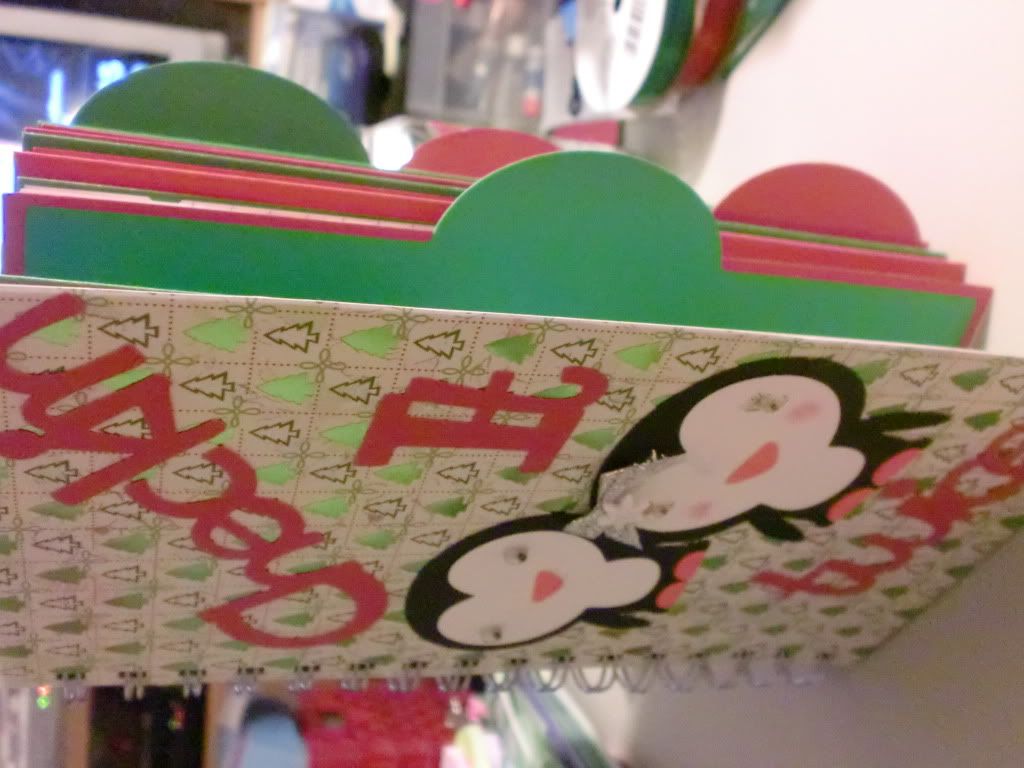
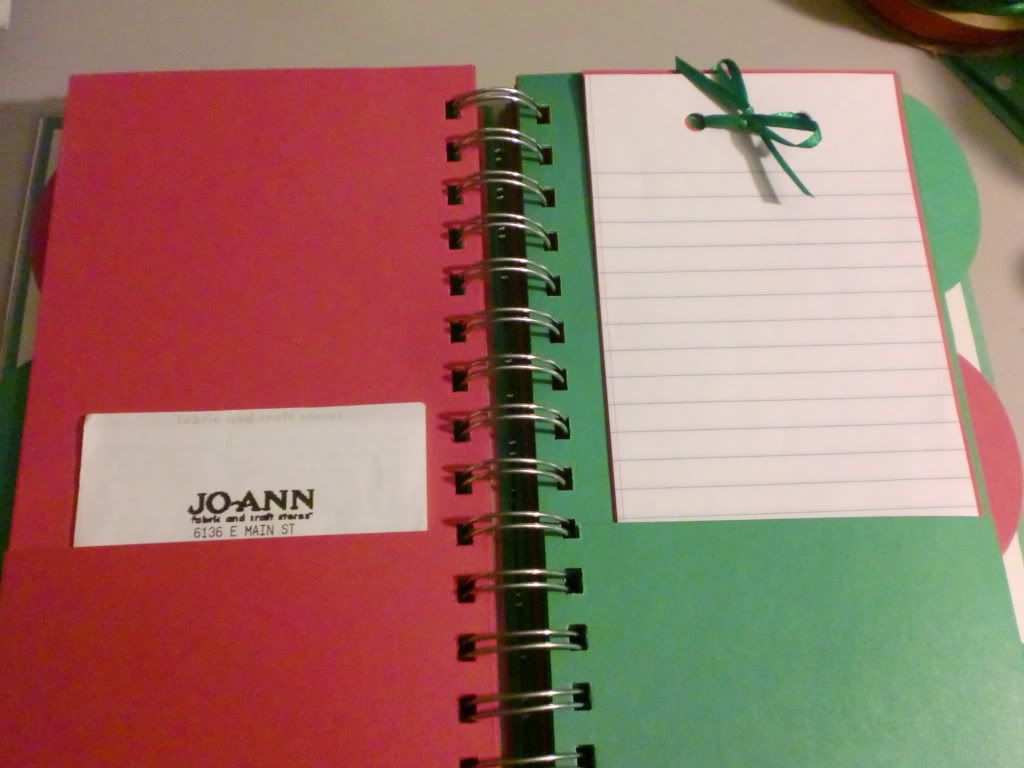
I then made dividers using the From My Kitchen cartridge, (The recipe box dividers) And used my Gypsy to stretch them to the size I needed.  I also cut down 12"x12" paper and folded to make my pockets.  I made a divider for each of my brothers, and then within each divider are pockets representing each of their family members. (I also make extra dividers for my mom and a few friends that I buy gifts for.) 


I now have the names wrote on the tabs and pockets, I just didn't want to photograph the names.


I also made little pull-out notepads so that I could write what I have bought for each person, and what I still need to buy.  If I don't do this, I will end up forgetting soneone, or forget a take a present that I bought to that person, and I'll find it a week later, (no joke!)


I really like how this project turned out!  I think it's cute and I will get a lot of use out of it!
I titled it "checkin' it twice" as in, "making a list, checking it twice, ..."  Because I will for sure be checking it more than twice!!  Haha.
I made a few coupon organizers similar to this earlier this year, prior to my blog, and I can't remember if I posted pictures of them or not.  But having these handy lil' organizers makes life just a little less chaotic!  :)


Thanks for looking!!!

Sunday, October 17, 2010

Oh Joy

Howdy paper pals! 

I have been all over the place lately with my crafts.  I jump from baby, to Halloween, to Christmas, to Birthdays, to "hello," etc.  I just can't seem to stay focused on one theme!  I need to just sit my bootie down, and get the rest of my Halloween cards finished, before it's too late!  

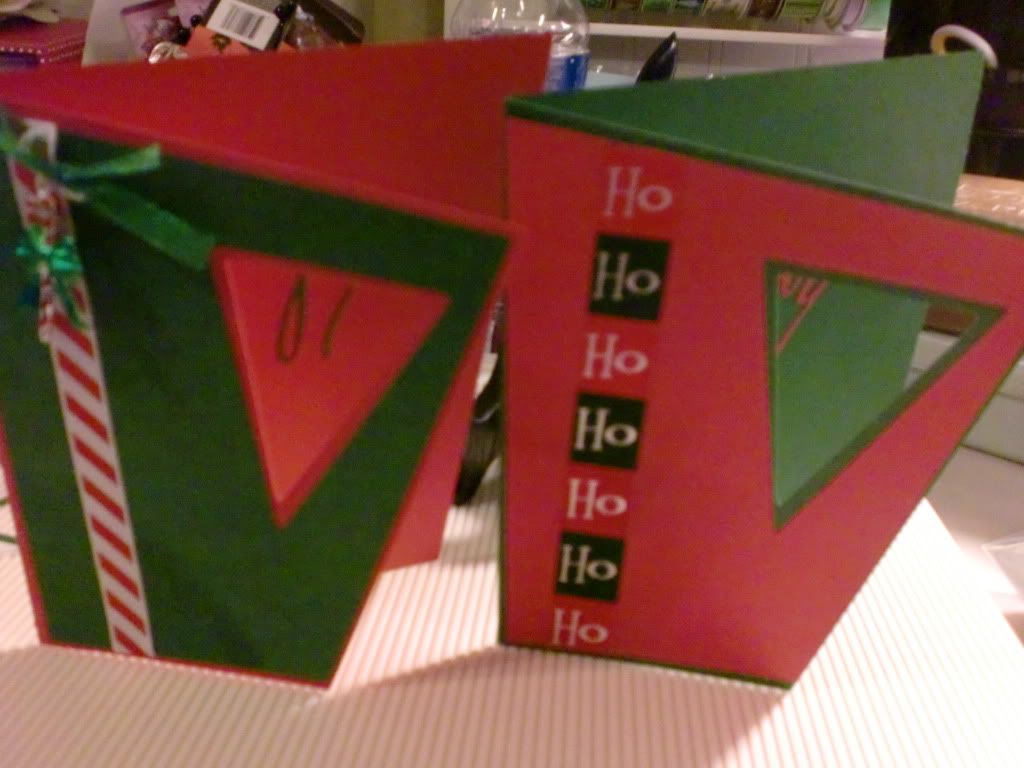
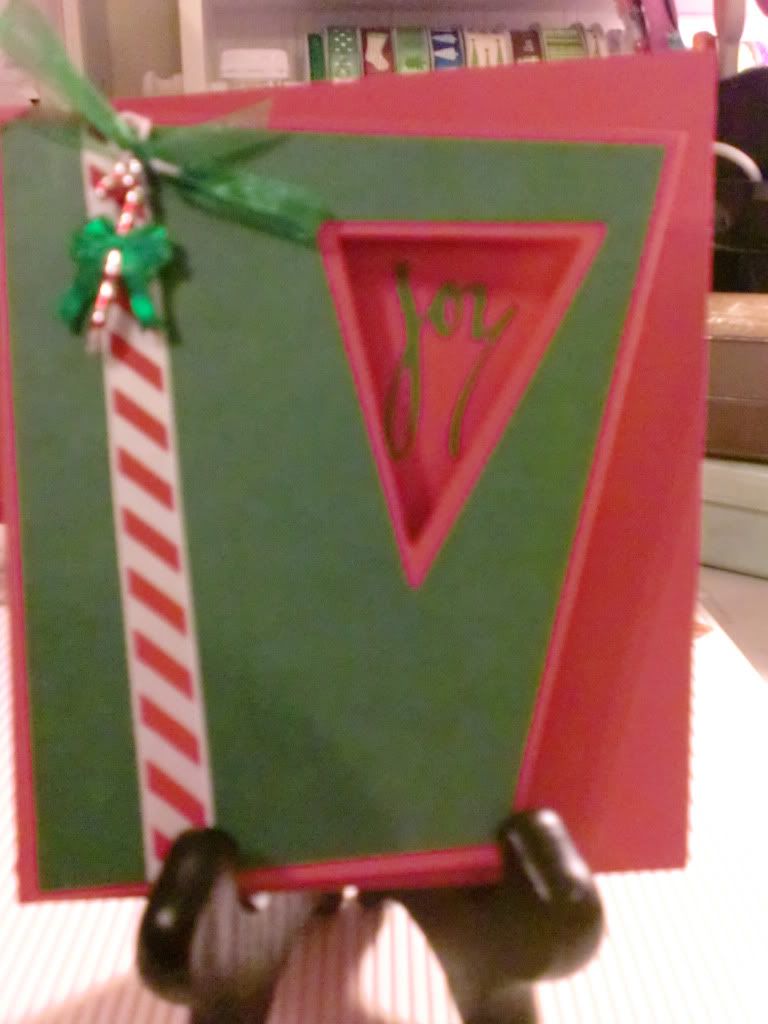
BUT!  Until that happens, here are two real simple Christmas cards that I made using the Wild Card Cart.  This is still one of my favorite cartridges!  I always say that I'm going to go through it and make every card... but I never do!  (I want to do that with "Just Because Cards" too!) 

Yada yada yada... Now for the cards!  Ha.

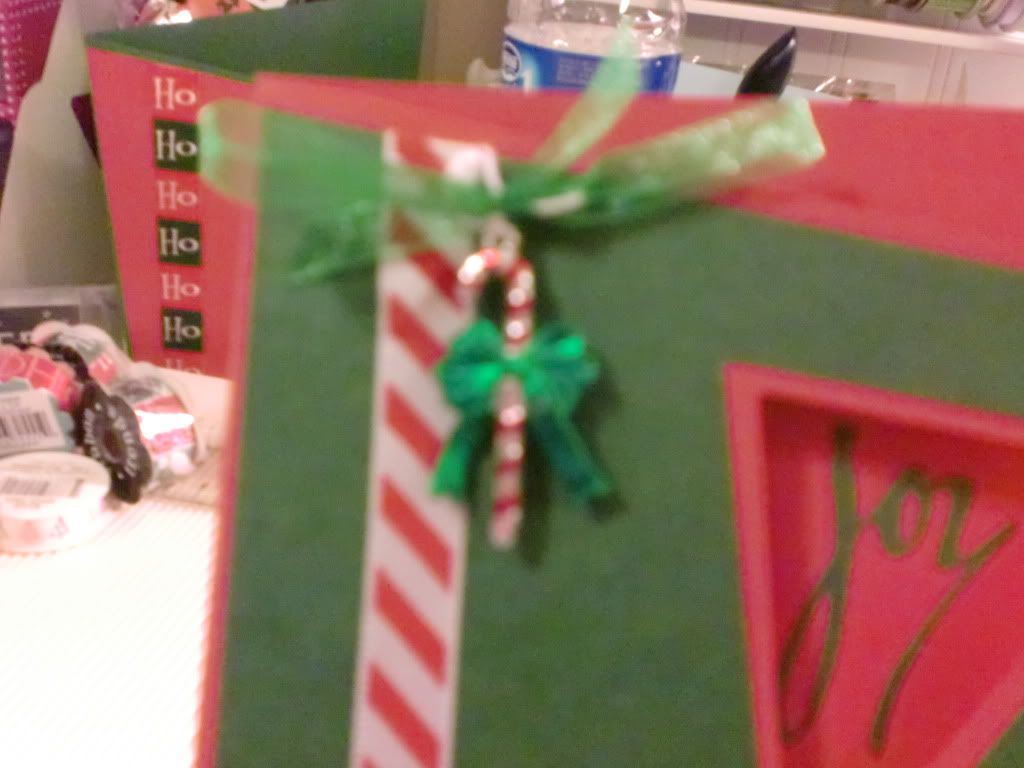
This card style is real funky..I just love it!  I basically just layered it together, added some Christmas ribbon, a candy-cane embellishment, and that was that!  Easy peesy.


Thanks for stopping by!