"What we do for ourselves dies with us. What we do for others and the world remains and is immortal."
-Albert Pine
Showing posts with label Halloween. Show all posts

Tuesday, October 29, 2013

Halloween Card Share

Happy Halloween Everyone!!!

Halloween has always been my favorite holiday, so I LOVE making Halloween cards!! I always have so much fun!  This year, all products used were from my stash, except for one stamp set I purchased at Michaels.  (I have WAY too much Halloween stuff! Eek!)   So here's a video of the cards I made.  And like usual, pictures will be below the video.  

Thanks for watching!!  :)

I have eight cards, so here is the first one:
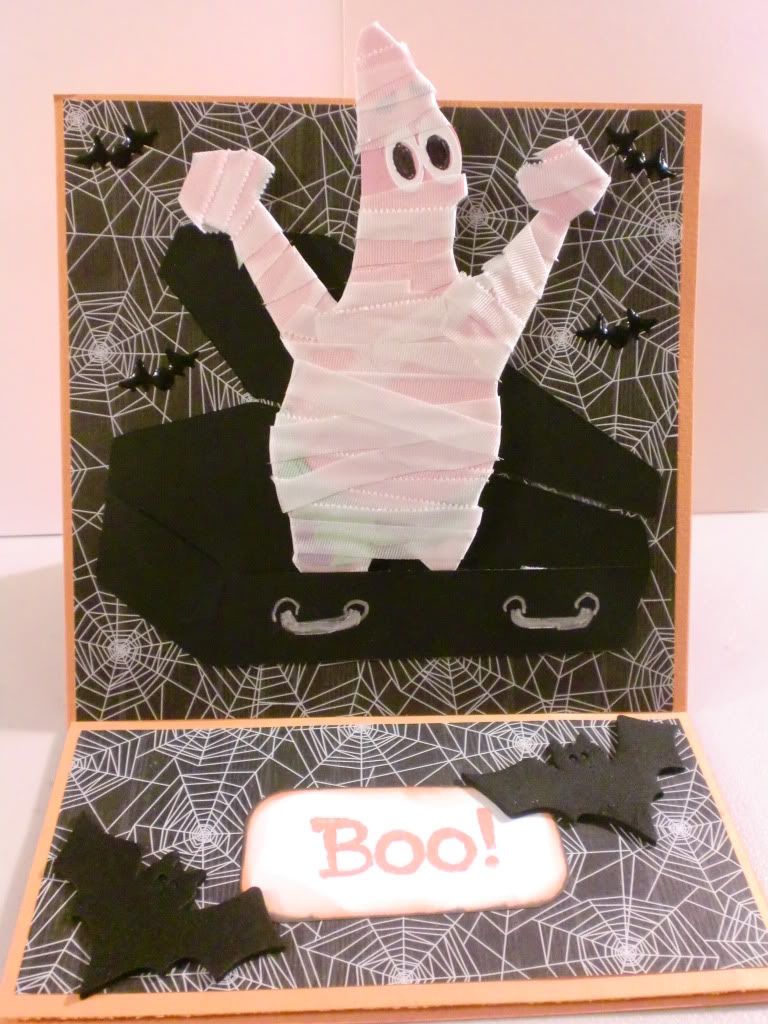
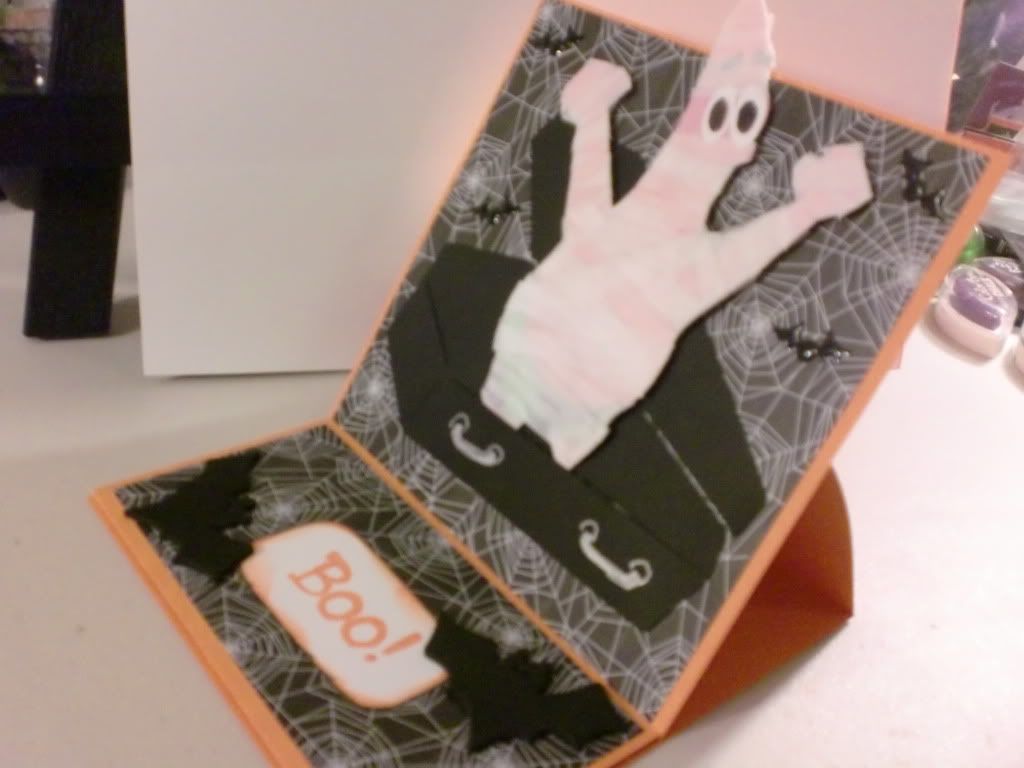
 This card turned out so cute. (I think so, anyway!)  I used a Pollycraft digi stamp, and colored him.  He is TOO CUTE!! Then, put him in one of my (actual size) Polaroid frames that I made with my Gypsy. Added some Prima flowers with rhinestone centers, and a few Halloween brads by The Paper Studio. 
 For the inside, I used some paper from We R Memory Keepers (the spider paper) and the Spider Web Doily is from the Martha Stewart Circle Border Punch.  (I LOVE that thing!  I want to get ALL of the cartridges for it!!!)  It is so user-friendly, actually I should rephrase that.  It is so BLIND PERSON User-Friendly!! Awesome!

Here is card #2: . 
 I love this card too.  I think I love all cards that are Halloween!  LOL!  This card uses a CC Designs stamp that I colored.  The background paper is from a Halloween stack  by The Paper Studio.  And I used three little Candy Corn sticker embellishments (made by Sandy Lion, that I purchased at Joanns)  and placed them over some Halloween Bakers Twine, to make a "banner!"

Here is the inside:  
 I used more of the same paper, and added some little candy corn stickers by Sticko (EK Success.)   It's funny, typically I'm not a sticker person when it comes to card making or scrapbooking.  (I LOVE stickers in general though!!)  But for these cards, I actually used a lot of stickers!  Odd!

Here is card #3:
 This card uses paper from the same We R Memory Keepers Halloween Stack that I mentioned earlier.  The orange paper was ran through my Cuttlebug with a Candy Corn embossing folder (that I LOVE!)  The little Devil trick-or-treater is a chipboard sticker, (See!  Another sticker!!)  The sentiment is also a sticker.  And the candy corn banner is the same as I did in the previous card.  (More stickers!)   This card is for my youngest nephew.  His parents have a rivalry going because they graduated from different/rival Universities here in AZ.  So I just had to use this sticker for my nephew when I saw it!!  He looks a little like the ASU mascot, (Sun Devil) .

Here is card #4:
 This uses the same CC Design Stamp from earlier.  I just changed up some colors and the papers.  These papers are from The Paper Studio halloween stack.  I also added some feathers from Hobby Lobby, and some Prima flowers. 

Here is the inside:
 Once again, I used that Martha Stewart Circle Border Punch to cut the spider web doily! And this Halloween sentiment is from a dollar stamp I got at JoAnns a few years ago.
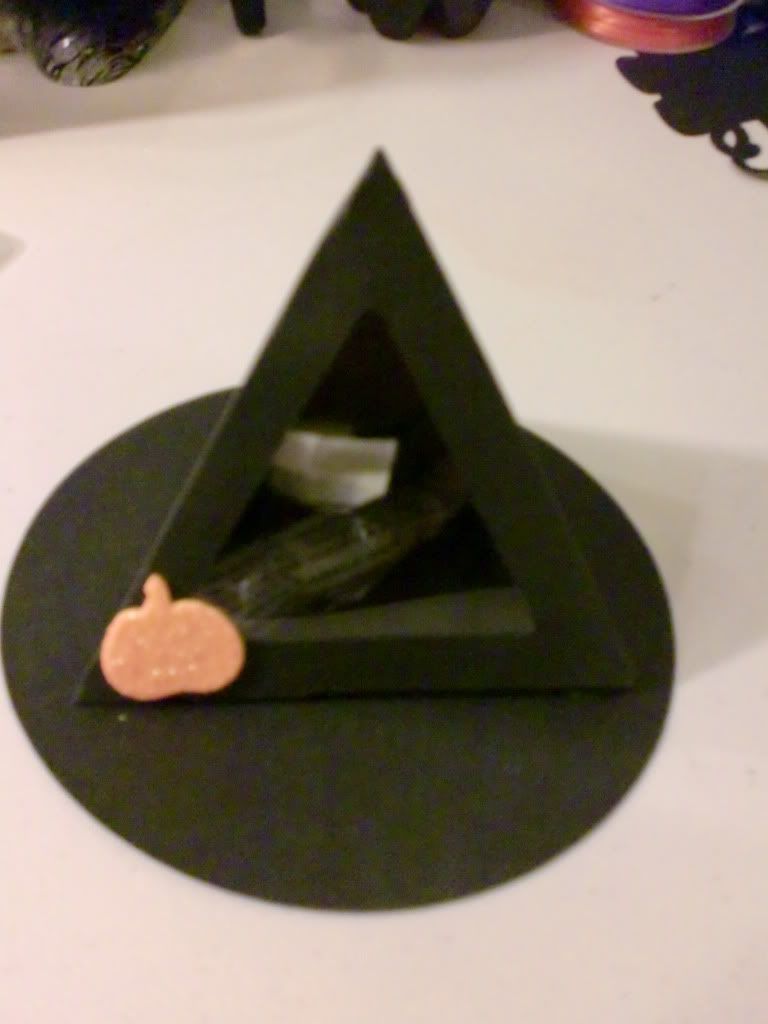
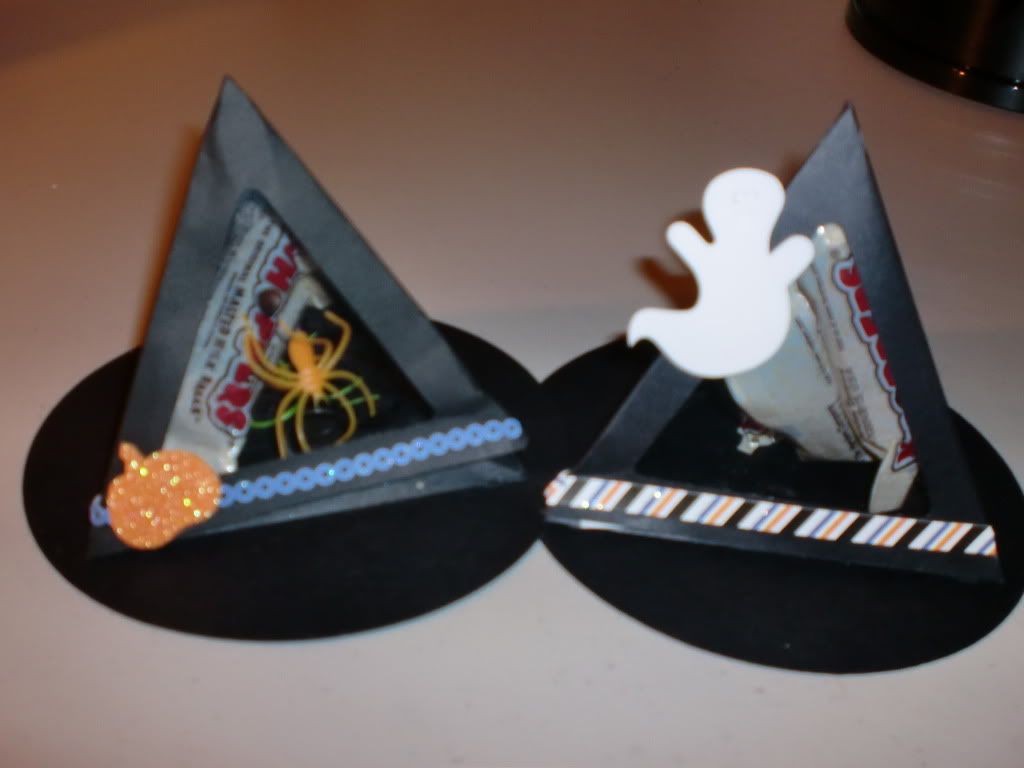
Here is card #5: 
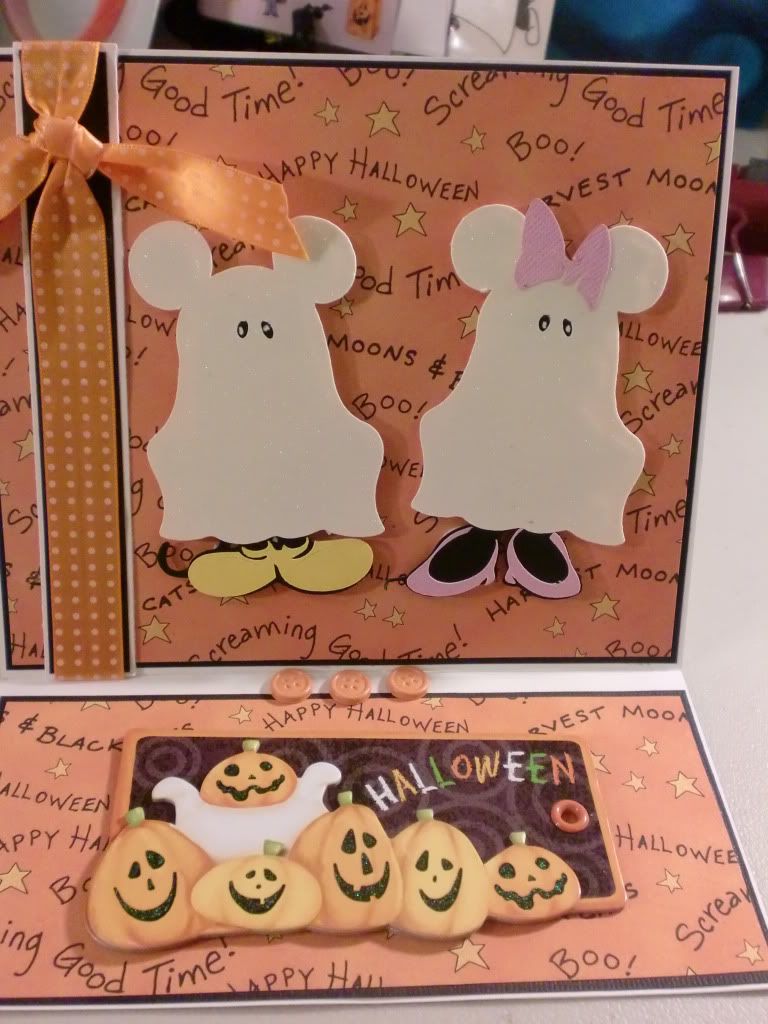
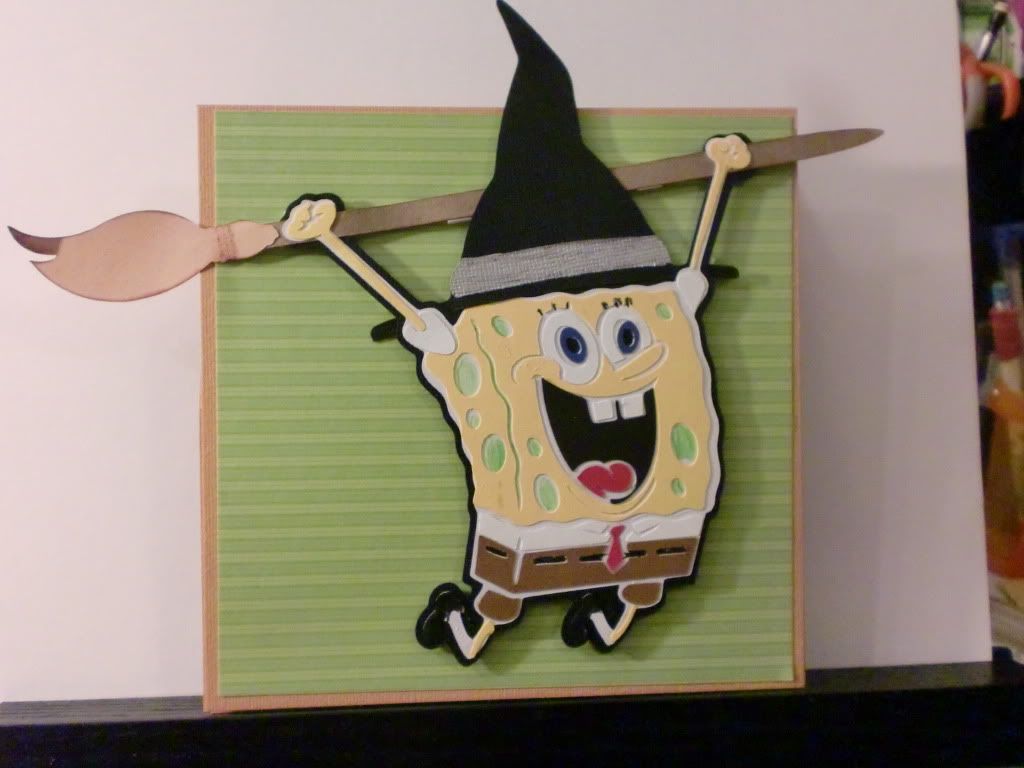
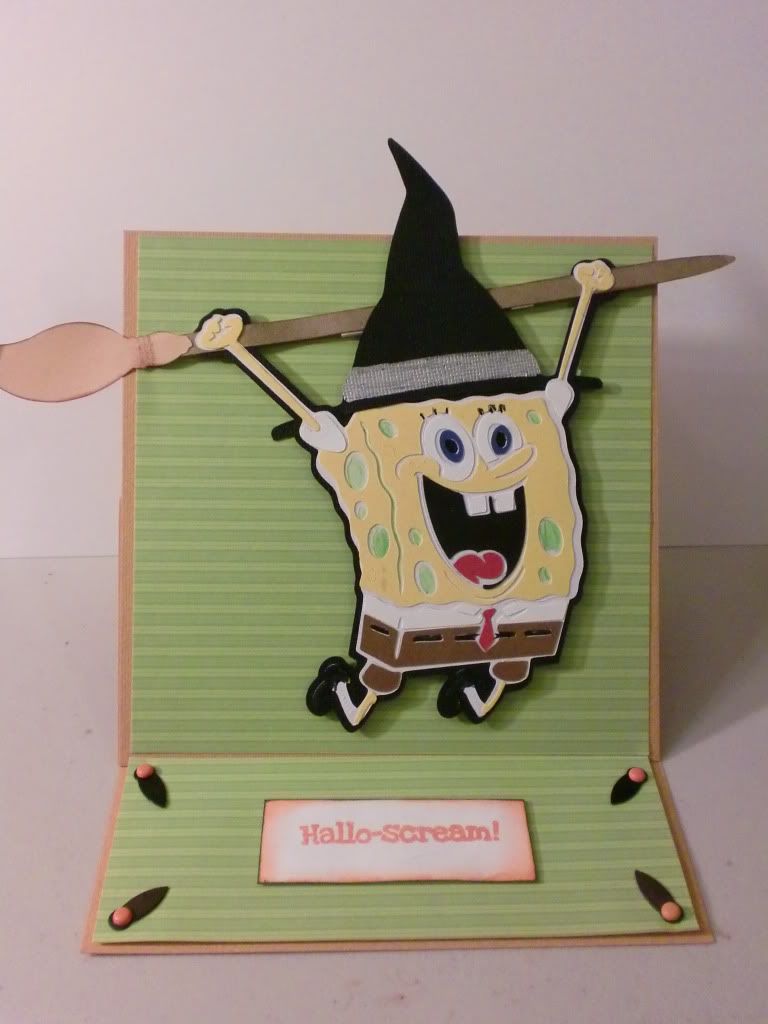
 This card uses a Digi Stamp by Bugaboo Stamps.  This card is for my mom to give to one of my brothers.  (It's a little inside joke that he has.  He likes to call my mom and his wife witches because they both have green eyes.  He is a big joker/teaser.  So once my mom saw this stamp, she HAD to get it!)   My mom colored this image, and I put the card together.  The green paper (has a shine to it that the camera doesn't pick up) is from the Bewitched DCWV stack.   The hats on the side are stickers by Sticko (EK Success.) 

Here is the inside:
 Part of (the same as previously used) a spider web doily, and a spider sticker (also made by Sticko/EK Success.  A very simple design for the inside!
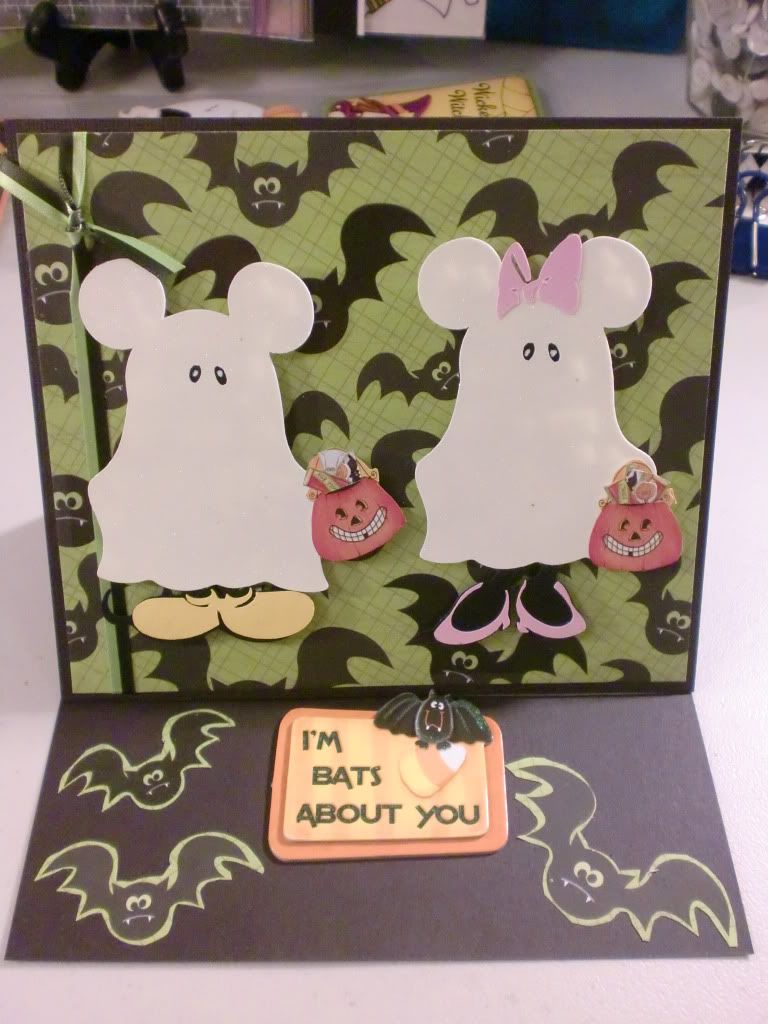
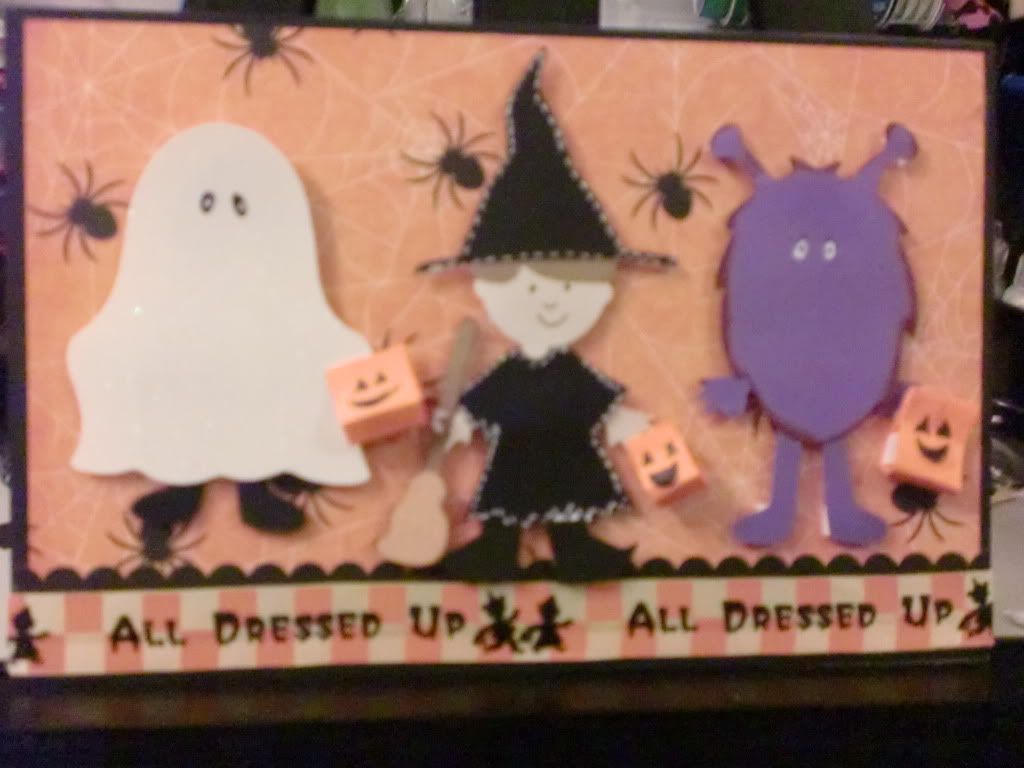
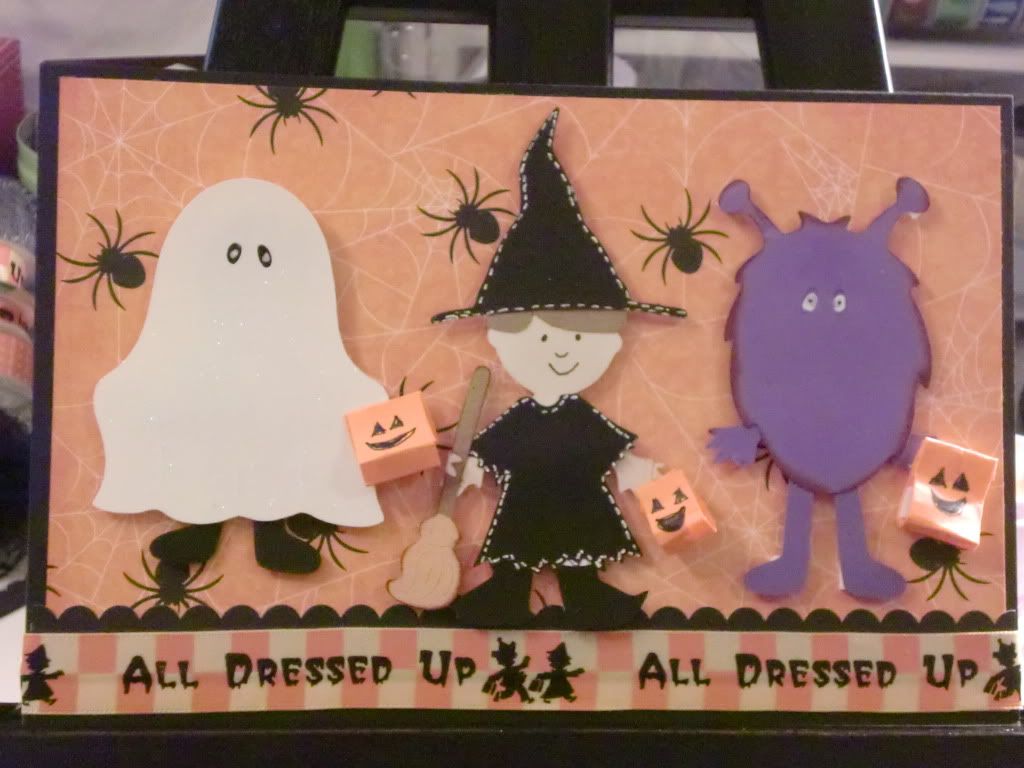
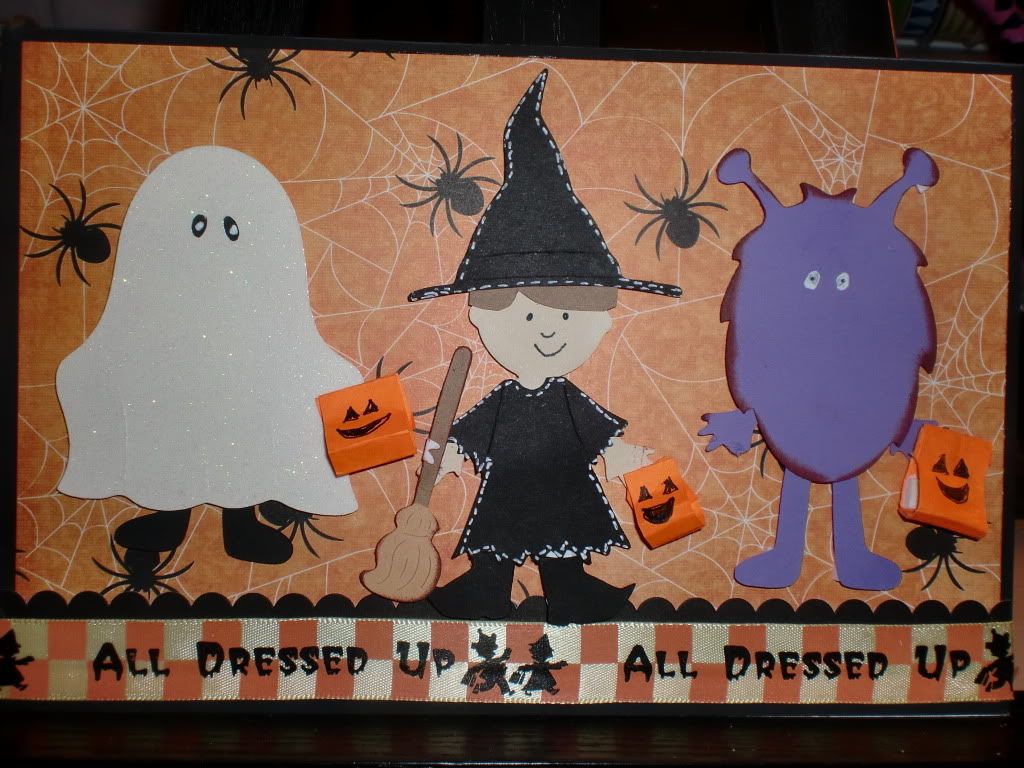
Card #6:
 This one is SUPER simple!   This paper is from a dollar package that JoAnns had a few years ago.  I know this year the ones that they carried were made by DCWV, but I'm not sure if that is who makes this paper.)  And I just colored the three little trick-or-treaters.  Then I punched a spider web border strip to adhere to the top and bottom of this focal image.
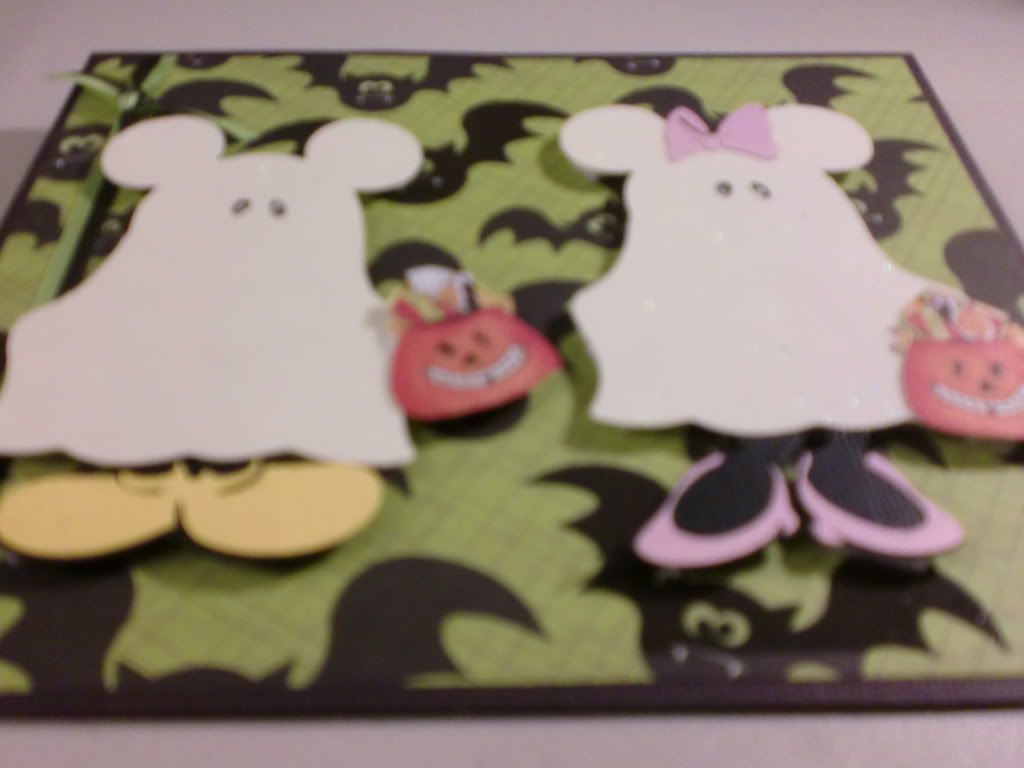
Here is the inside:   
 That simple card, (I think) took me the most time to make!  Probably because it just wasn't turning out the way I wanted it to  But oh well.  It was ok! 
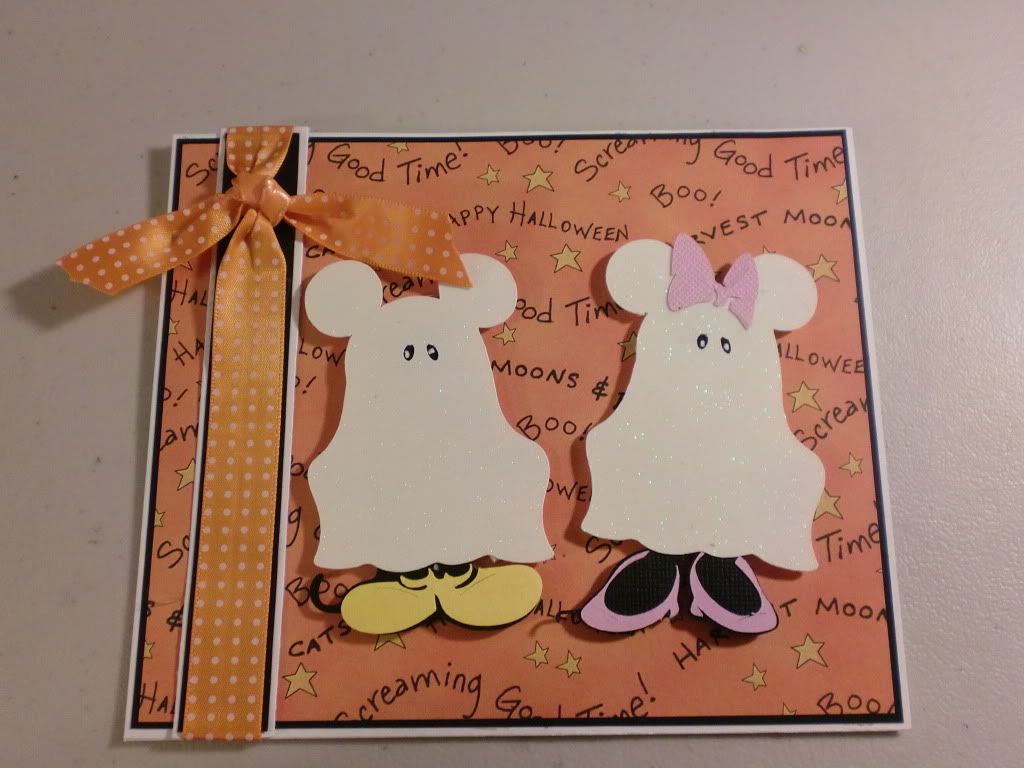
Here is card #7:
 This card uses another Bugaboo Stamps image.  I love this image!!  My niece thinks "trick or treat, smell my feet" is just the funniest saying ever! So when I saw this stamp, I knew right away who the card I made would be for!  I used paper from the DCWV Bewitched stack, (and the camera reflected the shine on this paper down in the bottom right corner!!)  Then I added some feathers, and prima flowers with rhinestone centers, as well as some flat back pearls.

Here is the inside:
Super simple.  The image is a stamp from Michaels, I think I got it there three years ago!

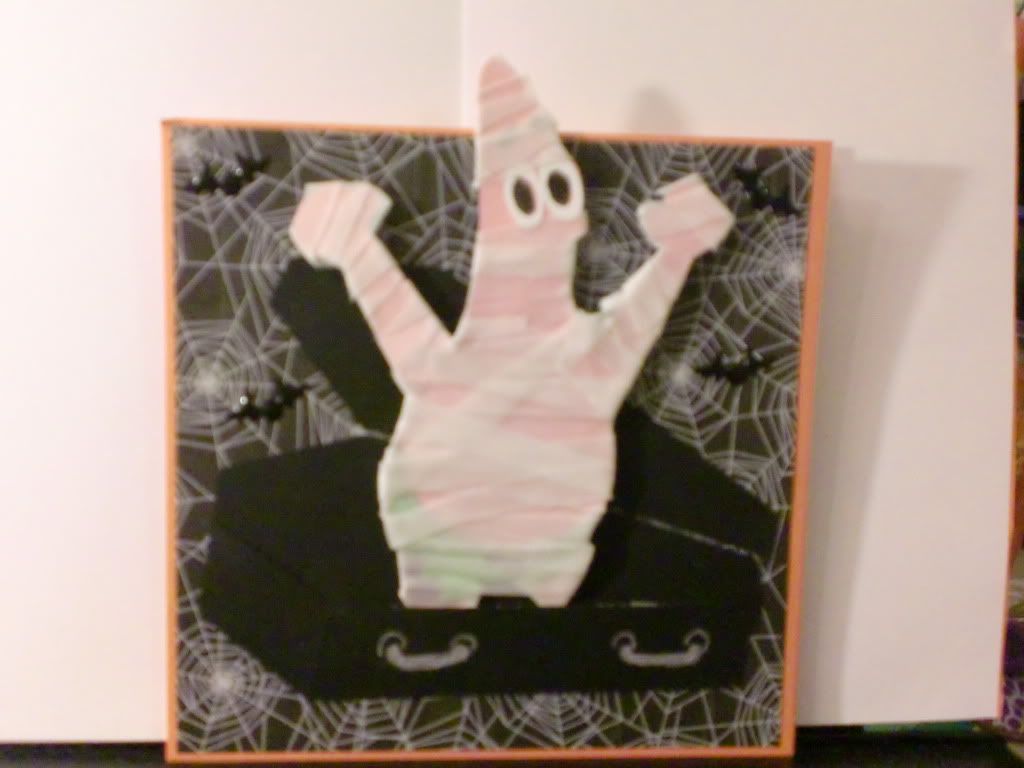
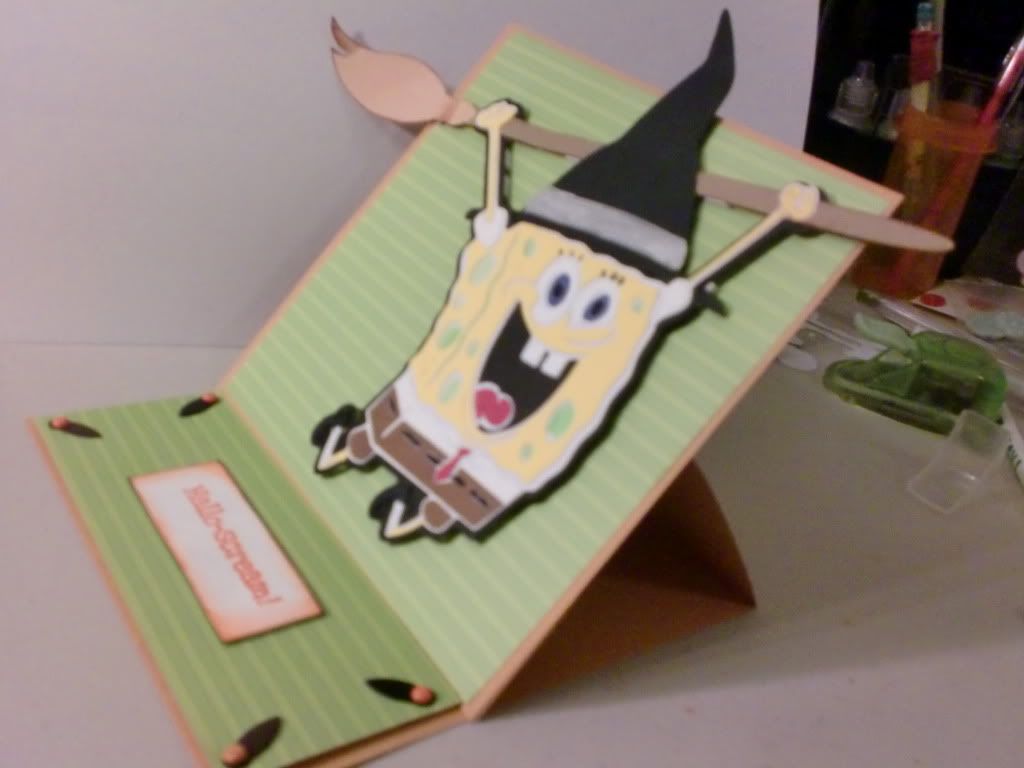
And here is my last, and favorite card:
 Have you ever made a card (or other project) specifically for someone, but when it was finished, you wanted to keep it?!  Well I haven't... until now!  I don't know why, but I love this card!! (lol)
My idea, or what I was going for... was like an Evil Genius's Lab.  I got this stamp set by Inkadinkado at Michaels this year,  and it is called "Test Tube." I started playing around, and stamping them all out, and building my scene.  After I was done, I realized that I did it on plain white cardstock! UGH!  I wanted it to look like they were sitting on a table or something.  So I had to change up my plan, and I made it into a cupboard in the evil genius's lab! (LOL)
The background paper is from a Halloween stack by GCD and the reverse side of all the papers is this really cool distressed looking paper in various colors.  So I chose this one, to make it look like the wall behind the cupboard, maybe it was in a condemned building or something! haha.    I added some caution tape (washi tape) and some brads for the knobs on the cupboard doors. 
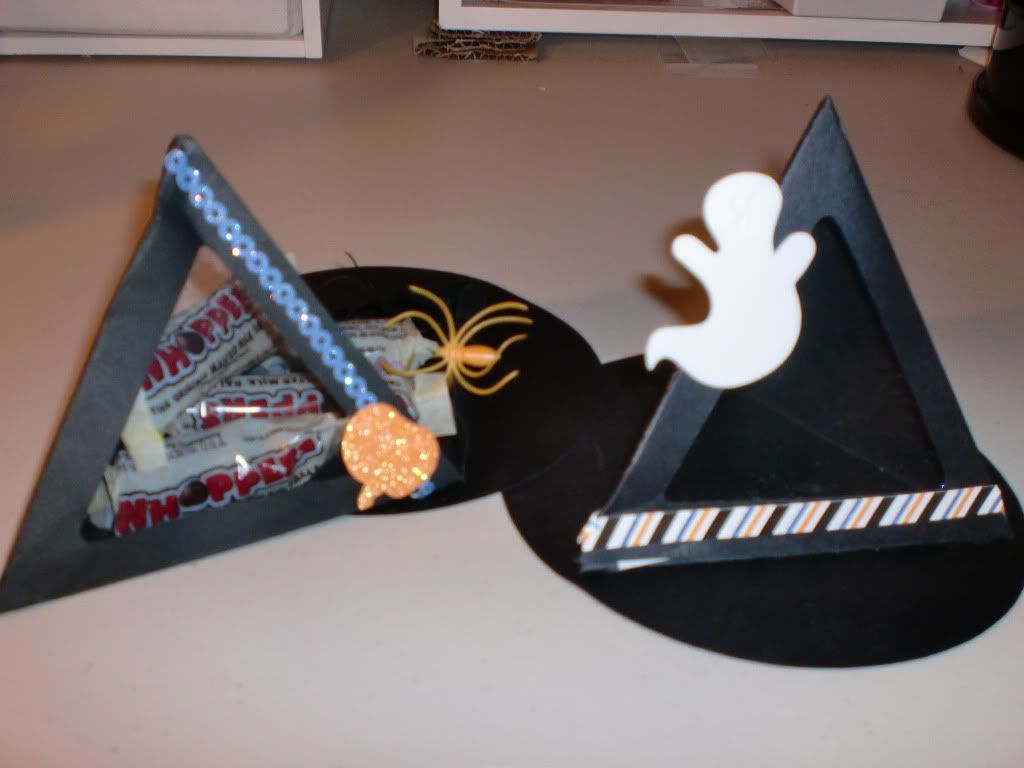
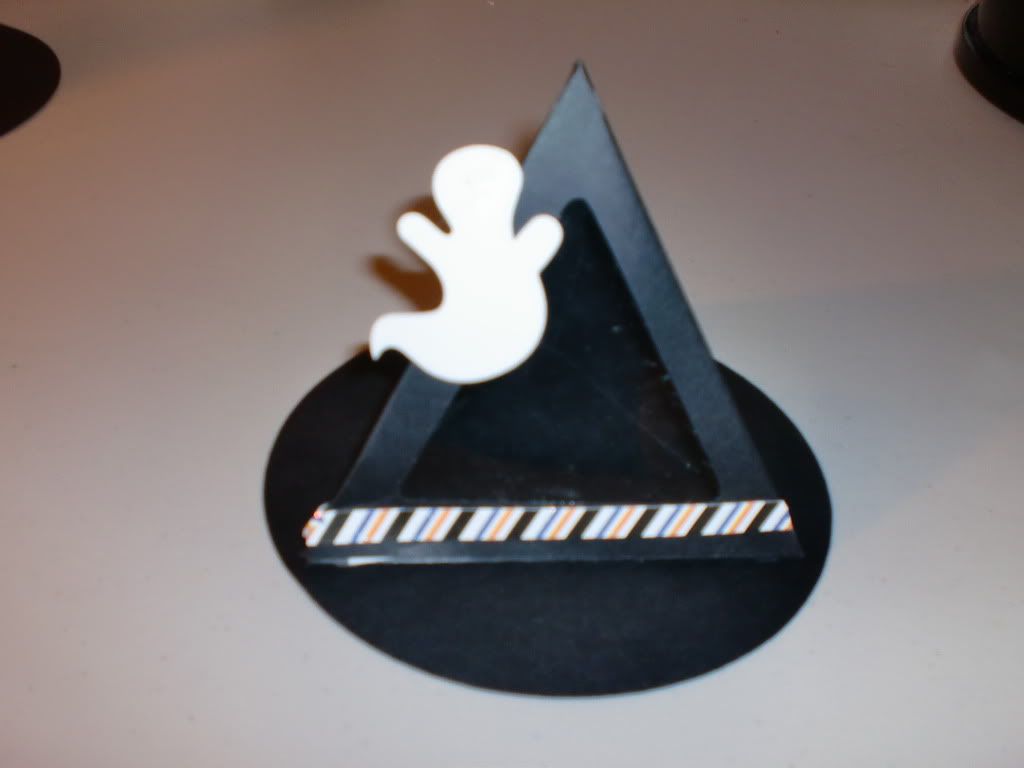
Here is one 'cupboard' door opened:
 And here it is with both doors opened:
 Now you can see why I had to turn it into a cabinet!  (lol)  I still could have done it better, but at this point, I had already invested so much time (about 14 hours) so I just went with it.  (I should probably explain that 14 hours a little bit.  As many of you know, I have a chronic illness, and extremely poor eyesight.  Any "simple" basic card, still takes me about four hours to make.  Well, in my life, with my illness, I never just have four straight hours that I can sit and craft.  I'm lucky if I have 20 minutes straight! So one card can take me up to a few weeks to make! Depending on how sick I am.  The majority of the time though, is spent trying to actually SEE what I am making!! lol) 
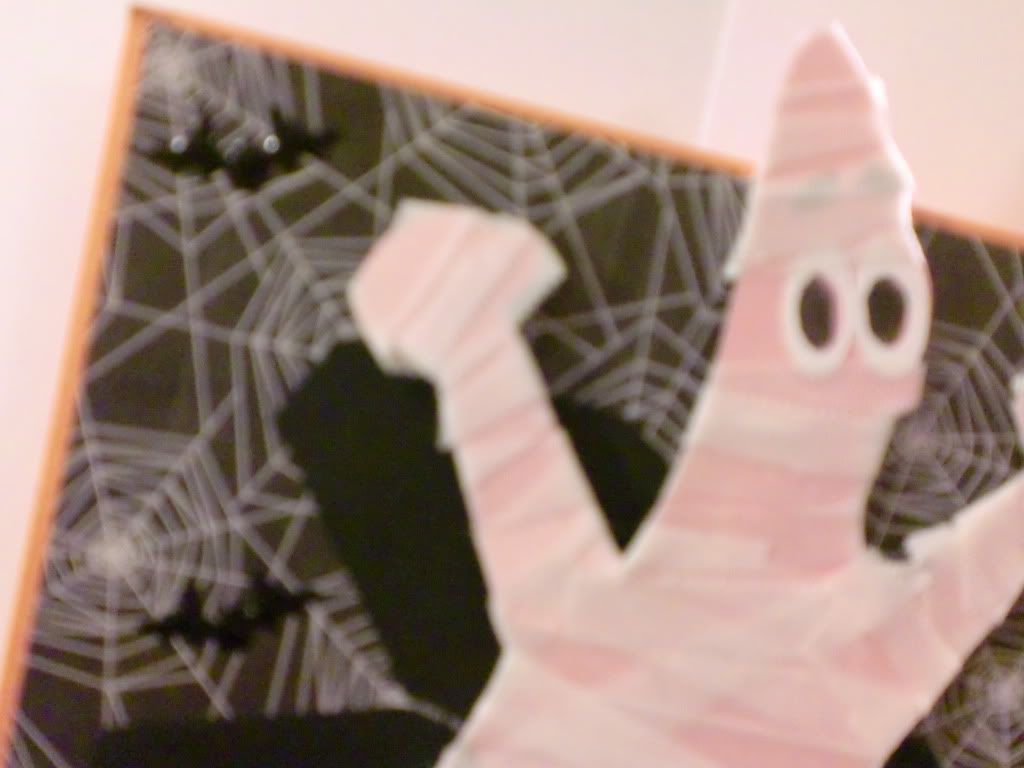
Ok, so I stamped the images on the white card stock, and also on clear acetate. I then cut out the acetate ones, and after I was done coloring and placing the eyeballs, and the froggie in their test tubes, I glued the acetate images over top of the others, to add the "realistic" look.  I was going to do glossy accents, but it was too large of an area to work with, and my eyes aren't good enough to see when I miss a spot, so I didn't want to chance it, and just went with the acetate!  I like the way it turned out!!
Here's a closer look at the images, so maybe you can see the effect that the acetate gives.  
 This is the inside of the card:
 I tried to make it coordinate with the 'theme.' 

In the stamp set, it comes with a stamp that says "From the lab of"  and when I saw that, I just knew I wanted to use it on the back of my card instead of my typical "handmade by" stamps!! 
 It made me giggle to use the stamp like that! 

 Well.... those are my Halloween cards for 2013!!  Next thing to tackle... Christmas!  Yikes!  This year really went by too quickly!

I hope you all have a safe, fun, and HAPPY HALLOWEEN!!!


"Don't glue anything I wouldn't glue!!"
               

Friday, September 6, 2013

Halloween Signs at JoAnn Fabrics

Hey crafty people!!

I hope everyone is having an excellent week!  I just wanted to share a quick video today.  I was able to get out of the house and walk around JoAnns last week, and I found myself on the Halloween aisle.  These signs just crack me up!


Thanks for watching!!


"Don't glue anything I wouldn't glue!!"
              

Saturday, October 30, 2010

Last Minute Halloween Projects Part 2

Hey Paper Pals!!

Here is part 2 of the post for today.  I had to make some goodie bags for my nieces and nephews.  I get a litle carried away when I'm in my craft room, if you couldn't tell. Hee hee.

I made some regular bags from the Plantin Schoolbook cart, and just cut them out of Halloween Paper (DCWV The Midnight Spell, and some from the Cloud 9 Fall Stack) and put some ribbon on them. (After the photos were taken, I also put emellishments on them.  I don't know why I didn't take pics of them then???!
Here are three of the bags:


And now for my most proud project of the week.  Candy Corn Boxes!!!  There were made entirely by hand, no cricut.  I had so much fun making these!!! 


I started with a 4x10" piece of cardstock.  I added a stirp of yellow, orange, and white to make the layers of the candy corn.  I then used a craft knife and cut out the triangle window, and placed acetate to cover it.  Then I filled with candy corn (what else?!) and tied them closed with ribbon!  They are so much fun!  It's times like these I wish I had kids to make stuff like this for their classrooms!  Haha.


Thanks for stopping by!  Let me know what you think!! 

Friday, October 29, 2010

Last Minute Halloween Projects Part 1


I haven't posted in a few days because I haven't been feeling too great, and when I was feeling alright, I was craftin'! 

I had to finish a card for my nephew, and then I decided to make little goodie bags to put the kiddos candy in... then it all got out of hand from then.  Ha.

Here are a few cards that I made.  I had to continue the "Character Dress-Up" Halloween Cards for the kiddos.  I used my Gypsy and welded a mickey mouse head to a ghost from PDDU, and this is what I came up with:  


I had to make two different variations of the card.  They are both easel cards, and here is version 2:


Then, for my nephew, I wanted to do something a little less 'childish' since he's 10, and getting into the whole teenage type thing...I decided to make him an eerie grave yard.  Here is his finished card:  


Thanks for looking!!

-Lori

Friday, October 22, 2010

Witch Hat Treat Containers


Hello Everyone!!

This is my very first video....and I have public speaking nerves.  Lol.  

The past couple of weeks I have been working on these silly hat.s  Not these actual ones, but the idea of them.  This design was my second choice.  I originally wanted to use the Sesame Street Elmo's Party cartridge.  It has a Party Hat on it, and I thought it would be PERFECT for the hat.  I couldn't get it to work right.  I don't know if it is my eyes,. or I just couldn't get it...but no matter how I tried making a witch hat out of it...it didn't look right.

So, this is my Witch Hat Treat Box using the Tags, Bags, Boxes, and More cartridge!! 

 
It uses the Pyramid cut on page 125 of the handbook (TBBM.)  Using the window feature, cut at 5", then I used some acetate to cover the window. (So my goodies can't escape. Hehe.)  I then attached the pyramid to a circle cut at 5 1/4".  I used 'Terrifically Tacky' tape for these hats.  I typically use it on all of my bags/boxes because I really like how well it holds things in place.   So that is what I used attach the pyramid to the circle.  For the closure of the Witch Hat, so it can open and close, I used Re-positional Glue. (Scotch Brand, if anyone wants to know.) And that makes it like a Post-it, where you can stick, unstick, stick, unstick, etc.   I like using that stuff for closures that I want to be able to open and close again.


If anyone has ideas on other ways to do the closure, so that it is able to open and re-stick with ease....(but is still hidden from view) I would LOVE to know!!!! 

Thanks for stopping by!! I appreciate all comments!!

Thursday, October 21, 2010

Patrick dresses up too! 4th card for the day!!!


Ok peeps, this is my last card for today, I promise!!!   I typically am not able to make this many in a day.  I typically can't even make ONE in a day!!  So this was amazing for me!  (Although I did cut out some of the cuts the night before.. hehe.)

One of my nephews, and his sister, absolutely LOVE Sponge Bob, and since I did a Sponge Bob already, I figured this one would be Patrick. (Now I just need to decide which card to give to whom!) Haha.


I wanted Patrick to either be a monster, (with his arms up like this, I thought it would be funny to put a monster head on him, like he was scaring someone..)  but it didn't look right.  So I mummied-him-up!  Ha!  I took actual Gauze tape and cut it about 1/3" thick and wrapped him up!  It took me a little bit of time to do this, (not nearly as long as it takes for me to layer all the pieces together with my eyesight!!)  But it was worth it.  I really like how he turned out!! Then of course, I had to have him climbing out of a coffin!


This is also an easel card.  I like that style of cards!   The Patrick cut is from Sponge Bob, (of course!)  The coffin is the one from Paper Doll Dress Up.  The teeny tiny bats are  Heidi Grace Stickers, the background paper is from ... um... it was the open stock paper at Hobby Lobby, so what is that...'the paper studio' brand?  I'm not sure.  But, that's the make-up of it.  Oh!  And the sentiment says "Boo"  in case you can't read it in my fuzzy picture. Ha.

Thanks for looking!!!  I appreciate ALL comments!!


Sponge Bob Celebrates Halloween Too!!!!

Hey Paper Pals!!!

I figured that Sponge Bob needed to celebrate Halloween too.  It's my favorite holiday, so it should be his too!  haha.  No, but Sponge Bob IS one of my niece and nephews FAVORITE cartoon, so I had to make them each a Sponge Bob Cart cut.  Here's the first one.  

I made Sponge Bob into a Witch for Halloween, but he hasn't quite mastered the broom-riding yet! LOL.


This cut is supposed to be him jumping up in the air, but once I saw it, I just HAD to make him hanging from a broom!!  I love the way it turned out!!  It is an easel card.  


I don't think you can read the sentiment, but it says "Hallo-SCREAM!!!"  Ha.  I thought it seemed appropriate, Sponge Bob could be screaming!! Ha.  

This was a fun one to make!!
Thanks for stopping by!!


Therapy


I have been a busy little bee!  I got to go to therapy (my craft room) today!!! LOL!   It seriously IS my release though!  So getting to spend a few hours in there, is amazing! 

Well, of my ten Halloween card that I absolutely HAVE to make, I was able to knock four of them out today!  Ah sookie sookie!  Haha.

I'll start off first with my "trick or treat-ers" card.  I just love this one.  I know I say that about all of my cards, but I really LOVE this one!!  I knew that I wanted to make a few kids in costumes, and have them carrying trick-or-treat bags, but that's all I really ahd in mind.  So I got on my gypsy, and did some playing around, and I decided to use a few cuts from Paper Doll Dress Up.  

I made their little trick or treat bags to hold their candy that they get, by just cutting some orange paper, drawing a (bad) jack-o-lantern face, and folding it up with a pop-dot in the middle for bulk.


I really love this card!  This is one of the rare ones that I am proud of.

Thanks for stopping by!!!   It's getting closer and closer to Halloween!! YAY!!!