Hi there crafters!!
I can not believe I am finally done with these word books/mini albums!!! I haven't even been working on them very long (in comparison to my other projects I have done.) I started them about 3 1/2 weeks ago. I was browsing around the SCAL forum and found a SVG for a Girl Scouts Word Book!! The second I saw the file, I knew I had to make these! A friend of mine has two little Girl Scouts in her family, and I wanted to make them for my friend to give to the girls. I cut the books out of chipboard, and then covered them with cardstock, and binded them with my Bind-It-All. Here are the books pre-emellsihment:

I had no idea how much I would struggle with these books! After I got them cut out, and put together (the base pages,) I realized that I know absolutely NOTHING about the Girl Scouts Organization. ... Other than that they sell cookies once a year, and I buy them!! :) I thought I would just try to go for an overall 'girly' theme, and even with that, I still struggled with the books! I did a lot of Google searches on Girl Scouts, and talked to my friend about when she was in the organization, and that did help a bit!
I tried to make them a little interactive, and leave plenty of space for adding photos, and journaling. Here is what I did:
The first page G & S (outside) Is left blank. I didn't want to distract too much from the "Girl Scouts" words on the book. The inside of the first page has the girls names on it. It was only an 1.25" strip to work with, so that is what I found to be the best fit! :) I welded the names on my Gypsy using the Rock Princess Cricut Cartridge.
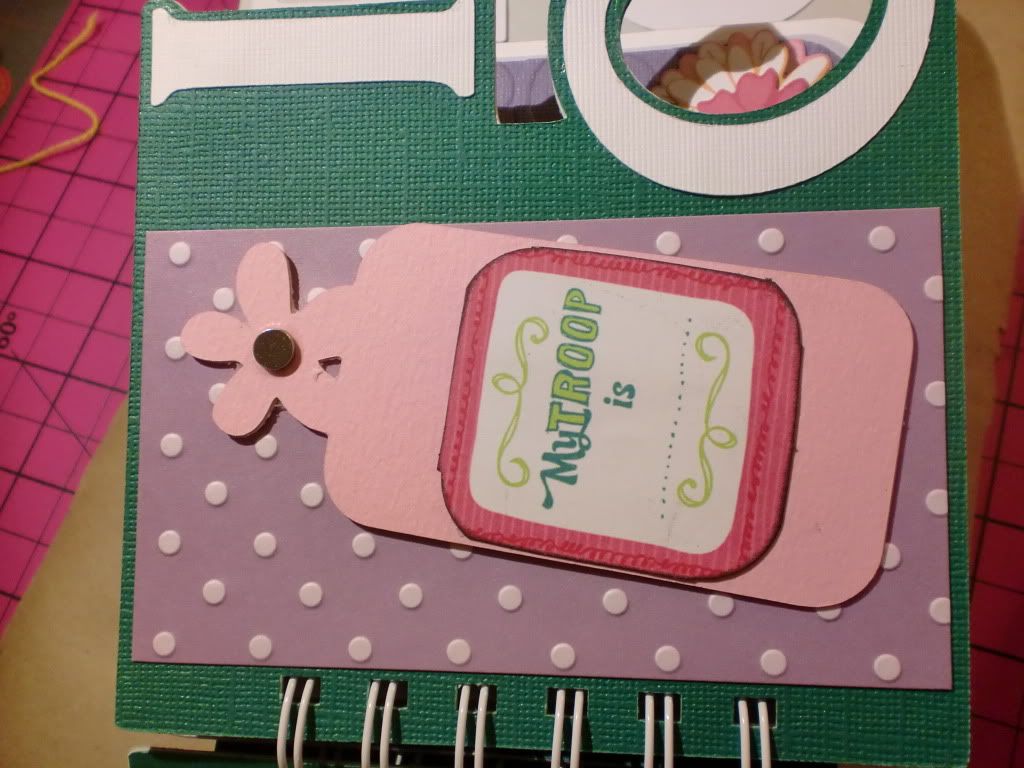
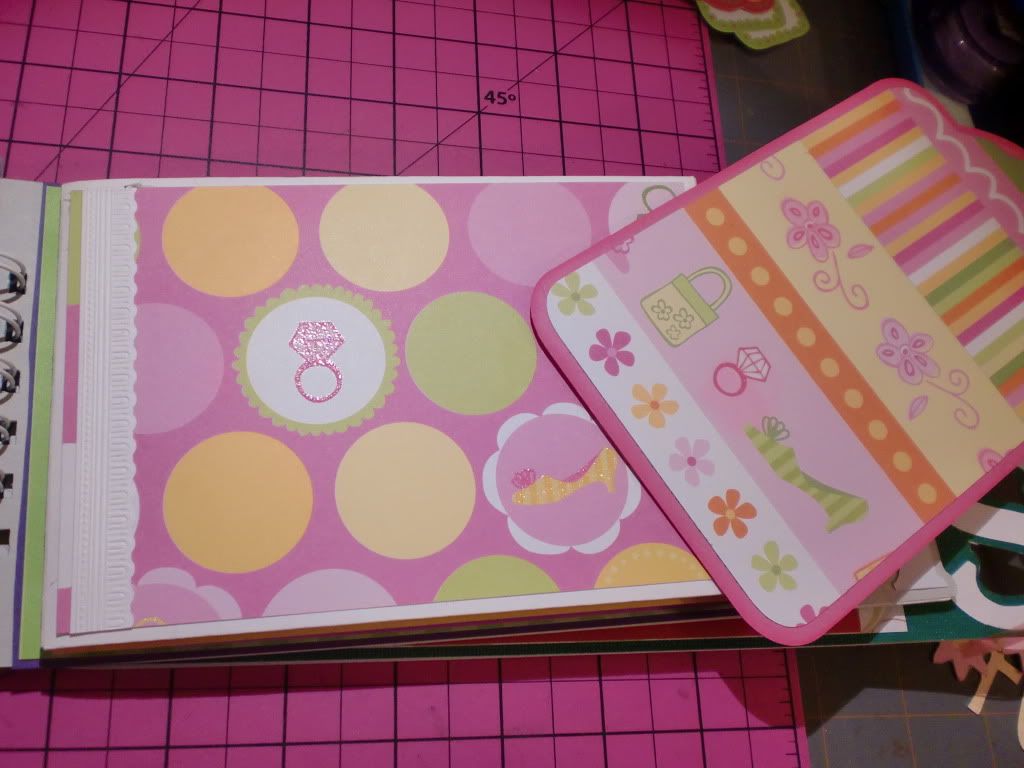
The Second page, (the I & C on te front side) I put a purple with white polka dots photo mat, and placed a monogram (K) flower-topped tag onto the mat. Rather than having the tag in a pocket here, I attached it with a strong mini magnet! (The other magnet is hidden under the photo mat) On the other side of the tag, there is a K&Co Girl Scouts Tag that says "My Troop # is...." That way the girls can write in their troop number!
On the back side of the I&C page, I have another photo mat. There are tags that say "laugh," and "play."
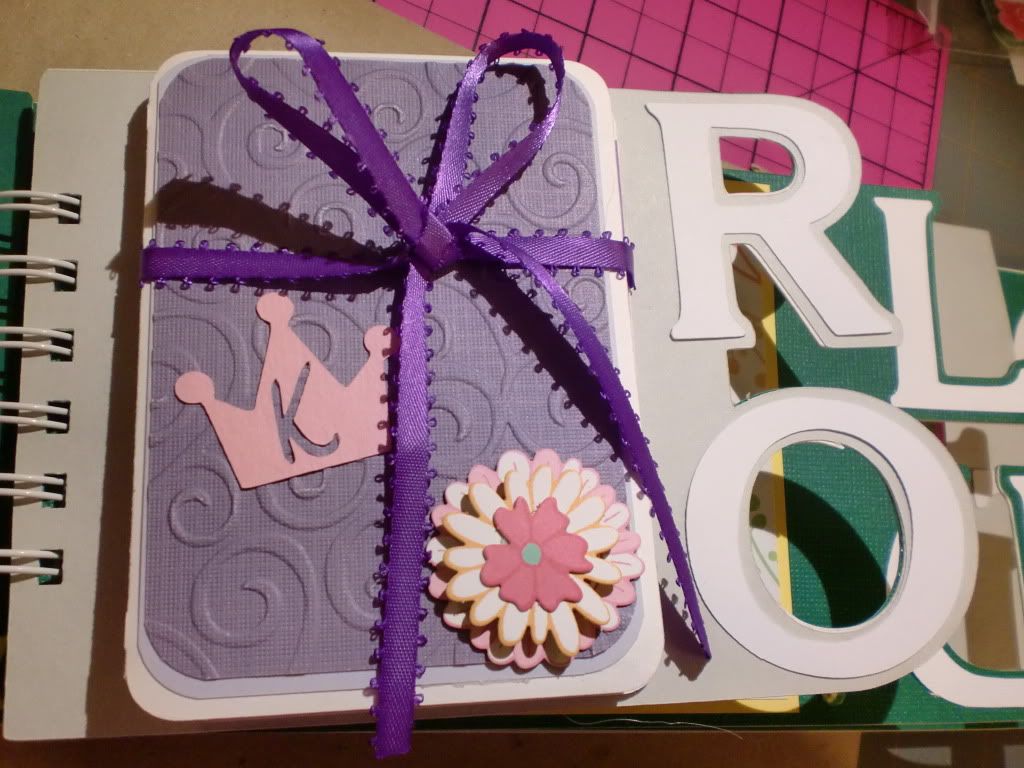
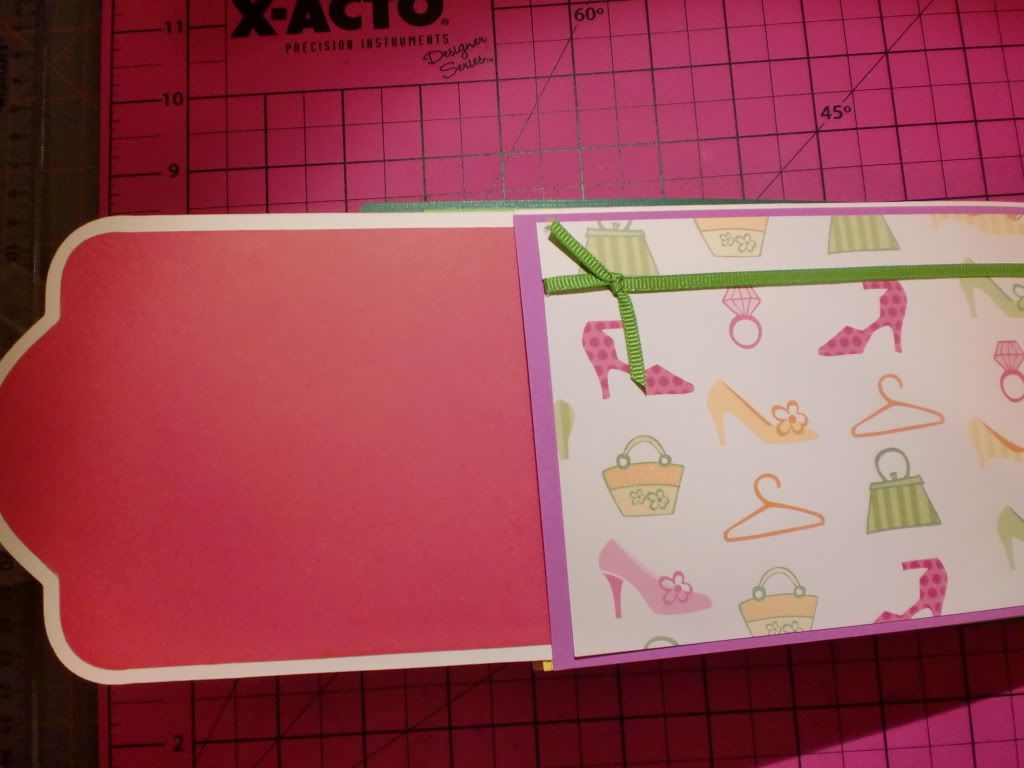
Page three, (the R & O page) the front side has a pull-out tag holder. It's kind of accordian style (I guess it would be called. :/ I don't know!!) This tag pocket section has a ribbon closure:
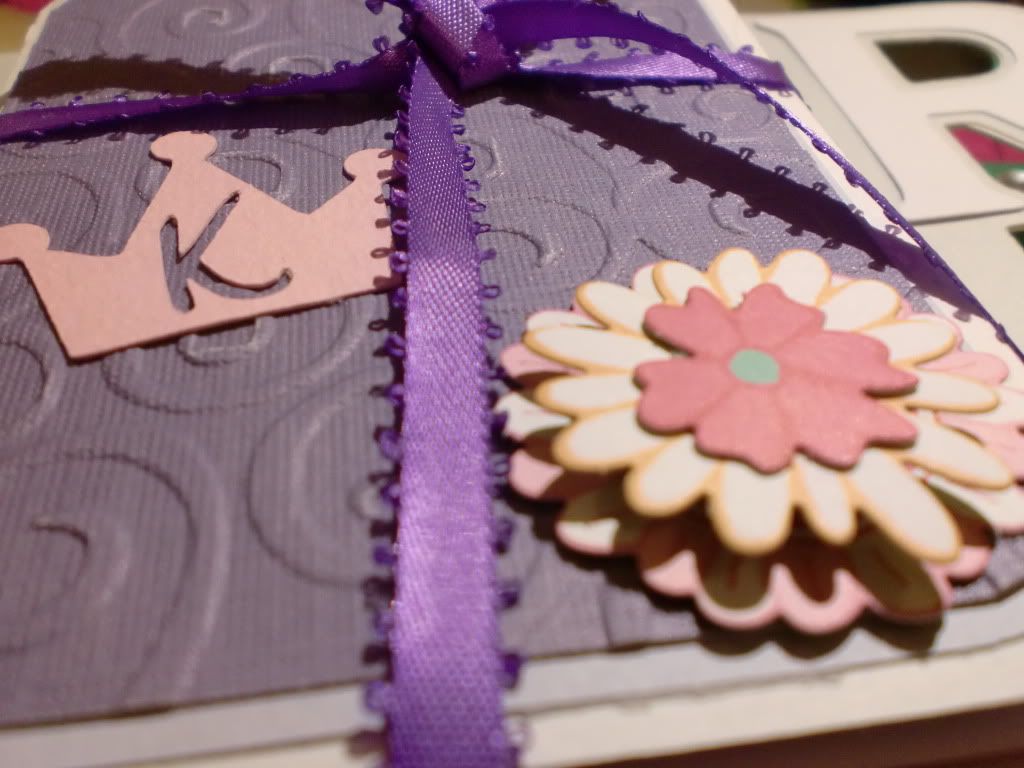
The little "K" crown is from the Once Upon A Princess cricut cartridge, and the flower is from a K & Co die cut pack, that I layered three of the flowers to make a 3D looking flower. And, of course the purple cardstock there is "Cuttleuggd!" :) Here's a better view of the 3D-ness of the flower: (Like that...3D-ness? lol. If you can't tell..I tend to make up my own words a lot!)
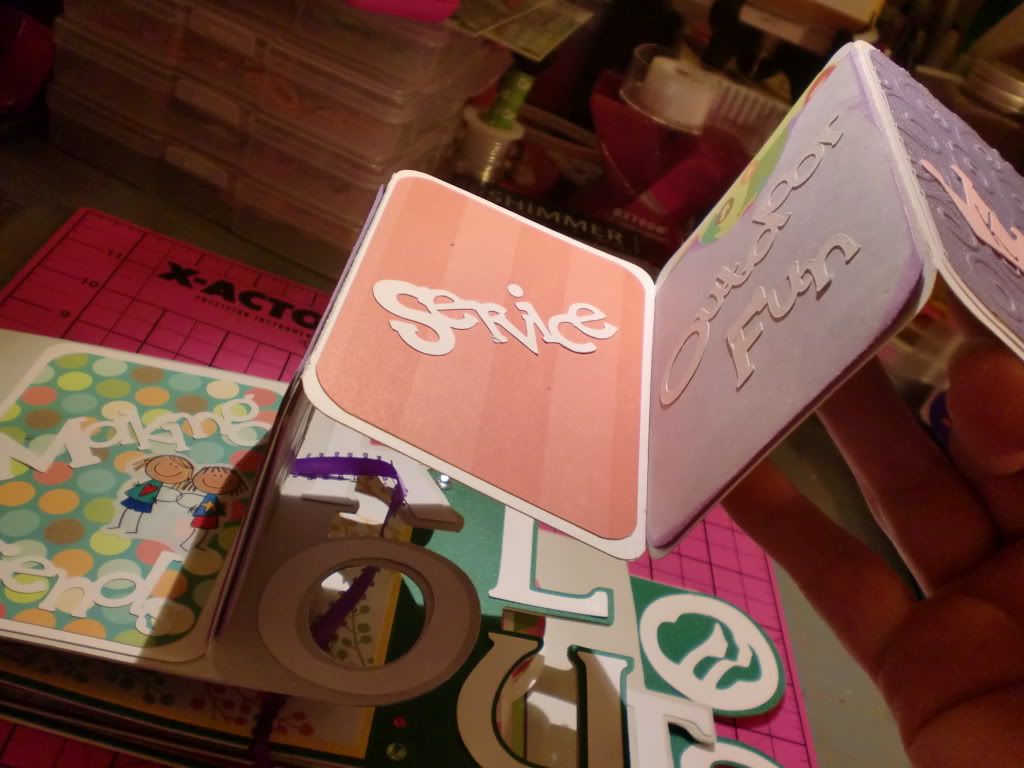
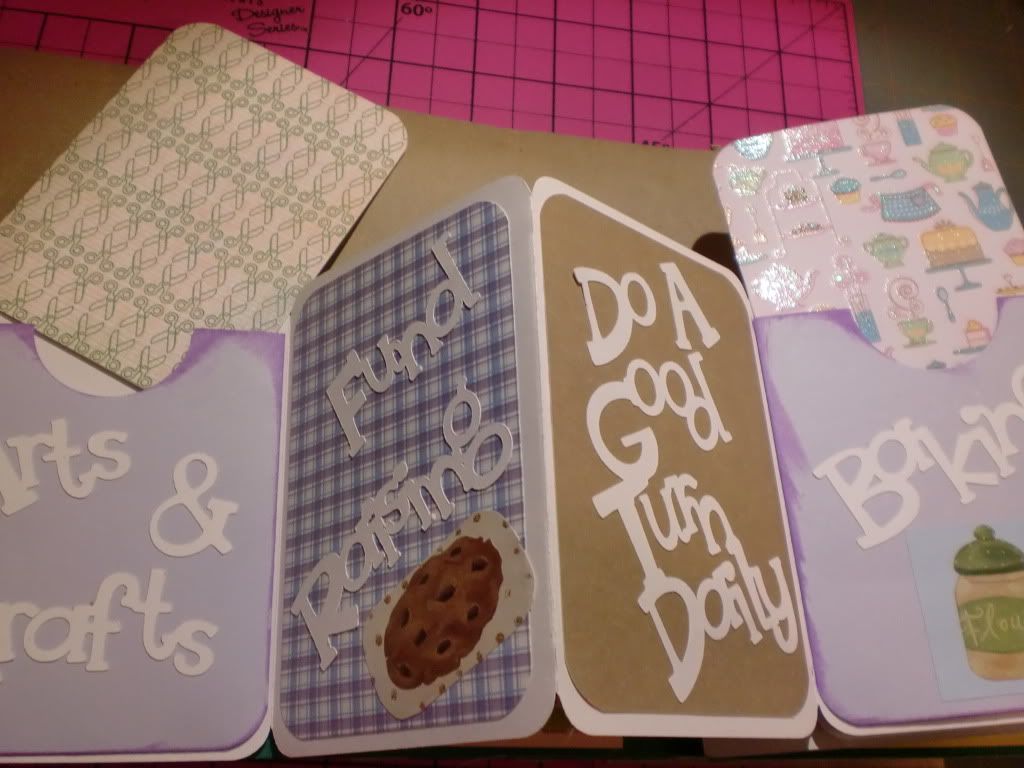
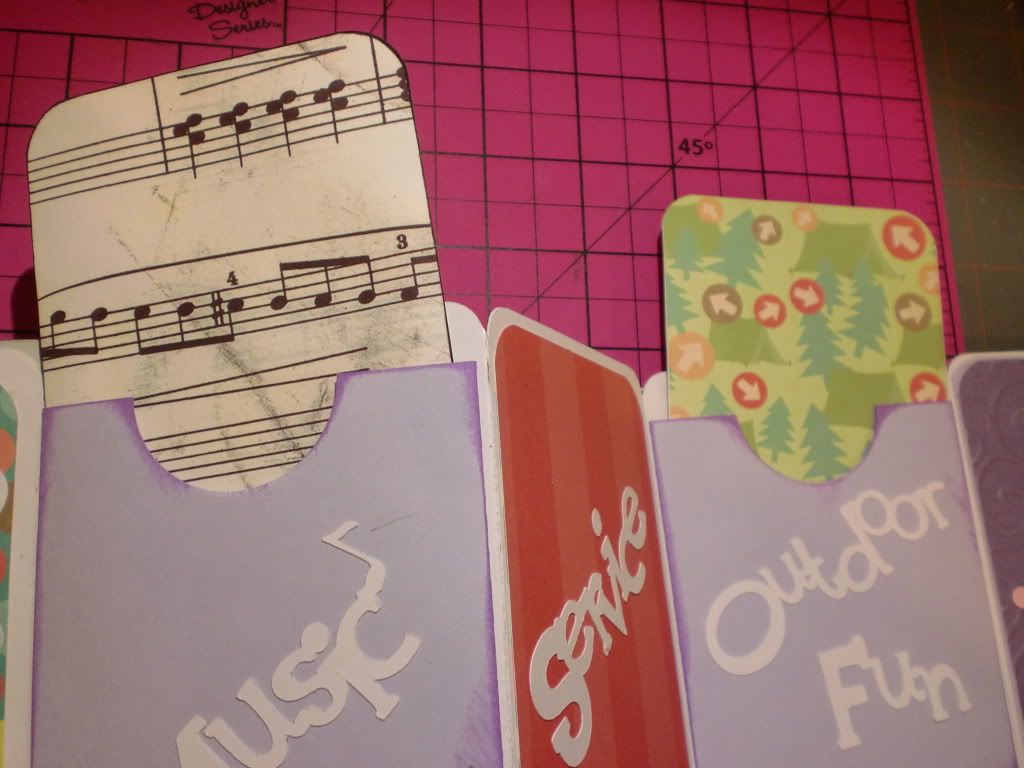
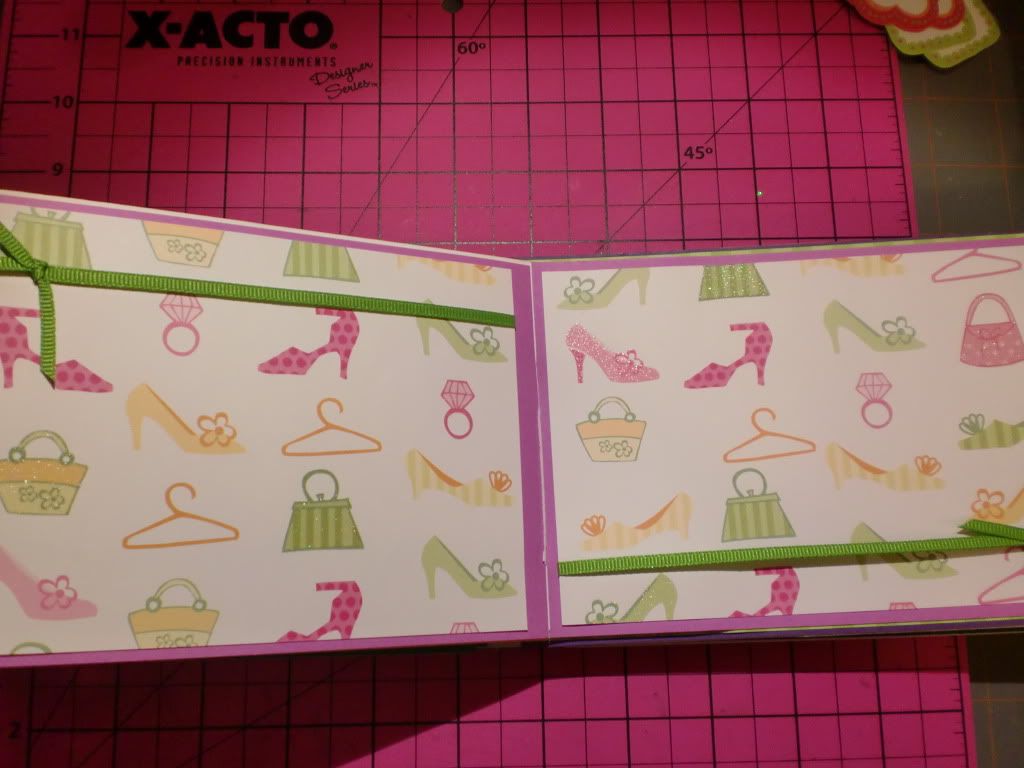
This "interactive" part opens two ways, to the left, and to the right. I made this part to show "Activities of a Girl Scout." So I put titles in such as, "Service, Fund Raising, Outdoor Activities, Baking, Arts & Crafts, Etc."
There are some (simple) tags that pull out as well, to add photos and journaling. (Is 'journaling" a word? Because my spell check says that it is not. lol)
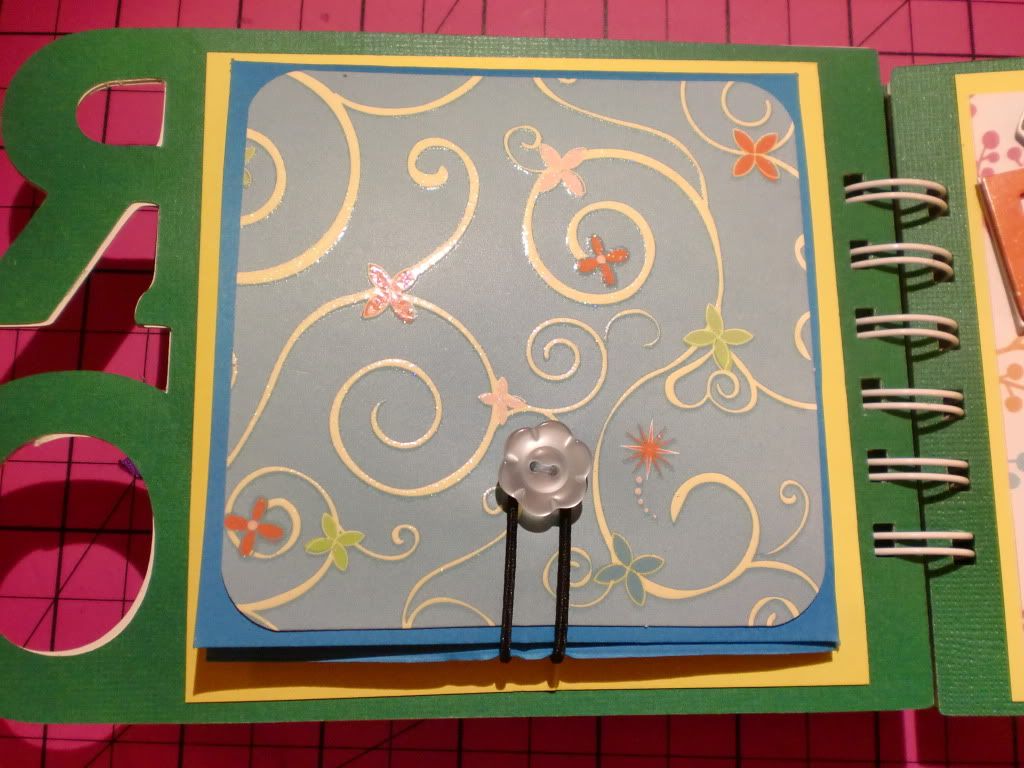
For the backside of this (R&O) page, I added another 'interactive'/fold-out section.
I also want to mention that I tried to make each individual page a little different. Instead of using a single paper stack of all coordinating paper, I tried to make each page different. I did try to still tie in the Girl Scouts or Girly theme... but I wanted it all different. And here is the next section:
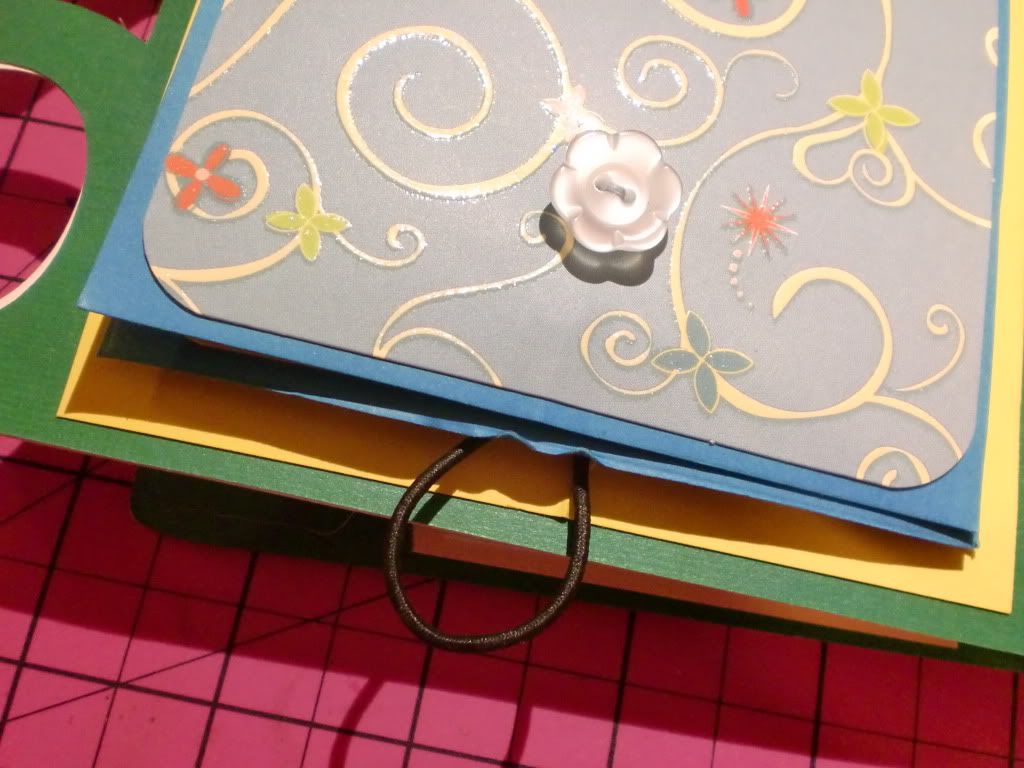
I made my own closure for this one as well. I had these cute little flower button brads, so I placed it into an eyelet, (to make it stand up a little bit.) I then added an elastic cord on the bottom to hook over the button to keep closed. I hope that made sense. I'm not so good at describing what I am doing! lol. Here it is with the elastic cord off the button:
And here is the picture of this section completely opened:
(The back of these flaps have patterned paper on them as well...I just didn't take a picture of that!) I left this section pretty much blank. I included a pack of K&Co Girl Scout stickers and die cuts for the girls to decorate their own books...so they could add their own personal touch as well. So I tried leaving them plenty of space to do just that!
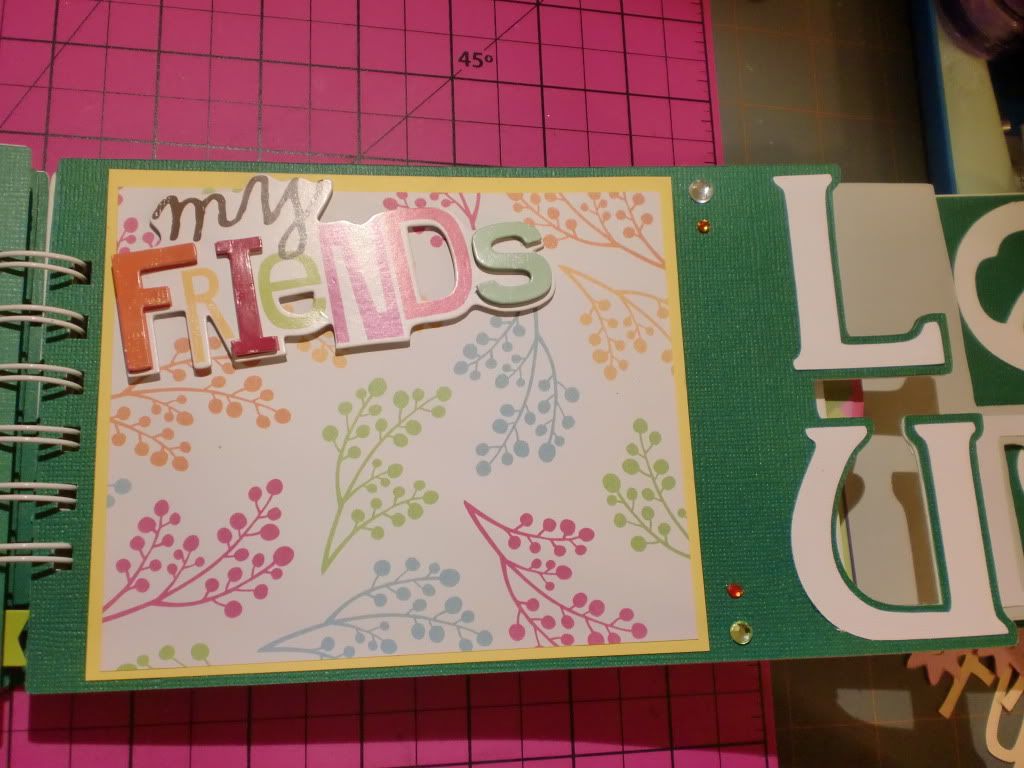
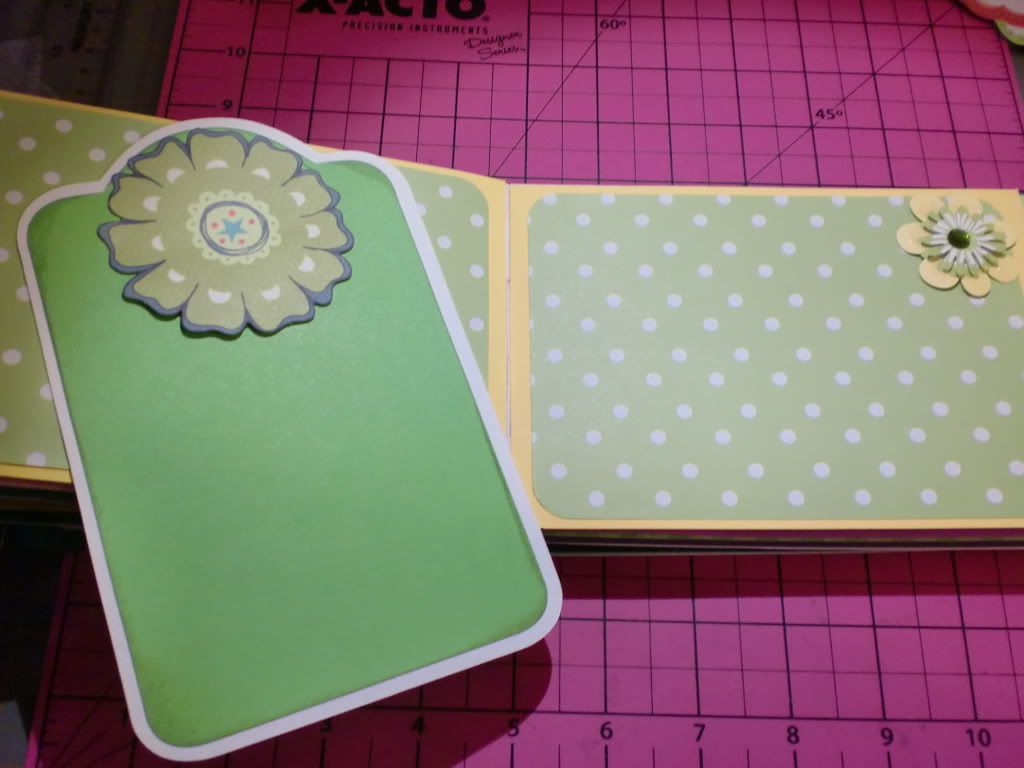
Page Four: (L & U front side) This is a photo mat, with a "My Friends" chipboard sticker title.
And I had to add a little bit of bling there on the side of the photo mat. :)
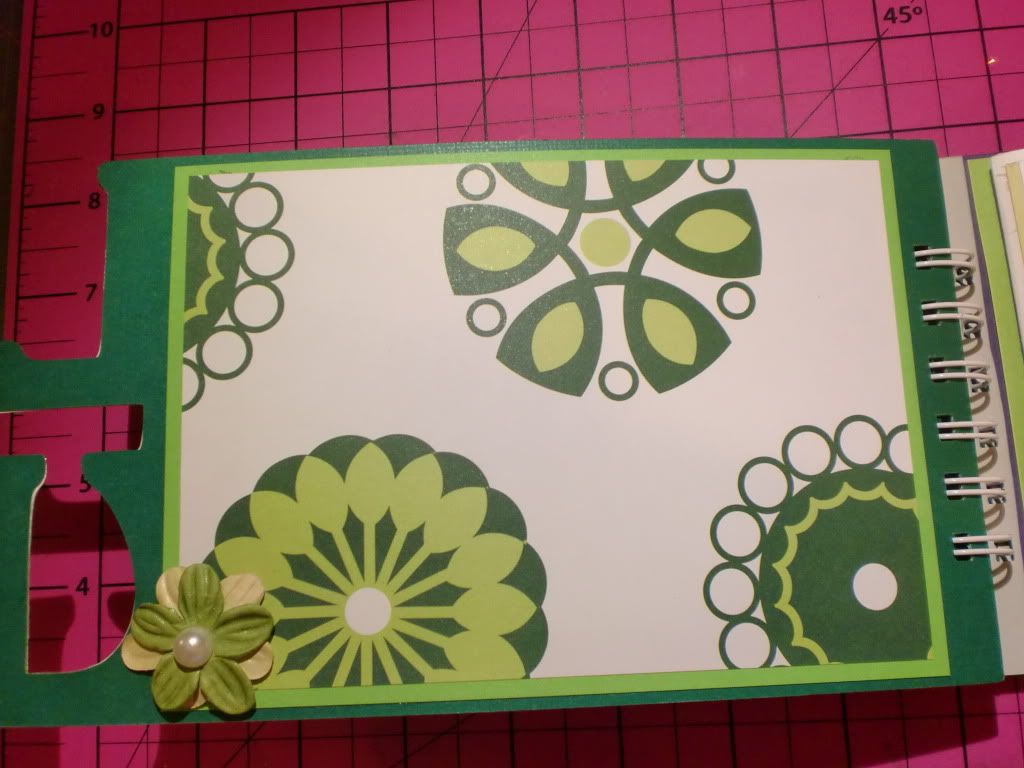
The reverse side of the L & U page is another photo mat.
The flowers with the pearl center in the bottom left corner, is just attached at the one side, so that if there is a large picture, it can slip right behind the flower. I like how it looks to have the flower on top of the photo... so I just had to add it in that way. :)
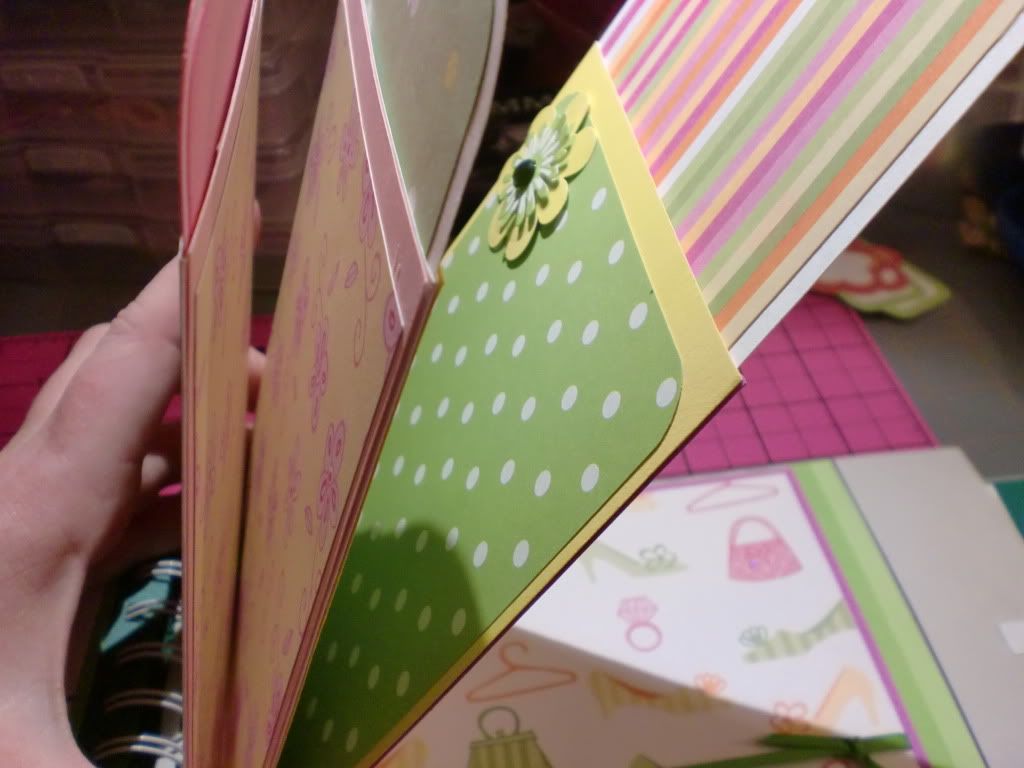
The next page, The 'T' page, front side: This is another 'interactive' section.
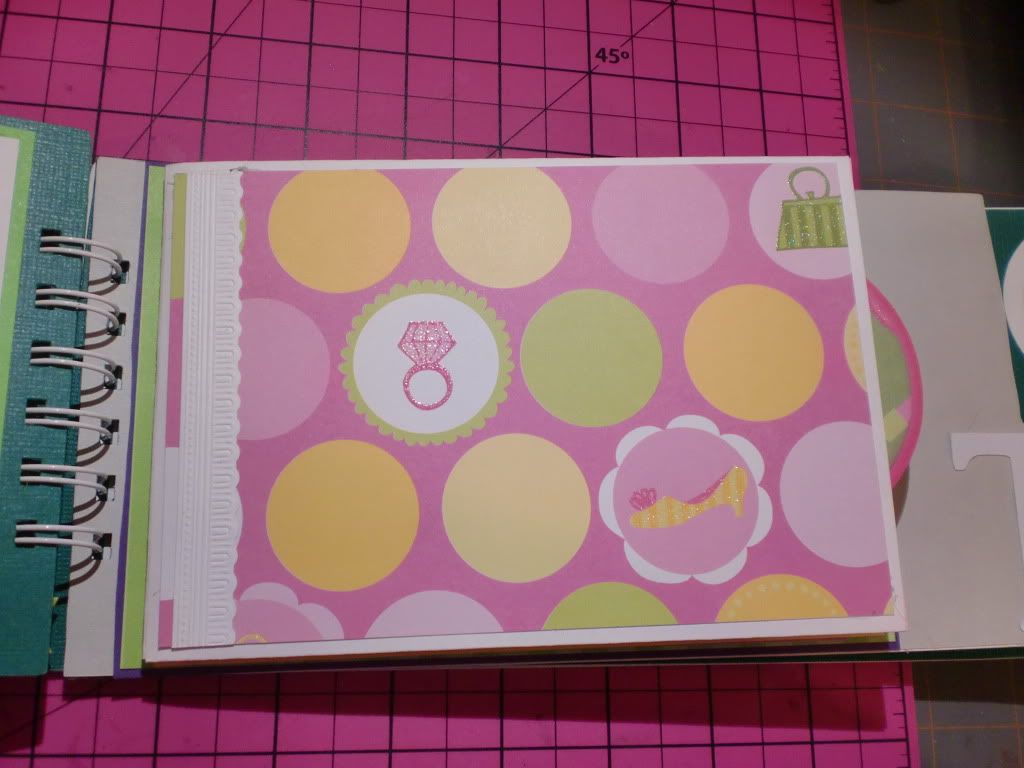
This section consists of three pocket pages, each one having a double-sided pull out tag. These pages and tags are all large enough to put a 4x6 photo on if desired. Plenty of room for photos and journaling! (And to embellish!!!) Here is the first page:
And with the tag pull out:
Second page (with back side of first tag):
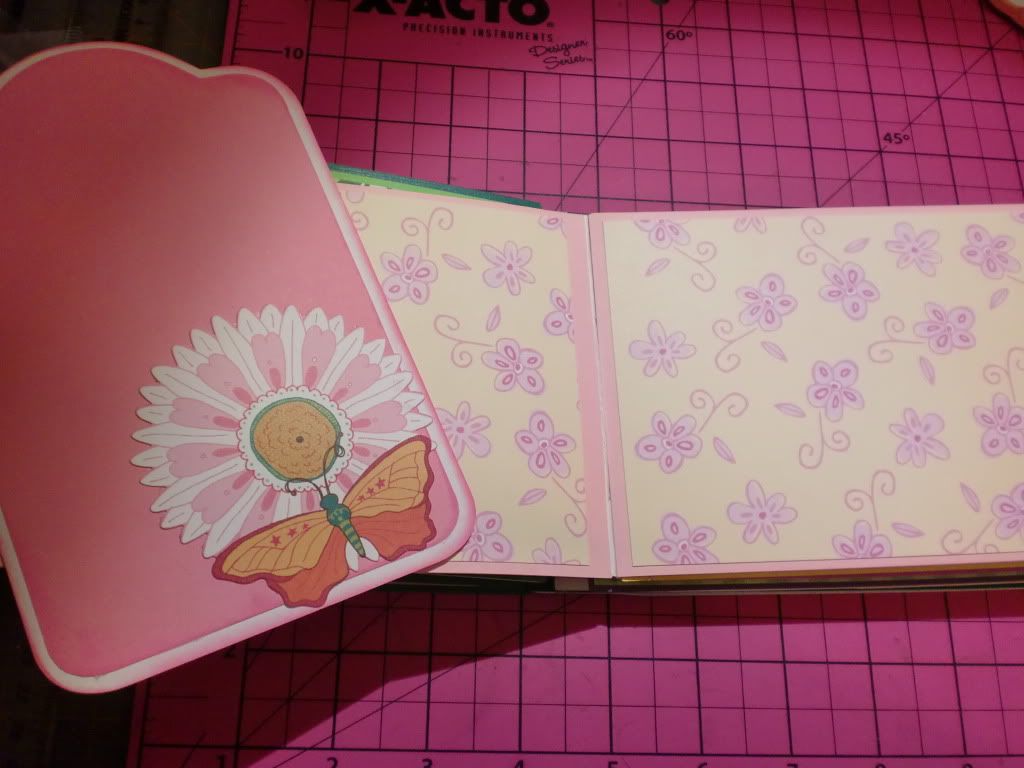
I don't know if you can see it in the picture, but this yellow and pink paper has cute little flowers and butterflies on it. They blend in so well, I love it!
Here is page 3 of this section: (I think this is my favorite one!)
This is the reverse side of the second tag. I like this tag because I designed it so that you could slip a photo under half of that die cut flower! (it looks sort of like a clipboard...that would be the best way to describe it. haha.) It could also be a good spot for journaling.
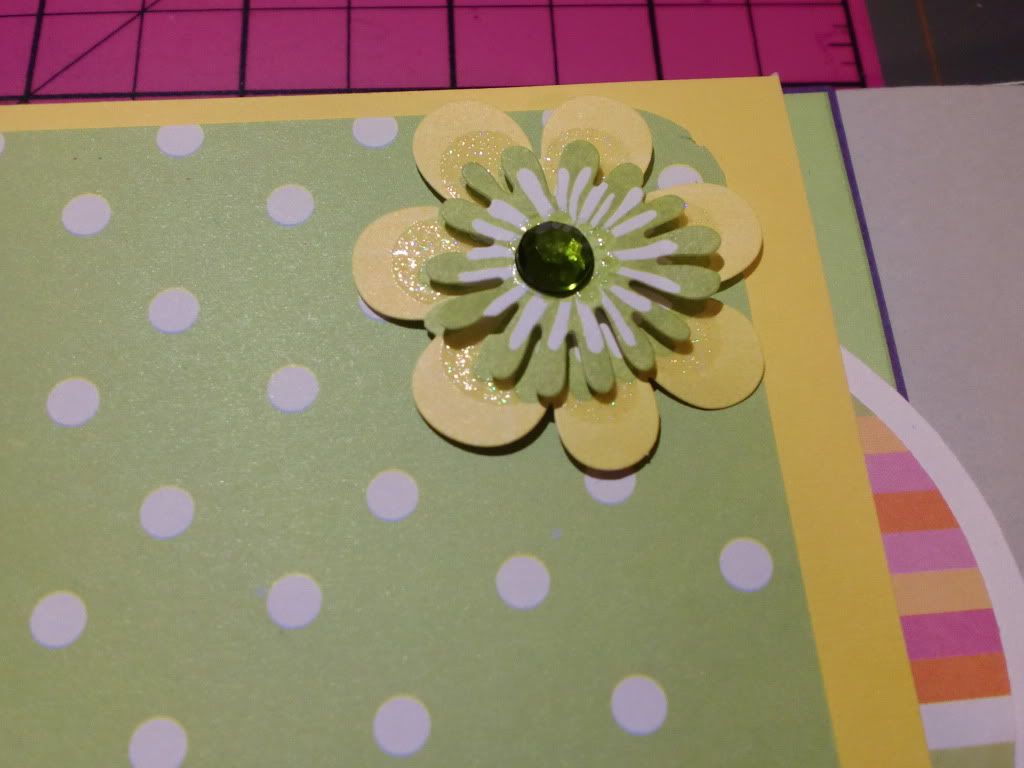
This is a close-up of the flower on this page:
(It's a K & Co flower.)
Here is the reverse of the last tag, and the last page. The final page does not have a tag pull out, it is just adhered down to the book.
The green ribbon is not adhered down, so that a photo could slip in behind it.
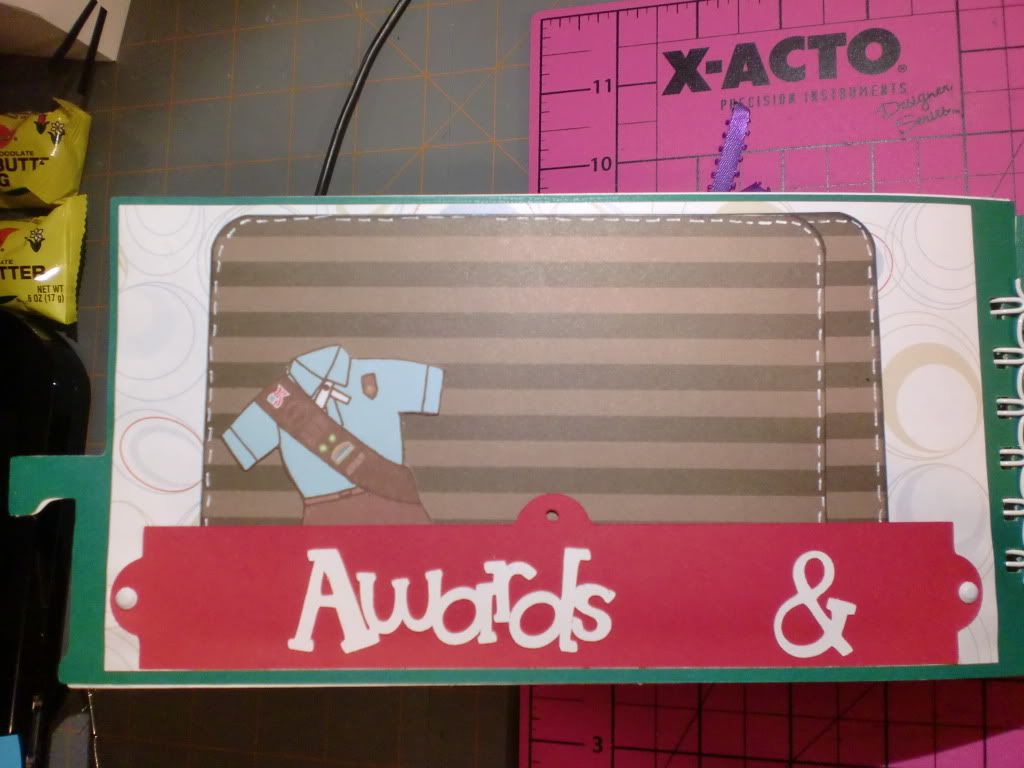
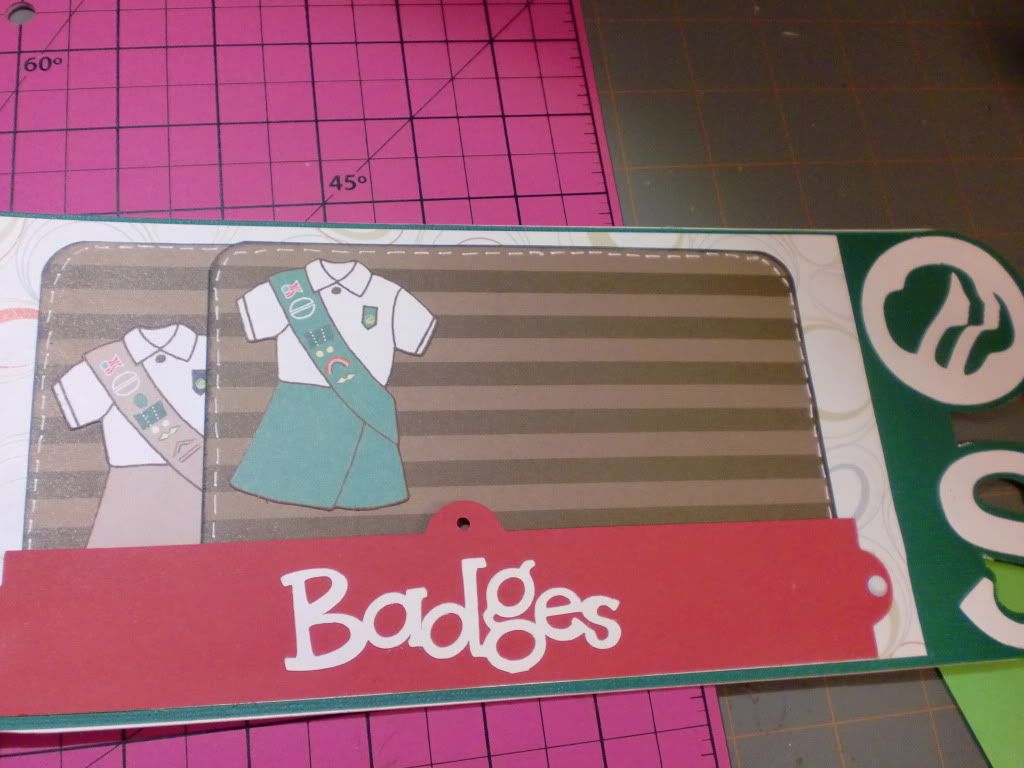
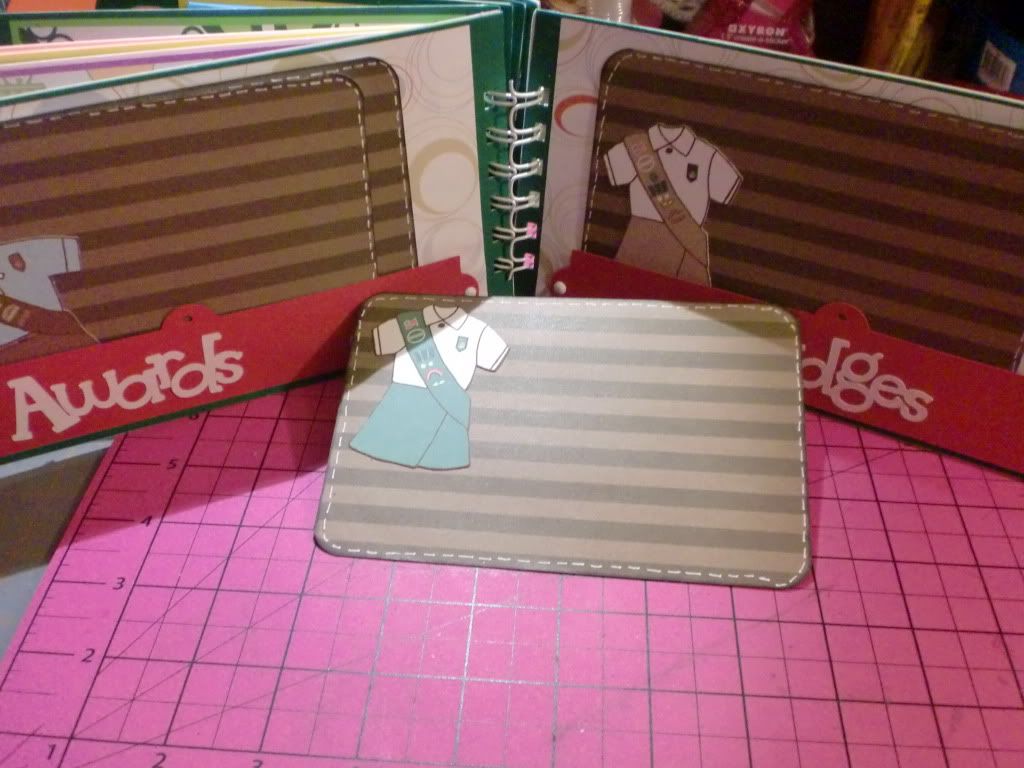
And for the final page. The Girl Scouts Logo and the 'S':
For this page, I wanted ti to showcase the girls awards and badges. I had these cute little girl scouts uniform die cuts, so I made 'tags'/photo mats that had the three different level of uniforms on the sides, and one tag that just had the "Girl Scouts" title on it. The left side says "Awards &" and the right says "Badges."
I thought the girls could place the stickers of the award/badge that they earned (on their sash) onto the corresponding Girl Scout uniform page! (That's just an idea, of course they can do whatever they want!!!) The back of the tag can have a photo or journaling, etc.
I added faux stitching around these too.
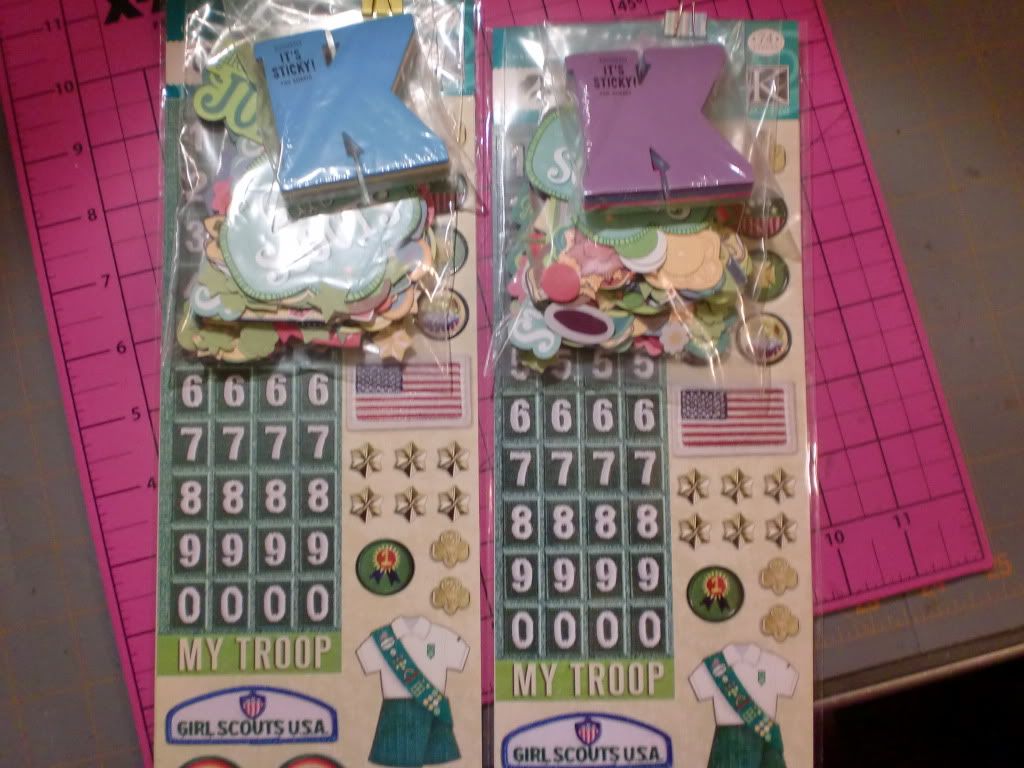
And here are the sticker packs that I found at Hobby Lobby to give with these books:
I didn't open them, but the stickers look like they are actual patches! I'm sure they aren't really fabric, but they sure look like it to me! (Then again, you can't really take my word for it. My eyes don't see what normal eyes see. Ha! I'd say they are fabric, and you would say, "Um...Lori...those are PAPER!" Lol!) But I thought they would be cute either way to put in the albums when they earned that particular badge! :) Just a thought. There are also bags of K & Co Girl Scouts Embellishments. So that will give the girls some starter things to decorate and embellish their own books! :)
Here's what the finished books look like:
The finished book measures approximately 5" X 12" (The original cut file was about 7" X 15" but I thought that was just a little big for a "Mini") Haha! :) I really, really hope that the girls like them! I really struggled with making these. I need to stick with things I know about, I guess. Ha~! But I am pleased with how they turned out, and hope the girls like them! If I were to do them again, I would do a million things different, but isn't that always the way it is?! :)
One of the reasons that I wanted to get these done so quickly, (besides having them done for Easter gifts,) is because my Best Friend since....THIRD GRADE is pregnant!!!!!!!! :) I am so, SO excited for her and her husband! :) I am going to make her a "Pregnancy Album" to document her first pregnancy! Oh my gosh, I am so excited to make this! And, what is cool about it is that I can take my time and make it PERFECT because I am making it along with the pregnancy! That way it's not rushed, and filled out later... it grows as she does!! Lol. :) Ok, I could go on and on about that...but I won't! Just a quick CONGRATS AGAIN to Lori, and thank you for letting ME make the album!! (No that is not a typo, her name is also Lori! I did NOT like that in third grade, lol...my mom says that I came home crying about having another "Lori" in my class! Hahaha. But now I think it's pretty cool!)
Thanks for stopping by!! I hope everyone is having a wonderful week!
-Lori