"What we do for ourselves dies with us. What we do for others and the world remains and is immortal."
-Albert Pine
Showing posts with label Paper Cakes. Show all posts

Monday, August 1, 2011

I Made New Crafts!!

Are you as surprised with that heading as I am?!  YES!! I actually was able to craft this past week!   It was more the past few days than the rest of last week, but still!!  :)   My brother's family went on vacation last week so I we dog sat.  They have an adorable dachshund named Sparky. Well, he is just getting out of that puppy stage, so he.... is........ ACTIVE.  At the beginning of the week, I started calling him "Tropical Storm Sparky", and by the end of the week, I had upgraded his status to "Hurricane Sparky!" LOL! .   Needless to say, I didn't get much crafting done.  As soon as I sat at my desk, he was up in my lap and hopping on my desk to try and craft too!  :/ 

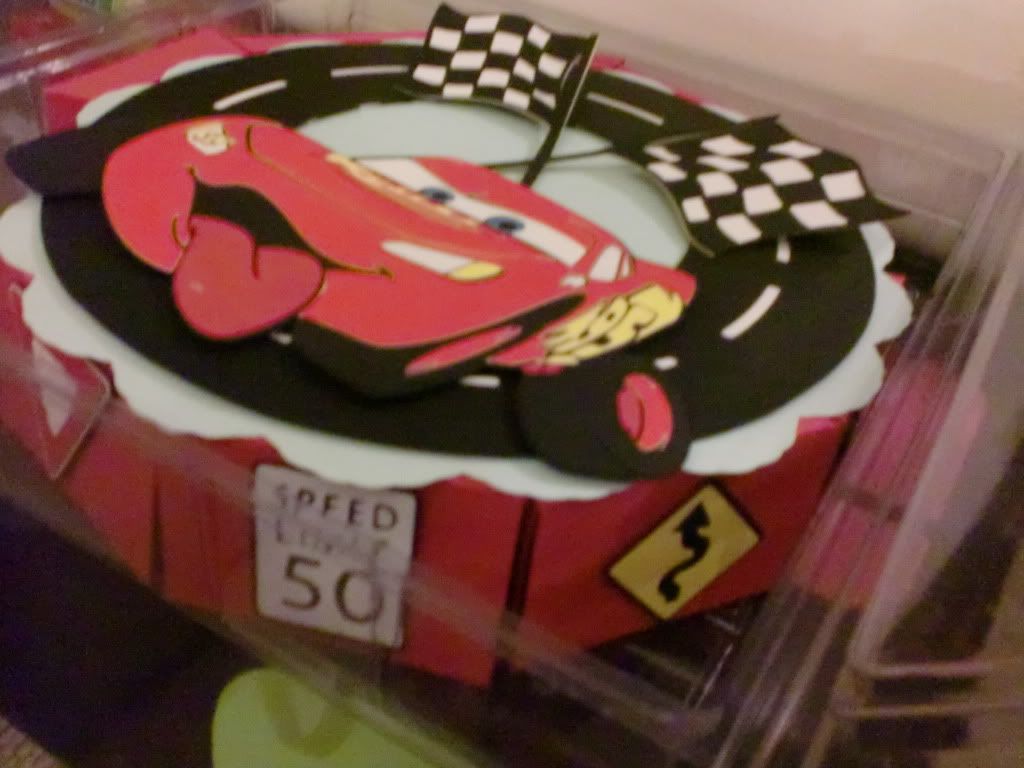
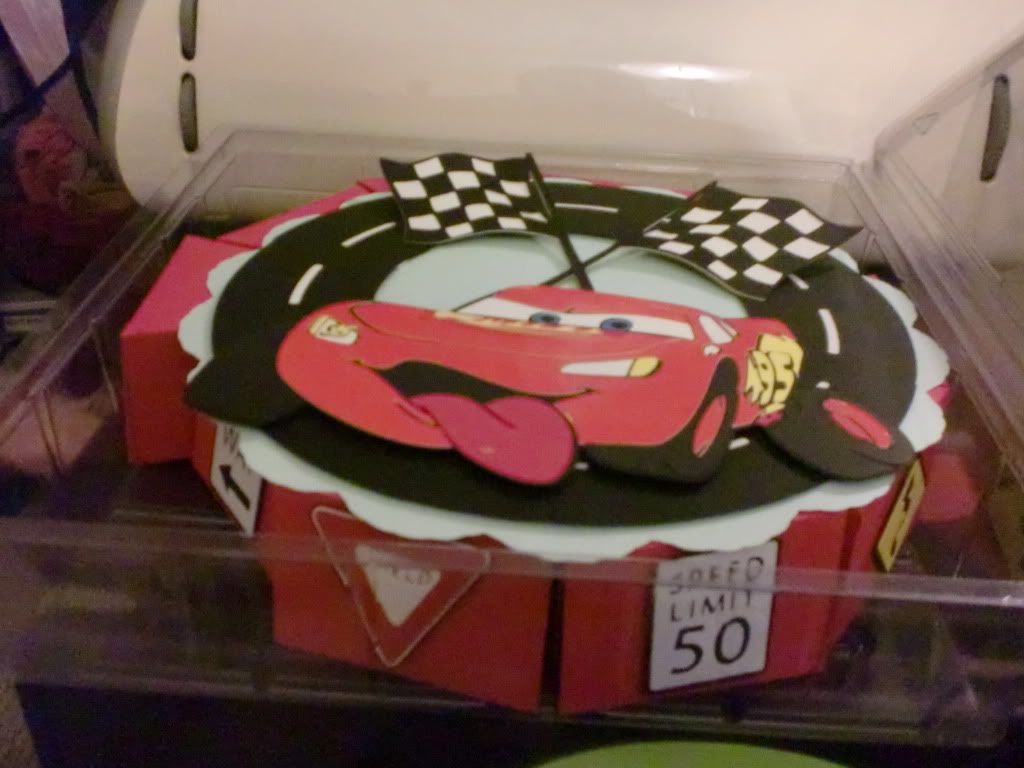
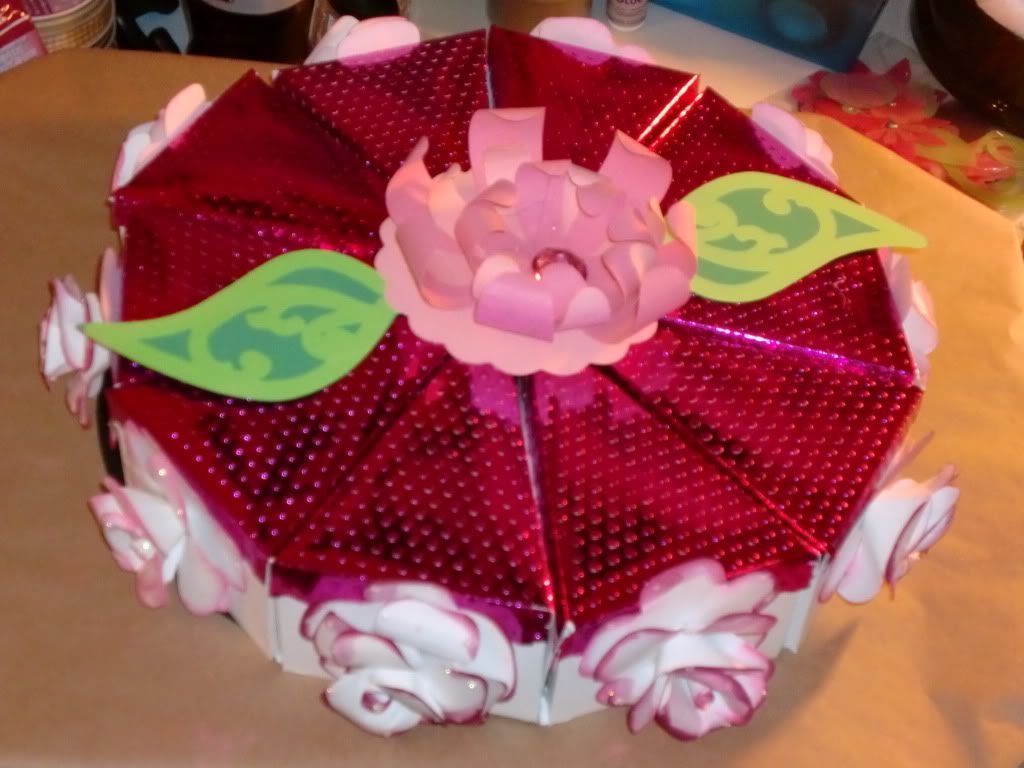
My nephew (Sparky's owner) had a birthday a week ago!!  He is 11 years old now. I can't believe it!!  It seems like just yesterday I was holding him in the hospital!!!  It is CRAZY how time goes by so fast as you age!  So, with me being in the hospital for his actual birthday, then he left on vacation the day I was released from the hospital...so I haven't been able to celebrate with him yet!  I am going over to his house today to give him my gift, so I had to share what I made!

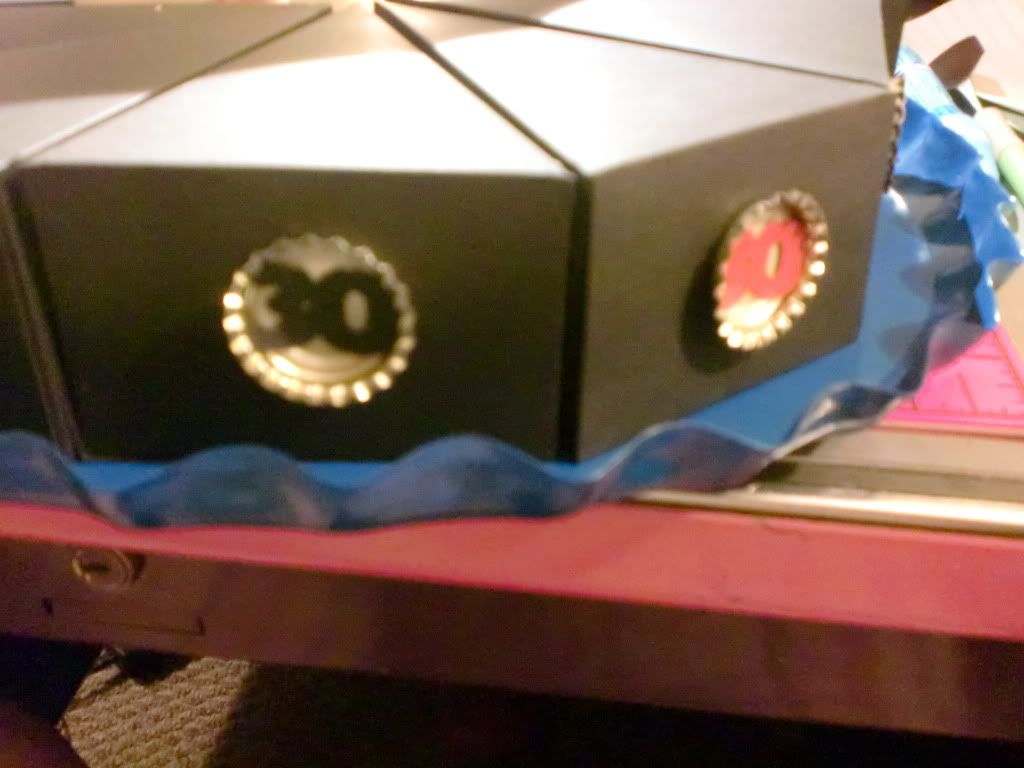
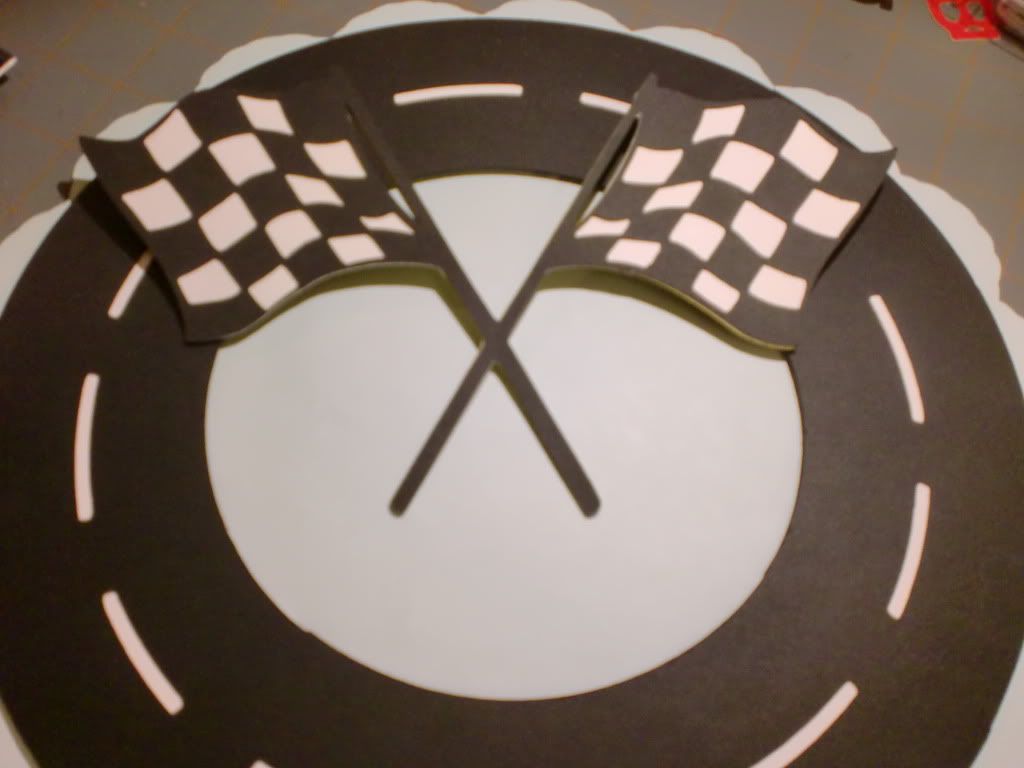
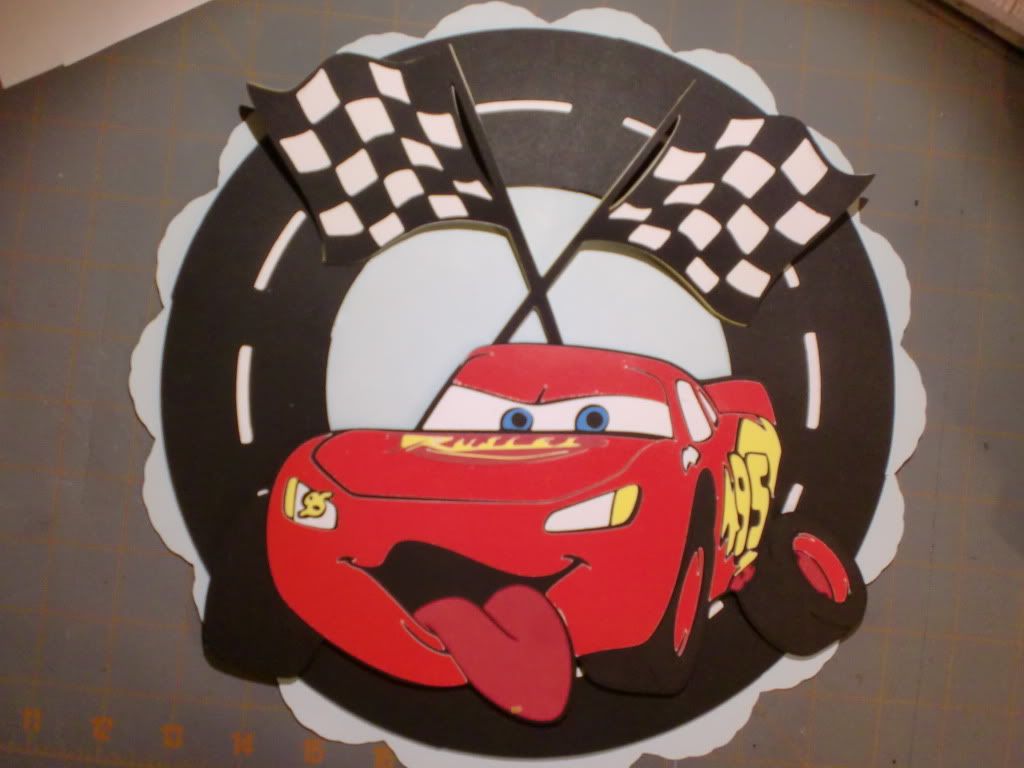
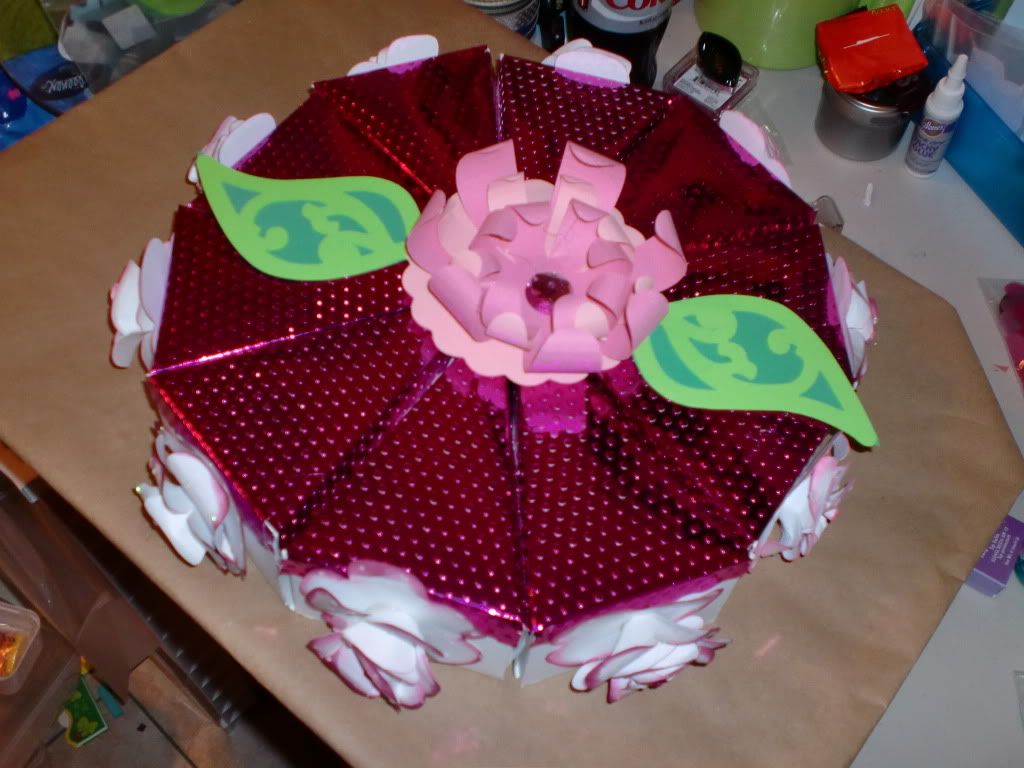
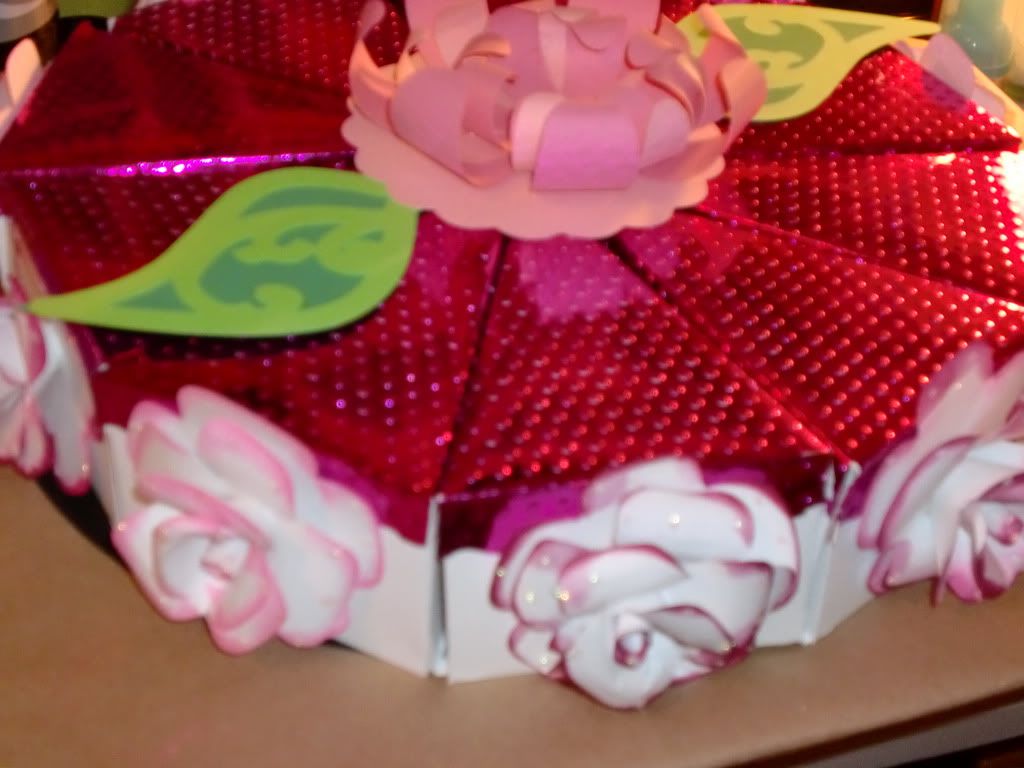
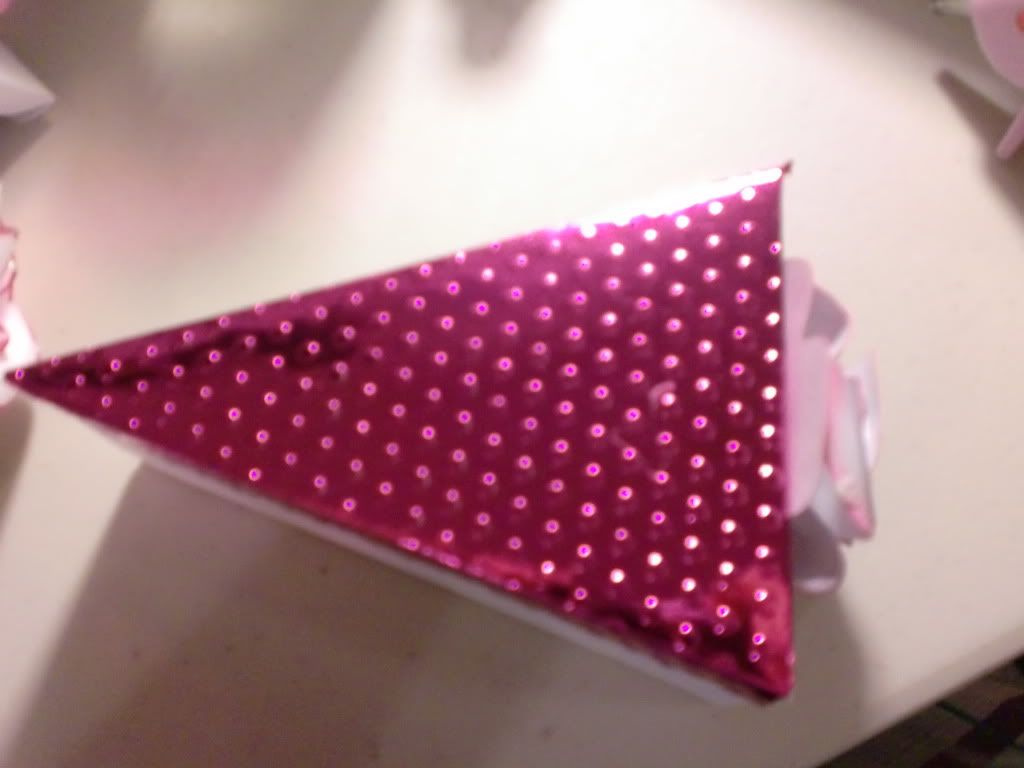
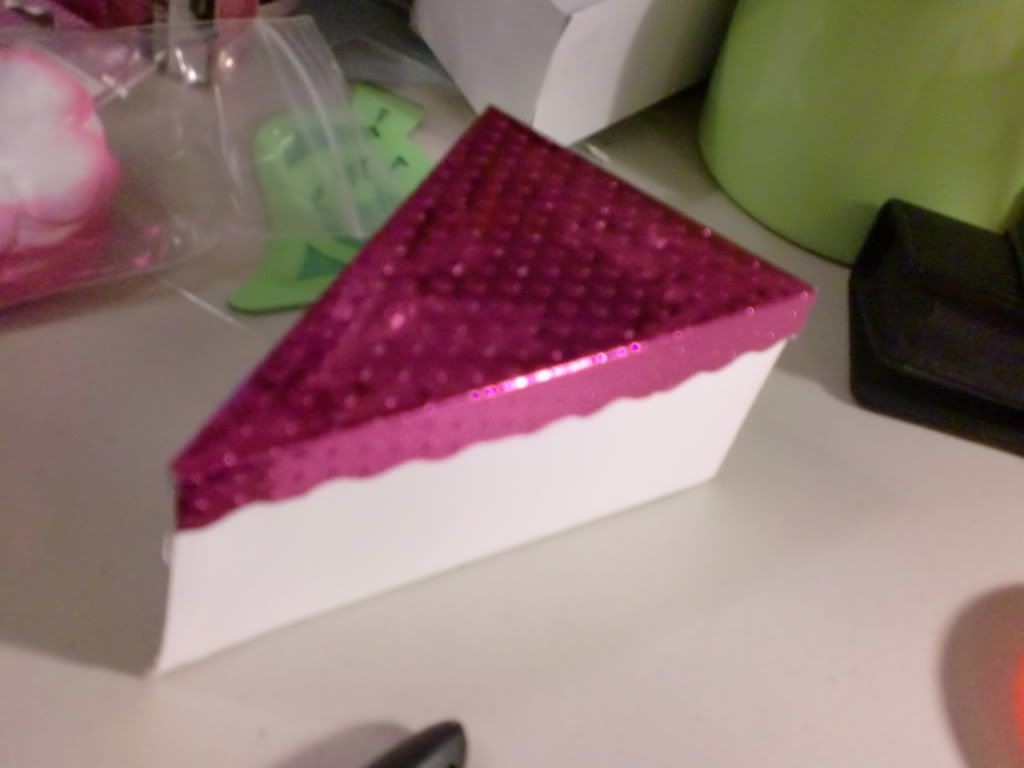
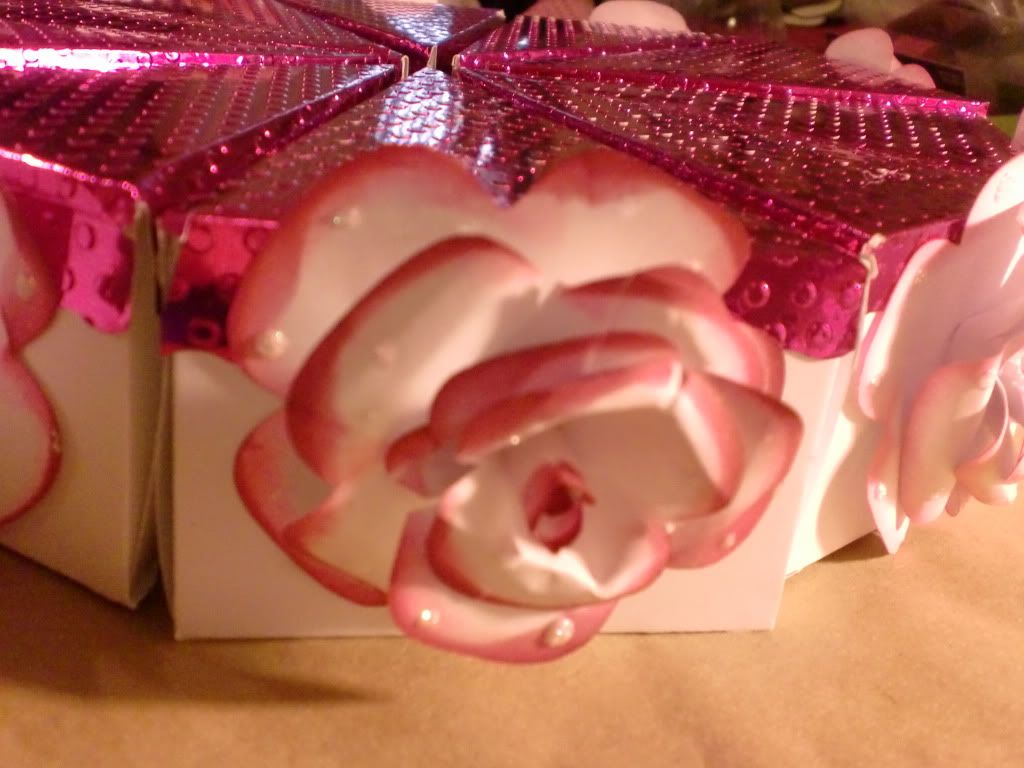
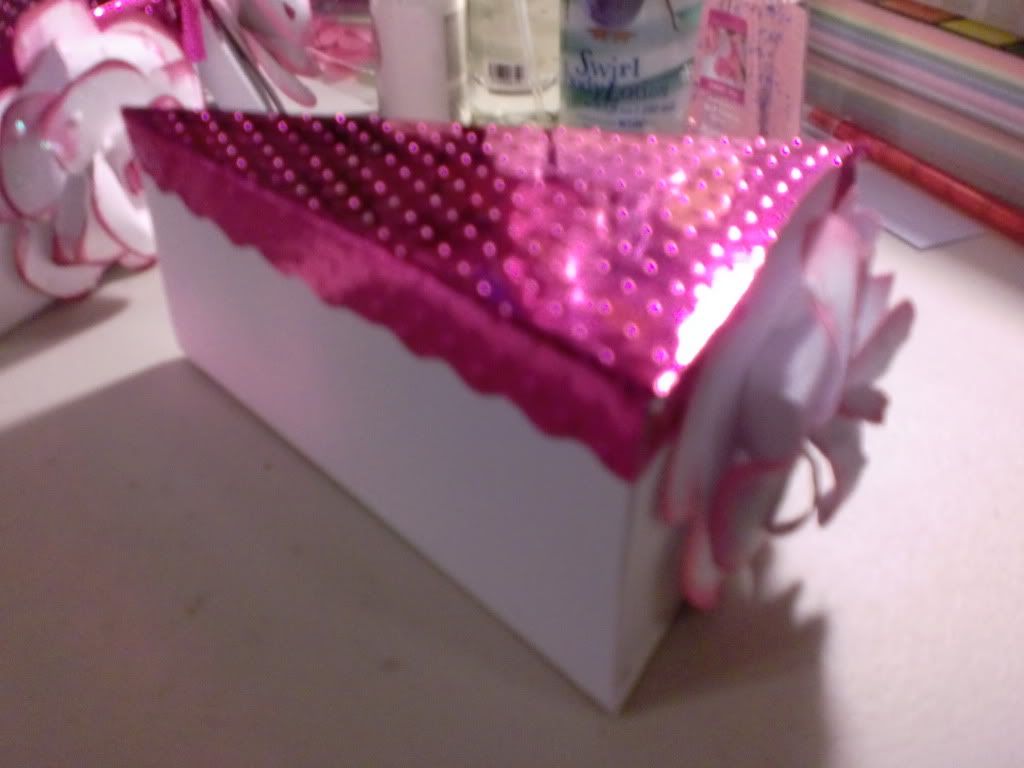
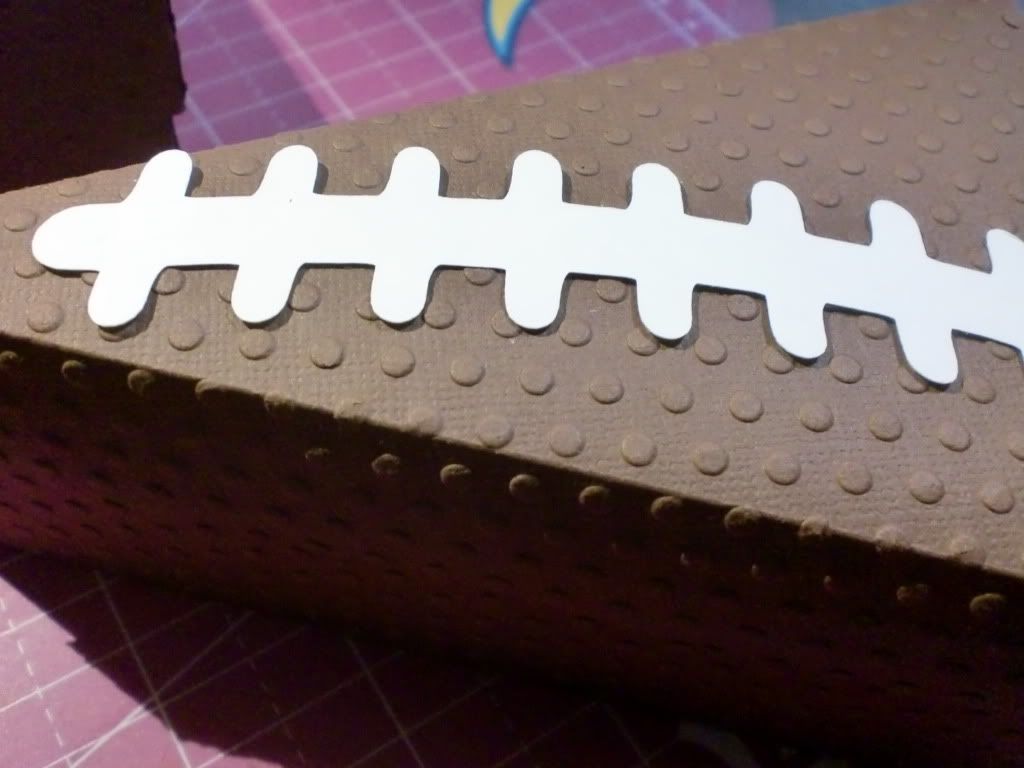
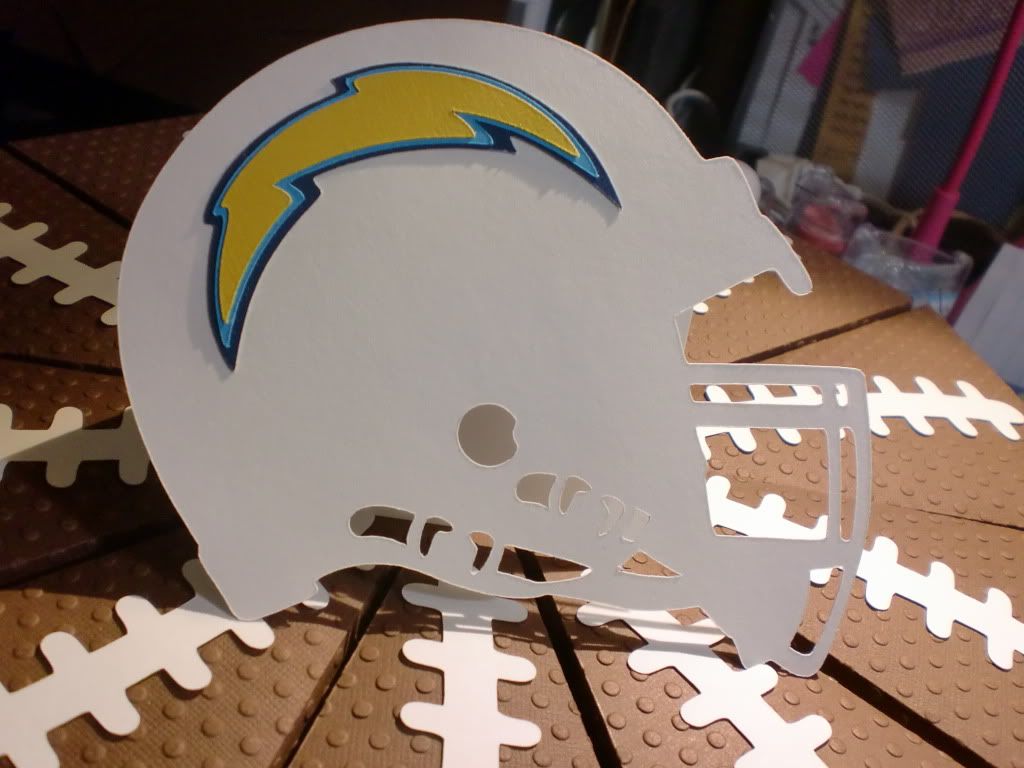
I had to make him a paper cake, (of course!!)  I went with a football theme, because he, like everyone in my family, is a huge football fan!  So here is his cake:
This picture was taken before the cake was filled...the pieces fit together much better once they aren't empty.  That's why there looks to be such a big gap between the pieces!! Arg!

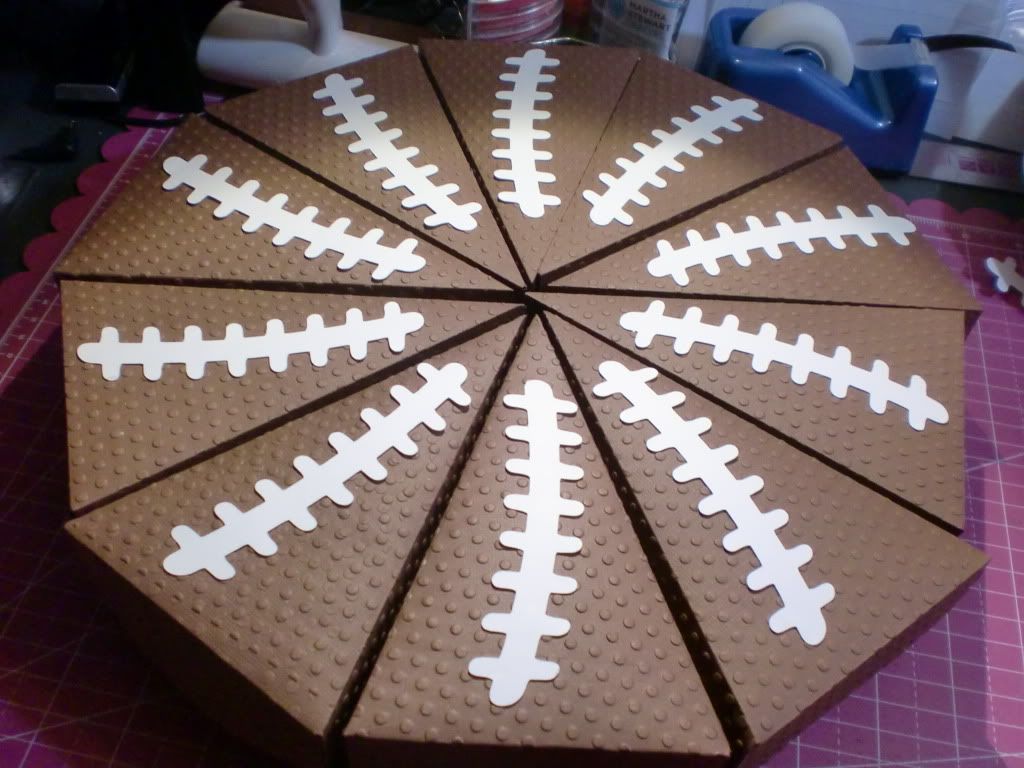
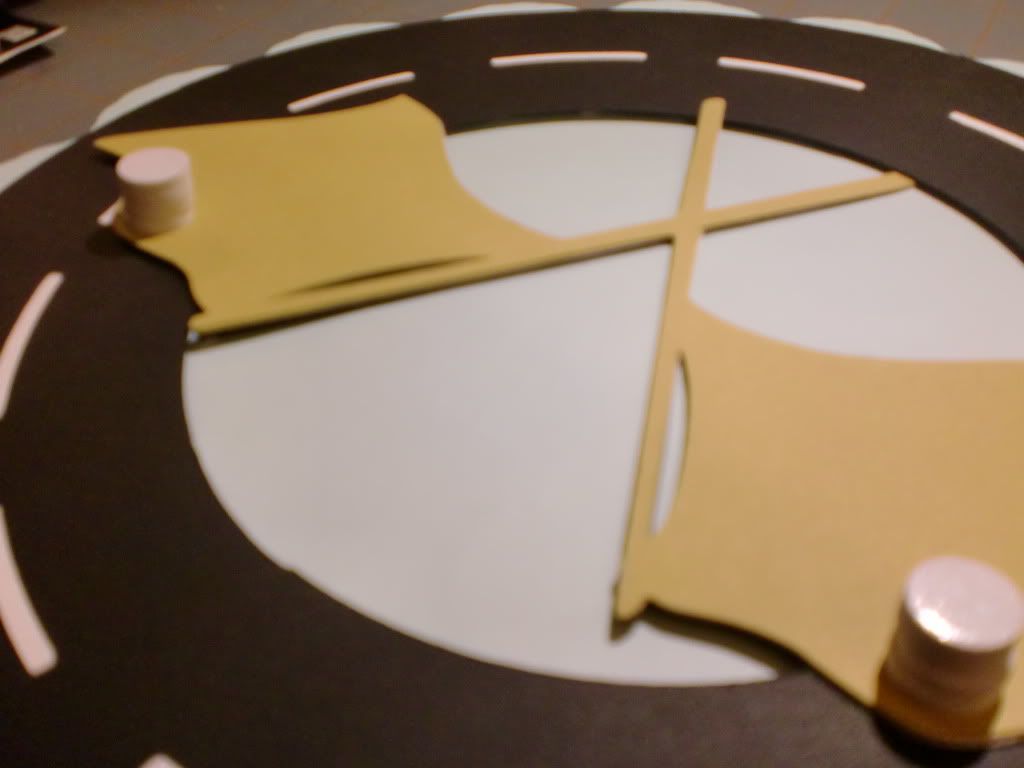
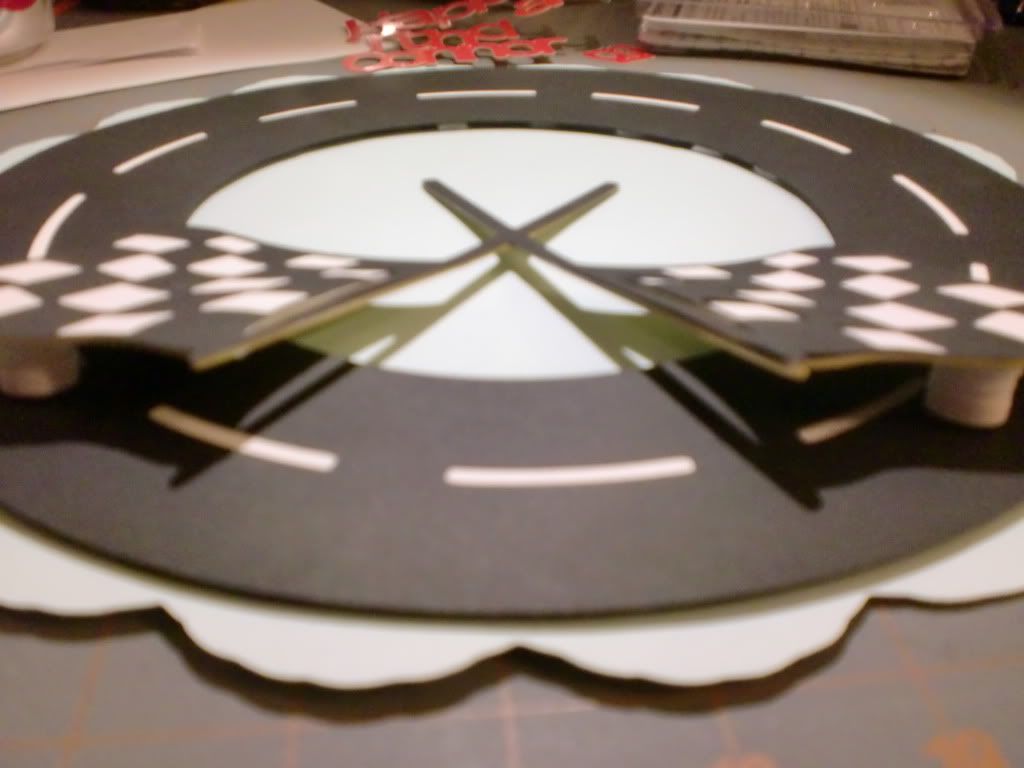
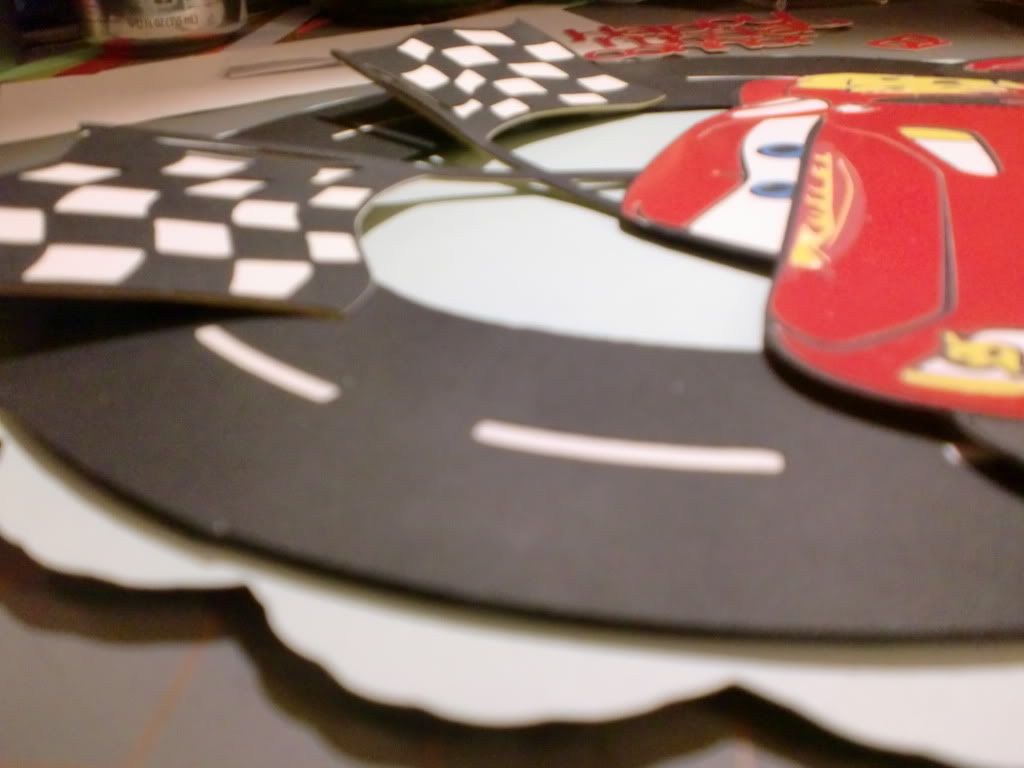
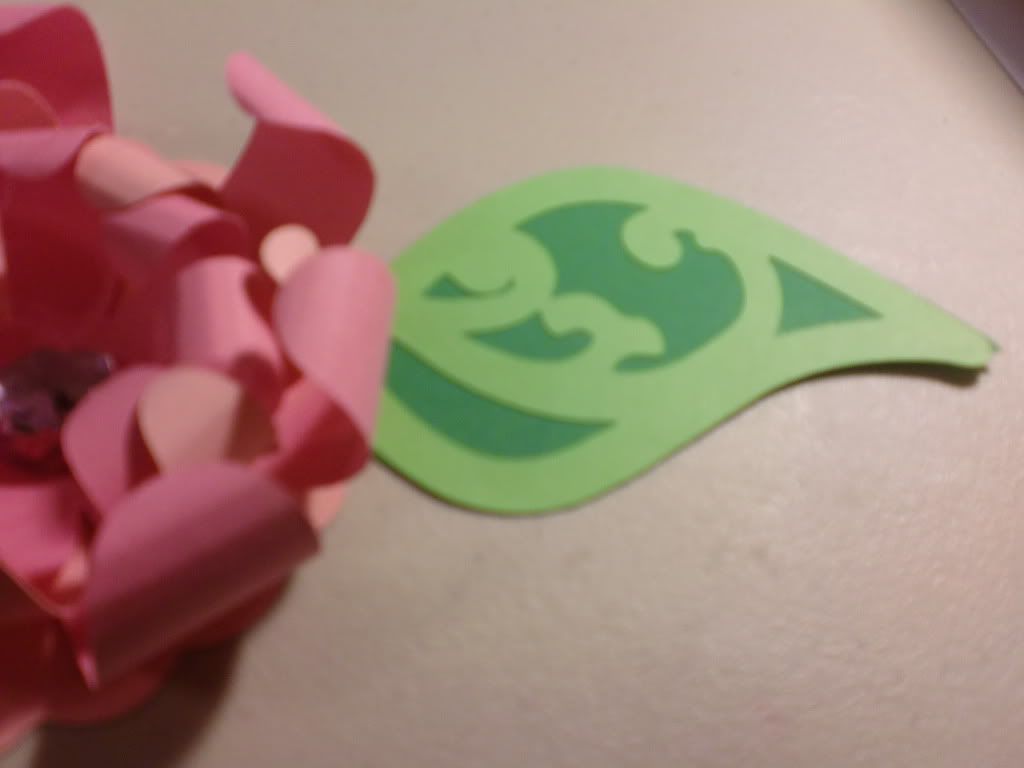
I embossed the pieces too, to give it the football texture. 
And I made a simple helmet for the centerpiece...Chargers of course! (His team.)
And one more shot of the whole thing:
I'm actually real happy with hit.  I originally set out to make a Lego cake, because I was going to get him this Lego set that he wanted.  But instead I got him an Amazon Kindle.  He actually really enjoys reading, so he will LOVE it!!  So I didn't want to do a Lego theme anymore, and just went with a basic football one. :)

ALSO!!! I was messing around online and found a SVG of a Kindle!!! SO...I made him a card that looks exactly like his gift!  I'm actually thinking of putting it in his case, and saying, "you can put this one around your books, and just pretend you have a kindle." or..."Did you really think that you were spoiled enough to get an ACTUAL kindle?!"  Yeah...I'm a mean aunt!  Hahaha. Of course..then I will give him his gift!! OR..I might just give him it as the card, and see if he even realizes what it is!! haha.
Here's the card Kindle though:
I hate not giving credit where credit is due...but I don't have the link to where i picked up this file!! I always save them with the files, and for some reason I can't find this one.  I will post it when I find it!!!!
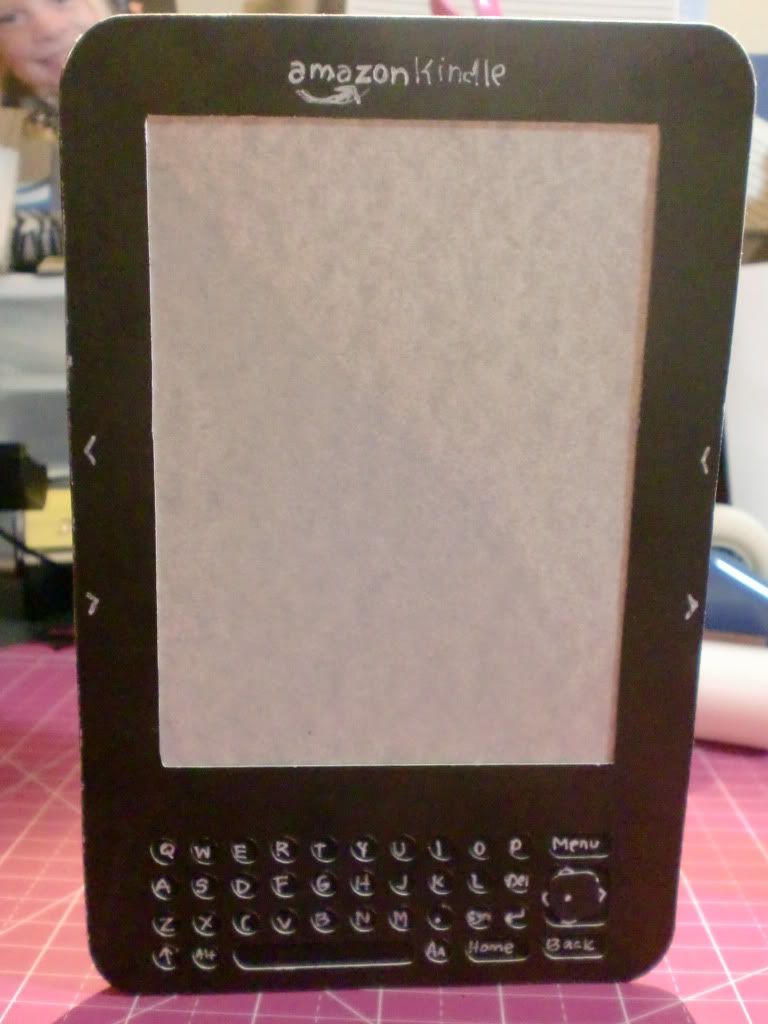
Here's a pic of it (looking like a card):
With my very, VERY poor eyesight.... I totally messed up on the part on top that says "amazon Kindle" and has the swish/arrow under it.  I HATE that!!! I hate not being able to see well enough to do simple stuff like WRITE!!  UGH!  But oh well, it makes it unique, right?! Haha.
I am excited to see him later today!! :)

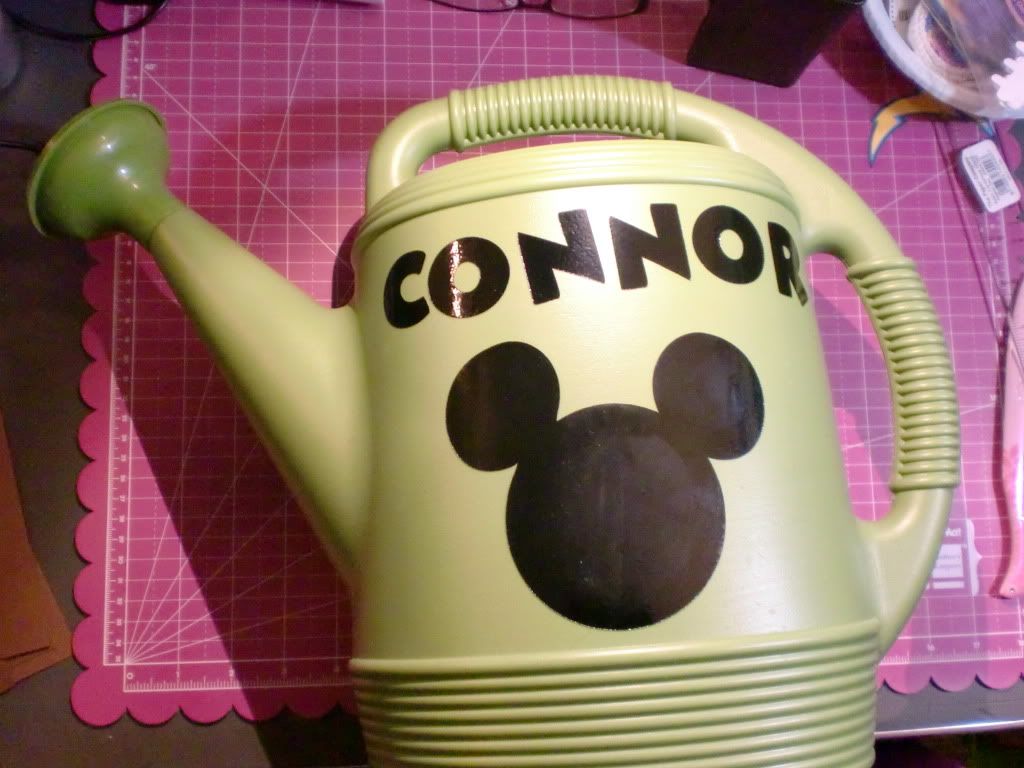
I also made something for my youngest nephew.  Well, it was for my mom to give him.  She got him into gardening. (He is five years old.)  So Grandma got him some flowers and plants and he has a little garden, and he LOVES it.  He feels so important and grown up to take care of his plants!  It's a cool way of teaching him responsibility too!! :)  So she bought a watering can and wanted me to decorate it.  She asked me a while ago, but then I was in the hospital and just real sick and didn't do it.  I wanted to make it really special for him.  But my mom just wanted it to be personalized for him, nothing too special. She said that she wanted mickey, but knew that there are quite a few pieces to mickey.  So I suggested just doing the Mickey Icon, with my nephew's name... and she approved!!  So here is the finished watering can:
My mom told me that he LOVED it!!  So that makes me feel happy.  I feel like there was so much more I could have done.  But sometimes simple, is just right! :)


Well, that's all for me today!  Have a great week ya'll!!  Happy crafting!! :)


"Don't glue anything I wouldn't glue!!"
                 

Wednesday, July 6, 2011

My Niece's Birthday Stuff

Hey Blog Friends!!!

I hate that I haven't posted much lately, and I haven't commented on my favorite blogs in a long time either.  That is what I am most upset about...because I am always so inspired by all you creative bloggers out there!!  The past couple months, my computer time has been very limited.  My eyes don't put up with much internet surfing. :/  But also!!!!  I finally broke down and bought a Kindle.  I wasn't sure the font could go large enough for me, but it DOES!!!  So I have been reading a lot again when I feel up to it.  I haven't read since I started to go blind.  That was in 2008, it's been a LONG time.  Even the text size in large print books was too small for me.  So I am stoked that the Kindle will go large enough! WOO-HOO!   Well, that's enough about that.

My beautiful niece had her Fifth birthday yesterday!  She's so lucky to have a firework display on her birthday each year!! ha.  :)   So going along with my tradition of making paper cakes for everyone, I asked her what she wanted her cake to look like.  She told me purple and zebra.  (Good taste!!)   Well, actually she said Purple, Red, and Zebra.  Lol.  But I couldn't make the purple and red work.  I had been working on this cake for the past three weeks. and it just would NOT turn out like I had pictured in my head.  Soooooo frustrating!!  My idea was to make the cake boxes purple, the "frosting" a different shade of purple (or pink) and to emboss the sides of the cake pieces with a zebra stamp and embossing powder.  I made the cake...and it looked HORRIBLE.  Just HORRIBLE.  Here's a pic of one of the pieces:
 I also embossed the frosting with the Zebra Stripes Cuttlebug folger, and then stickled the stripes.

I didn't like it at all.  The whole thing. Ugh.

So here is my take two:
This is a different cake box than the first cake too.  The first cake boxes were from the Tags, Bags, Boxes & More Cricut Cartridge.  These are an SVG file. But they are a little more kid-friendly, well..small kids anyway.  They just have to pull the top off.
I didn't do any decorating on the lid, just attached the flower that is on the back of each piece, so you can't see most of the decorating until you pull out an individual piece.

I am so bummed!!  I just realized that I didn't get a picture of her card!! ARG!   It was zebra print background, with the same zebra as on the cake.  (From Create-A-Critter.)  It was cute!  I do have a picture of my niece holding it, but I don't post pix of them.  I can't believe I forgot to take a picture of it!! Bleh.

Oh well.  Here's the card for my other niece.  My brother said they wanted to get her new shoes,  so I got a gift card and put it inside thsi card:
You have to untie the laces to open the card!  I thought it turned out cute.   :) 
 
That's it for birthday stuff.  Now I have to work on my nephew's cake.  I'm going to try to make a Lego cake.  We will see if I can actually pull it off!! (Doubtful!)  All three of their birthdays (my older brother's three kids) are within a month!!  It's a busy gift-giving and card-making time!!

I hope everyone had a nice 4th weekend, and have a GREAT week!!


"Don't glue anything I wouldn't glue!!"
                

Thursday, March 3, 2011

Beer Battered Cake

Hi Crafty Pals!

My older brother, Scott had a birthday last week, so it was his turn to get a paper cake!   My brothers are all generally hard to shop for, because since we are all adults now... we just buy whatever we want for ourselves.  So, giving cash makes my paper cakes a lot easier to fill!  A couple years ago for Christmas, I gave Scott a Beertender, he liked it so much that he decided he wanted a full-sized keg one.  (A Kegerator.)  So for his birthday, I wanted to get it filled with whatever favorite beer he wanted, but it's not like I could just go grab his keg, and take it to the store to have it filled.  Not without him knowing anyway.  So instead I gave him cash, so that he could do it himself.  

My brother is a fun-loving guy.  He is always laughing and joking, and teased me merciless when we were kids!!  So, of course I had to give him birthday money all in ones!!  Yep.. eighty, one-dollar bills!!  (Actually, one ended up being a Silver Certificate.  How funny is that!?  The bank accidentally slipped it in with the ones.)  I rolled each one up in a bit of a hurry, not that I would have noticed that one was a Silver Certificate anyway...not with my eyesight!  I packed eight, rolled up $1.00 bills into each cake piece.    Here is a picture of the finished cake:
Please ignore my messy desk in the background!  (Of course there is a diet coke can in there too.  It's like playing "Where's Waldo" with my pictures...I think each one contains a can of diet coke! LOL.) 

The cake boxes were cut at 9" from the Tags, Bags, Boxes, And More Cricut Cartridge.  I glued silver bottle caps on the back/ends of each piece...and inside the bottle caps is a '30' (for his age.) 


The cake was placed on a metal bottle cap sign that said.... um.... I can't exactly remember what it said! LOL.  It was something like, "Cold Beer Always On Tap!"  I thought it made a unique cake pan/holder for my paper cake!! :)  The topper is a 'keg' cut out of silver metallic paper.  (It is actually the barrel cut from one of the Paper Doll cartridges, along with some Gypsy Magic!   (I don't remember if it was Paper Doll Dress Up, or Everyday Paper Dolls...but I can look if anyone needs to know.)     
(I can not figure out what that reflection on the 'keg' could be of!??! Haha!)  Anyway, Thanks for looking at my project!!   I think I am off the hook with paper cakes until July now!!  (I am probably forgetting someone though!) 

Have a great, crafty day!! :)

Wednesday, February 23, 2011

Keeping with the Cake Tradition...

I haven't had a chance to post anything that I have created recently!  It's been a crazy past couple weeks.  Besides being in the hospital, (again) I finally finished the other three Disney Autograph Books!  That is a huge relief!  I dropped them off at my brother's house tonight, and they are off for D-land tomorrow!! :)  I can't wait to see how many autographs they get! 

Keeping with the topic of my post... My nephew's birthday was the first week of Feb.  I made him a [Disney/Pixar] Cars cake.  I really, really loved it.  

I made just a plain red paper cake to start.  (Cut with the Tags, Bags, Boxes, and More Cricut Cartridge, cake pieces cut at 9".)  I then made the road signs from the Cars Cricut Cartridge at 2" for all signs.  These would be the decorations for the side of my 'cake.'  

I then welded four of the curved road pieces, (on my Gypsy) into a complete circle, going for the race-track look.  
I popped it up with foam dots on a scalloped circle base.  This is the top of my cake.  The 'frosting.'    Then I started building up from there.  I added the checkered flags and propped them way up!  I think I used eight foam dots piled one on top of the next.  

Next, I made a big Lightning McQueen for the top!  

This cake was filled with Dum Dum suckers, because that is my nephew's favorite candy.  I think I was able to fit about 200 suckers in it!! Haha.

Here are a few more pictures of it: 

Thanks so much for looking! :)

Tuesday, December 28, 2010

TGI....after Christmas!!!

Don't get me wrong, Christmas is great.  But the stress of planning and purchasing presents for my immediate family alone,  let's just say I'm super glad Christmas only comes once a year!!

I haven't had the time, or felt good enough to get on the computer and actually post any of my projects in a while.  I hate that.  I wish I could post them right as I finished one!  :(

So this will be my first of two or three posts tonight.  This one, I wanted to put up the night I finished it, but it was for my sister-in-law, and it needed to be a surprise, so I couldn't post until after I gave it to her.  This is keeping with the tradition of making a paper cake for each of my family member's birthdays.  I did a elegant looking black and white for her.  I loved how it turned out! I made flowers for the outside/ends of the pieces, they have a pearl in the center.

Inside of cake view:

And the top of the finished cake had a white scalloped circle (like frosting) and in cursive, it said, "Happy Birthday [sister-in-law's name]"  And it was stuffed with candy.

Thanks for looking!

Thursday, October 14, 2010

Birthday Cake for my Niece


Hey Paper Pals!

Today is my niece's ninth birthday!  What a fun age!  So I kept up my tradition of making each family member a paper cake for their birthday, and made her one!  For the last one I made (I forgot to take pictures!! ARG!!)) I filled it with cash, and lots and lots of candy.  Since it was for my brother, an adult.  Since this one was for a 9 year old, I thought I better fill it with just gifts, instead of 20lbs of chocolate!  Although, I'm sure she would have loved that.  Ha ha.   

These cakes are perfect for holding small presents.  My favorite thing to do with them, is to hide a gift card or cash in lots of candy!

I started making it yesterday, and had to let part dry, so it was finished and stuffed with gifts today.  This is how it turned out:

The cake pieces were cut out of plain white card stock, then I used a metallic card stock for the 'frosting,' and ran it through the Polka Dots embossing folder.  The edges of the 'frosting' are scalloped, to make it look a little more like real frosting was spread on the cake. 


The flowers were made out of 4 cut flowers.  I inked the edges and then folded and glued until they looked like a rose. I then added Stickles to made it look like dew drops on the flowers.  


The big flower topper is just laid on the cake.  I did not want to glue it down, so that it wouldn't effect the individual cake pieces.  The topper is made out of a scallop circle for the base, then 3 daisy flowers in two different sizes, with each petal curled up.  The leaves are cut from Gypsy Wanderings, and I finished it off by placing a large gem in the center. 

I love the way it all came together.  I am always so pleased with my cakes.  I think this is my favorite thing to make.  Making bags and boxes are my favorite for sure... but I just love these cakes!  I put so much work into them. 


Thanks for looking at my project!  Let me know what you think!