I took on two pretty big projects over the summer. The first was the 200 Birthday Cards that I made for two elementary schools in my area, and the second was Flash Card Sets fir Five teachers. About a year and a half ago, my sister in law asked me to make flash cards of the Sight Words in the Kindergarten curriculum for her daughter (my niece.) And of course, I said yes! I made a regular rectangle set, and a FUN set!! They are Disney fanatics, so I decided to make the flash cards out of Mickey Mouse Heads! They turned out great, and my niece loved them!
To view the post where I made the original set of Mickey Flash Cards, click HERE
Well, my sister-in-law was having a teacher meeting at her house, and the other teachers saw the flash cards and asked where she got them. She said that I made them, and they asked if I would make a set for each of them. I said yes, of course! And I had NO IDEA how much work I would be taking on!! Lol!
I didn't really remember making the first set, I mean, I DO remember how I made them, just not how long it took,etc. So I think I started them back in July??? Yeah, around there. And I hoped to have them done for the start of the school year. That didn't happen. I was sick a lot more than usual, which means...no crafting! But I finished them this past Sunday. So here's a video of them:
Here are a few pictures showing the process of how I made each card:
First I used my Gypsy to put the sight word inside the mickey head. The size of the font (from the Pooh Font Cartridge) varies from 0.85" to 1.5: depending on how long the word was (it did have to fit inside the head, afterall! ha.) And the Mickey Heads are sized at 4.25" tall. Next, I welded the words into the Mickey heads, and the Cricut cut out everything it was supposed to!
I then discarded the letters that cut out, and just kept the "negative" cut.
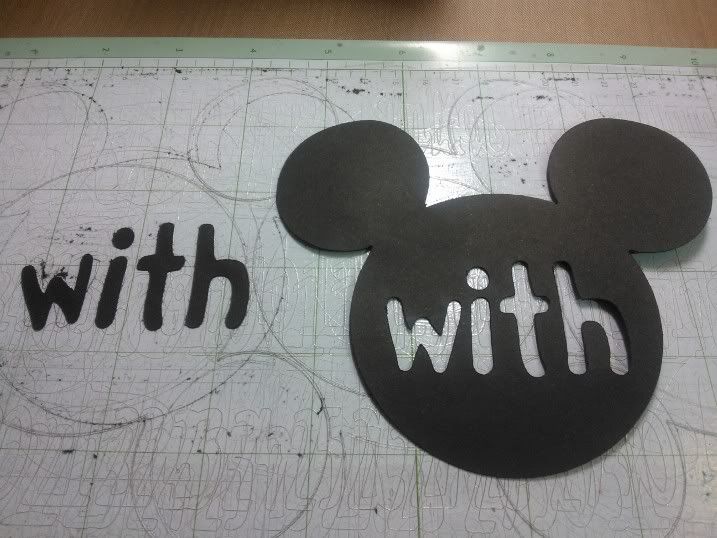

I probably should have used a different word for my example. Because in this word, there were no inside pieces that I needed to save. Let's say I used the word, "some." Instead of discarding the letters, I would save the middle part of the "o" and hte "e" so that I could glue them in the proper place on the flash card. (I hope that made sense!! Eek!)
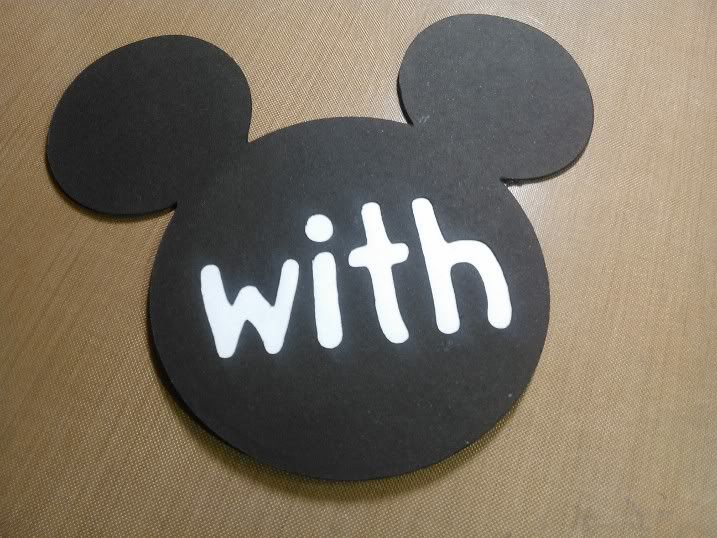
Then I glued a plain black Mickey head onto the back of the flash card, to hide the white circle, and to make the flash card more complete and solid.
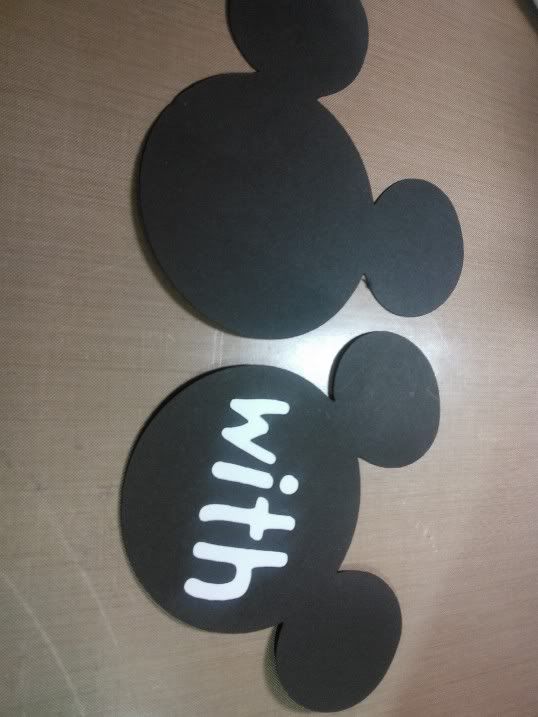
I used Scotch Quick Dry Adhesive for all of these, and it works WONDERFULLY! I love how when it dries, it hardens. The finished project feels almost like chipboard! And, again here's a picture of what the finished card looks like:
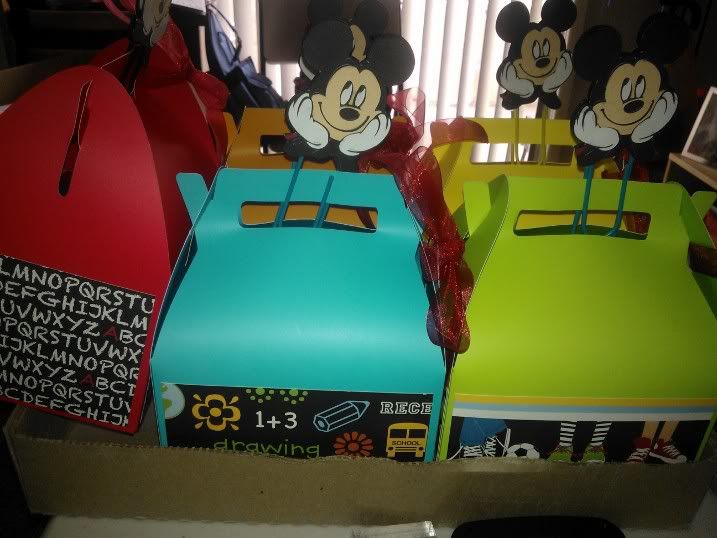
I also made Mickey paper clip bookmarks for the teachers, and added them to the top of the ga le boxes that I cut out to put the flash cards in:
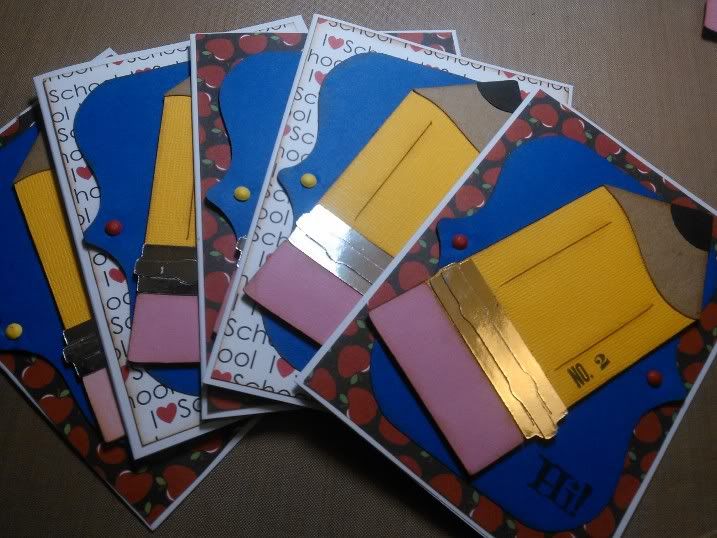
I also made each teacher a quick, simple card just apologizing that I didn't have them complete by the start of the school year. (I feel HORRIBLE about that!!) And giving my contact info in case anything is wrong with them. :) So here's the cards I made:
This was a super long post, so thanks for hanging in there with me! Let me know what you think about my flash cards!! Have a grand week everyone!
"Don't glue anything I wouldn't glue!!"

What a cute idea! Somehow I don't think they're going to mind them being a bit late.
ReplyDeleteLori, I am o in love with your blog & crafts that you do with your cricut that I went out and purchased a CRICUT mini. Having the machine lead me to create invitations for my niece daughter OLIVIA who just adores Minnie Mouse....Thanks for all you do
ReplyDeleteKC
Thank you for such a sweet comment! I'm so happy to have had a small part in inspiring someone!! You just made my day. I hope you enjoy your new Cricut!
Delete