"What we do for ourselves dies with us. What we do for others and the world remains and is immortal."
-Albert Pine

Saturday, May 14, 2011

A Toddler's Dance Recital

Hi everyone!

Have you all seen a toddler's dance recital before?  Oh my gosh...it was the cutest thing ever!!!  My little niece had her first recital last night! She did AMAZING!  And kudos to the dance teacher for having the patience to teach dance to 3 and 4 year old girls! Hehe.

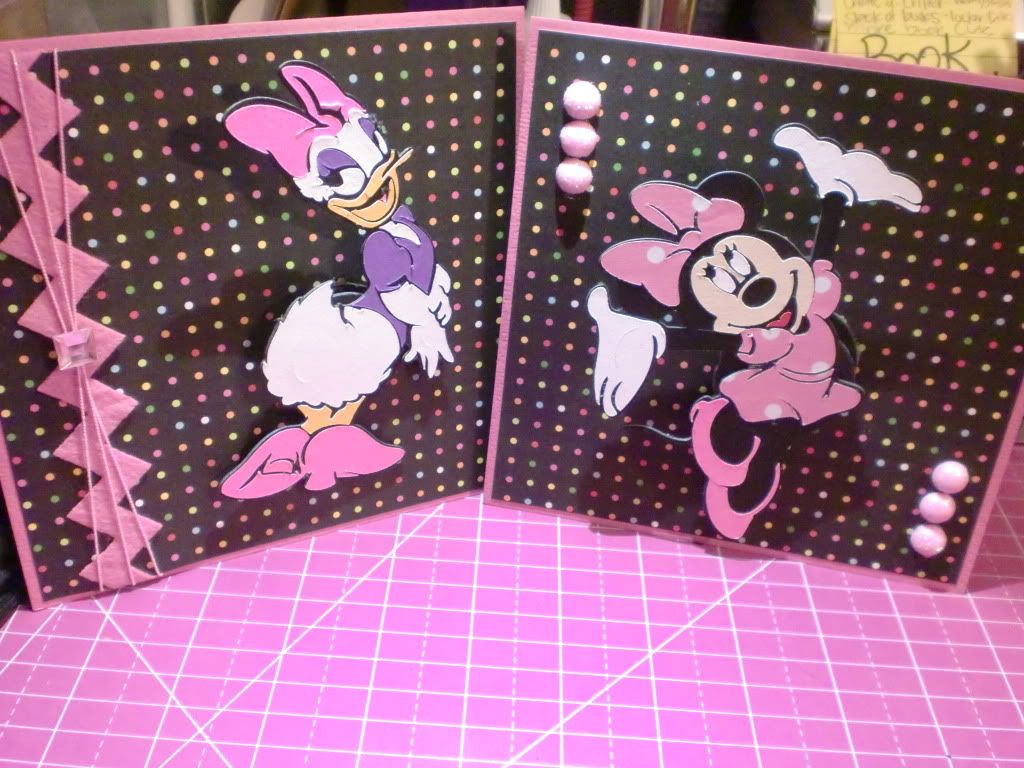
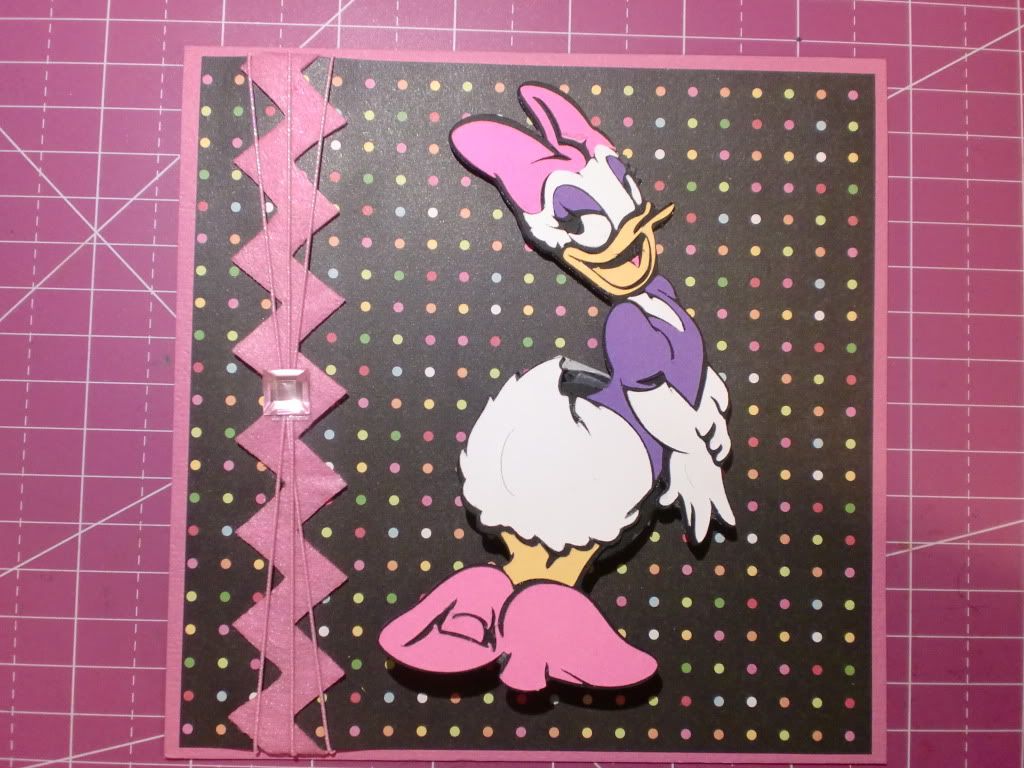
Here are a couple cards that I made for my niece.  I made one for me to give, and one for my mom to give.  My niece LOVES everything disney, so that is why I chose these cuts.
I also put Daisy and Minnie on those wobble springs so they would "dance" or wiggle too!!  :)


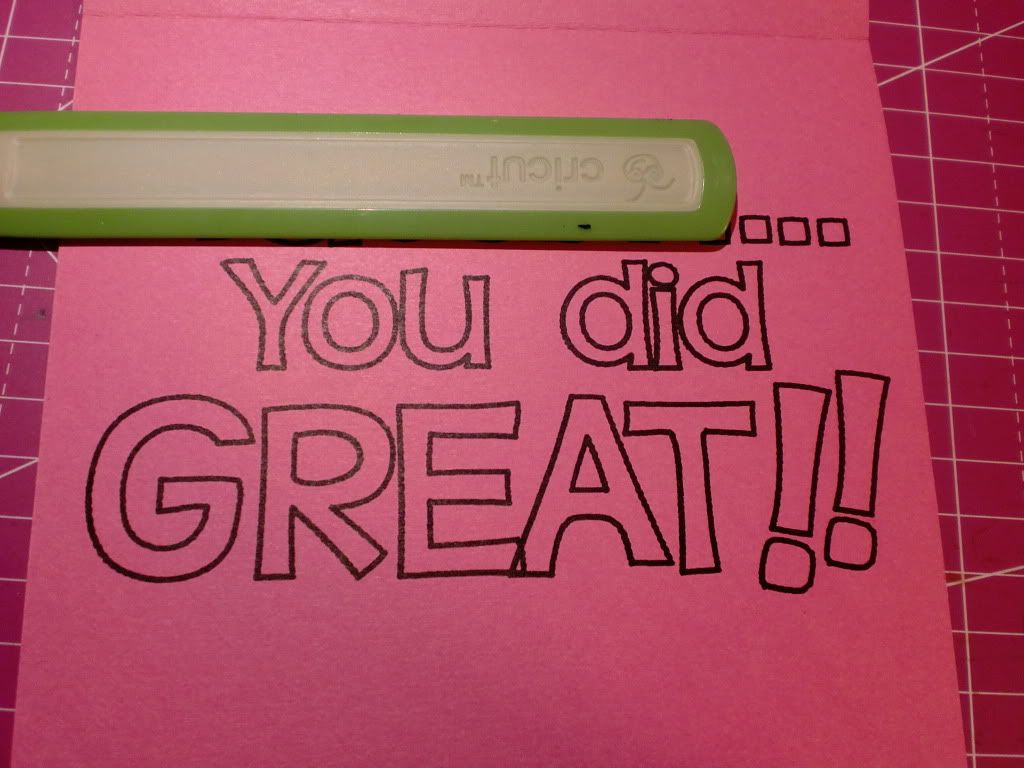
 Here is the inside: (I covered my niece's name..since it's not my kid, I don't want to post anything like that.)
The inside was just wrote with my Cricut Markers. I think I should have 'welded' the letters together, becuase to me, it looks like I just used a stencil to write it all out!! Ah well.  Live and learn!! haha.)
 
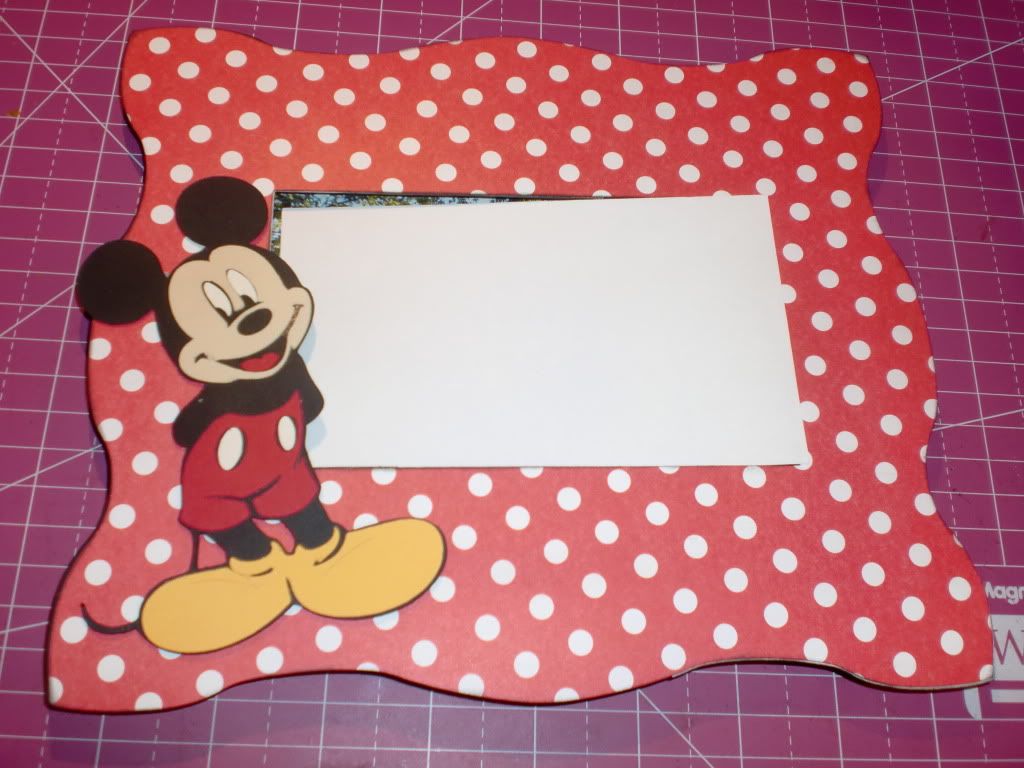
I also made a frame for my mom this week.  (since blogger has been down for DAYS!! ugh)  I was inspired by one of the Disney Blog Hops that went on over the past week.... (I'm pretty sure it was within the past week.  I can't find the post now..so when I do, I will give credit where it's due!!!!) 
 I cut the frame from the Happy Hauntings Cricut cartridge.  I tweaked it to my liking, adding a rectangle inside instead of the oval it came with.  And instead of cutting out all parts of the frame, I just added  the frame cut, (cut in two layers of chipboard) to a photo frame that I purchased.
The white in the middle, is because I never think to take the picture BEFORE adding the personal photo!! DUH!!  So, I just threw that in to cover the photo. (Again, it's of kiddos in my family, so I don't put that on the 'net!)
My mom liked it so much that she requested more!!  She is going to look through my cartridges, and pick out the characters that she wants!!  That way she will have all personal, matching frames to showcase pix from her latest Disneyland trip with the grandkids! :) 

Thanks for stopping by and checking out my projects!!  I hope you all have a wonderful weekend!! :)


"Don't glue anything I wouldn't glue!!"
               

Wednesday, May 11, 2011

My Mother's Day Projects

Did everyone have a nice Mother's Day Weekend?!  :)

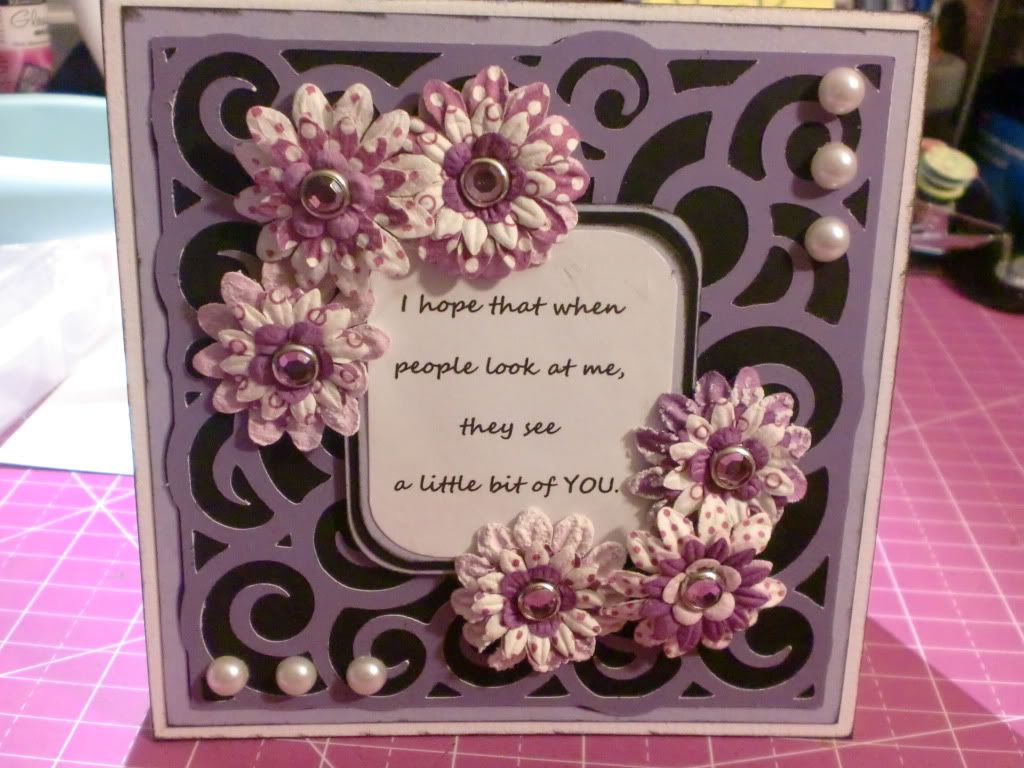
Here is the card that I made for my Mom:
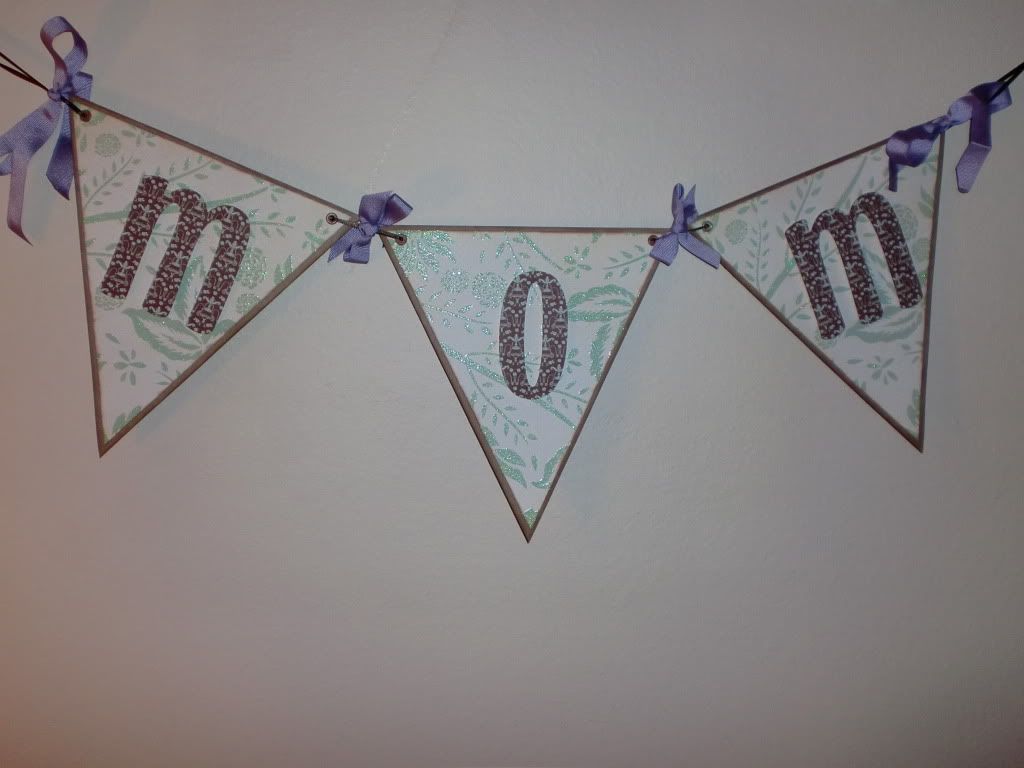
I love how it turned out!  :)  I also made a simple banner to hang in her living room:

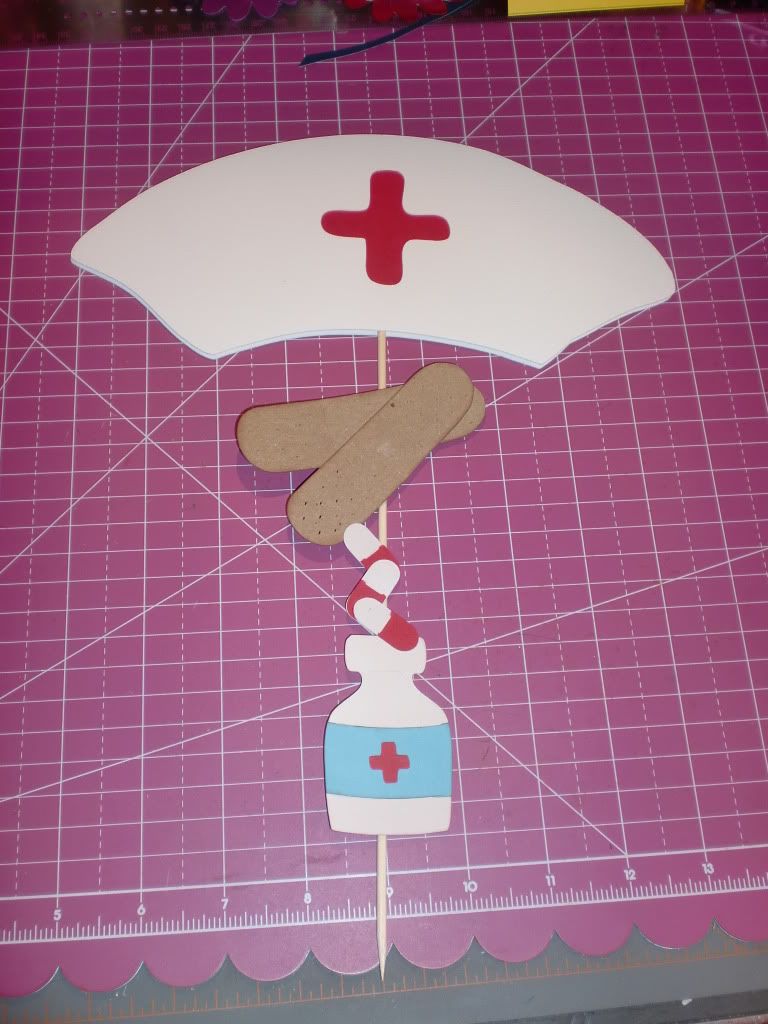
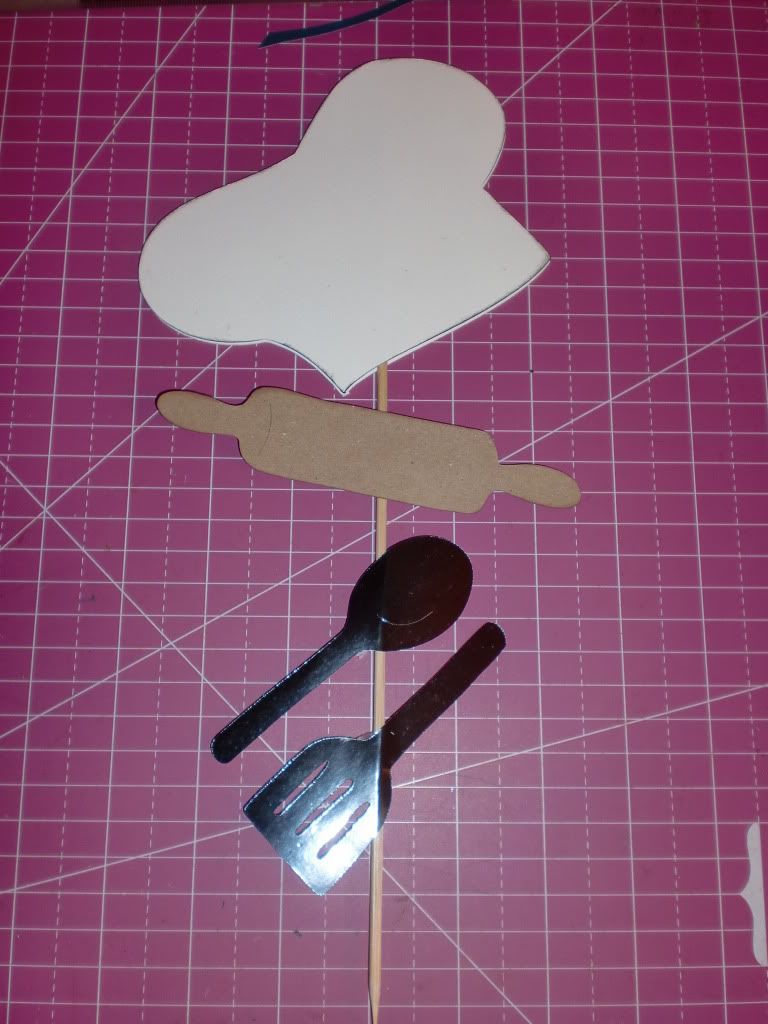
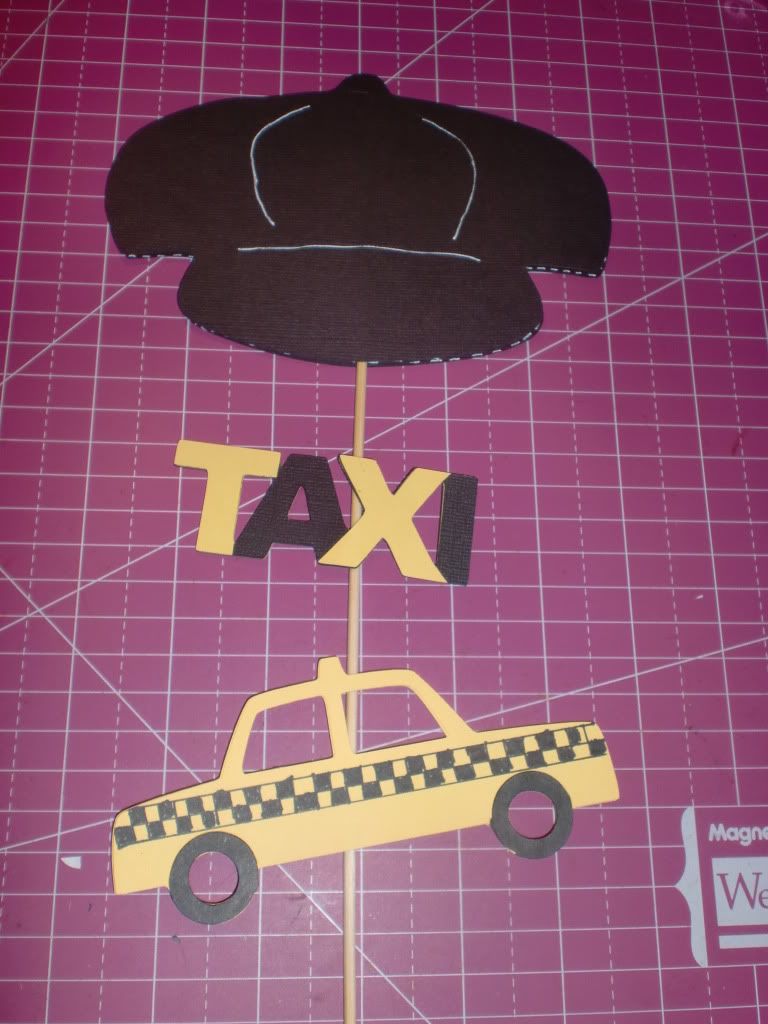
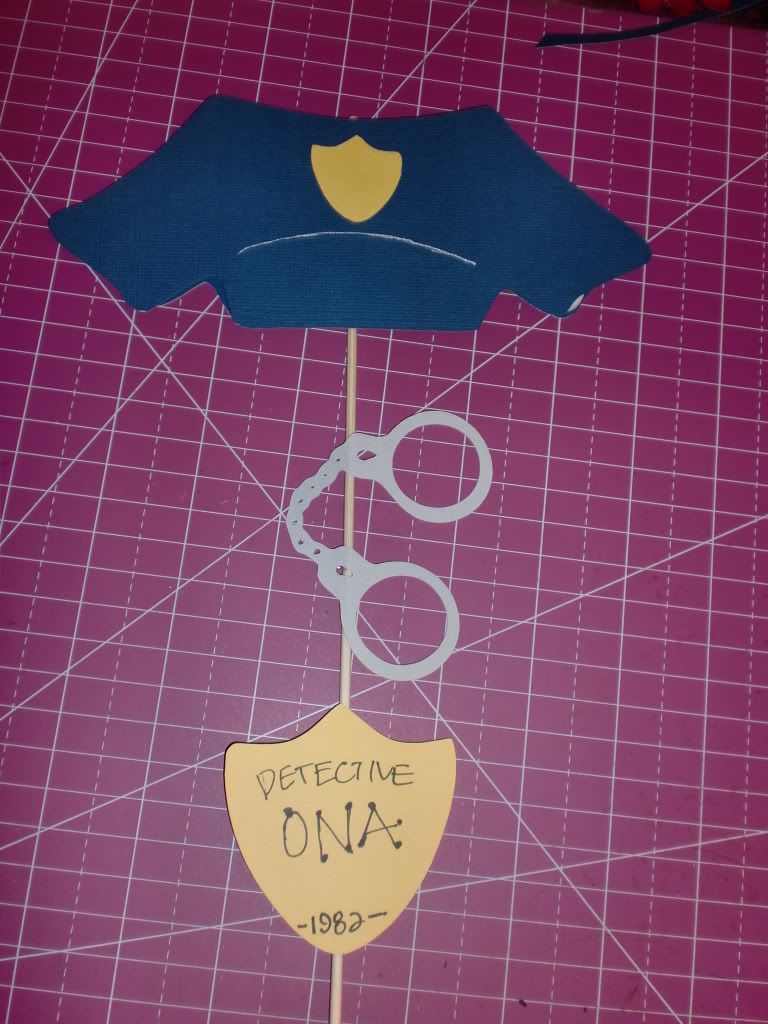
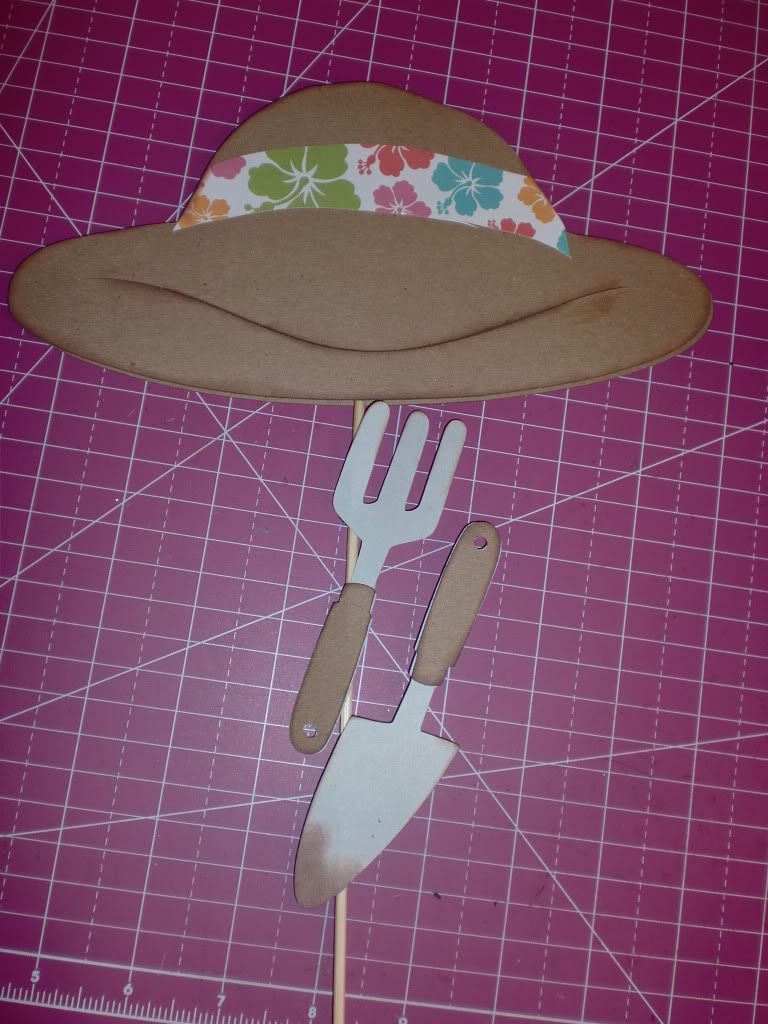
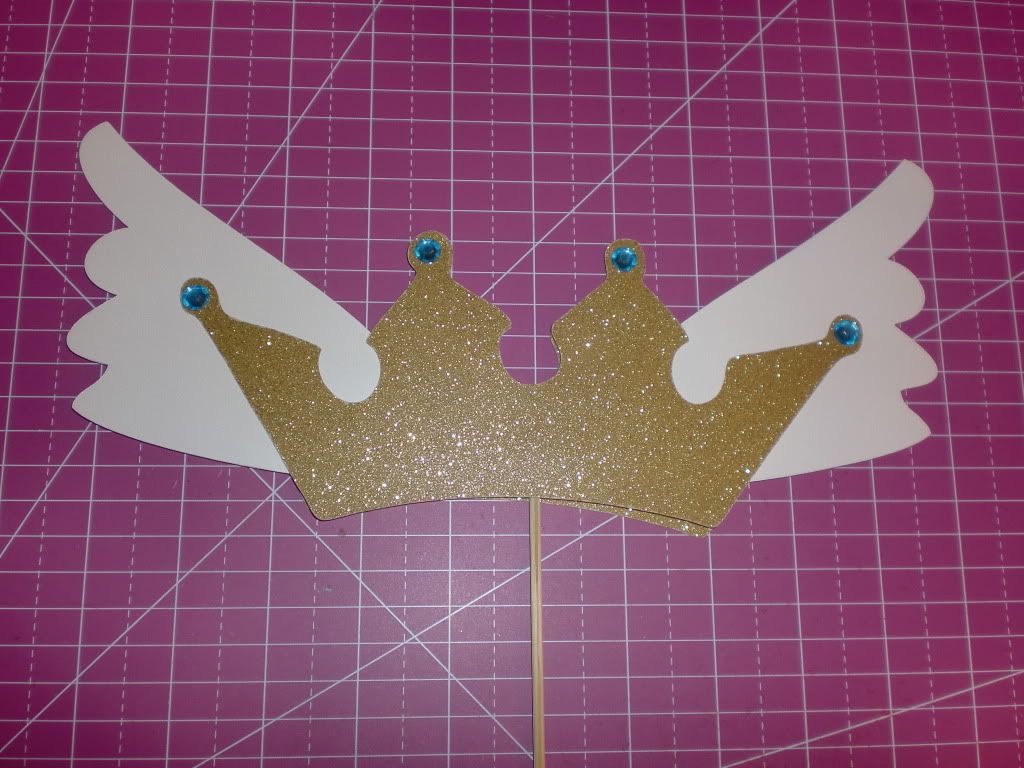
Then, I had to do something silly for my mom as well.  Have you guys heard that poem/story called, "Hat's Off To Mother," if not..it is pretty cute.  Mom's do so very much and have the hardest job in the entire world!  The story talks about the many 'hats' that a mother wears.  So I made these sticks to put in a vase, to go along with the story.  (I didn't get a picture of the finished product...but here are each of the individual sticks:)
A Nurse:

 *(I know my mom spent a majority of the time raising me, being  my nurse.  Having a diabetic child can NOT be easy!!!) Thanks Mom!! :)
A Chef:
And what a good chef she is!!! :)
A Chauffeur:   (I turned this into Mom's Taxi!) 
A Detective:  Sshe neeeeever had to play this.... I was a perfect angel!!) 
My mom always said that if I were an angel, that my horns were holding up my halo. Lol!
A Gardener:
A Maid:  *(this one was hard for me...what kind of hat does a maid wear?!!?  I came up with a bonnet type...but that just seemed odd to me. haha.)
That one was left pretty plain, I wanted to add a broom or mop, but anything I tried didn't look right.  Ah well.
And last but not least, 'A Queen, and Angel in Disguise'

I don't know if she will want to keep these.  (I always feel silly when people want to "keep" the stuff I make).  But if she does, I will probably turn it into a mini album/story. :) I changed a couple the words from the original poem, so that it really fit my mom.  If anyone wants to know the actual poem, I can tell you though!
I hope she had a good mother's day. I love my mommy! hehe.

Thanks for stopping by, and checking out my projects!!  I love all your comments!!!! :) 


"Don't glue anything I wouldn't glue!!"
              

Cricut-tastic!!!

Hello friends!!

I hope everyone is having a nice week so far!  I have received another blog award!! YAY!!  I absolutely LOVE opening my blog-mail and seeing that!!  It always brings a smile to my face!:)  So a very, very big THANK YOU to the following amazing crafters: Terri at  My Need 2 Craft  and Jan at Living 4 Orange
 Thanks gals!  You both are awesome!! :)   If anyone hasn't checked out either of them.... you really should!!  You don't know what you're missing!!

Wear this badge proudly on your blog and share it with friends. Share this award with 10 people that you think have Cricut-tastic blogs. You also have to tell 5 cricut related things about yourself.

 Ok.. 5 Cricut-Related things about myself, this could be hard!!
1.  I got my 'E' in November of 2009, and it was love at first sight!
2.  I bought the E and the Gypsy in a bundle, and didn't get to use the Gypsy until about 6 months ago!!  (my eyes were too bad to see it!  I still can't see a lot of things on it, like when the lines change colors , etc.)  But I can not craft without it!! 
3.  I just used the cricut markers for the first time last night, and wonder what they heck I waited for!!!!
4.  I have a Cricut Cake Mini, but rarely use it.  (I don't eat many sweats at all, so if I make them it is for the kiddos in the fam.) But I do want to cut cheese slices with it daily! lol.
5.  I do not know the exact number of cartridges that I own.  I know it is around 100, because they don't all fit in their designated home anymore. lol.

I really do love my cricut though!  It has brought a lot of fun into my life, and I hope it doesn't ever break!! Haha!

Here are 10 blogs that I KNOW are Cricut-tastic: (in no particular order)
http://happyplaceforjen.blogspot.com/
http://zebrapalace.blogspot.com/
http://athomewithjudy.blogspot.com/
http://sherriescraps.blogspot.com/
 http://handcraftedsimplybyus.blogspot.com/
http://snippetsoflife-kim.blogspot.com/
 http://pvcreations2010.blogspot.com/
http://www.papertransformer.com/
 http://mintascreations.blogspot.com/
 http://upordowntheyrebeautiful.blogspot.com/

It is so hard to only chose 10, because I've seen so many "Cricut-tastic" blogs!!!

****************************************************
I just wanted to share something I heard tonight on the news, ... really quick!!  Since my bank card number has been stolen numerous times, I'm uber paranoid about this.  The news said tonight that somehow people's bank cards and credit cards ALONG with PIN numbers are being stolen from the Michaels credit card machine!!  They first thought it was an isolated location, but now they have found cases nationwide!  BE CAREFUL my crafting friends!!!  They said if you have been there recently to double check your bank statement!!  People are having their accounts drained!  :(
*************************************************

Have a great week everyone!!


"Don't glue anything I wouldn't glue!!"
              

Thursday, May 5, 2011

Cards For A Cause

Hello again!

I recently heard a truly heart warming story about a young man (10 years old) in my neck of the woods, and was so touched that I feel I have to help!!  I always love hearing when young kids have these brilliant ideas for service projects, or want to do good deeds for people they don't even know.  So many people these days think only of themselves, and I love that kids can keep us all in check!

This young man, Stephen Goodman of Surprise, AZ was visiting his grandparents last  summer and heard stories of his Grandfather fighting in Vietnam.  He was told that while his Grandpa was overseas, he never received a single card, and felt almost forgotten.  Stephen got the amazing idea to make a card for every single soldier deployed overseas this year!  EVERY. SINGLE. SOLDIER!   He came up with the number of 180,000 soldiers, and that is the number of cards he has set out to make!!  He tells people that all he uses are scissors, construction paper, stickers, and his imagination!  His dad warned him that this would be a very large project, and that didn't phase him at all!

A couple different companies have decided to help him out, sponsor him if you will.  But I think all of us out here in Crafty-Blog-Land could help him out too!  How could you NOT help after hearing a story like that?!  :)

The story was featured in the latest issue of Paper Creations magazine, and it's been all over our local news here.  (I'm not sure where else, but it probably has.)  In light of the major victory for the U.S.A. this week, I have been more motivated than ever to make cards for the troops!  I most definitely will send as many as I can on to Stephen and his cause!!!   I guess he has made about 30,000 already on his own, and with the help of his family and friends.  (WAY TO GO STEPHEN!!!)  So if you wish to help him out, I will post the address to where you can send a card.

These are not like the blank cards that many of us cardmakers send to the troops for them to send back to their families, these will actually go to a soldier to personally read.  So write a thank you, write a little about yourself, write a little about what is happening in your area, etc!  Just anything so that the soldier has a little piece of home, and maybe something different to think about. :)  

I just think this is GREAT!!!  I know I am so very thankful for the troops that fight for our freedom, and for everything they all do and sacrifice for us. 

If you would like to help out, here is the address to send the card(s):
Stephen’s Thank You Card Project/Bazzill Basics Paper
7001 W. Erie St., Ste. 2, 

Chandler, AZ  85226


Since Bazzill is one of the companies that is helping Stephen out, they also have a contest going.  If  you would like more information about that click  HERE . (Note: this is not MY giveaway!!!  I have nothing to do with that! I'm just making some cards to help Stephen out, and passing on some info!)

This could also be a very fun project to get your children involved in!!!!! :)

Thanks everyone!! 


"Don't glue anything I wouldn't glue!!"
                  

Garden Decor

Hey everyone!!

It's been a few days since I've posted anything.  I have had quite a few "bad days" recently.  We all know I have my "flares" where I am admitted in the hospital about every month, but this one just hasn't seemed to get there yet.  It's the sickest I've been without being hospitalized.  Needless to say, I haven't done any crafting. :(    I started feeling a teeny bit better a couple hours ago, but it's been off an on.  So this post will be short and quick. 

I just wanted to show you all something I made for my mom a week or so ago.  (Last week?  Dang, I can't remember!! My days tend to blend together when I'm sick.) My mom has been busy planting flowers and a mini garden this year!!  Usually she doesn't even bother because the heat kills off everything you try to grow here! Lol.  But she has a pretty looking garden so far! :) I love the way decorative plant stakes look in flower pots!!  Since my mom LOVES Mickey/Minnie I decided to make her one!  So I got busy with my Cricut, Gypsy, and Mod Podge, and here's the finished product:
 Thanks for stopping by!! 


"Don't glue anything I wouldn't glue!!"
              

Tuesday, April 26, 2011

Academic Award Congrats!

Hi everyone!!

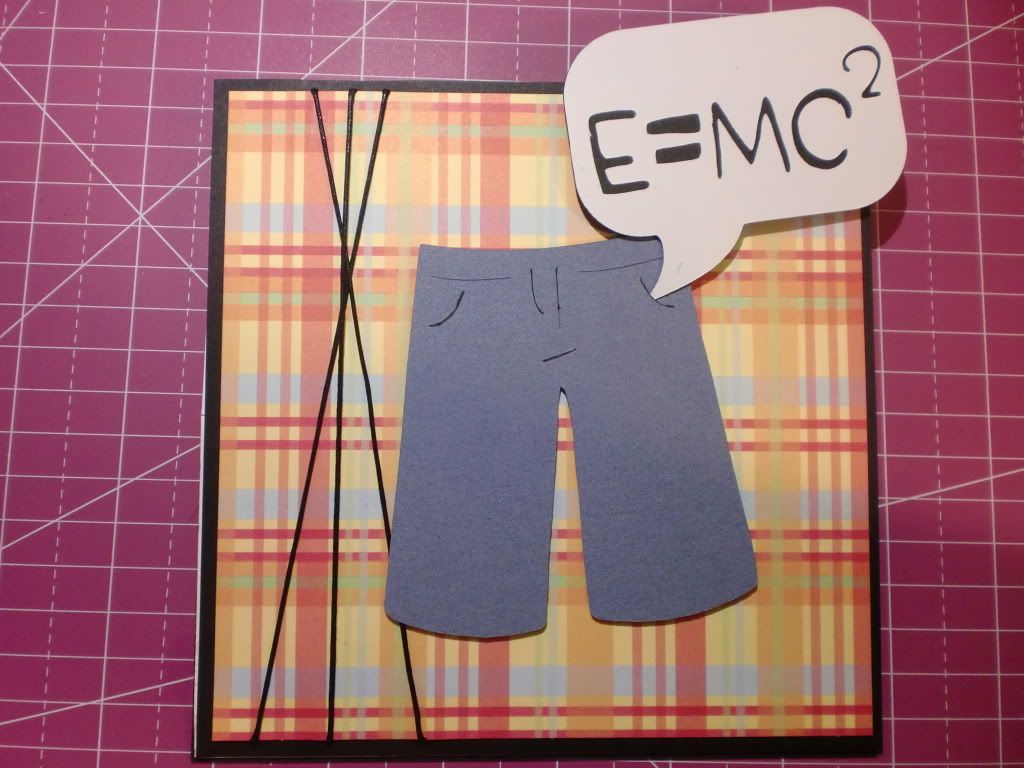
My nephew is being honored tonight at an academic awards ceremony.  He always has straight A's on his report cards!!  He is an AMAZING kid!   I wanted to make him a card to give to him after the ceremony tonight, so I went to work on it last night.

At first, I just wanted something real simple and quick, so I started working on a card... and while putting on the finishing touches of it, a different card popped into my head!!  It made me laugh, and it was more my nephew's sense of humor!  So this is what I came up with:

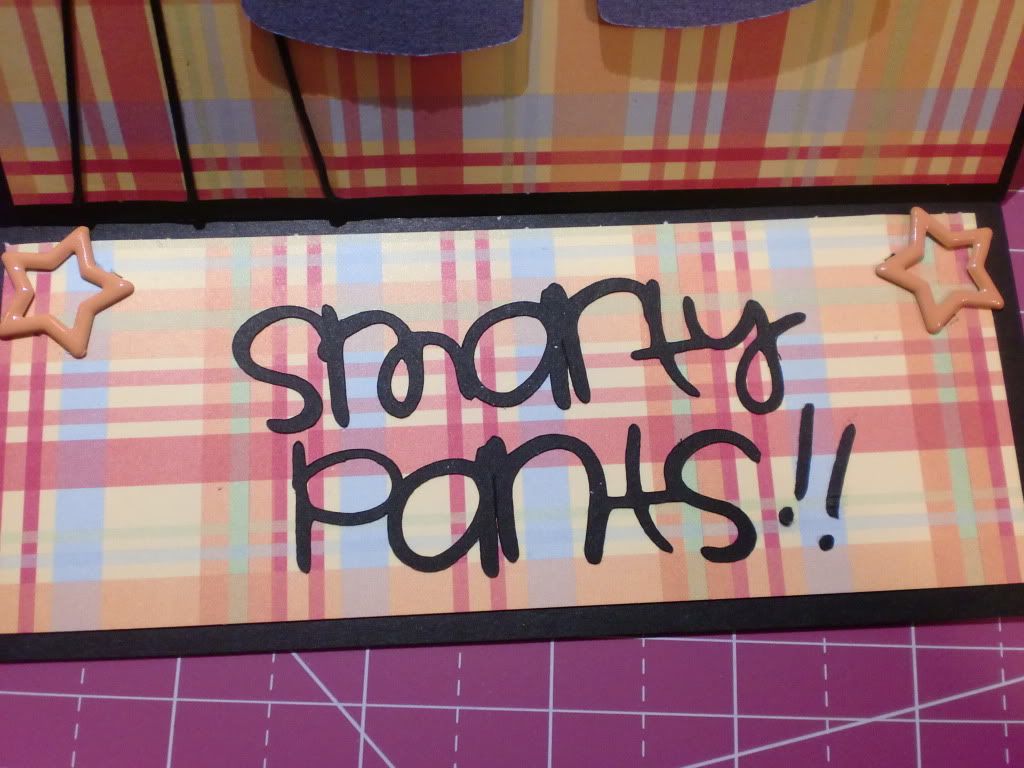
 And here's the sentiment:
HA HA HA HA!!

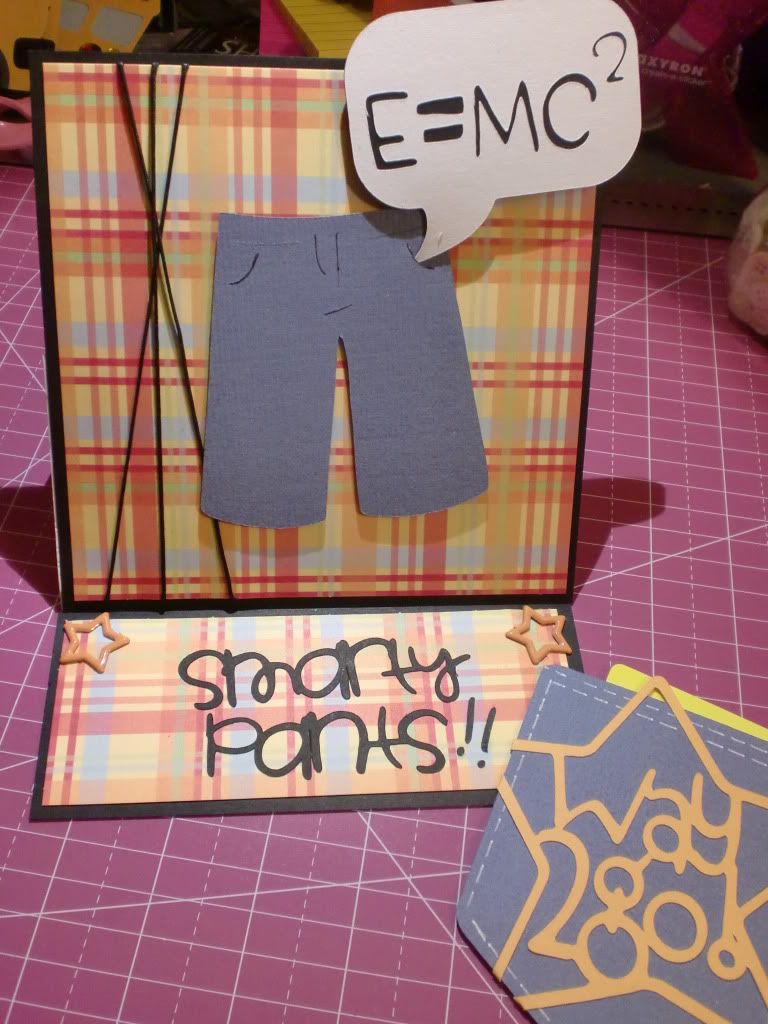
I also made a 'matching' gift card holder...a jeans pocket:
I am so happy because the card turned out just as I had pictured it in my head!! (LOVE when that happens!!)
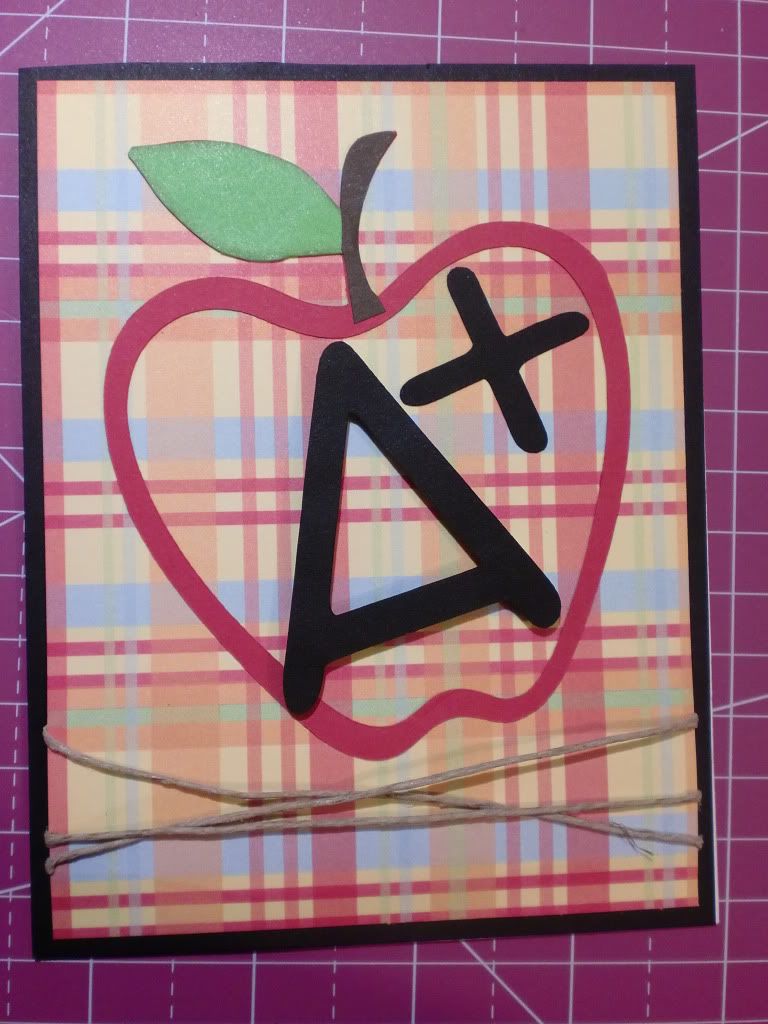
I know that my nephew will get a chuckle out of it!!  Here is the card that I made first, it's cute too...just not my nephew's style. :)
Thanks for checking out my cards!!  I hope everyone is having a great day!!!


"Don't glue anything I wouldn't glue!!"
                

Sunday, April 24, 2011

Happy Easter!

Happy Easter Everyone!!

Did you have fun hunting those Easter eggs today?!  :)  I hope that everyone is having a lovely Easter!

I just wanted to share a few quick Easter projects that I've made over thepast couple days.  Nothing too special, just some quick and easy packaging mostly.

Here are a few of the gift bags that I decorated for the kiddos in my family:  
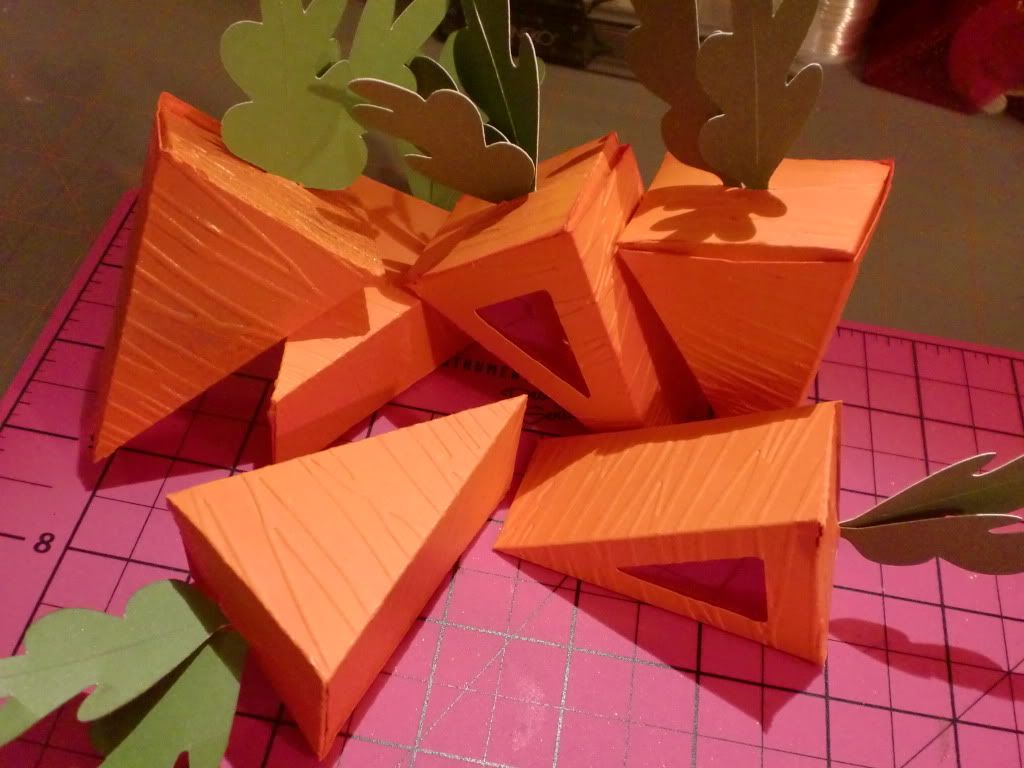
 Like those carrots?  :)  They are the same boxes that I make all of my cakes with, just cut very, very smaller!  (4.5")  I filled them with Hershey Kisses, surprisingly it fit about 5 of them!  Here's a better picture of the carrots:
  I ran them through my Cuttlebug with the ...whatever the 'branches' folder is called. (they really need to print the name of the folders ON the folders!)  I wanted them to have that look that actual carrots do!  And the leaves are manipulated versions of the leaf on the Doodlecharms Cricut cart. That was the closest I could make to an actual carrot leaf/stem.  :)

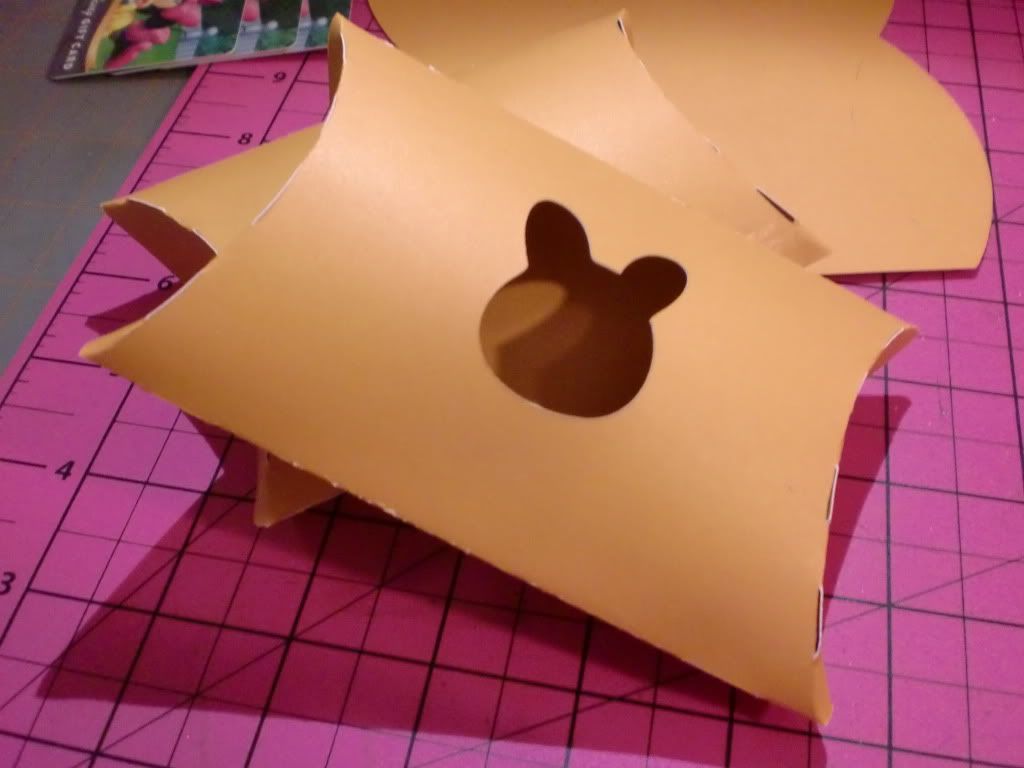
I also made some pillow boxes to hold gift cards:
  That IS a bunny head!!  My brother said, "Lori, I know you can't see .... but that Mickey Mouse head looks funny!"  I said, "That's because the 'mickey' is actually a BUNNY!!  Dork!"  Lol.  He must have forgot what holiday we were celebrating!  Haha.

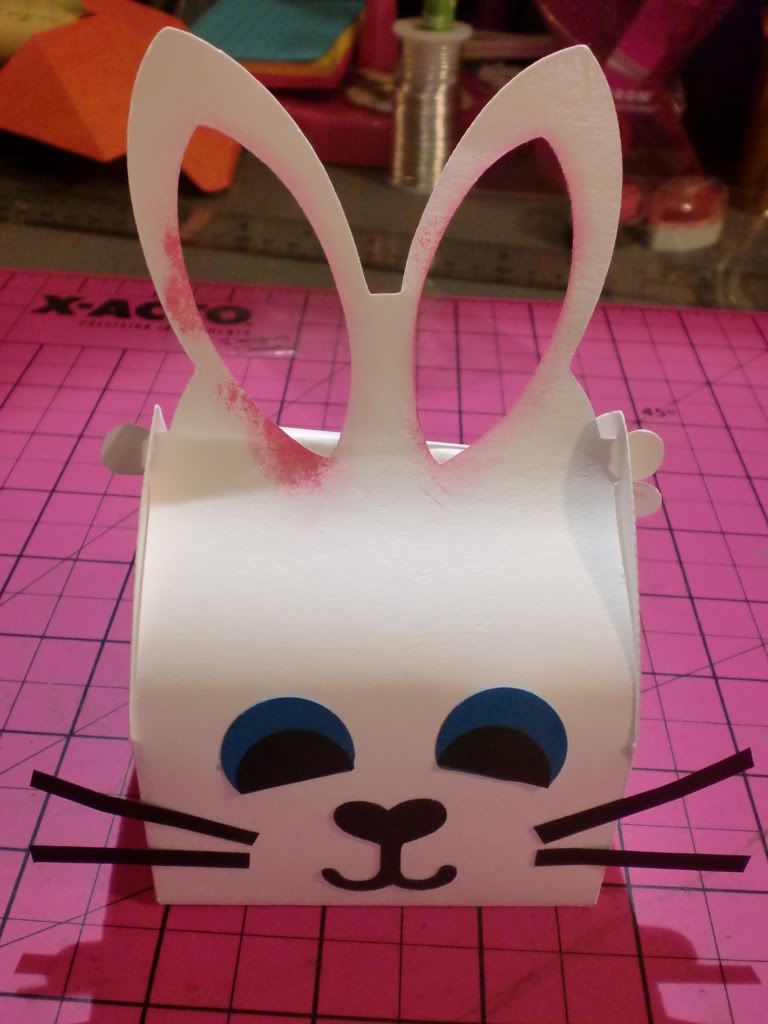
Since we all know that gable boxes are my absolute favorite type of box, I had to make something Easter-ish with one!!
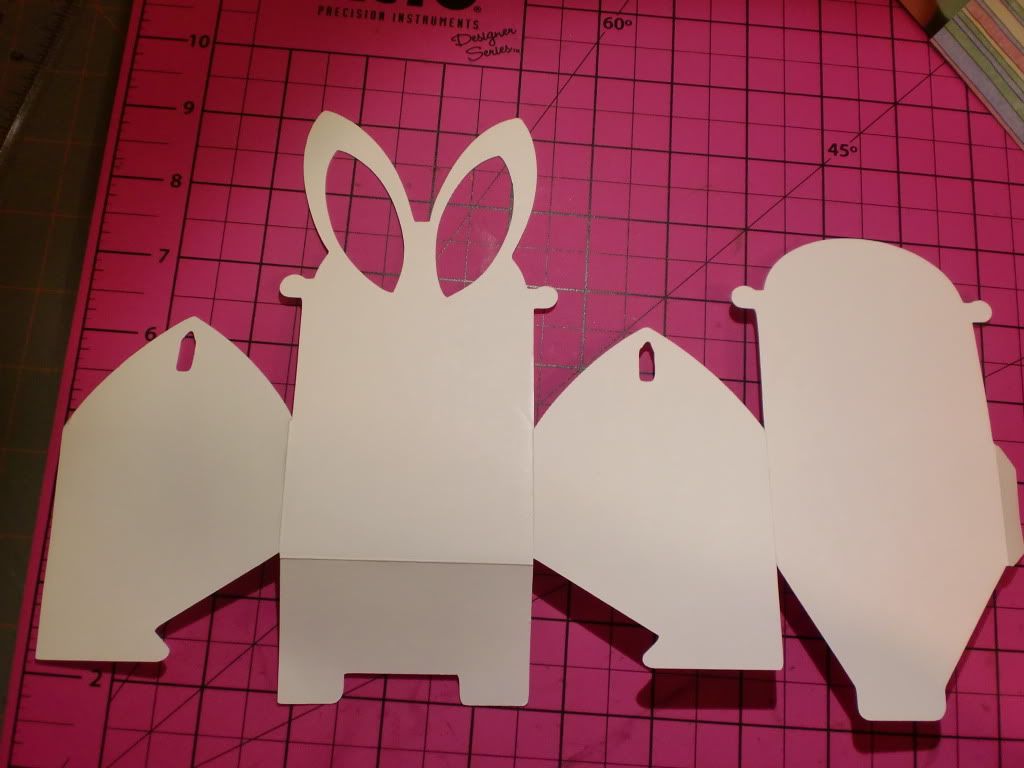
 I saw something similar to this on the Cricut MB the other day, and had to make one for myself!!  The nose/mouth is from the bunny on the Create A Critter cricut cart, but I free handed the eyes and whiskers, (and you can OBVIOUSLY TELL!!! lol)  The Gable Box is from the Elmo's Party Cart, and it's funny because I have cut that box out so many times, but I have always manipulated it some how. I have never cut the actual Elmo one!  Ha.  Here's the box before folding:


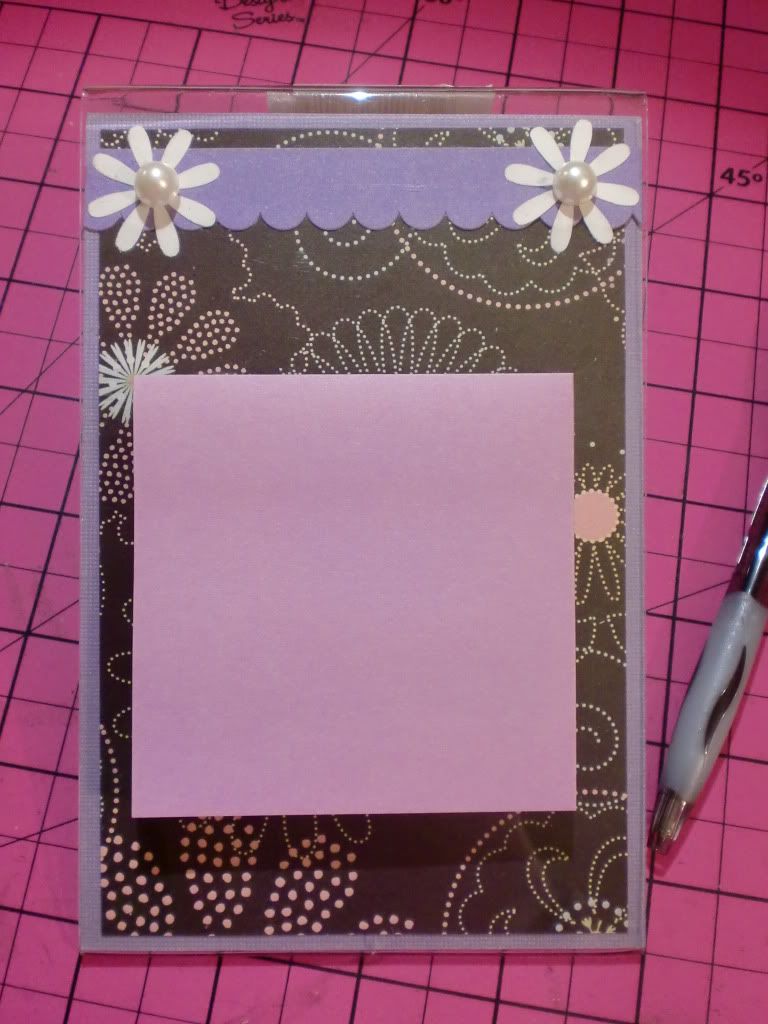
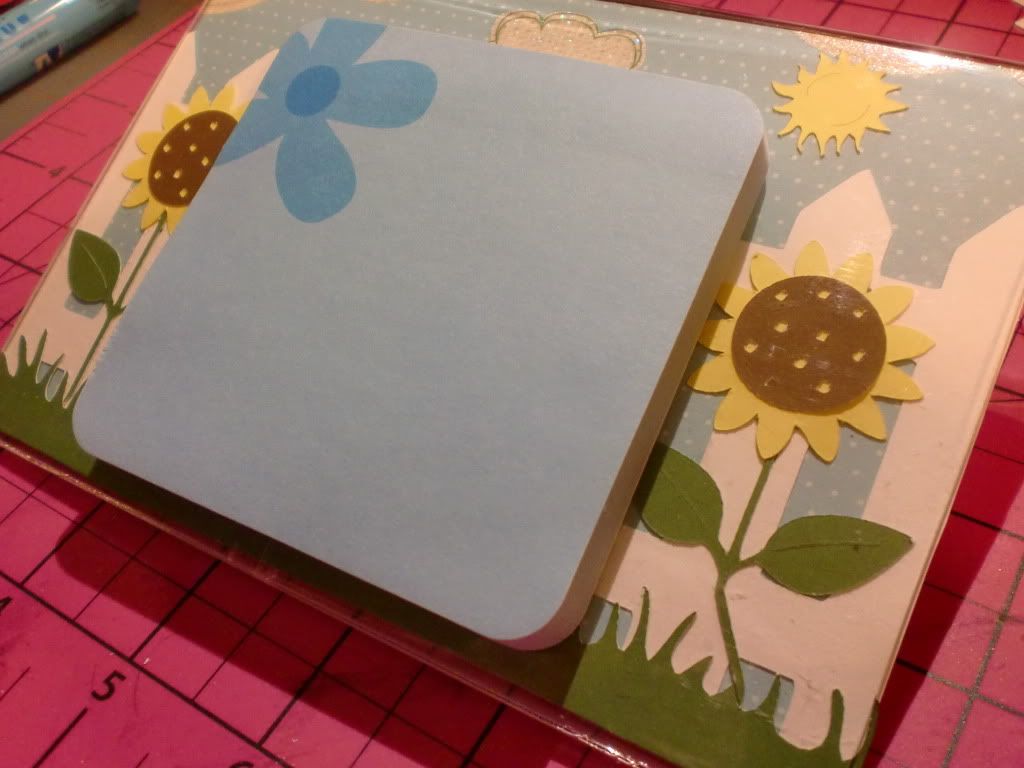
I also made a couple "Beside-the-Phone Notes" to give a gifts to a couple friends of mine:
(I don't understand why the Post-it notes came out PINK in this picture?!?!  They were a dark purple!!  Dang camera/lighting!!)
And here's the other one:
And with the notes attached:
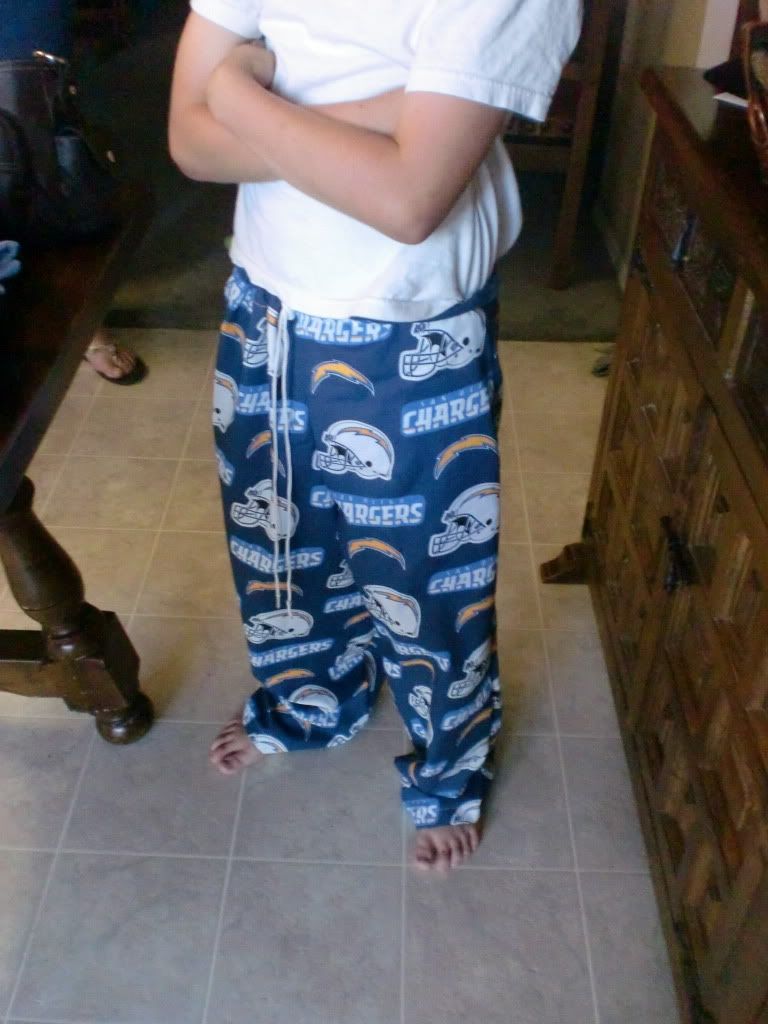
And that's it for my projects, but I have to share a couple things my mom made recently!!  I've mentioned that one of my nephews is a Chargers fanatic.... so she made him PJ bottoms:
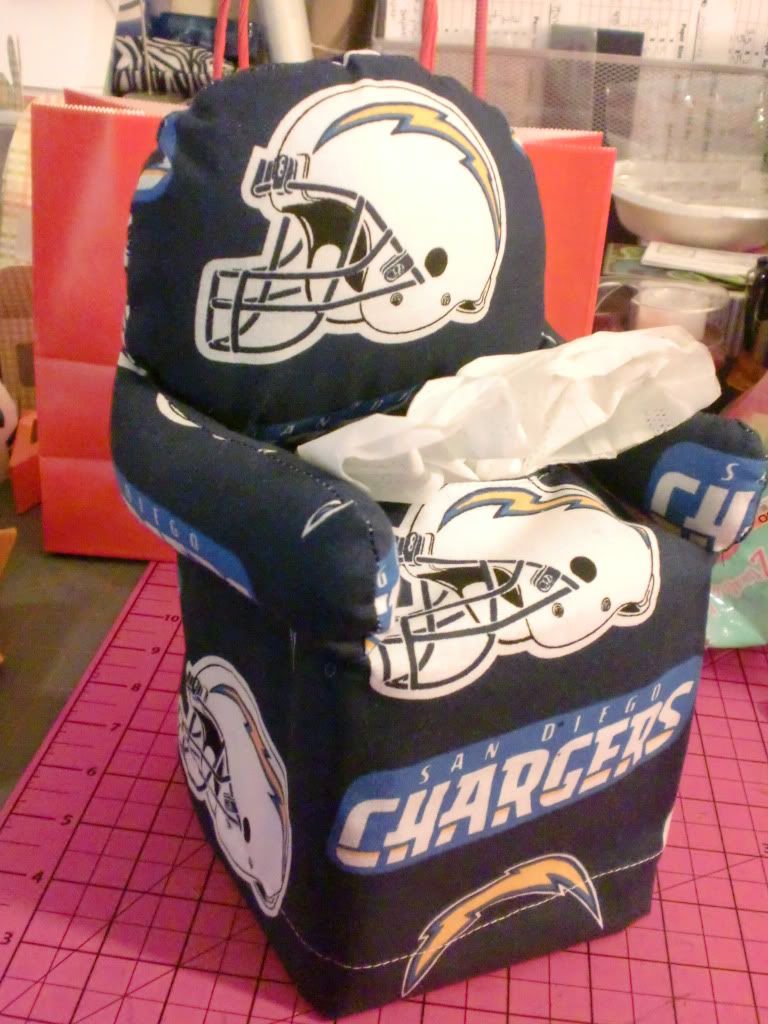
Awesome, right?  My brother requested a pair of 49ers PJ pants now! haha.  My mom also made a tissue box cover.  I have a John Deere Couch tissue box cover, and my nephew loved it and wanted one.  So my mom made him a Chargers Chair!!
I love how it turned out!!  One thing that I really wish I would have inherited from my mom is her sewing skills!!  I was able to do basic sewing before I went blind, but nothing ever like her!!  And now, I can't see to sew at all.  But that's ok, because I have my mom to do it!!! :) 

That's all for today.  I hope everyone has a wonderful Easter!!!

-Lori

Friday, April 22, 2011

Girl Scouts Word Book/Mini Albums (Lots O' Pix!)

Hi there crafters!!

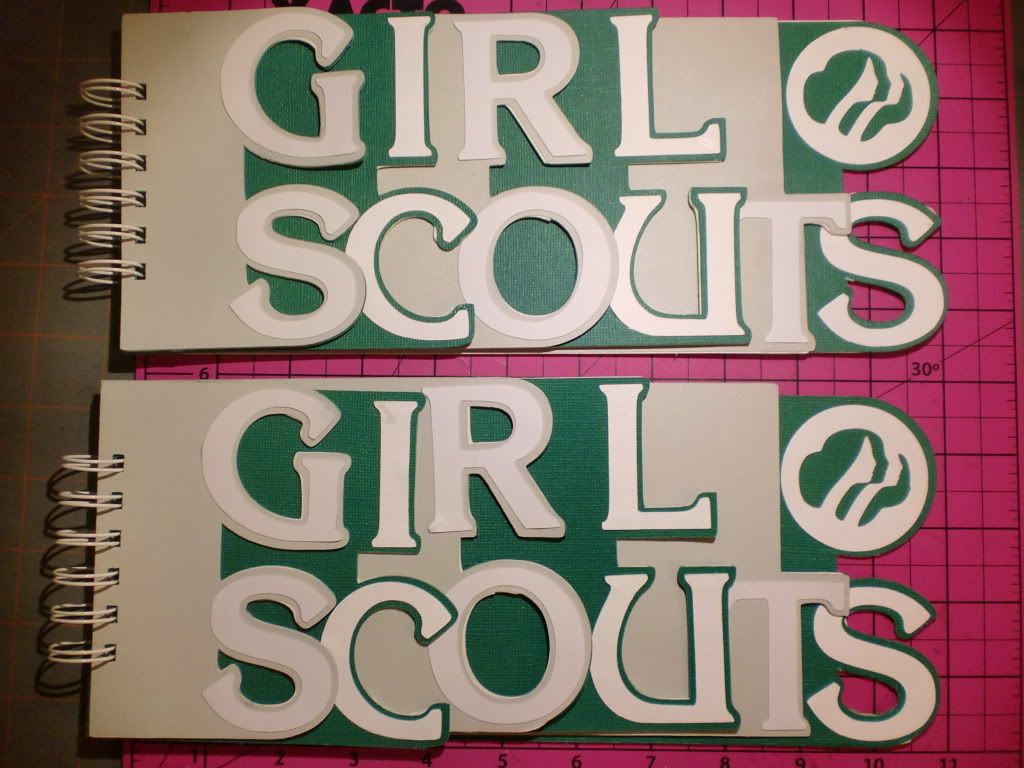
I can not believe I am finally done with these word books/mini albums!!! I haven't even been working on them very long (in comparison to my other projects I have done.)  I started them about 3 1/2 weeks ago.   I was browsing around the SCAL forum and found a SVG for a Girl Scouts Word Book!!  The second I saw the file, I knew I had to make these!  A friend of mine has two little Girl Scouts in her family, and I wanted to make them for my friend to give to the girls.   I cut the books out of chipboard, and then covered them with cardstock, and binded them with my Bind-It-All.  Here are the books pre-emellsihment:
I had no idea how much I would struggle with these books!  After I got them cut out, and put together (the base pages,) I realized that I know absolutely NOTHING about the Girl Scouts Organization.   ... Other than that they sell cookies once a year, and I buy them!!  :)   I thought I would just try to go for an overall 'girly' theme, and even with that, I still struggled with the books!  I did a lot of Google searches on Girl Scouts, and talked to my friend about when she was in the organization, and that did help a bit! 

I tried to make them a little interactive, and leave plenty of space for adding photos, and journaling.  Here is what I did:
The first page G & S (outside) Is left blank.  I didn't want to distract too much from the "Girl Scouts" words on the book.  The inside of the first page has the girls names on it.  It was only an 1.25" strip to work with, so that is what I found to be the best fit!  :)   I welded the names on my Gypsy using the Rock Princess Cricut Cartridge.

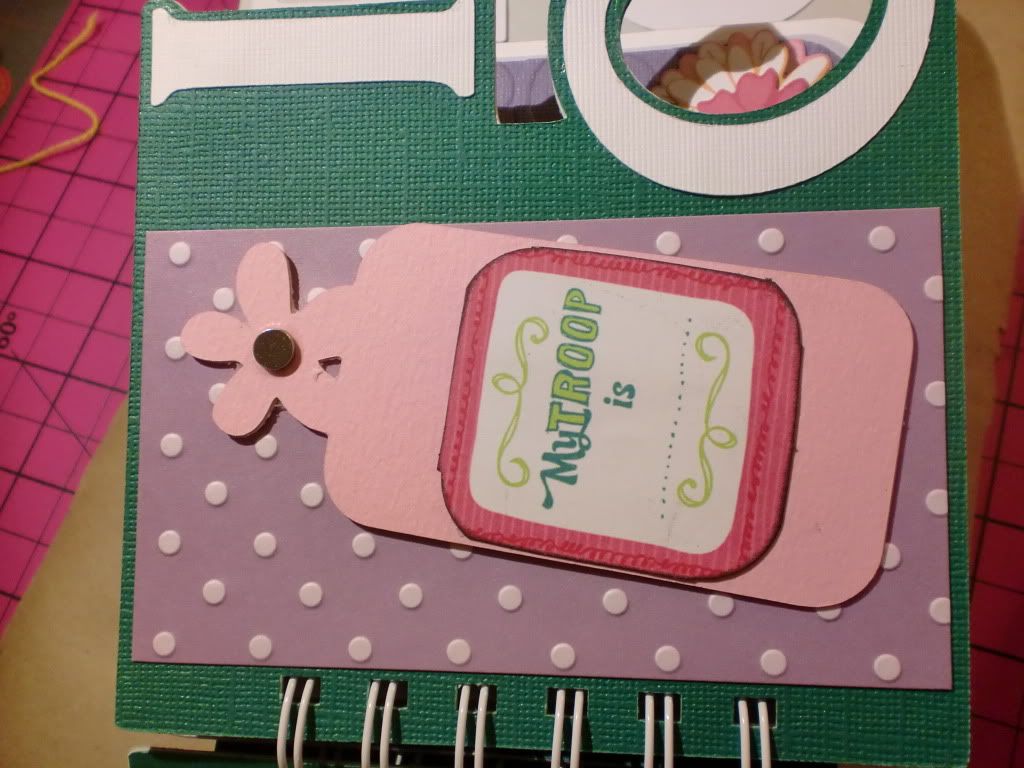
The Second page, (the I & C on te front side) I put a purple with white polka dots photo mat, and placed a monogram  (K) flower-topped tag onto the mat.  Rather than having the tag in a pocket here, I attached it with a strong mini magnet!  (The other magnet is hidden under the photo mat)  On the other side of the tag, there is a K&Co Girl Scouts Tag that says "My Troop # is...."  That way the girls can write in their troop number!


On the back side of the I&C page, I have another photo mat.  There are tags that say "laugh," and "play."


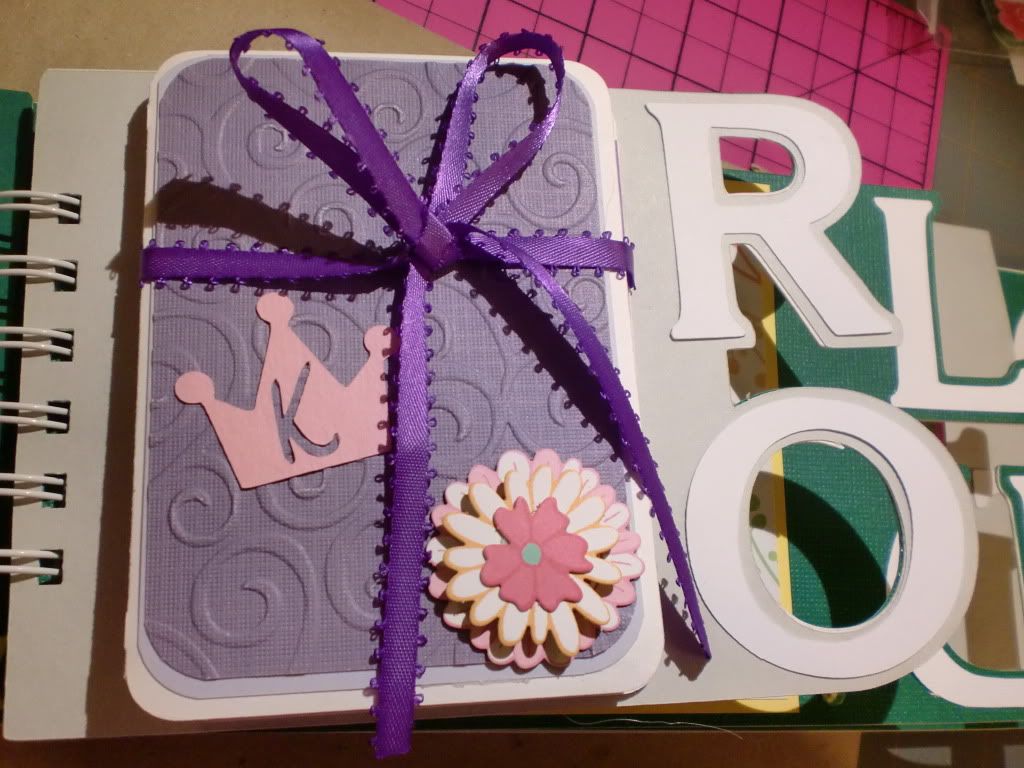
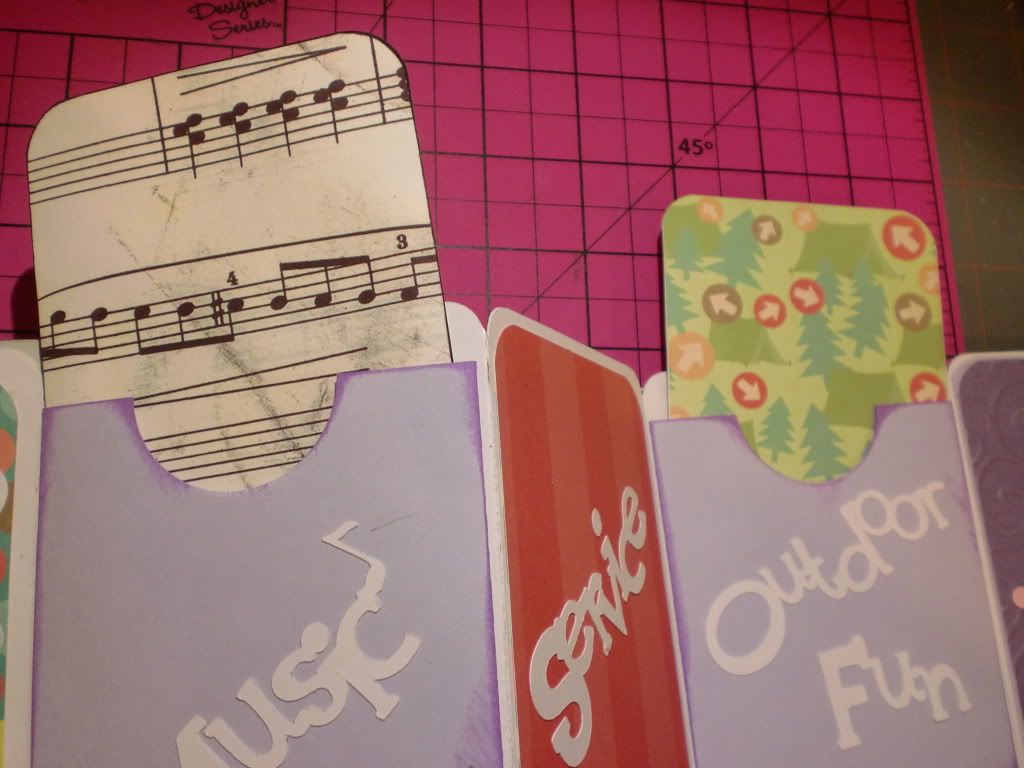
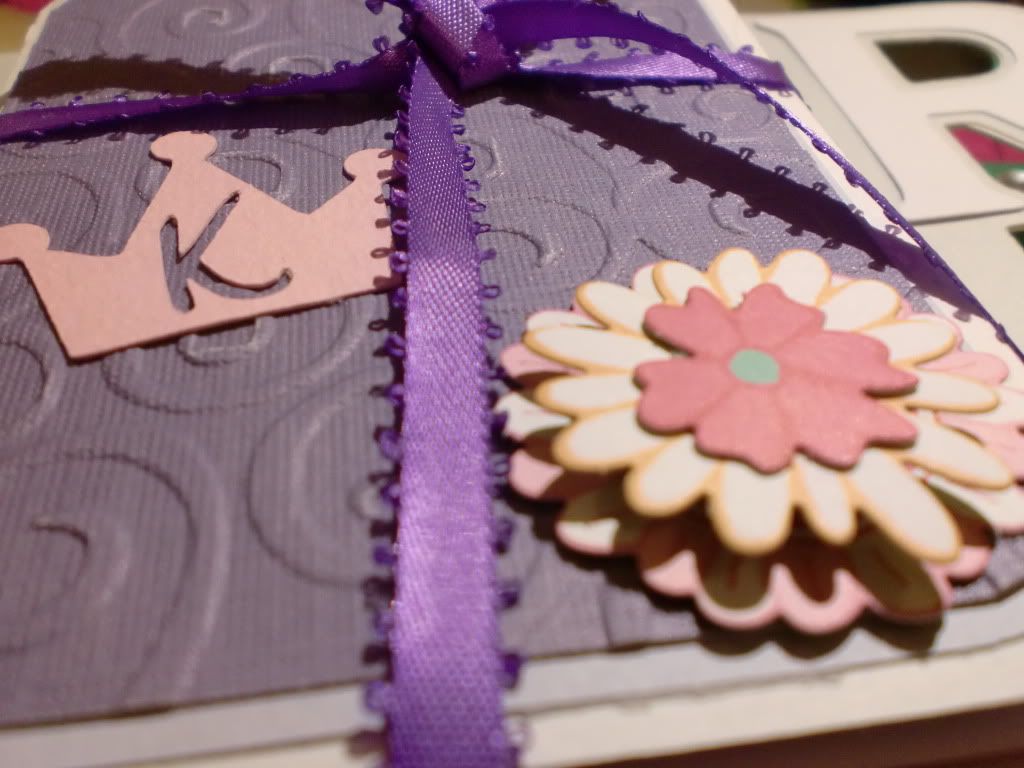
Page three, (the R & O page)  the front side has a pull-out tag holder.  It's kind of accordian style (I guess it would be called. :/  I don't know!!)  This tag pocket section has a ribbon closure:
  The little "K" crown is from the Once Upon A Princess cricut cartridge, and the flower is from a K & Co die cut pack, that I layered three of the flowers to make a 3D looking flower.  And, of course the purple cardstock there is "Cuttleuggd!"  :)   Here's a better view of the 3D-ness of the flower: (Like that...3D-ness? lol. If you can't tell..I tend to make up my own words a lot!)
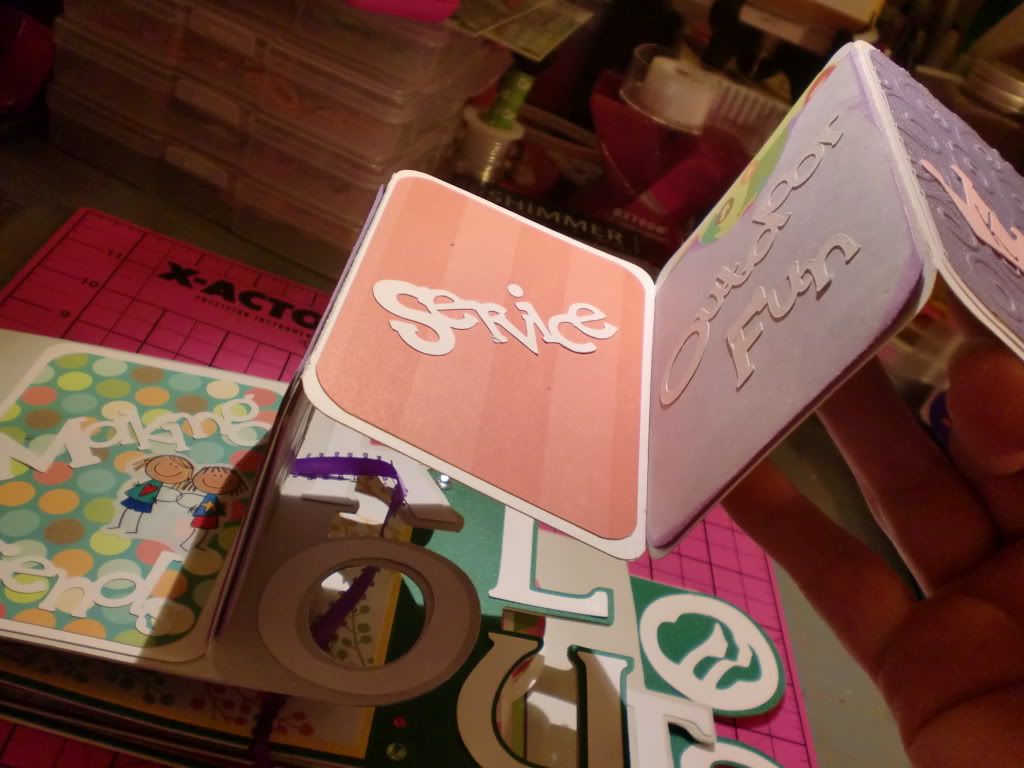
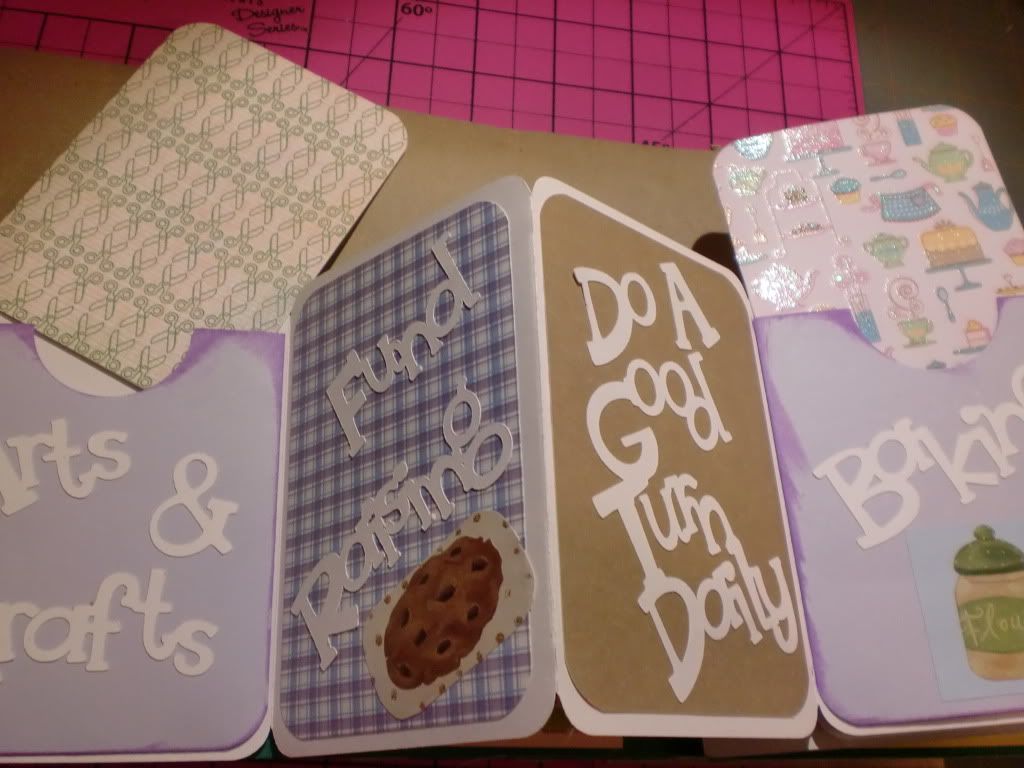
  This "interactive" part opens two ways, to the left, and to the right.  I made this part to show "Activities of a Girl Scout."  So I put titles in such as, "Service, Fund Raising, Outdoor Activities, Baking, Arts & Crafts, Etc."


There are some (simple)  tags that pull out as well, to add photos and journaling.   (Is 'journaling" a word?  Because my spell check says that it is not. lol)  


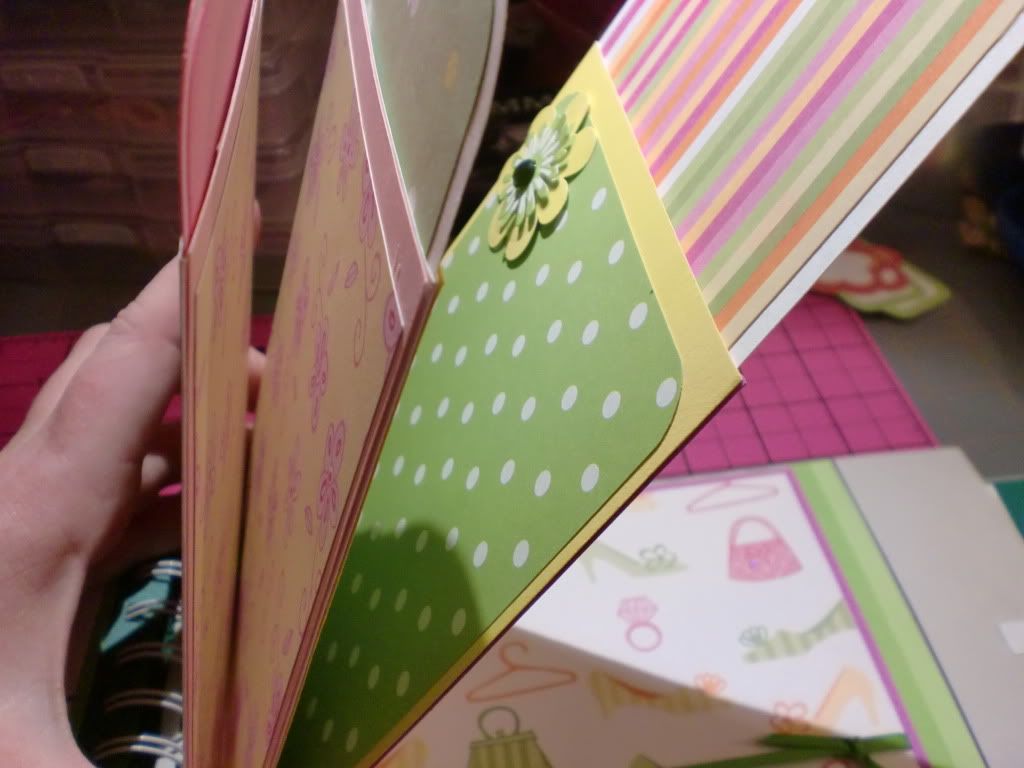
For the backside of this (R&O) page, I added another 'interactive'/fold-out section.  
I also want to mention that I tried to make each individual page a little different.  Instead of using a single paper stack of all coordinating paper, I tried to make each page different.  I did try to still tie in the Girl Scouts or Girly theme... but I wanted it all different.  And here is the next section:
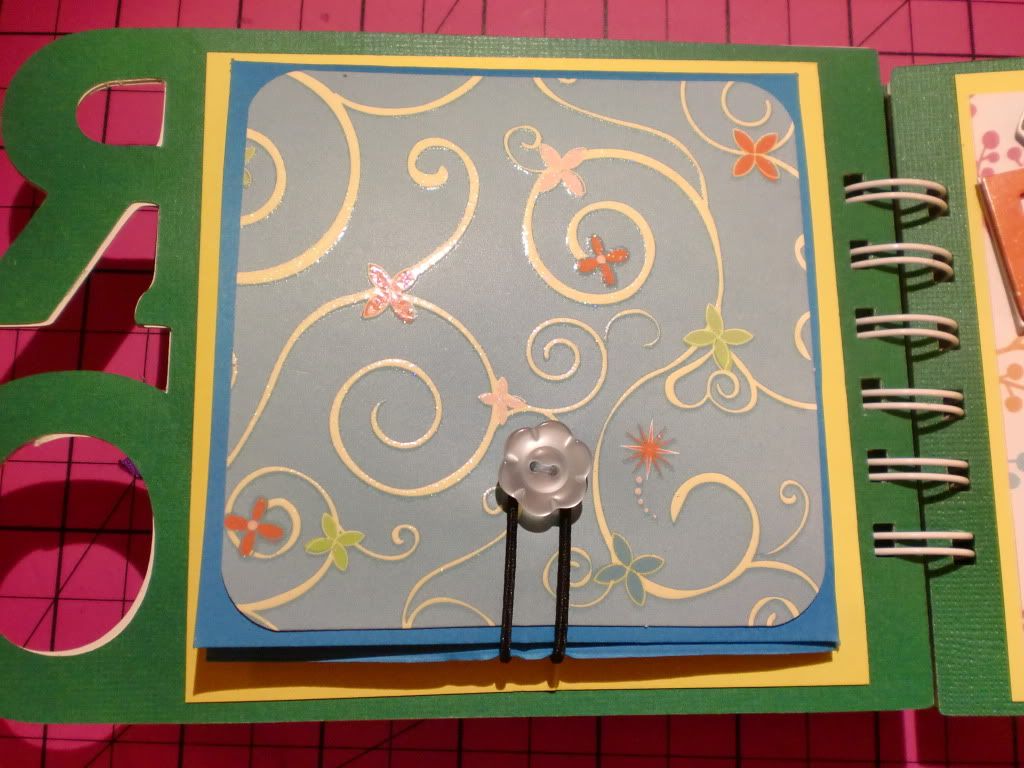
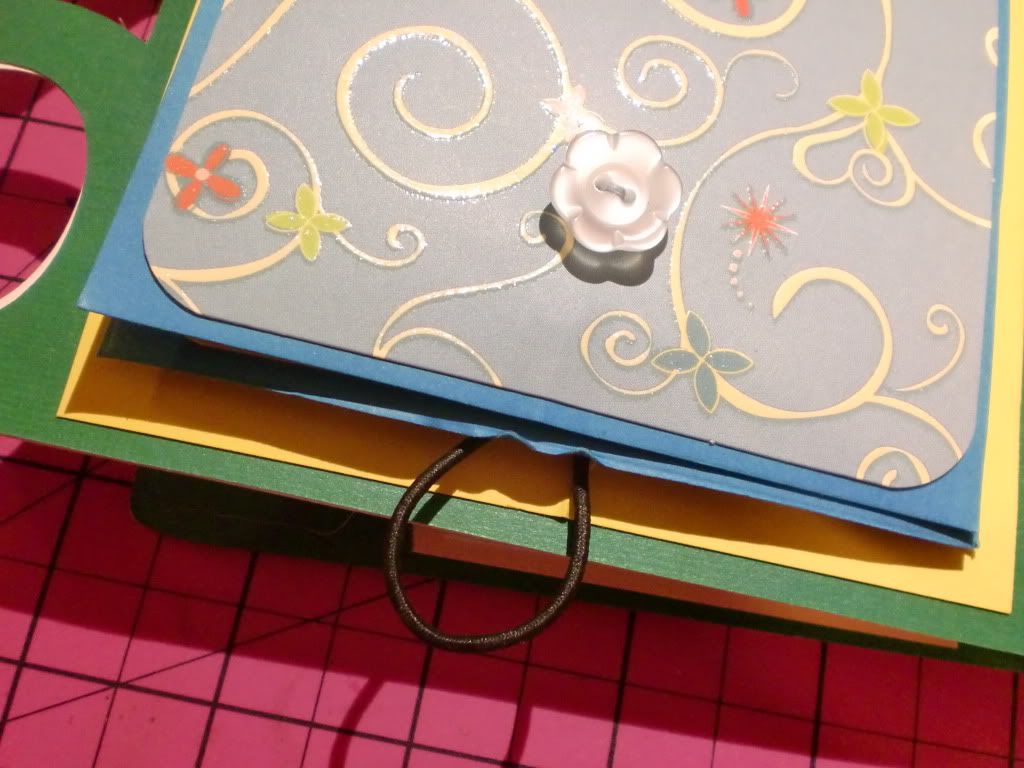
I made my own closure for this one as well.  I had these cute little flower button brads, so I placed it into an eyelet, (to make it stand up a little bit.) I then added an elastic cord on the bottom to hook over the button to keep closed.  I hope that made sense.  I'm not so good at describing what I am doing! lol.  Here it is with the elastic cord off the button:

And here is the picture of this section completely opened:
(The back of these flaps have patterned paper on them as well...I just didn't take a picture of that!)  I left this section pretty much blank.  I included a pack of K&Co Girl Scout stickers and die cuts for the girls to decorate their own books...so they could add their own personal touch as well.  So I tried leaving them plenty of space to do just that!

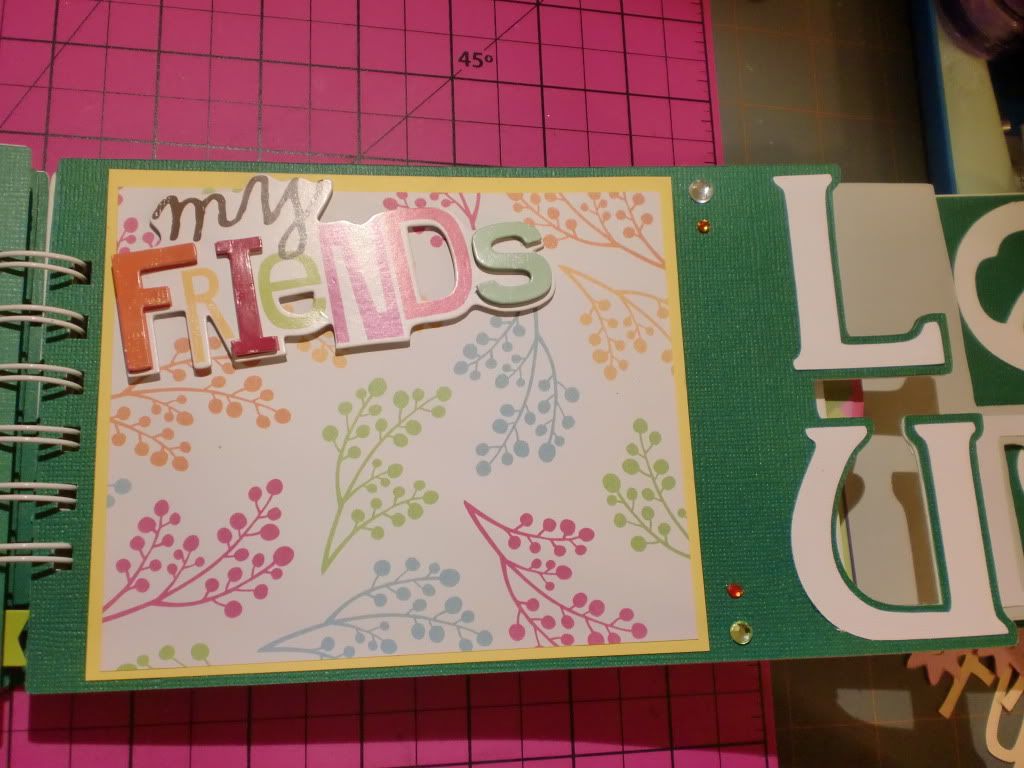
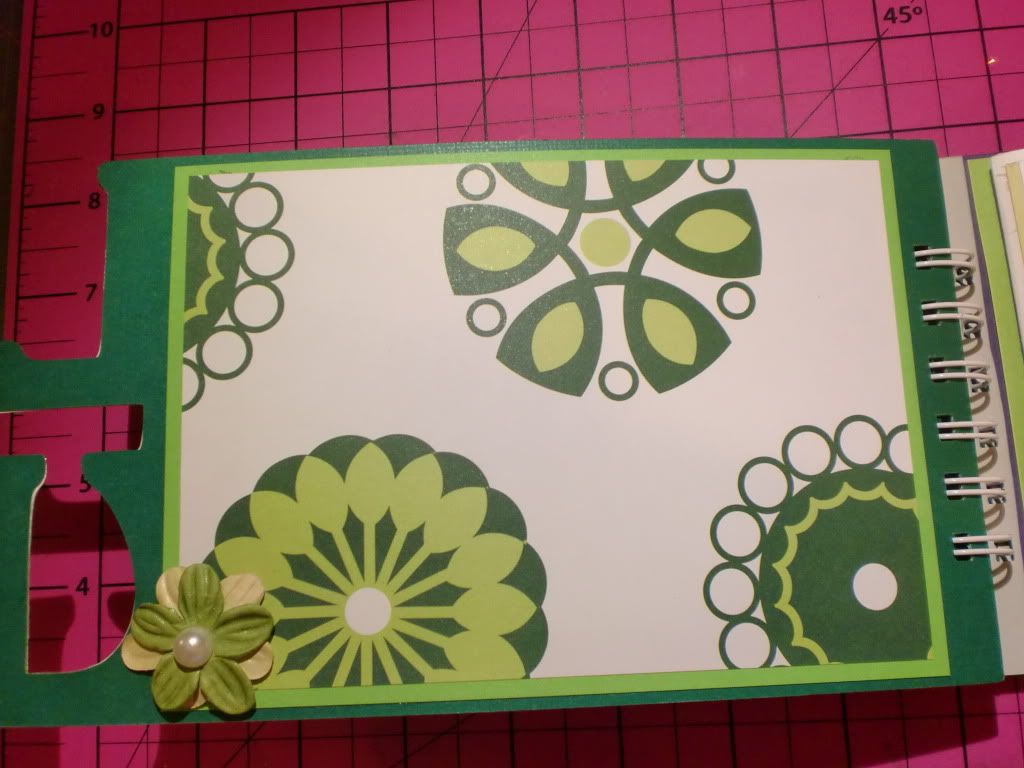
Page Four:  (L & U front side)  This is a photo mat, with a "My Friends" chipboard sticker title. 
And I had to add a little bit of bling there on the side of the photo mat.  :) 

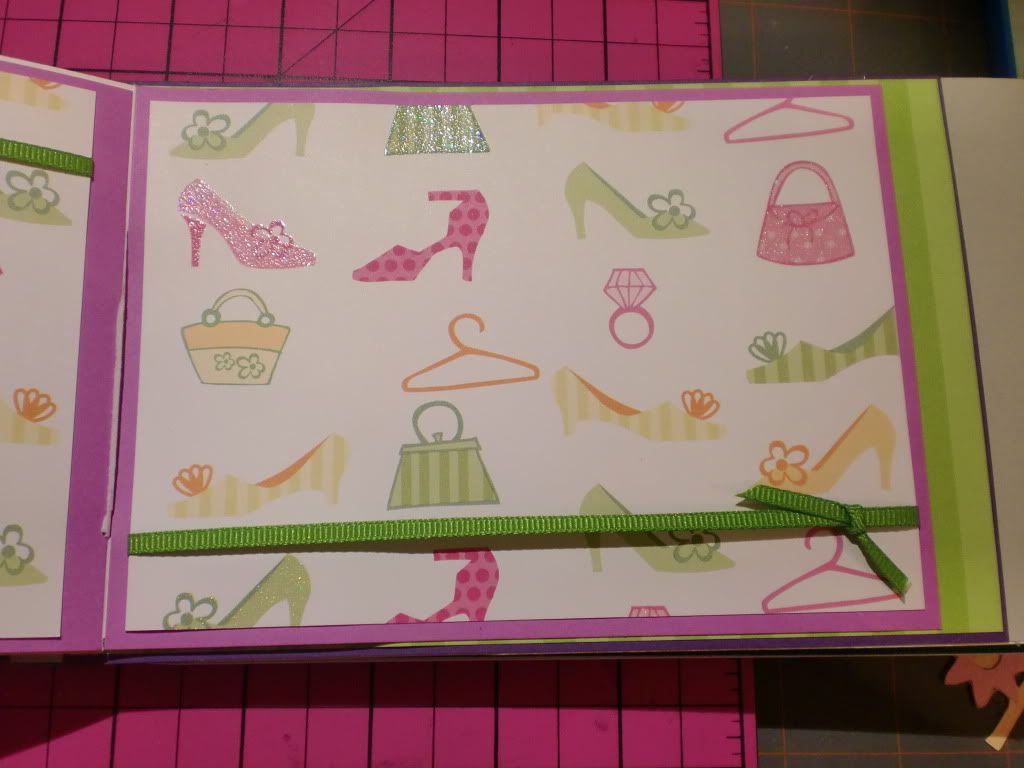
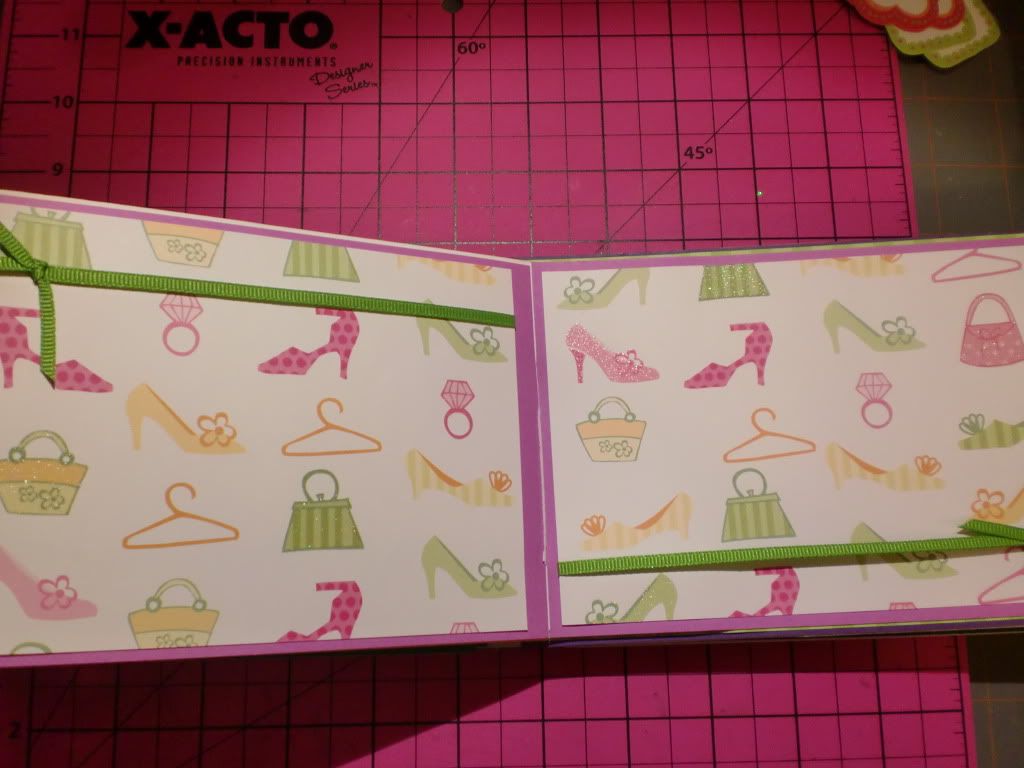
The reverse side of the L & U page is another photo mat. 
The flowers with the pearl center in the bottom left corner, is just attached at the one side, so that if there is a large picture, it can slip right behind the flower.  I like how it looks to have the flower on top of the photo... so I just had to add it in that way. :)

The next page,   The 'T' page, front side:  This is another 'interactive' section. 
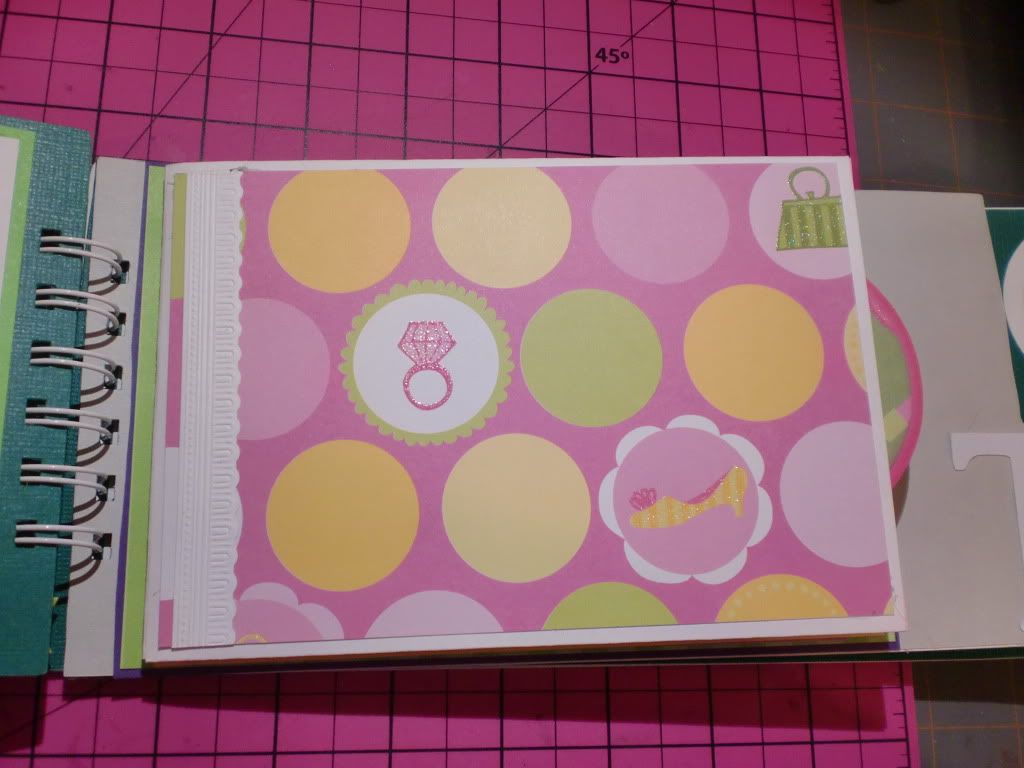
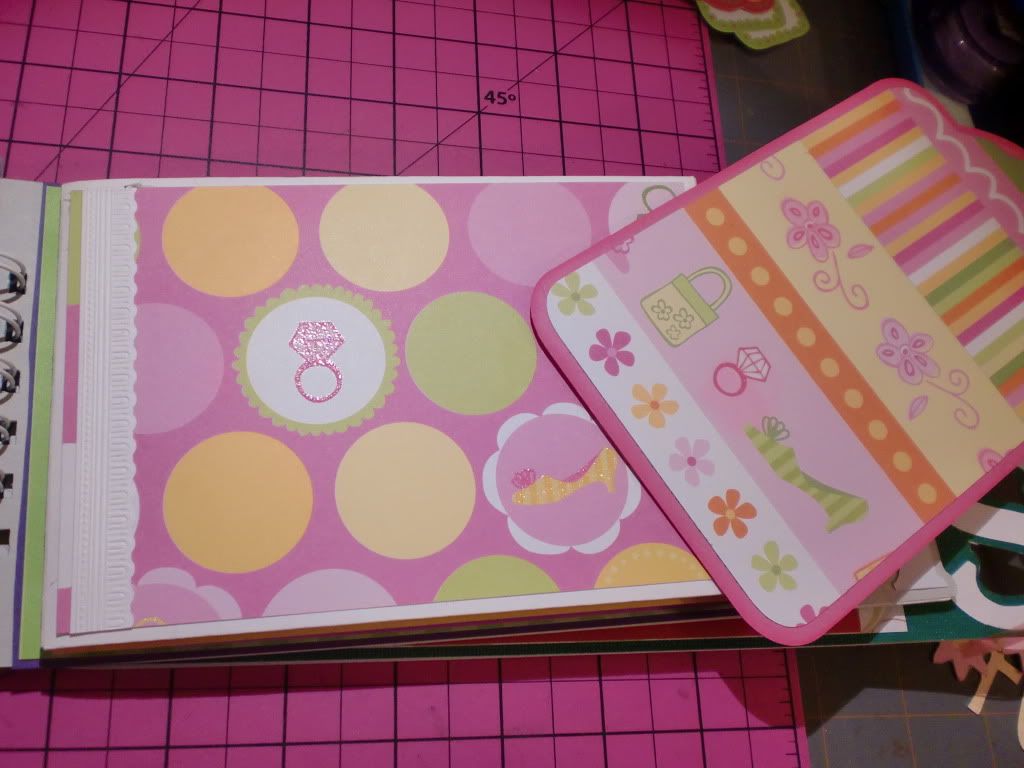
 This section consists of three pocket pages, each one having a double-sided pull out tag.  These pages and tags are all large enough to put a 4x6 photo on if desired.  Plenty of room for photos and journaling! (And to embellish!!!)  Here is the first page:
And with the tag pull out:
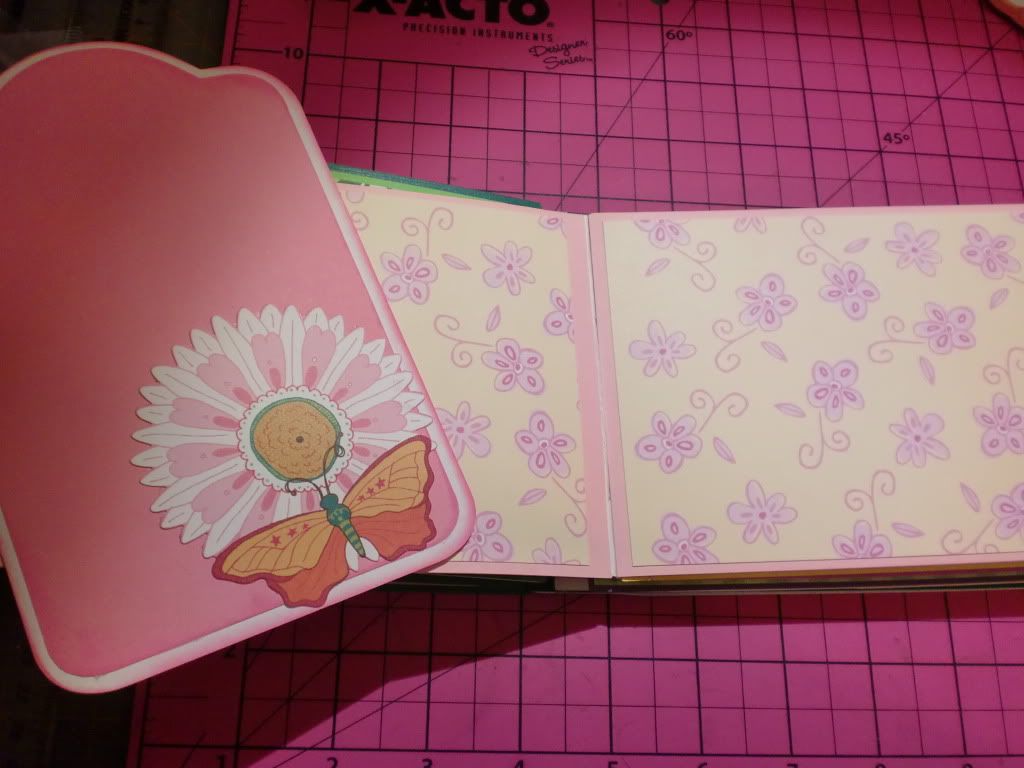
Second page (with back side of first tag):

I don't know if you can see it in the picture, but this yellow and pink paper has cute little flowers and butterflies on it.  They blend in so well, I love it!
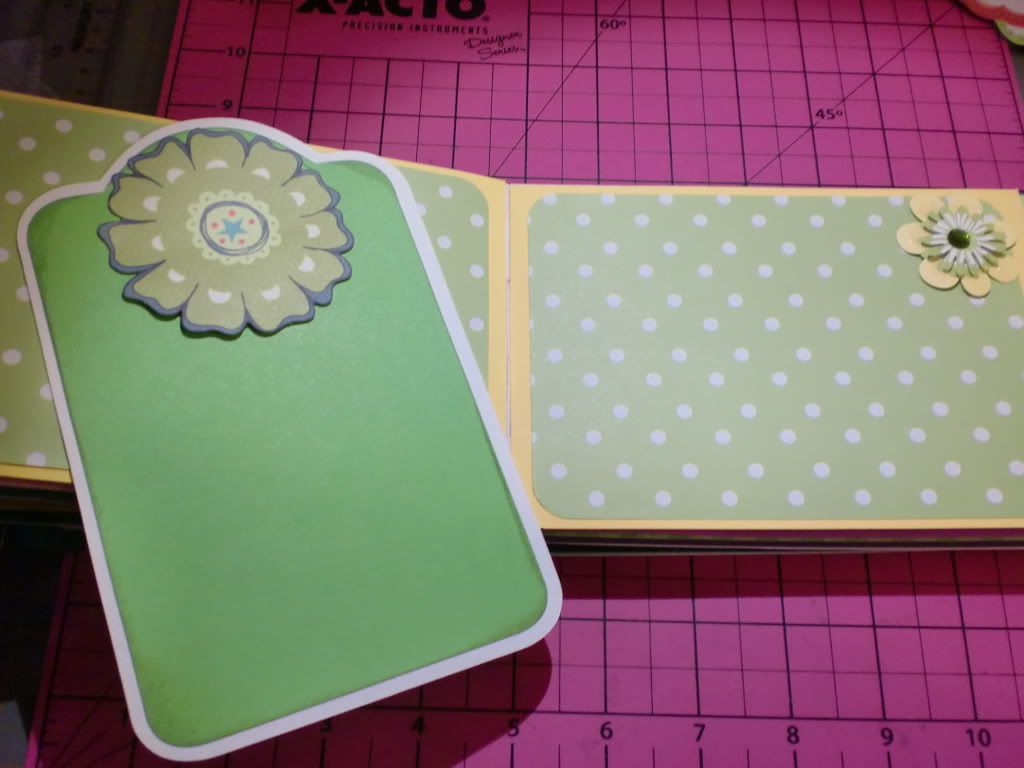
Here is page 3 of this section: (I think this is my favorite one!) 
This is the reverse side of the second tag.  I like this tag because I designed it so that you could slip a photo under half of that die cut flower!  (it looks sort of like a clipboard...that would be the best way to describe it. haha.)  It could also be a good spot for journaling. 
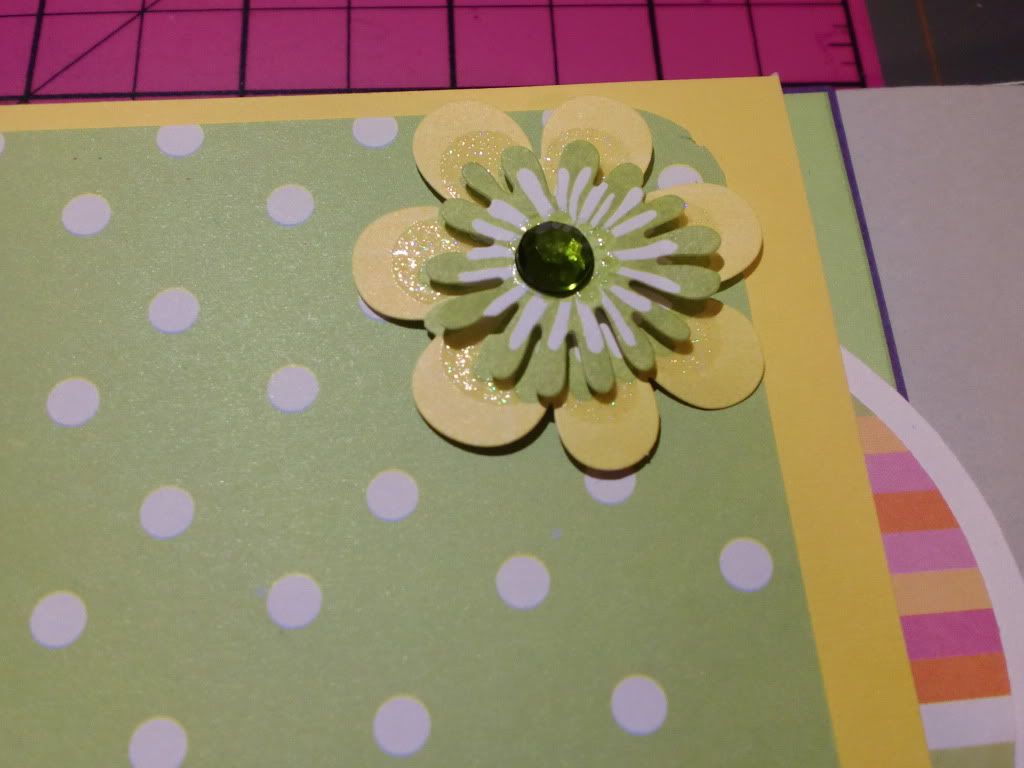
This is a close-up of the flower on this page:
(It's a K & Co flower.)
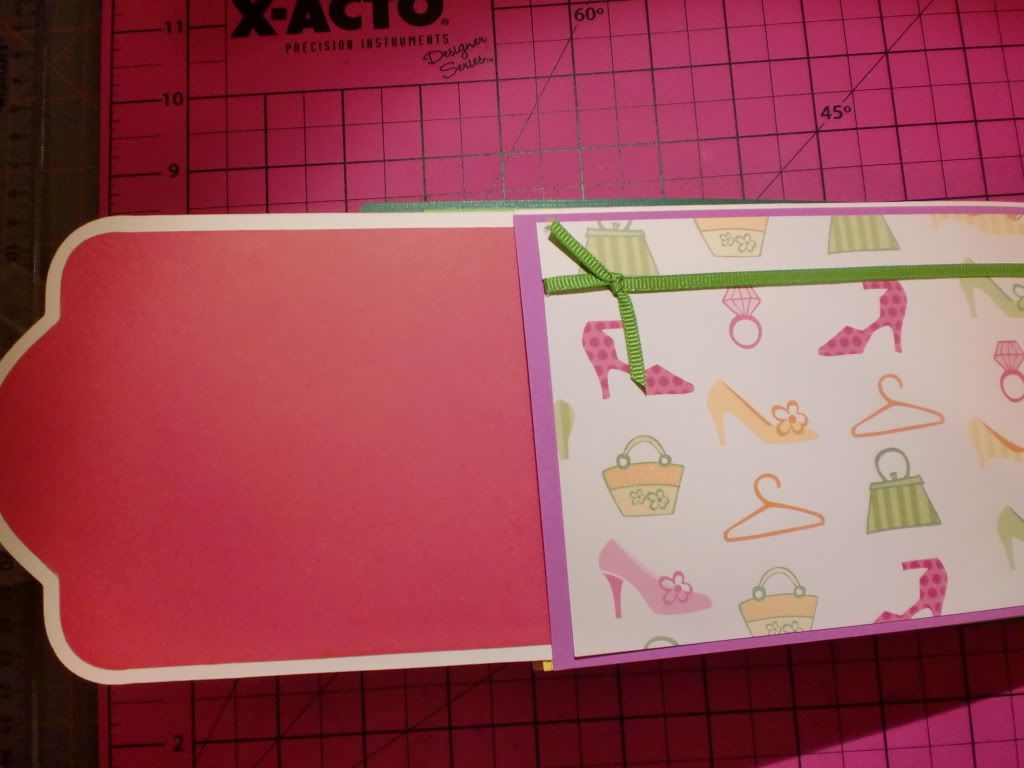
Here is the reverse of the last tag, and the last page.  The final page does not have a tag pull out, it is just adhered down to the book. 

 The green ribbon is not adhered down, so that a photo could slip in behind it.

And for the final page.  The Girl Scouts Logo and the 'S': 
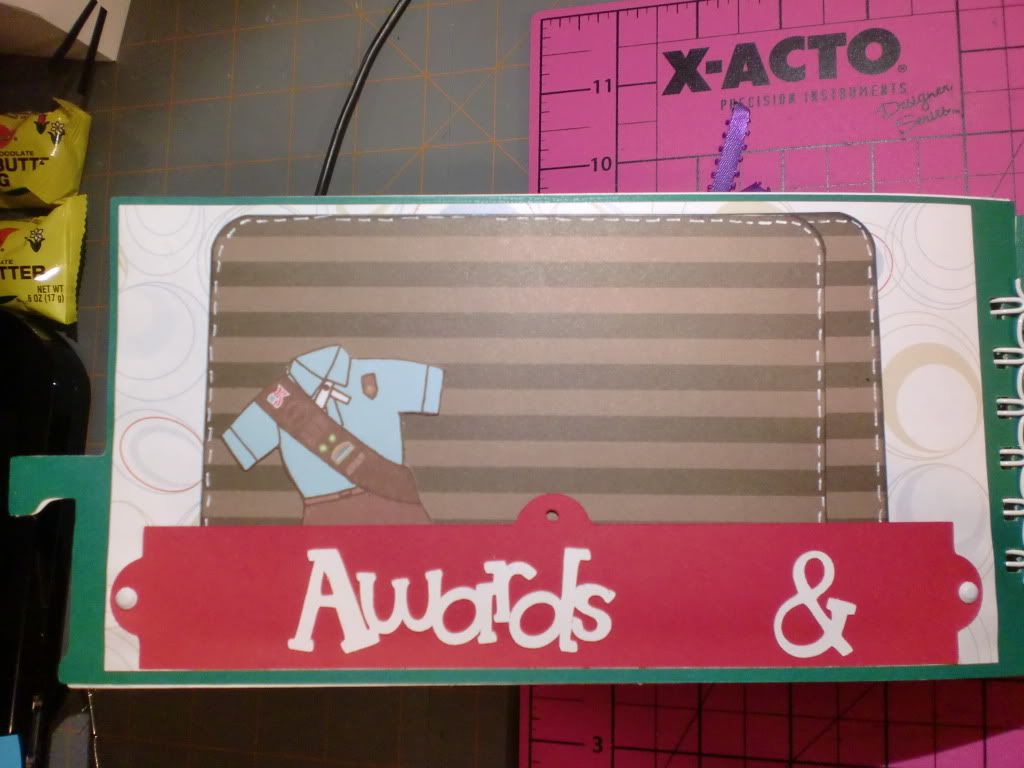
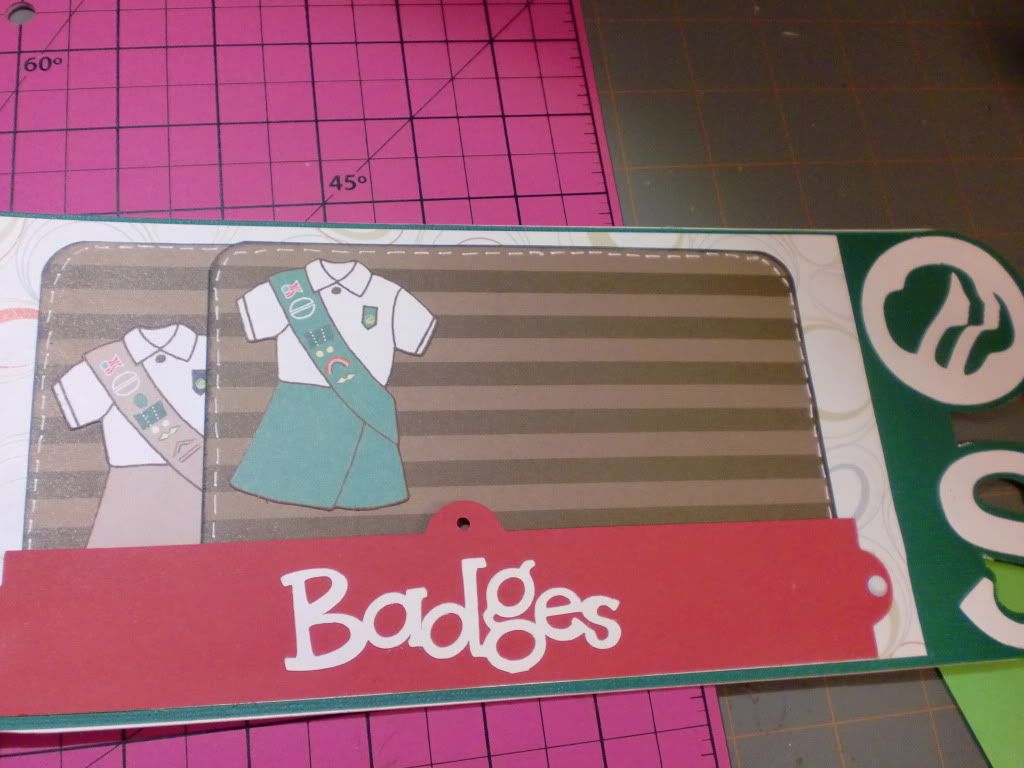
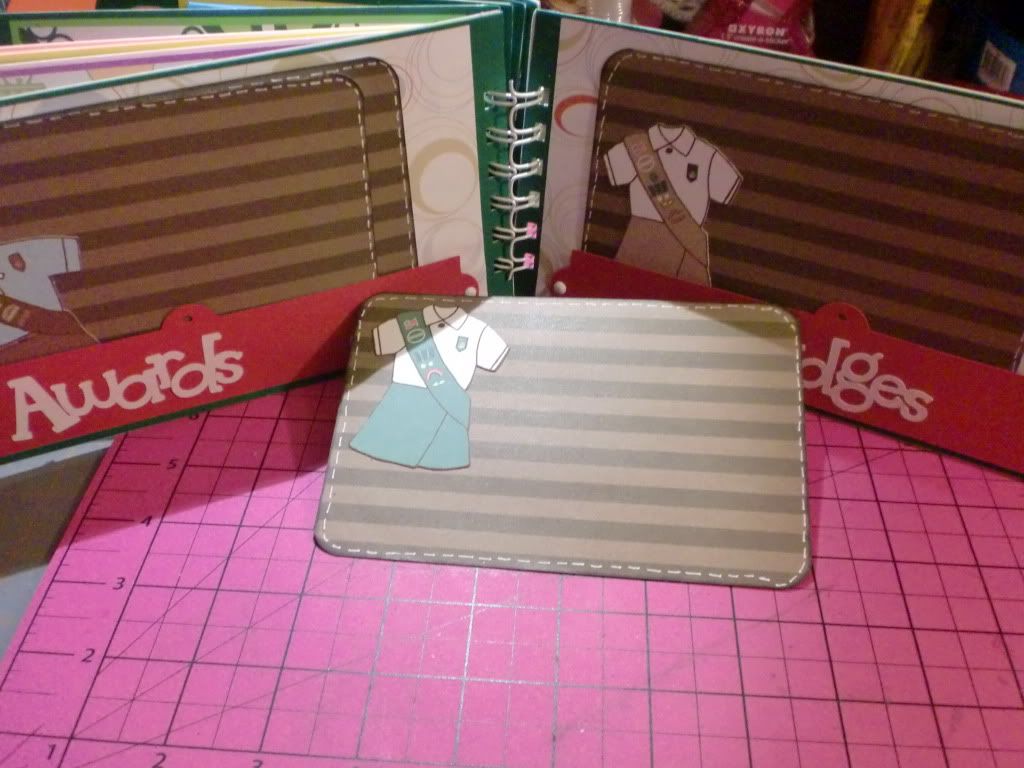
For this page, I wanted ti to showcase the girls awards and badges.  I had these cute little girl scouts uniform die cuts, so I made 'tags'/photo mats that had the three different level of uniforms on the sides, and one tag that just had the "Girl Scouts" title on it.  The left side says "Awards &" and the right says "Badges."
I thought the girls could place the stickers of the award/badge that they earned (on their sash) onto the corresponding Girl Scout uniform page!  (That's just an idea, of course they can do whatever they want!!!)  The back of the tag can have a photo or journaling, etc. 
I added faux stitching around these too.
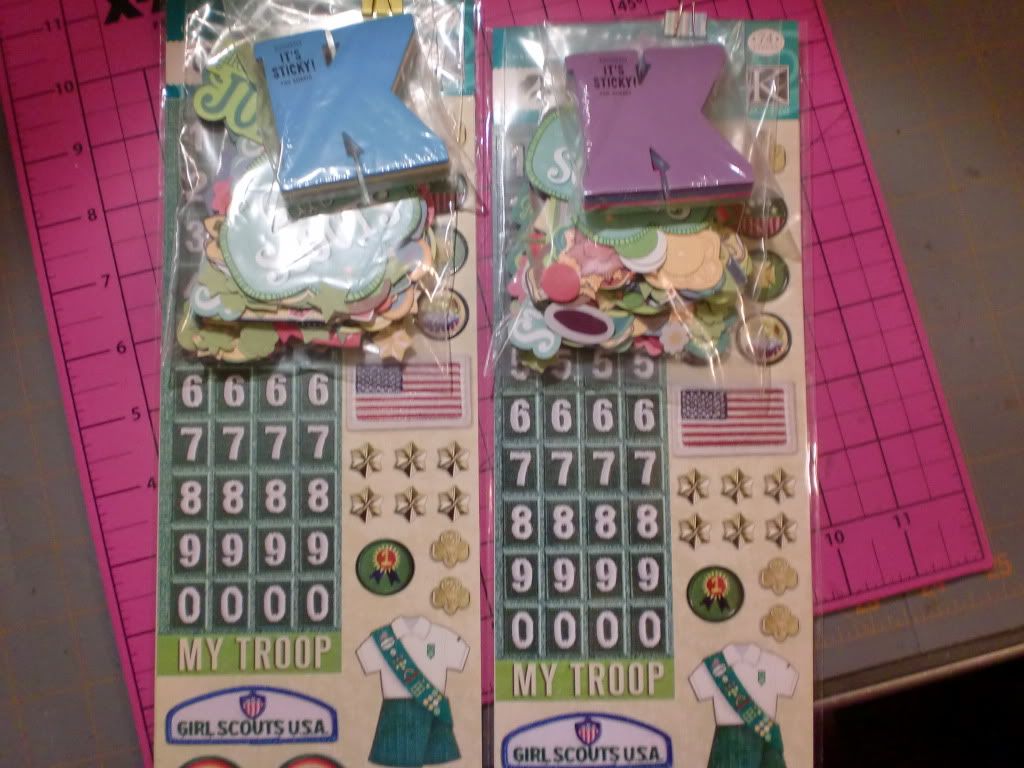
And here are the sticker packs that I found at Hobby Lobby to give with these books:

I didn't open them, but the stickers look like they are actual patches!  I'm sure they aren't really fabric, but they sure look like it to me! (Then again, you can't really take my word for it.  My eyes don't see what normal eyes see. Ha!  I'd say they are fabric, and you would say, "Um...Lori...those are PAPER!" Lol!)   But I thought they would be cute either way to put in the albums when they earned that particular badge! :)  Just a thought.  There are also bags of K & Co Girl Scouts Embellishments.  So that will give the girls some starter things to decorate and embellish their own books! :) 

Here's what the finished books look like:

The finished book measures approximately 5" X 12"  (The original cut file was about 7" X 15"  but I thought that was just a little big for a "Mini")  Haha!  :) I really, really hope that the girls like them!  I really struggled with making these.  I need to stick with things I know about, I guess. Ha~!  But I am pleased with how they turned out, and hope the girls like them!  If I were to do them again, I would do a million things different, but isn't that always the way it is?! :) 
One of the reasons that I wanted to get these done so quickly, (besides having them done for Easter gifts,) is because my Best Friend since....THIRD GRADE is pregnant!!!!!!!!  :)  I am so, SO excited for her and her husband! :)    I am going to make her a "Pregnancy Album" to document her first pregnancy!  Oh my gosh, I am so excited to make this!  And, what is cool about it is that I can take my time and make it PERFECT because I am making it along with the pregnancy!    That way it's not rushed, and filled out later... it grows as she does!! Lol. :)   Ok, I could go on and on about that...but I won't! Just a quick CONGRATS AGAIN to Lori, and thank you for letting ME make the album!!  (No that is not a typo, her name is also Lori!  I did NOT like that in third grade, lol...my mom says that I came home crying about having another "Lori" in my class!  Hahaha.  But now I think it's pretty cool!)


Thanks for stopping by!!  I hope everyone is having a wonderful week!

-Lori