"What we do for ourselves dies with us. What we do for others and the world remains and is immortal."
-Albert Pine

Thursday, October 21, 2010

Therapy


I have been a busy little bee!  I got to go to therapy (my craft room) today!!! LOL!   It seriously IS my release though!  So getting to spend a few hours in there, is amazing! 

Well, of my ten Halloween card that I absolutely HAVE to make, I was able to knock four of them out today!  Ah sookie sookie!  Haha.

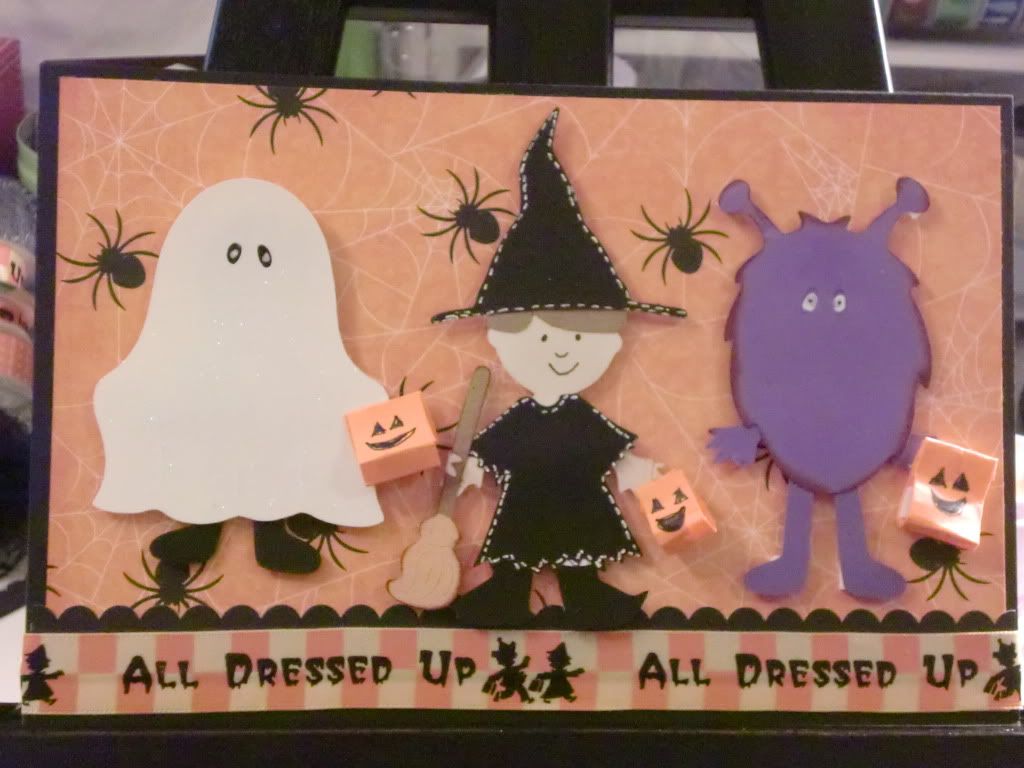
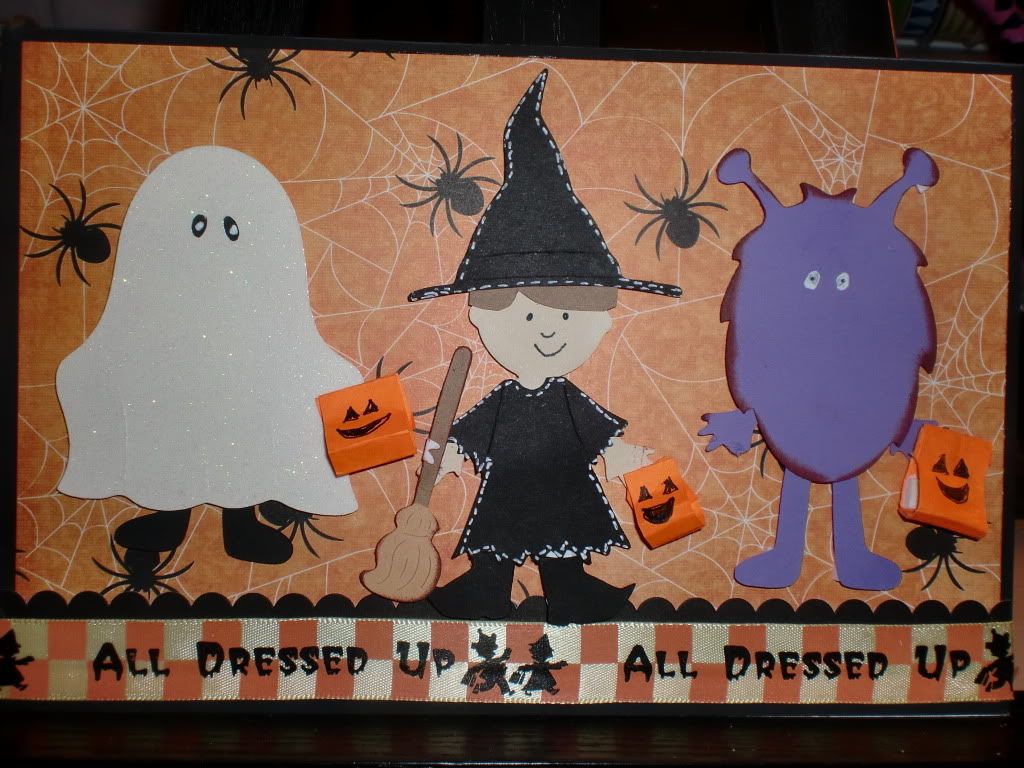
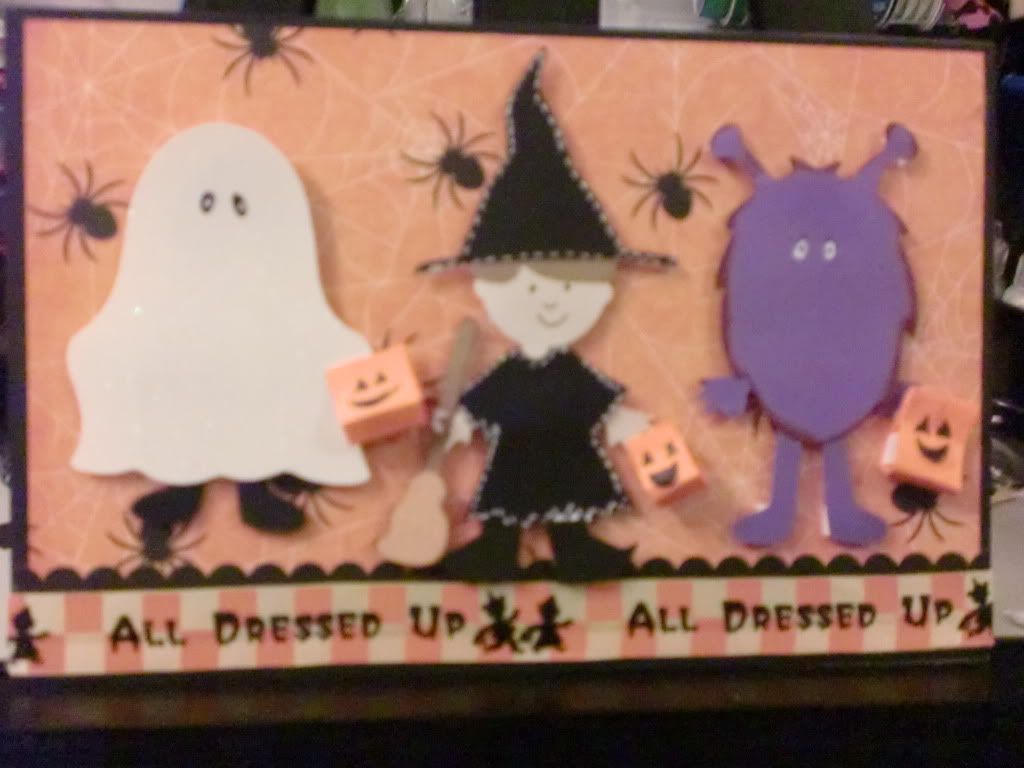
I'll start off first with my "trick or treat-ers" card.  I just love this one.  I know I say that about all of my cards, but I really LOVE this one!!  I knew that I wanted to make a few kids in costumes, and have them carrying trick-or-treat bags, but that's all I really ahd in mind.  So I got on my gypsy, and did some playing around, and I decided to use a few cuts from Paper Doll Dress Up.  

I made their little trick or treat bags to hold their candy that they get, by just cutting some orange paper, drawing a (bad) jack-o-lantern face, and folding it up with a pop-dot in the middle for bulk.


I really love this card!  This is one of the rare ones that I am proud of.

Thanks for stopping by!!!   It's getting closer and closer to Halloween!! YAY!!!


Sunday, October 17, 2010

Oh Joy

Howdy paper pals! 

I have been all over the place lately with my crafts.  I jump from baby, to Halloween, to Christmas, to Birthdays, to "hello," etc.  I just can't seem to stay focused on one theme!  I need to just sit my bootie down, and get the rest of my Halloween cards finished, before it's too late!  

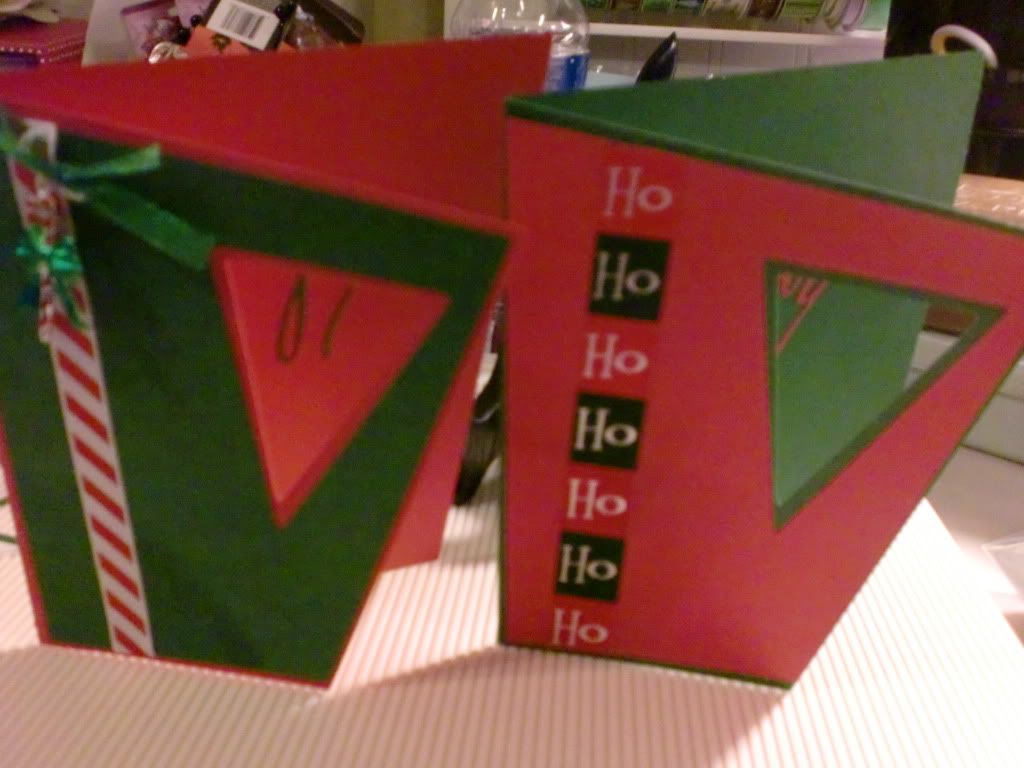
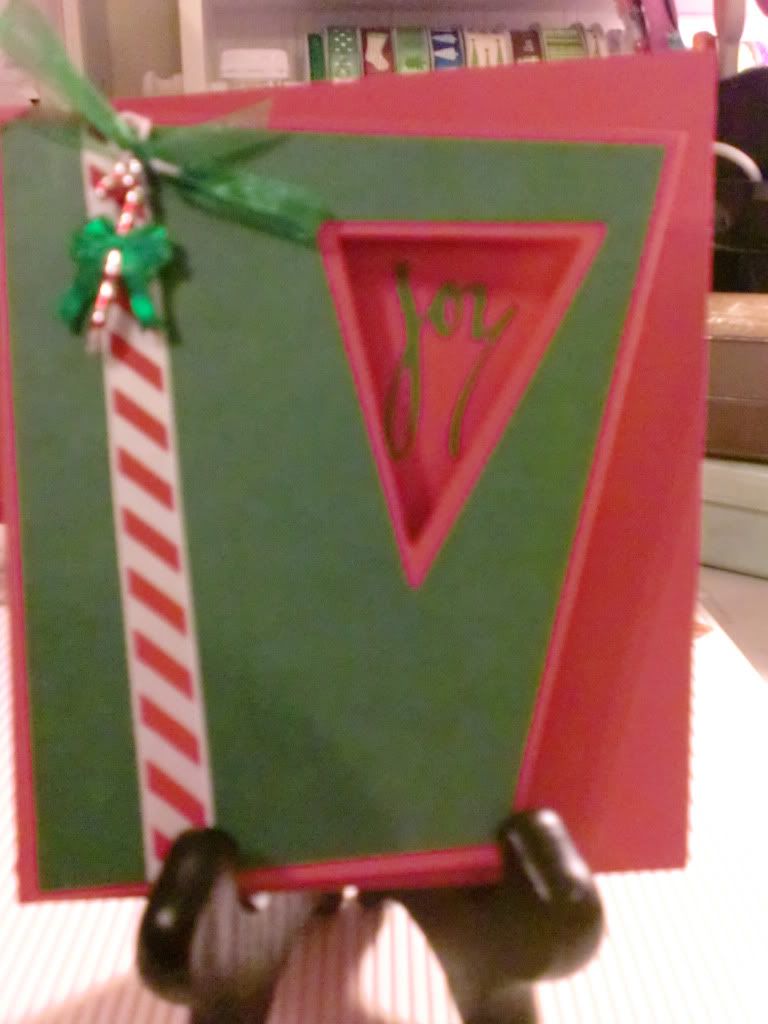
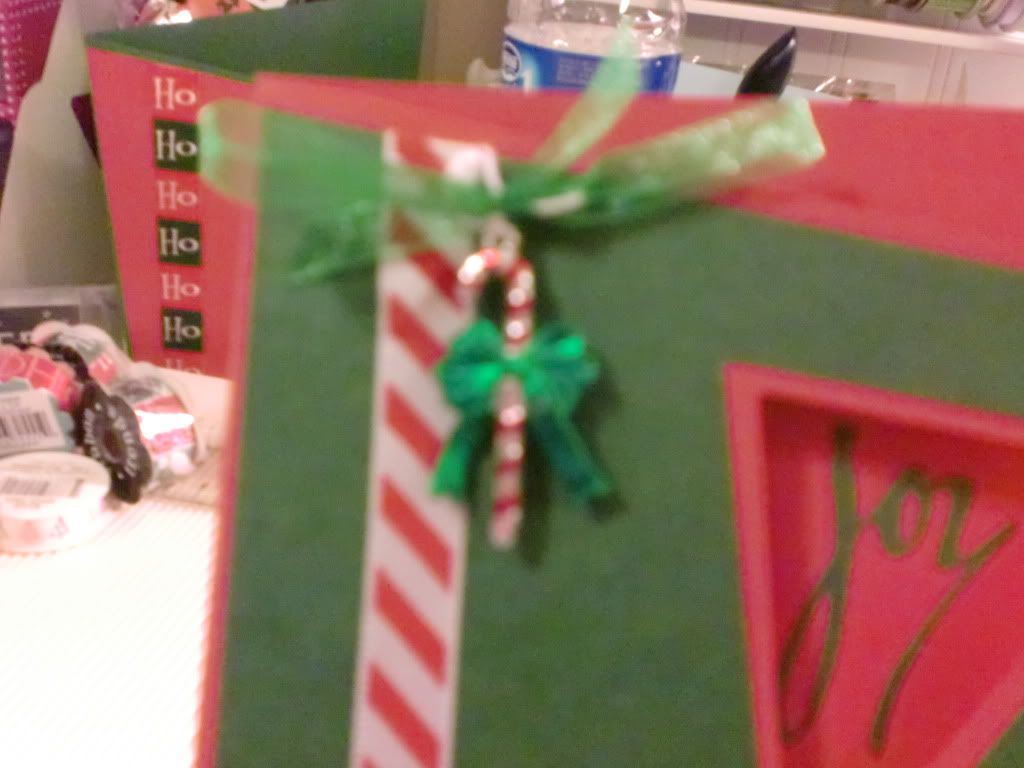
BUT!  Until that happens, here are two real simple Christmas cards that I made using the Wild Card Cart.  This is still one of my favorite cartridges!  I always say that I'm going to go through it and make every card... but I never do!  (I want to do that with "Just Because Cards" too!) 

Yada yada yada... Now for the cards!  Ha.

This card style is real funky..I just love it!  I basically just layered it together, added some Christmas ribbon, a candy-cane embellishment, and that was that!  Easy peesy.


Thanks for stopping by!

Thursday, October 14, 2010

Birthday Cake for my Niece


Hey Paper Pals!

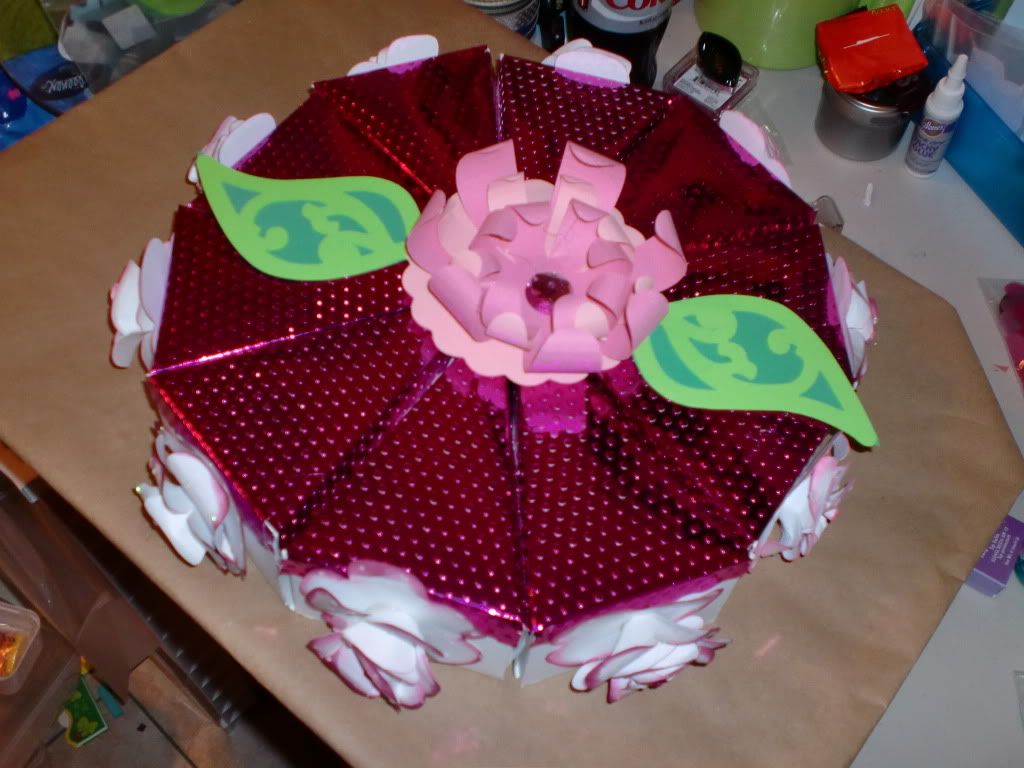
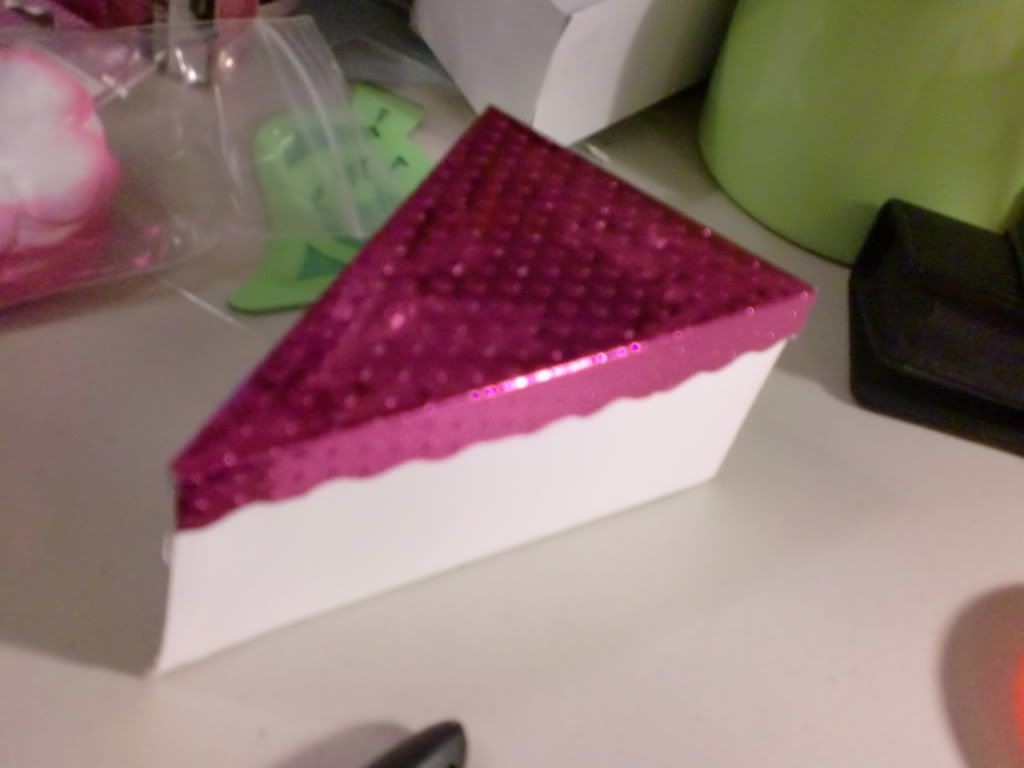
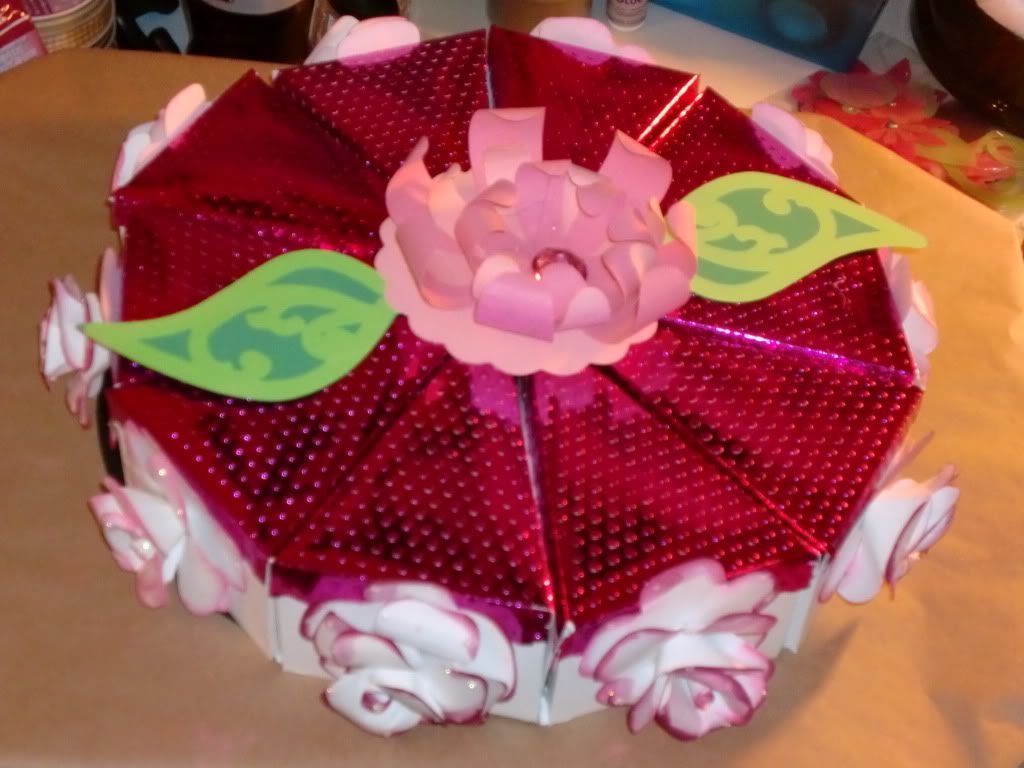
Today is my niece's ninth birthday!  What a fun age!  So I kept up my tradition of making each family member a paper cake for their birthday, and made her one!  For the last one I made (I forgot to take pictures!! ARG!!)) I filled it with cash, and lots and lots of candy.  Since it was for my brother, an adult.  Since this one was for a 9 year old, I thought I better fill it with just gifts, instead of 20lbs of chocolate!  Although, I'm sure she would have loved that.  Ha ha.   

These cakes are perfect for holding small presents.  My favorite thing to do with them, is to hide a gift card or cash in lots of candy!

I started making it yesterday, and had to let part dry, so it was finished and stuffed with gifts today.  This is how it turned out:

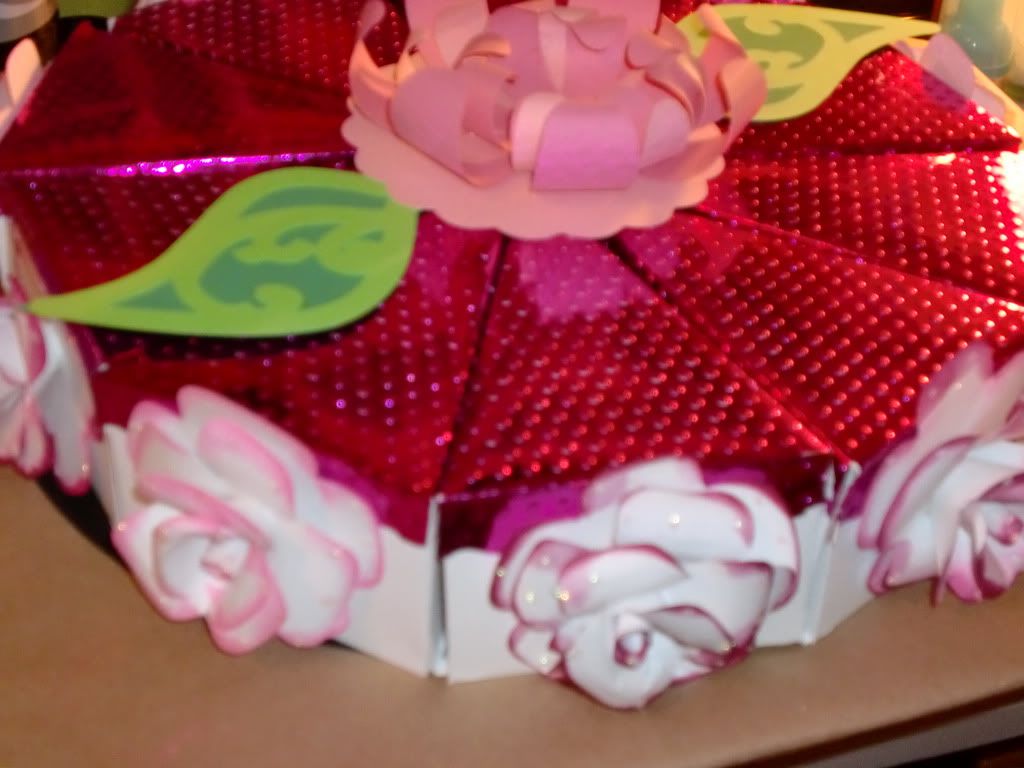
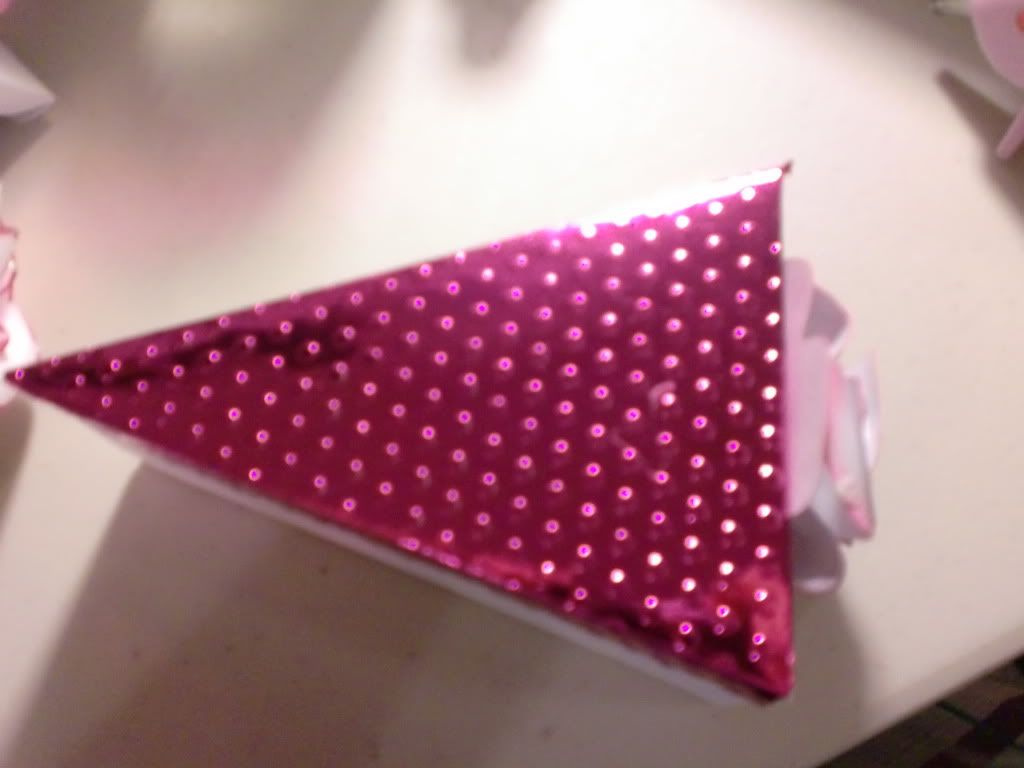
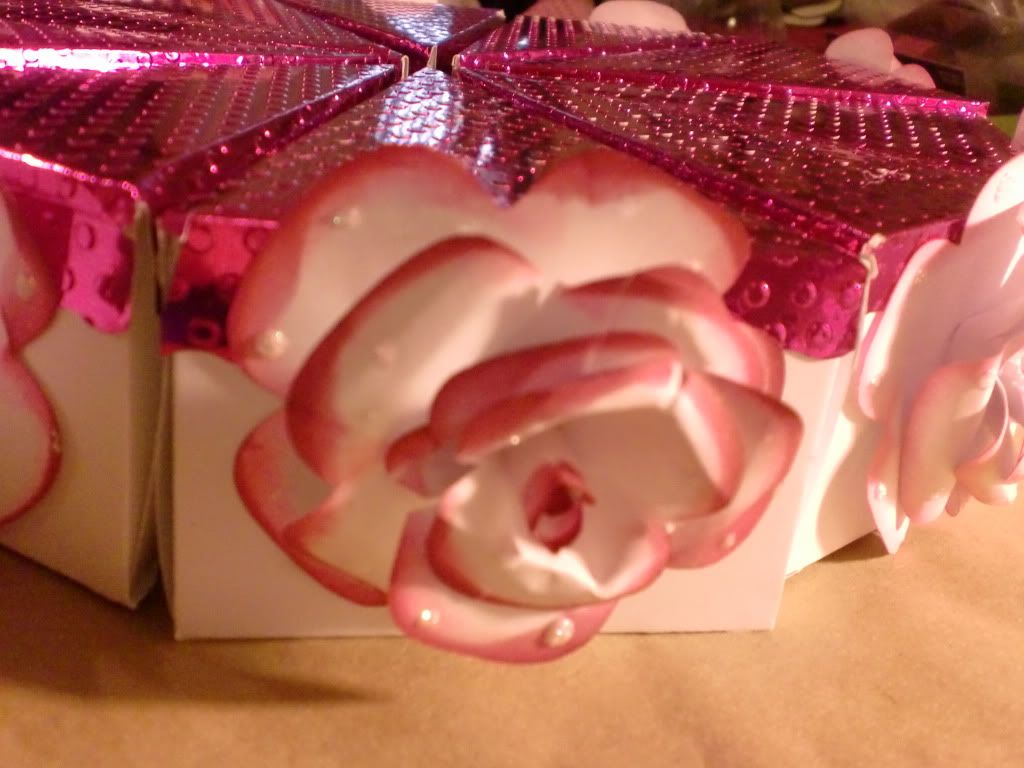
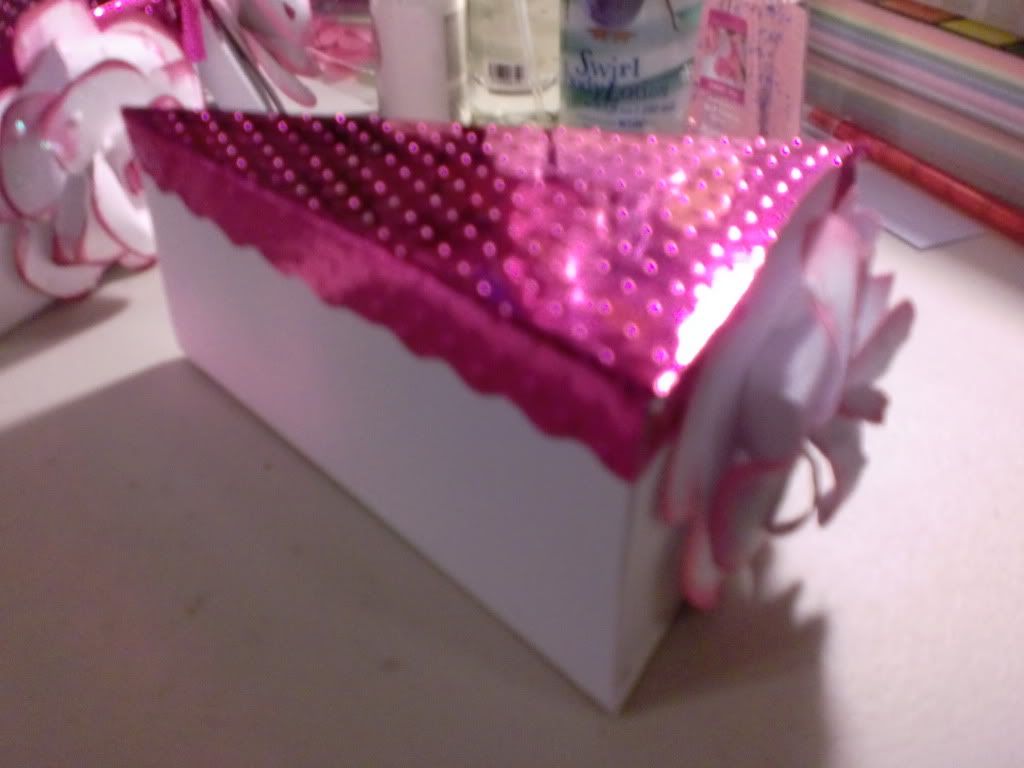
The cake pieces were cut out of plain white card stock, then I used a metallic card stock for the 'frosting,' and ran it through the Polka Dots embossing folder.  The edges of the 'frosting' are scalloped, to make it look a little more like real frosting was spread on the cake. 


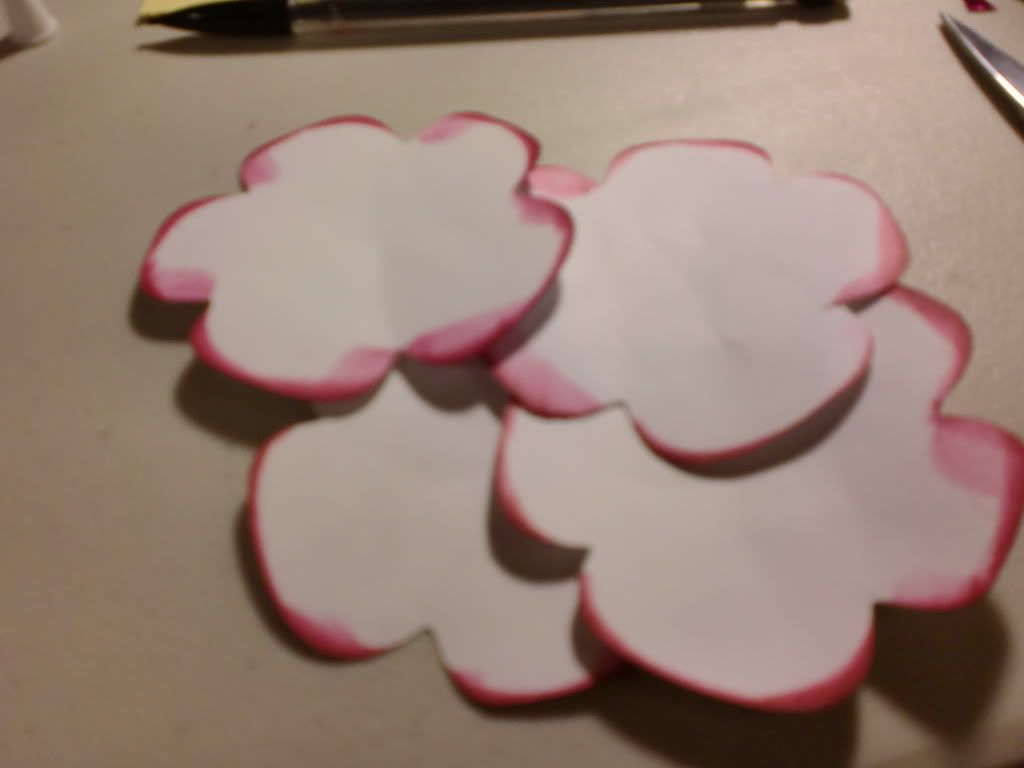
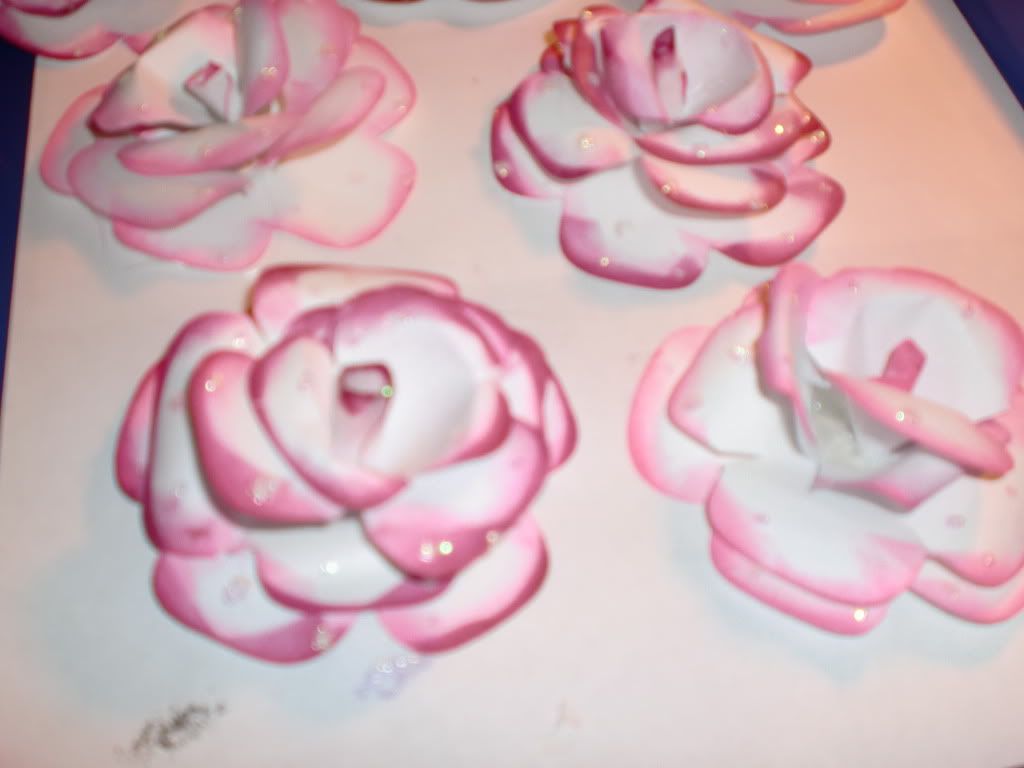
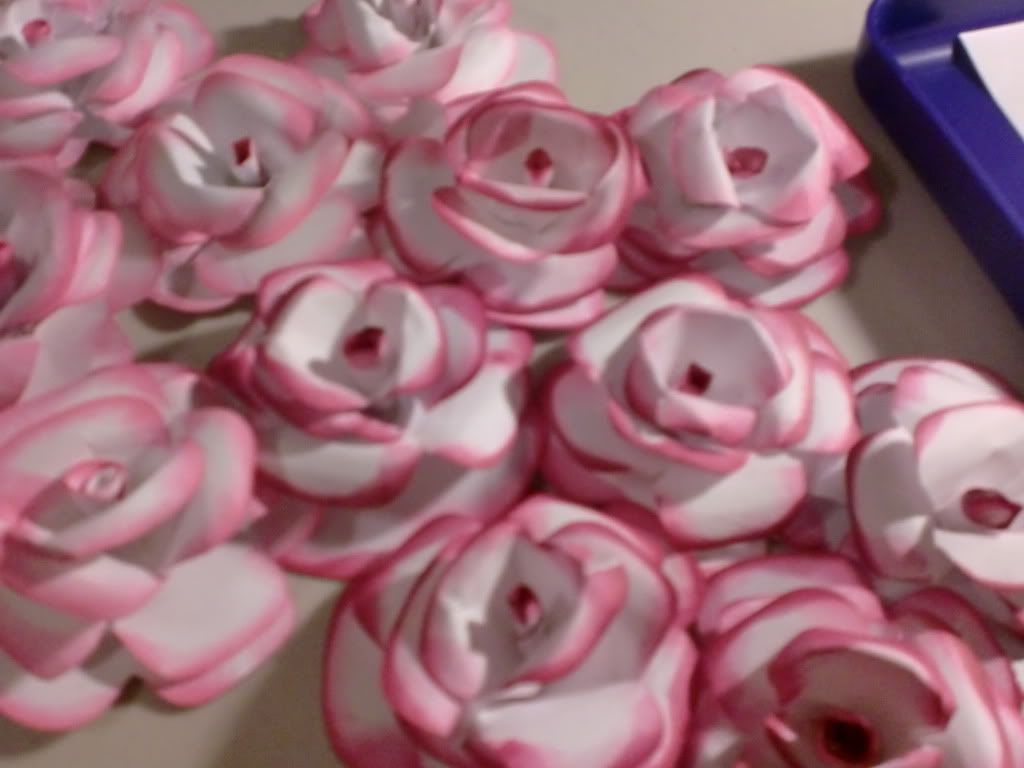
The flowers were made out of 4 cut flowers.  I inked the edges and then folded and glued until they looked like a rose. I then added Stickles to made it look like dew drops on the flowers.  


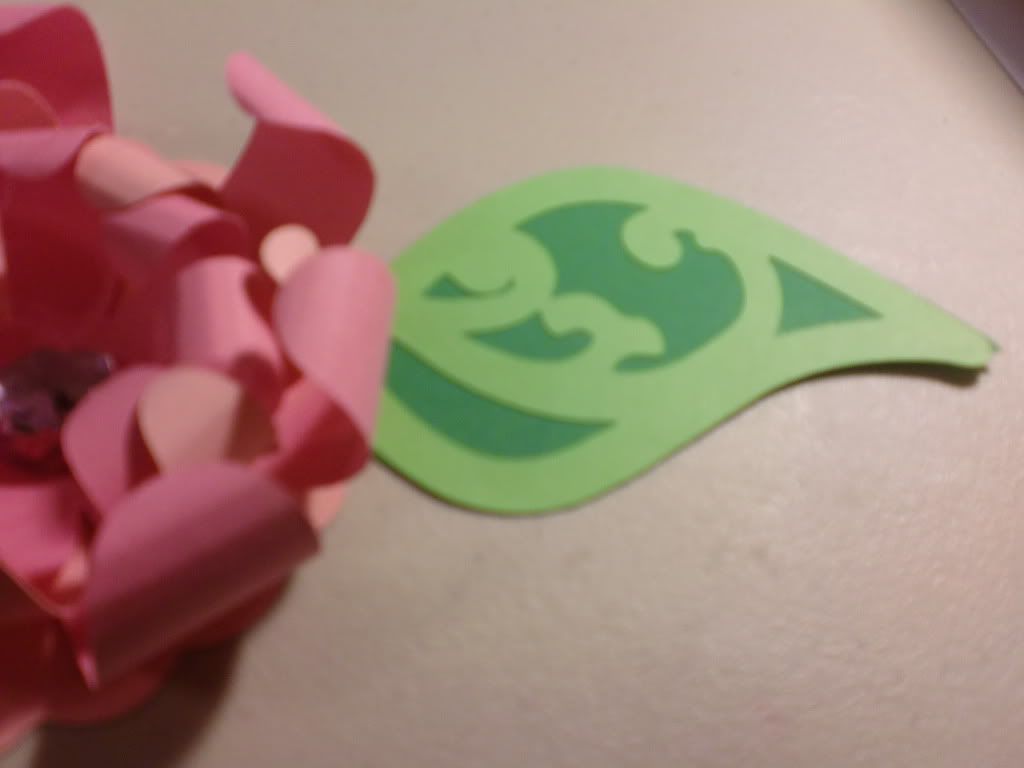
The big flower topper is just laid on the cake.  I did not want to glue it down, so that it wouldn't effect the individual cake pieces.  The topper is made out of a scallop circle for the base, then 3 daisy flowers in two different sizes, with each petal curled up.  The leaves are cut from Gypsy Wanderings, and I finished it off by placing a large gem in the center. 

I love the way it all came together.  I am always so pleased with my cakes.  I think this is my favorite thing to make.  Making bags and boxes are my favorite for sure... but I just love these cakes!  I put so much work into them. 


Thanks for looking at my project!  Let me know what you think!


Babies Make Me SMILE!

Hey Paper Pals!!

I just love babies!!!  My good friends are pregnant with their first child!!!  A BOY!!!  Oh my gosh, I am so, So. SO excited for them!!   I am sure the next few months, my craft time will be dedicated to 'baby' things!  Well, minus the time for Holiday cards/gifts.  I'm planning on making them a "Baby's First" book,a scrapbook-style baby book where they can document all of his "firsts."  His first word, first time turning over by himself, his first time crawling, first steps, etc.  And there will be space for journaling and for pictures.  In my mind, it will be adorable!!  We will see how it actually turns out!  Ha!  

Another idea that I have is to make a "Parent's Advice" book.  I've seen these at baby showers and as gifts before.  At baby showers, they have them open to where each guest can write a piece of advice to the new parents!  They always turn out really cute!  I thought it might be cute to have one already made and finished as a gift for the baby shower, use pieces of advice from other parents I know, my parents, and maybe even famous people.  Again, we'll have to wait and see on that one too! :)

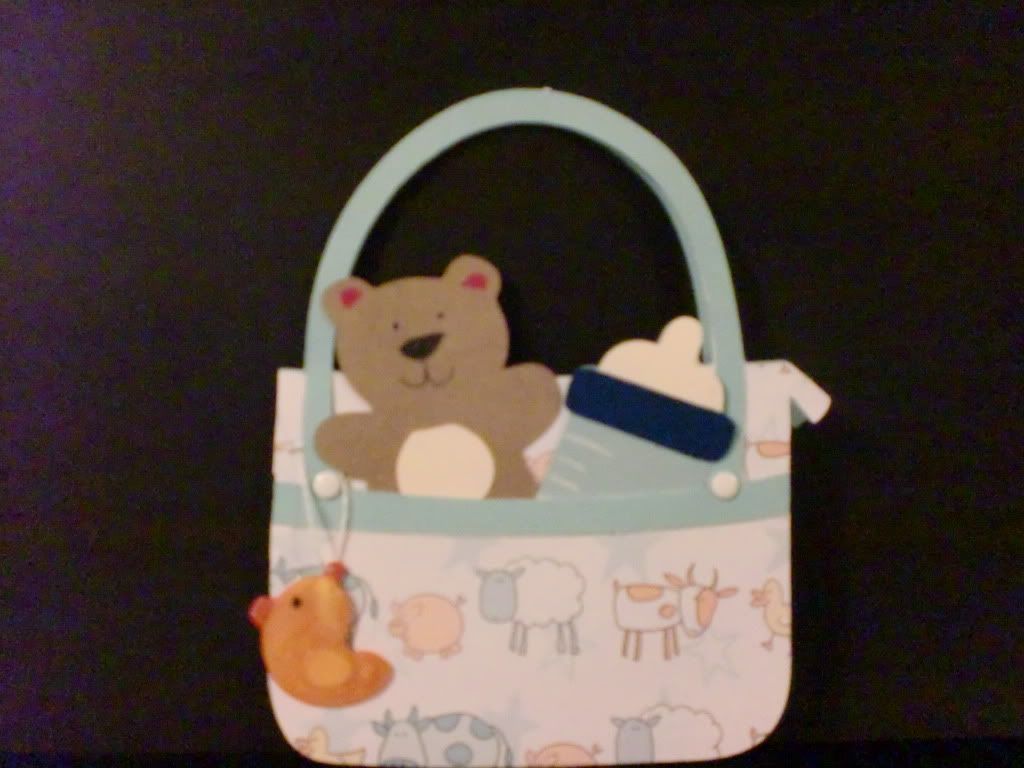
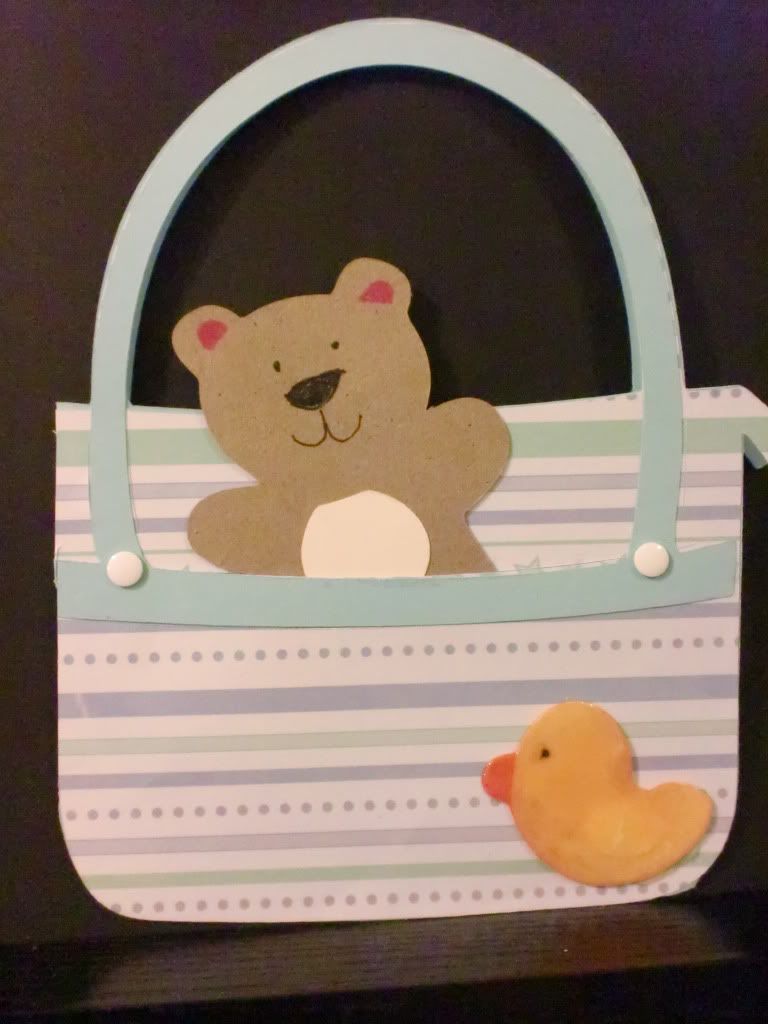
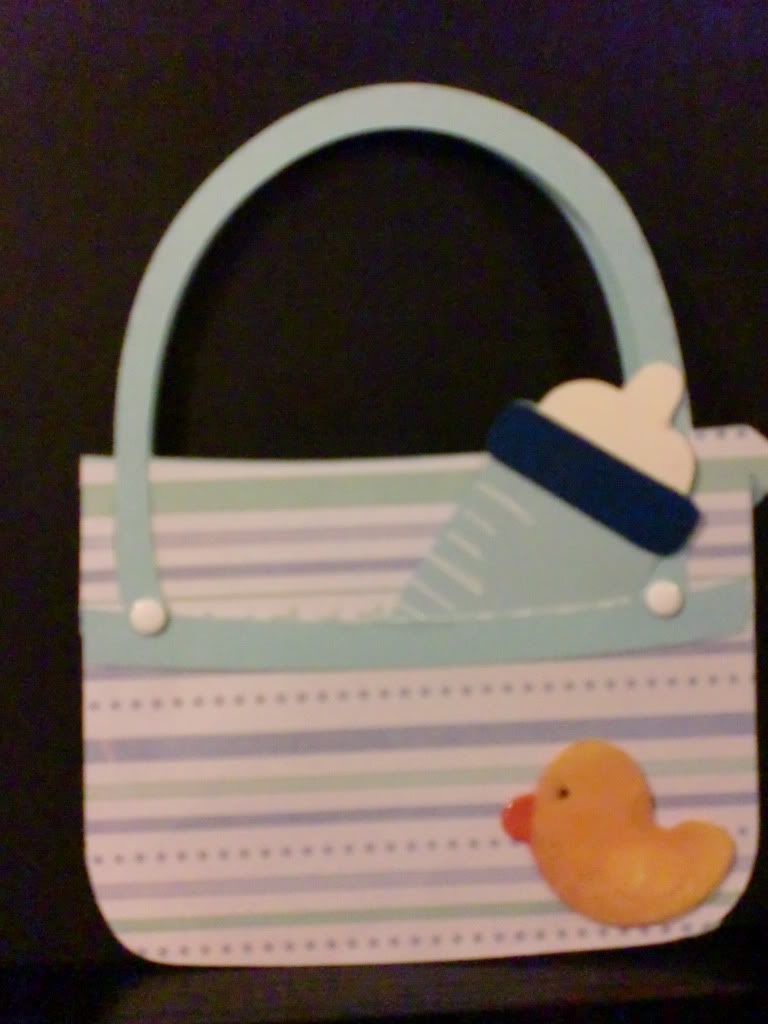
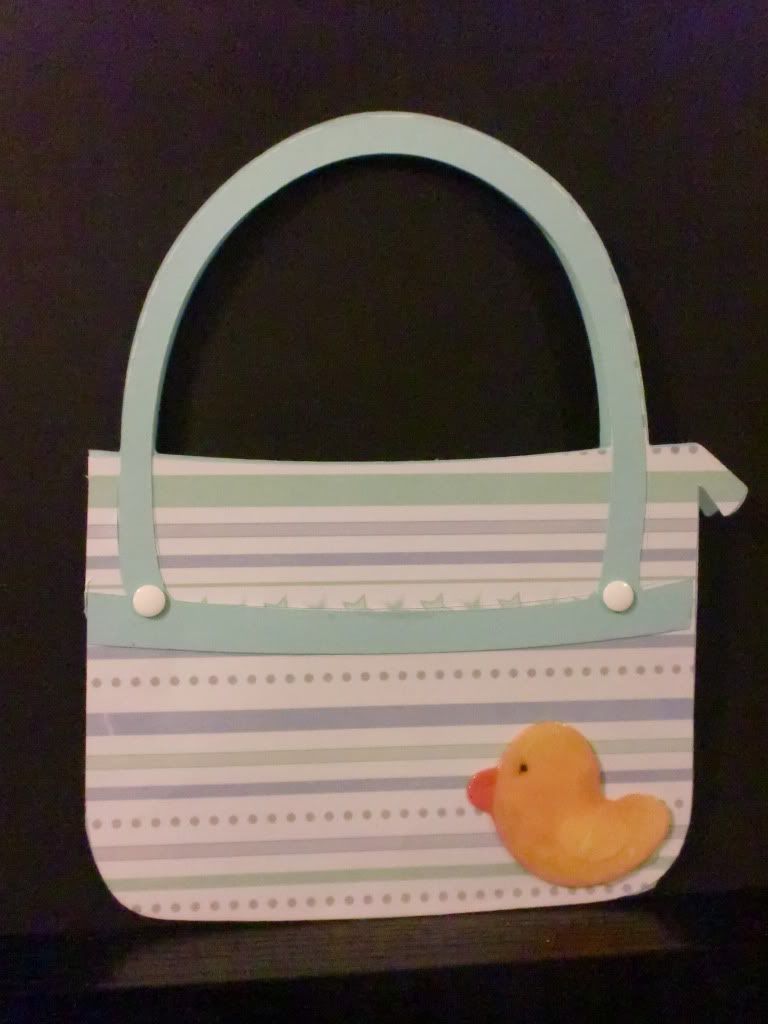
So for now, here is a gift card holder that I just made.   (I actually made two of them, because I couldn't decide which patterned paper I liked best.  A gift card fits perfectly  inside, (I made those little corner slits for it to tuck into.) And it could also just be a greeting card.   I am really pleased with how this turned out!!
Here is the first one:
Here is the second one:

The little teddy bear and bottle both come out of the pocket on the front, and the rubber duckie charm are coated with an embossing powder to make them feel 'plasticky."  (My Sister-In-Law makes fun of me when I saw that word. Haha!)  


I am super pleased with how this turned out!

Thanks for looking!


Tuesday, October 12, 2010

Rehearsal Dinner Invites

Hi Paper Pals!!

Last night I was flipping through a magazine that I purchased about a month ago.  It is by Card Maker, and it is titled }Fun Folds."  There are quite a few card folds in that magazine that I am looking forward to trying out!  BUT!  As I was flipping through, I saw a card that I HAVE MADE!!!  It was very, very odd!  Now, mine is not exactly like this card, but it is so darn close, that it is creepy!  

Last June, my brother and sister-in-law-to-be asked me to make their rehearsal dinner invitations!!!  I was honored and terrified at the same time!  This was before I purchased my Cricut, and also, this was right in the middle of my major eye surgeries.  About three weeks prior to this, my right retina was re-attached, and I had a gas bubble in the eye. (part of the process) So everything was like looking through a fish bowl!!  And my left eye's retina was detached, so I had no vision out of it.  I am actually really impressed with this card, seeing how I was basically blind at that time.  

This is not the card they chose for the invites, (I had made up about 6 mock cards for them to choose from.)  But I really like this one, so I wanted to show it.  This is the one that is very similar to the one I just saw in the magazine last night. 

I worked really hard on this card. Everything was cut by hand except for the leaves, which were a punch.  There is a veil on the top (Bride) bird, and a top hat and bow tie on the bottom (Groom) bird!!  Also, the Bride has a diamond ring on her 'wing.'  I loved this card!!!


Here is a view of how the card opens:


Well, thanks for stopping by and looking at my project!!

Halloween


Hey Paper Palsll!
I just absolutely LOVE Halloween!  I just had time to make two real simple cards, but I figured that I'd go ahead and post them anyway.  They don't have any sentiments on them, yet.. but for some reason, I really like the way they look just plain. So I may put the sentiments on the inside.  Who knows. :)  Ha.


This is a standard A2 size card.  The background paper is from the DCWV Halloween stack called 'The Midnight Spell.'  The Frankenstein cut is from Happy Hauntings, and I just colored in the scar on his head.  
This next card is also A2, background paper is also from The Midnight Spell, (I heart that stack!)  


The witch shoe is also cut from Happy Hauntings.  I laced the shoe up with a thin green ribbon to make it look like a real shoe.  It was time consuming, (for my eyes) but I like the way it turned out. 

I'm sure that I will add sentiments to these, but this is how they look so far.

Thanks for stopping by!

Sunday, October 10, 2010

It's 10-10-10!!


Hi Paper Pals!

Such a rare day!  I feel like I need to do something unique on this special day...so I am going to go work in my craft room here in a bit.  I just had to post the card I made yesterday.  
This was made for my Sister-In-Law, who had her 31st Birthday yesterday.  I made this super quick, as it was 6AM, and I had procrastinated, (surprise, surprise...lol) and I had to be out the door by 7AM to make it to my nephew's football game!    Here's the card:


Sorry for the fuzzy pictures. I never know if it is actually fuzzy, or if it's just my eyes!! Ha.  But I am pretty sure these pictures are blurry.
I also made a little gift box to place her present in (2 gift cards and some chocolate) And it was the flower box from Tags, Bags, Boxes, and More.  But, like usual, I did not think of taking a picture of it.  I hope she liked her card and present!  It made me feel really good, because while she was opening her card, and reading it, (this was at the football game) the woman she was sitting next to was so very impressed that I had made the card and box.  Especially the card though.  And that is by far, not even close to my best card!  So, awww ....  compliments are always nice!! :)

Thanks for looking!

Saturday, October 9, 2010

Cupcake Gable Boxes


Hi Paper Pals! 
Yesterday was my mom's birthday!!  YAY!! I love birthdays.  But even more, I love making things for birthdays!  Cards, decorations, favors, gifts, everything!!  My whole family was to meet for dinner at a farm grill here in town.  My mom was hoping for the last month, that it would be cool enough to eat outside at a picnic table.  I thought for sure, she wouldn't get her wish.  But two nights ago we had one crazy storm!!! It was one of the worst one's that I have seen in my non-weather-existent area!  (The Phoenix area, AZ)  It was a microburst storm!  It was amazing!  I am one who LOVES the wind and rain, and have to be outside in it playing like a kid!!   So, lasst week it still hadn't even begun to cool down here, not even at nights.  It was roughly 108 in the daytime, and down to 95 at nights.  With the storm on her birthday eve,  rain, tennis-ball size hail, 100+ MPH winds,  etc. the weather was soooooo nice for her day!  I think it was about 88 degrees for the high, and around dinner time it was about 80 degrees.  So it was nice to be outside! So myself, my mom, and my three brothers and their wives and kids all gathered for the evening.  I made cupcakes, mainly for the kiddos, but I think the adults ended up eating more of them!! Ha!  I made Chocolate Fudge cupcakes with Dark Chocolate icing.  YUM!  And then I put my all-time favorite sprinkle on top.  Pearls!!  I love pearls, especially on my cards and paper crafts!  So when I saw the Wilton Pearlized Sprinkles, I just HAD to buy the biggest jar of them!  They are just sugar pearls, but they make any cake, cookie, dessert look SO elegant!!  (Note:  I am diabetic, so I haven't actually ate them myself, so I can not vouch for their taste.  But the kids LOVE them, so that's a good sign, right?! Ha!)

Well, with all the birthday excitement....I was running way behind schedule for my favors.  I started making them about three hours prior to me having to be out the door.  BIG Mistake!!  I know better....I just wasn't paying attention to how late it had gotten in the day.  (Also I hadn't yet slept in about 32 hours, so I was not really "here." LOL.  

I knew I wanted to make individual boxes for my cupcakes.  Make the kiddos feel special about getting their own box!   I went looking through my various cartridges, and I have ALWAYS loved gable boxes.  For everything.  So I used the one from the Elmo's Party Cartridge, but I put my own spin on it.  I cup a window out using one of the designs from the Gypsy (Font... is it the Font or Wanderings?  Dangit, now I can't remember.)  And then covered the windows with the acetate on the inside of course.  And also, for the handles, the original cut has Elmo's head as the handle.  It's cute, but since this is NOT a two-year old's birthday, I did not want Elmo's head! Haha.  I welded a regular oval shape where the heads were.  And voila!  I had to use the 12x24 mat to make them the size that I wanted.
I made them a littl ebigger than they needed to be, but I wanted to be able to grab the cupcake without getting the icing all over my hands!  (Not mine, but the kids.  Once it's on their hands, then it's on their faces, in their hair, on their clothes, on each other's clothes, yada yada yada.  Oh who am I kidding, that's what I do!! Lol!)  I can't remember the actual size the box was cut at, but if anyone is curious, I can go look on my Gypsy.  

The finished product measured 4 1/2" by 4 1/2" square at the base, and 5 1/2" tall. 
I wanted to embellish them, (Come on .. I'm a paper crafter!!!)  But I literally had zero time to do so. .  After designing the box and inside holder on my gypsy, and then cutting out a LOT of them, I realized I had two hours before 'out-the-door' time!  And I still had to make and make the cupcakes, let them cool enough to frost and decorate them, and assemble all the boxes!!  I decided to go do the cupcakes, and I could assemble boxes while they are baking/cooling.  I finished with three seconds to spare, and those three seconds were dedicated to slipping into some shoes! Ha.  So my poor boxes were not embellished as I had them embellished in my head.  :(  But that's ok. 
The Finished Box:

The Window:

The Changed Handles:


Now for the inside liner/holder.  I welded two rectangles together and then added three circles to the middle.  The large circle is 2 1/4" and the small ones (for the finger holes) are 1" circles.  I  believe the rectangles are 6 1/4", which makes the square a one inch tall stand, and the square is 4 1/4"
The inside liner/cupcake holder unfolded:

The liners ready to be inserted:


I used just plain colors of cardstock for the boxes, and the liners are from the  DCWV Pocket Full Of Posies stack.  The liners coordinated  so very well with the plain colors that I chose!  (I think I had one of every single color of cardstock that I own. lol.  brights, pastels, neutrals, and there was a 'pocket full of posies' design/pattern that coordinated with each and every color beautifully!!! :) 

Thanks for stopping by!


Monday, October 4, 2010

Humming Bird Birthday Card


Hi Paper Pals!

I made a card similar to this one a few months ago for my Mom.  Well, she liked it so much that she requested one made for a good friend of hers, for her birthday.  So this is my finished product.  


The flower cut is from the Tinkerbell & Friends Cartridge.  I just love, love, LOVE the art on that cartridge!  Well, I love all Disney Art!  I used pop dots to make parts of the flower pop up, and then popped up the entire flower piece and the humming bird off of the card.  The humming bird cut is from one of the Disney cartridges too...I just can't remember which one off the top of my head.  Which ever princess one has Pocahontas.  Sorry!


I had fun making this one over the past two days. (Yes, it takes me that long! Haha. But I love it!)  I hope my mom's friend loves it too!
Thanks for looking!

Sunday, October 3, 2010

Flowers

Hi Paper Pals!

This is a sympathy card that I made for my Mom to send out.  All that she requested is that it be flowers.So this is what I came up with:

I don't know why that second picture is posting sideways.  I made sure to save it correctly!! Darn technology!  Ha.

Well, this card is made from the Walk In My Garden cartridge.  I embossed the background patterned paper, and popped up the flowers to add dimension. And finished if off with brads in the corners and some purple-ish kraft ribbon tied around the vase.  I really liked the way this one turned out!  

Thanks for stopping by!