"What we do for ourselves dies with us. What we do for others and the world remains and is immortal."
-Albert Pine

Wednesday, May 30, 2012

Coloring Books!!

Notice how I go forever without posting, and then suddenly have a LOT to post?  Yeah, that's the fun of my illness.  I may get a card or project done in a week, but will not be able to post them for a long time. 
:::Sigh:::

A few weeks ago  two of my little nieces were in the hospital.  (Not at the same time, thank goodness!)  But my 5-year old niece was in the ICU for a couple days, and while she was there, I made her a few quick coloring pages using my Cricut.  Well, those few coloring pages turned into a personalized coloring book! 
Then, my 2 year old niece (they are sisters) split her mouth open, and had to have a plastic surgeon fix it!  Oh the drama!  That lil' girl is fiesty!!  She was NOT letting the doc near her! (lol)  Well, they are both fine now, and all healed up.  But while they were recovering, I wanted them to have a "Quiet-Time" activity.  So here goes:

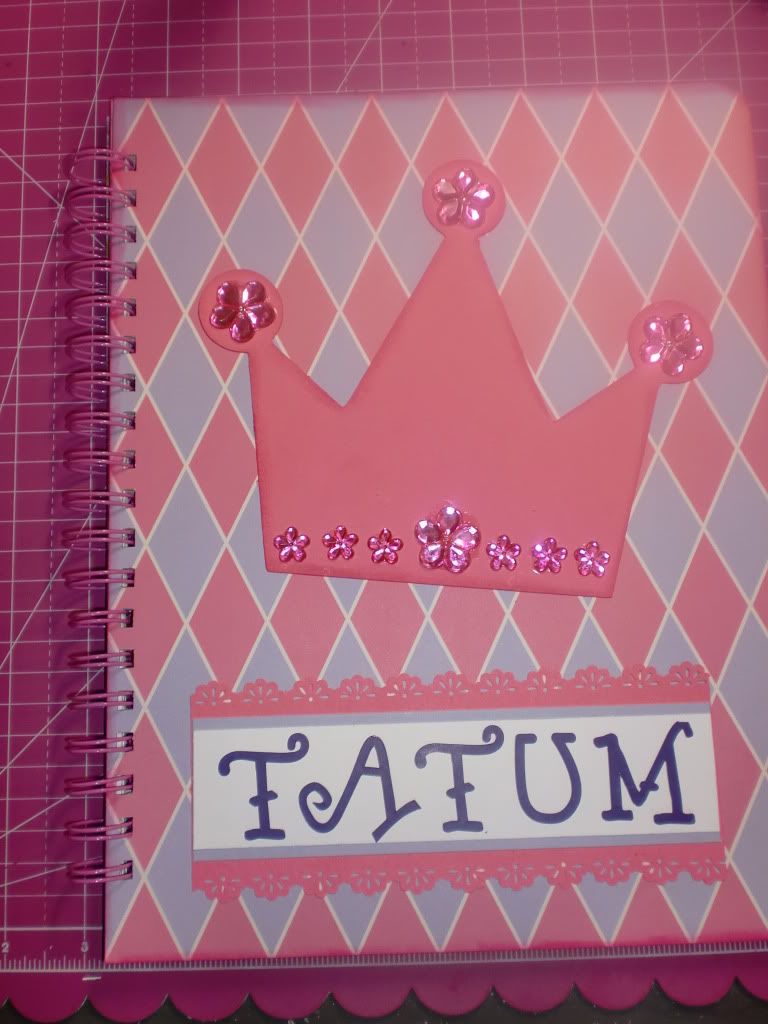
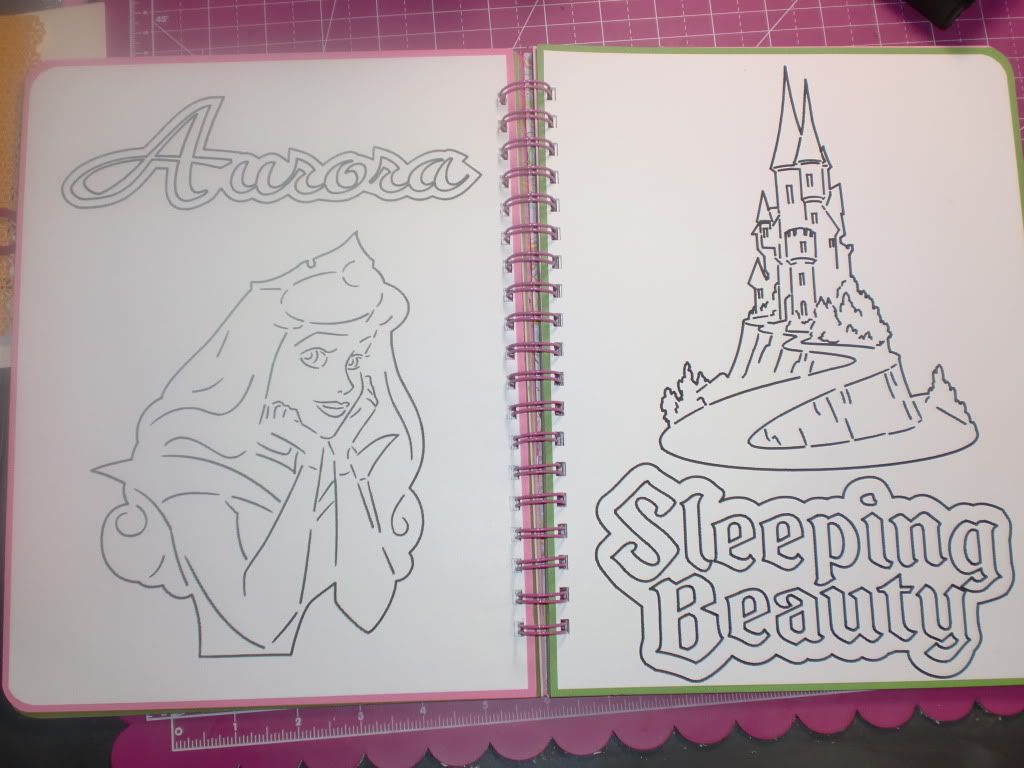
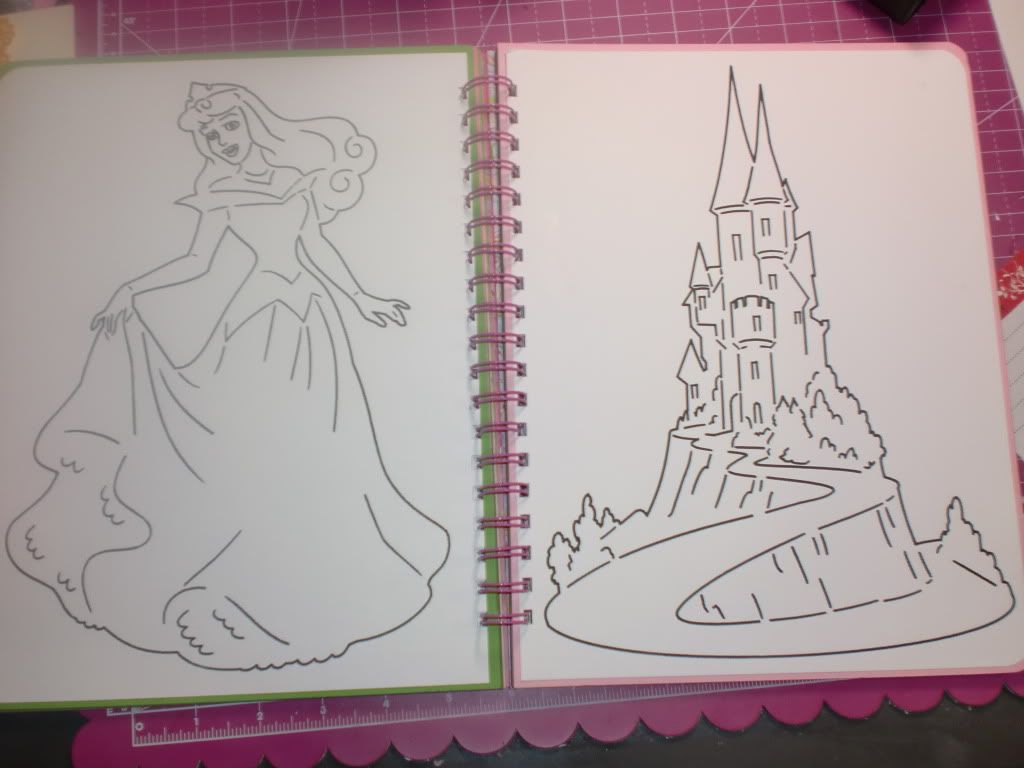
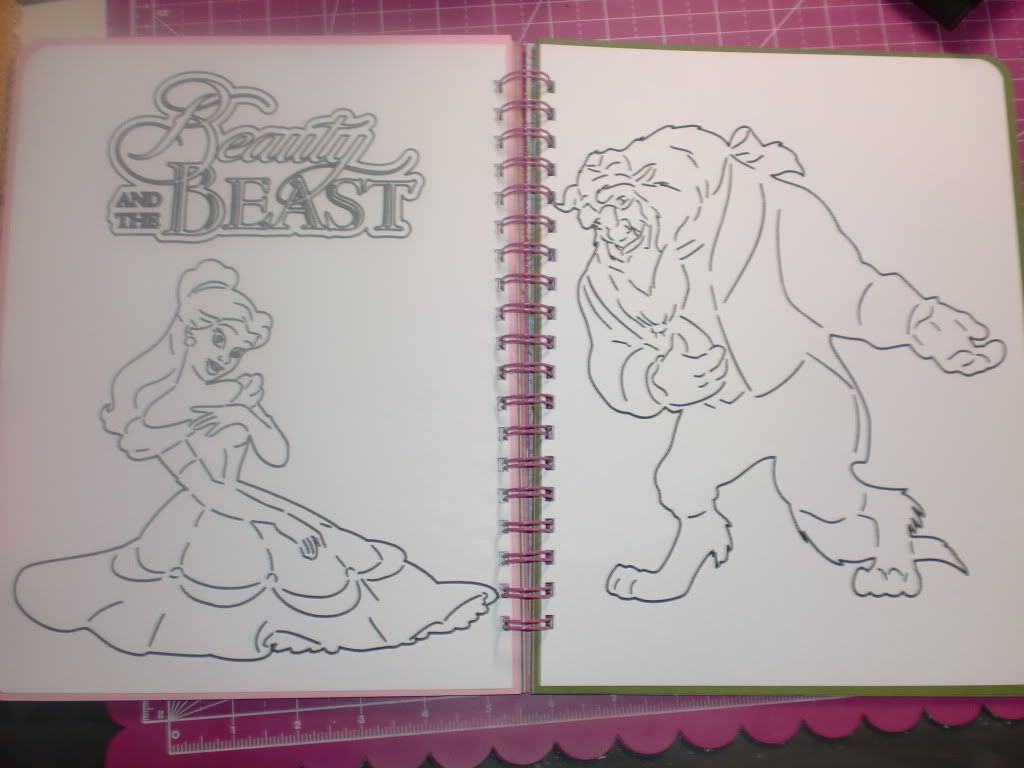
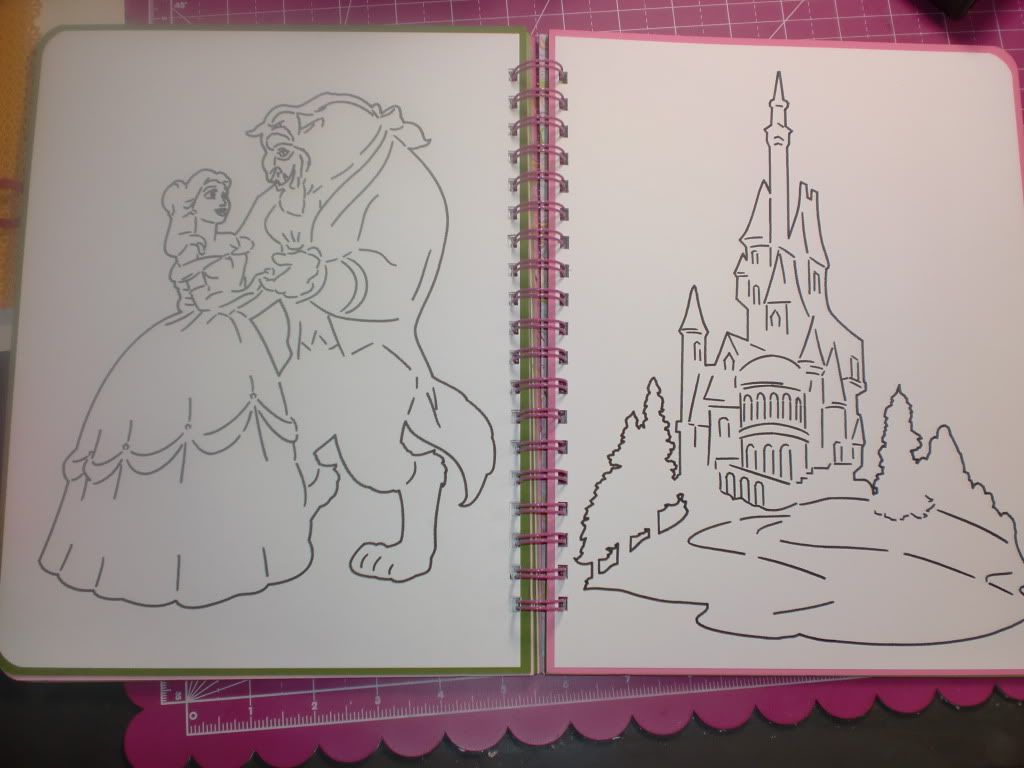
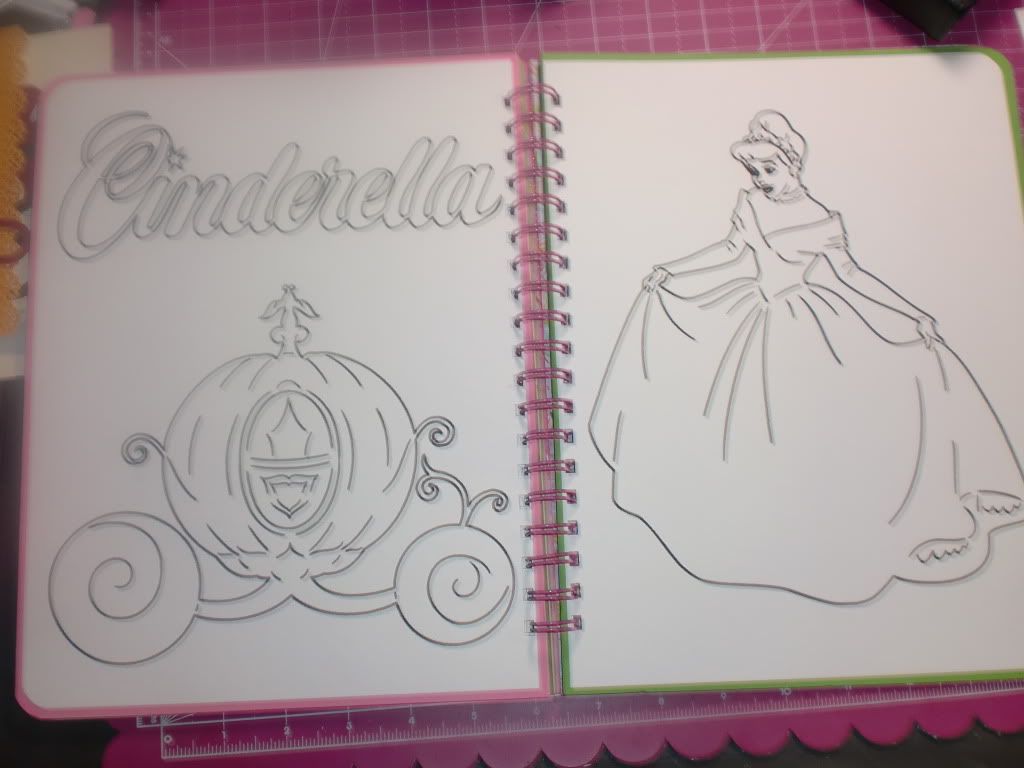
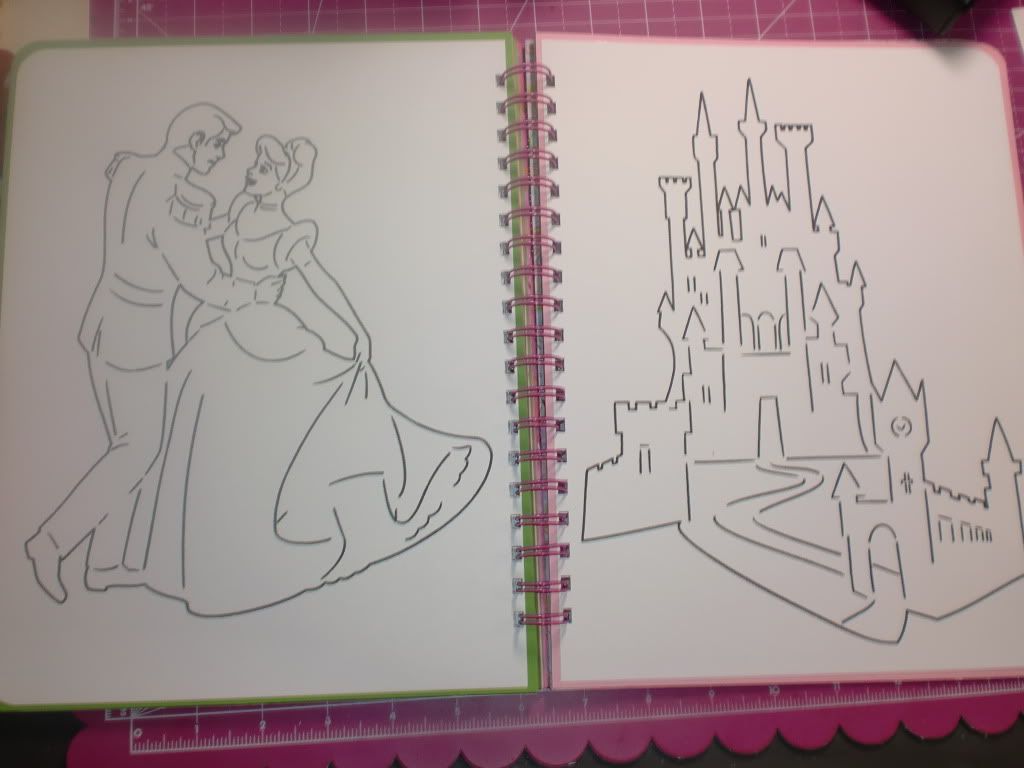
For my 5 year old niece, she is all about the princesses.
  Cover:


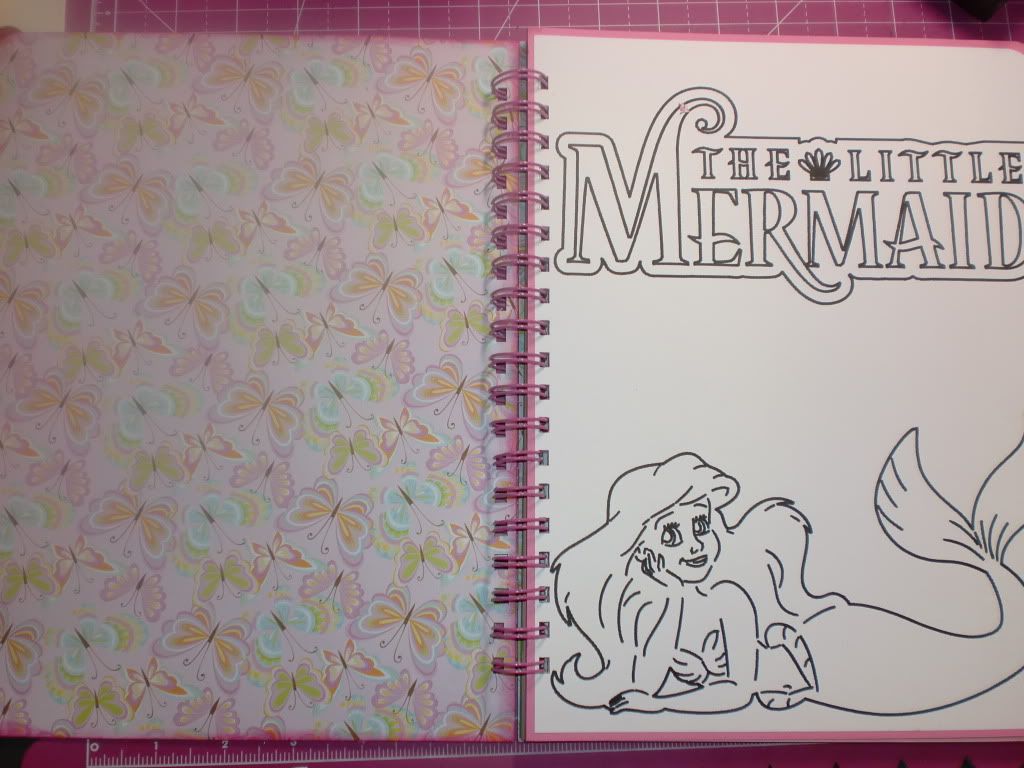
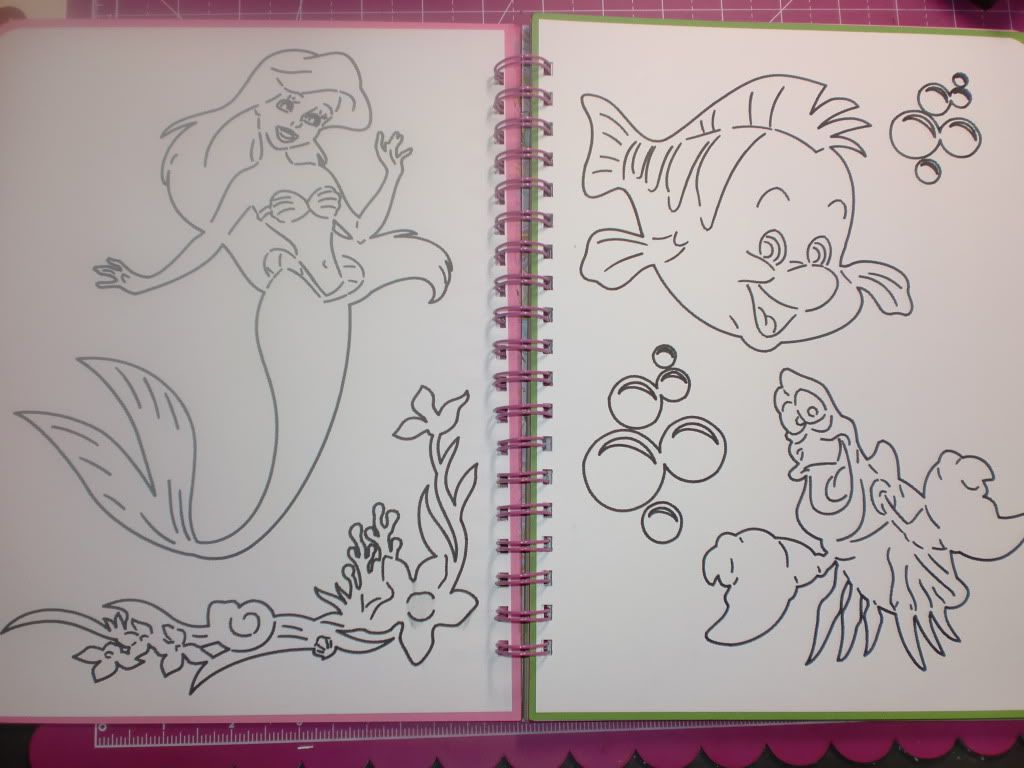
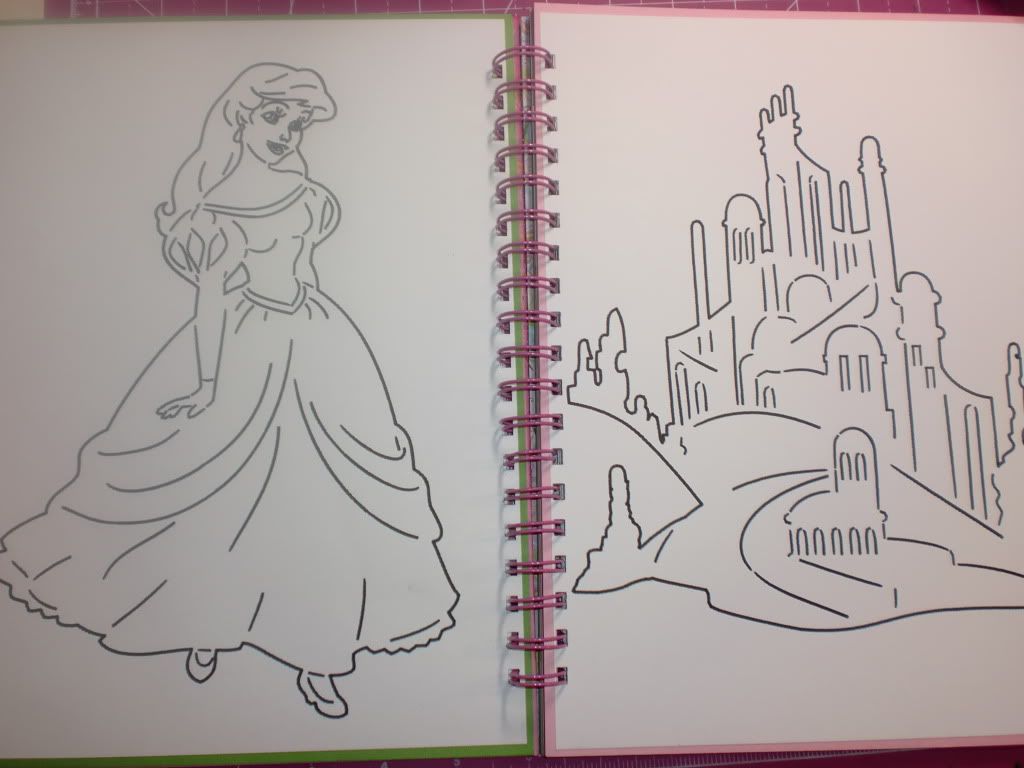
Then I did each of her favorite princesses by section, so Ariel is first:


Snow White Pages:

Sleeping Beauty (Aurora):
Belle/Beauty And The Beast:

Cinderella:


 Jasmine and Aladdin:
I tried to include each of the princess's castles/dwellings. :)  The book measures 8.5" x 11". She loved it!!

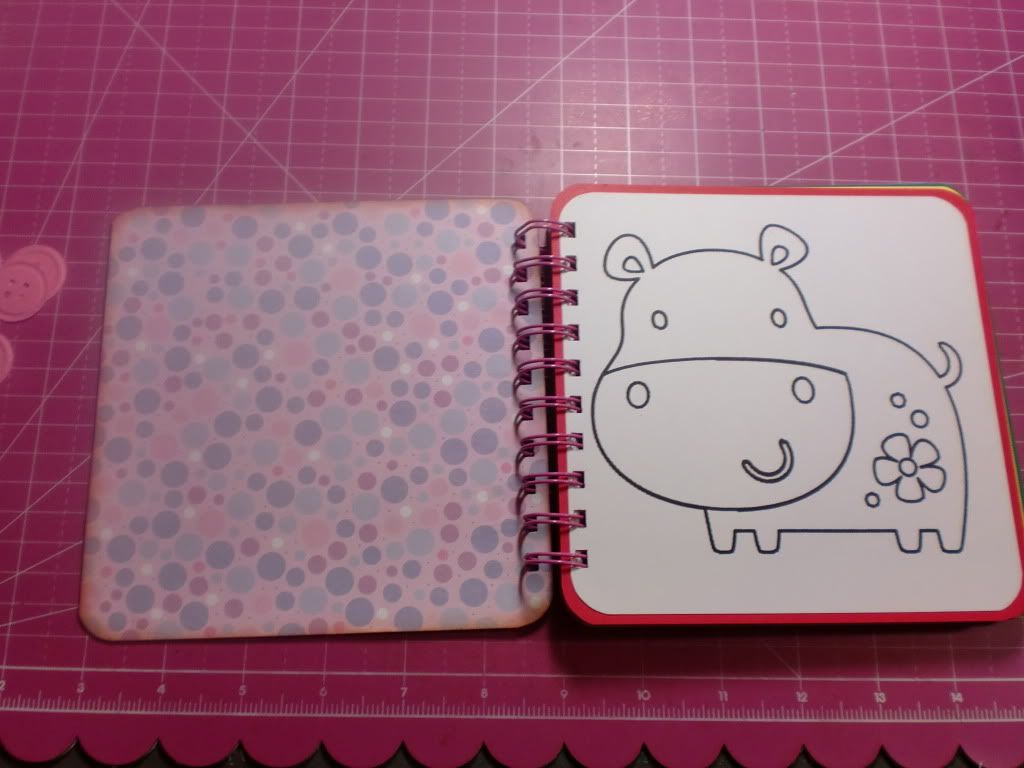
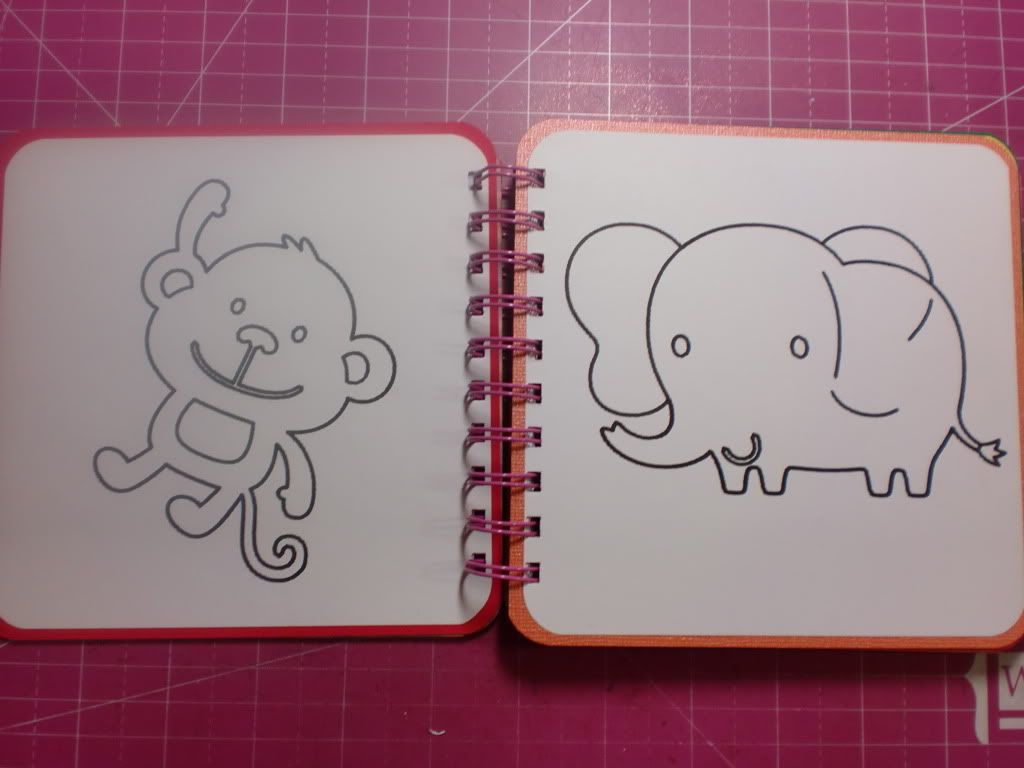
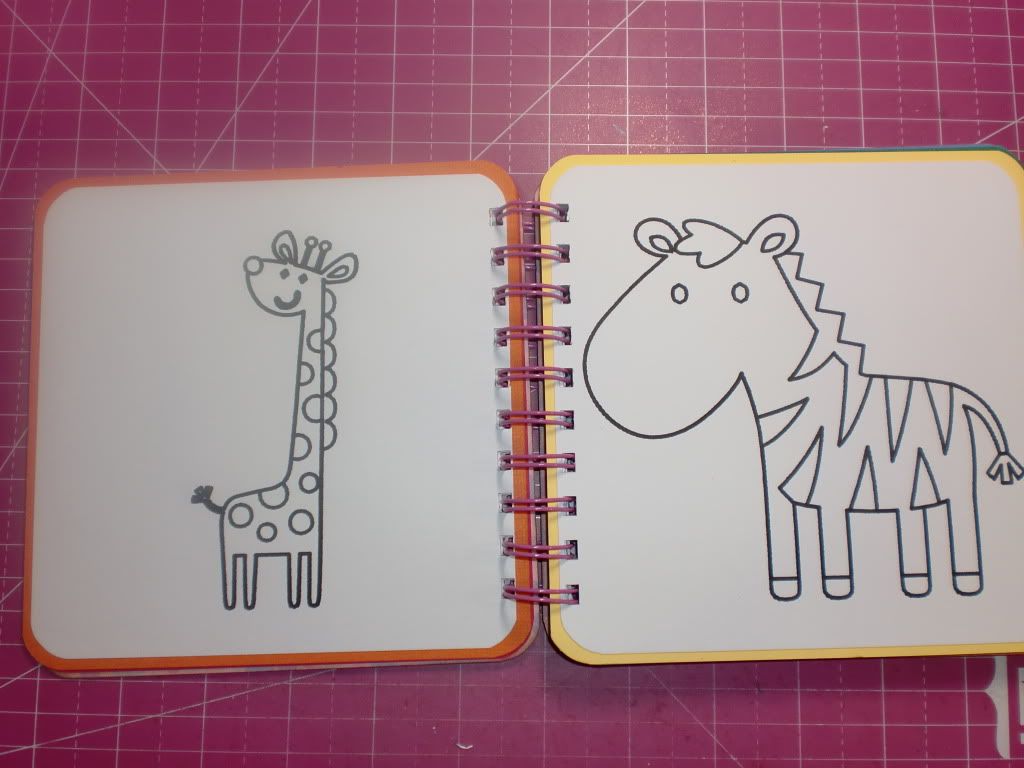
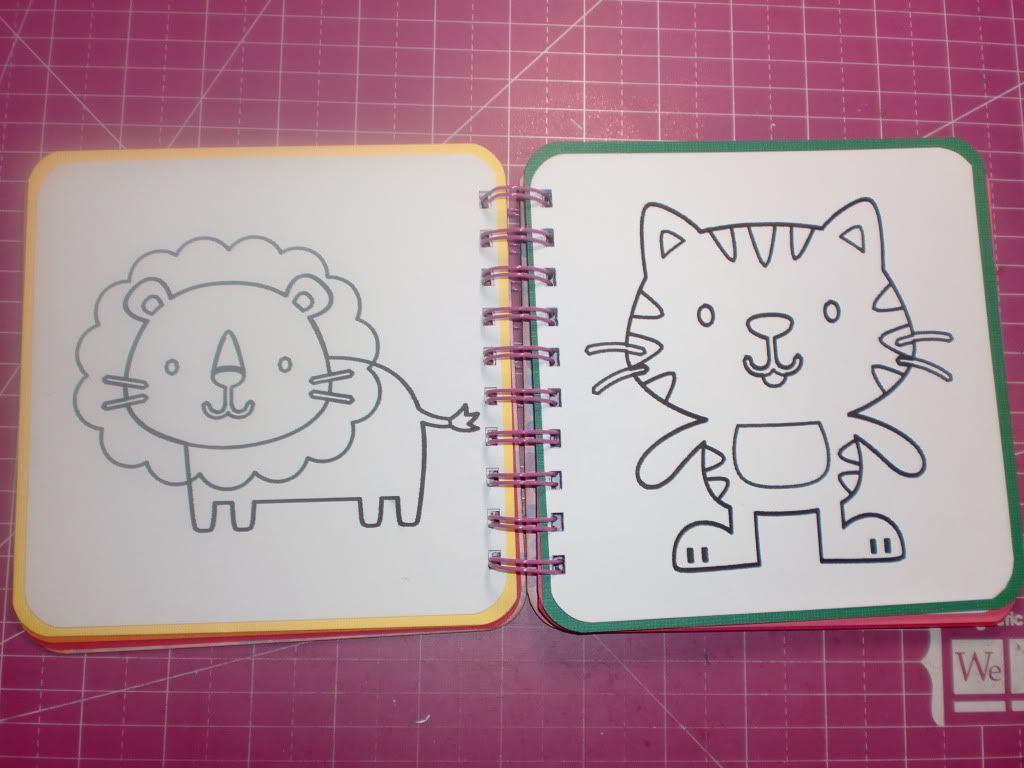
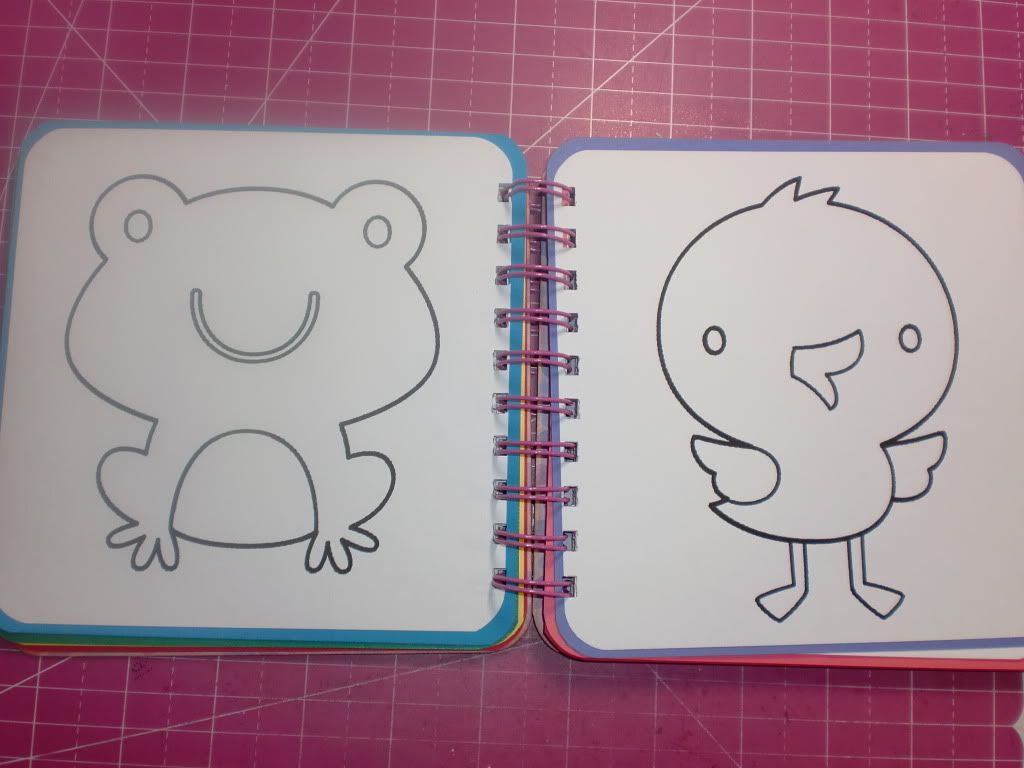
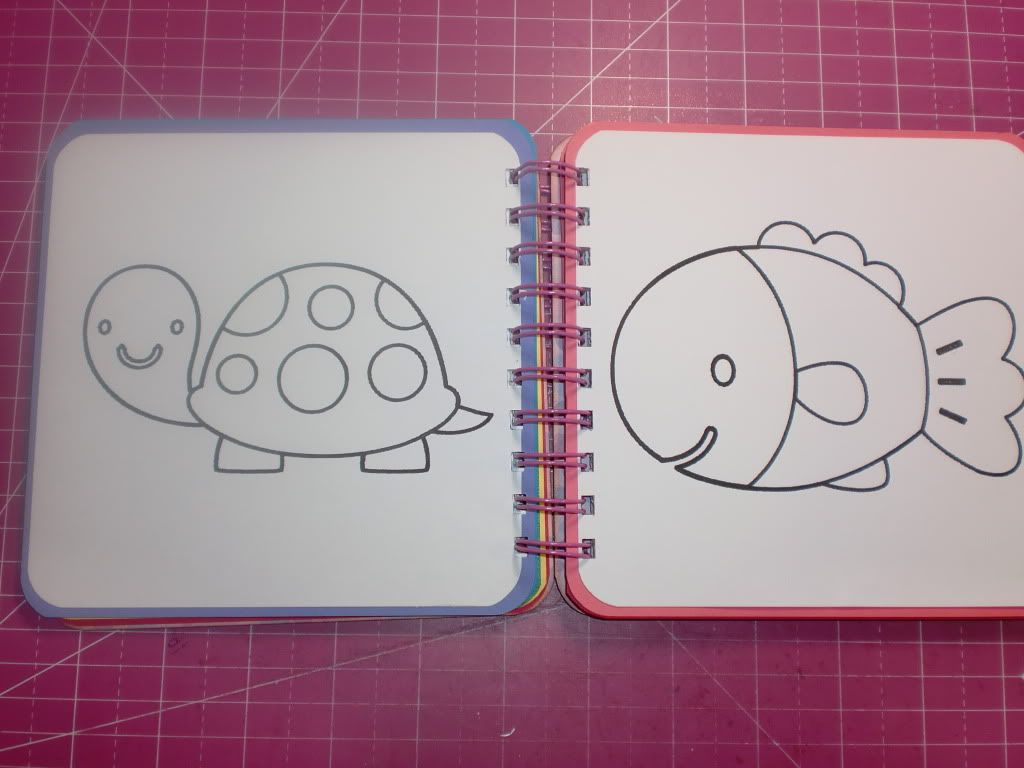
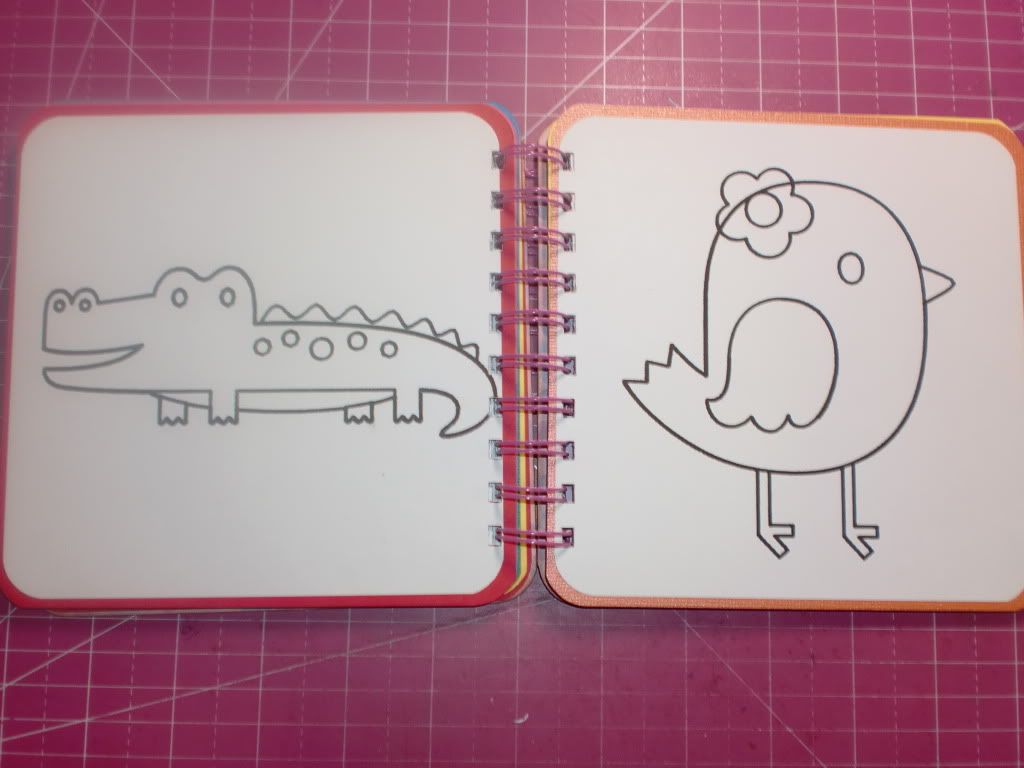
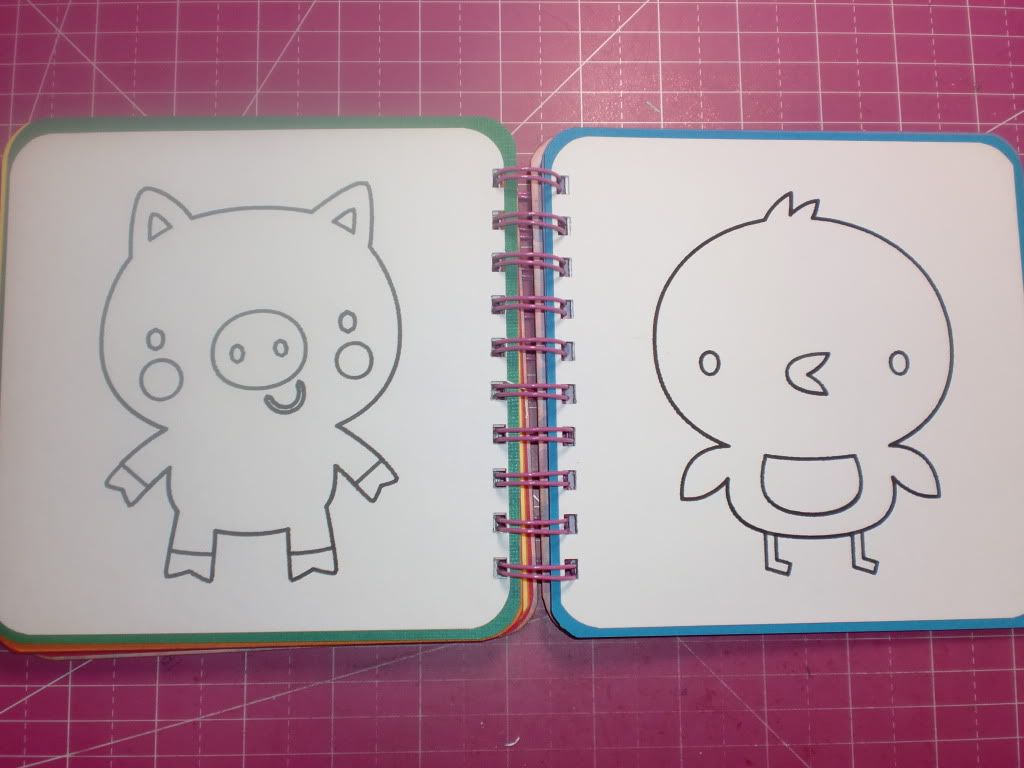
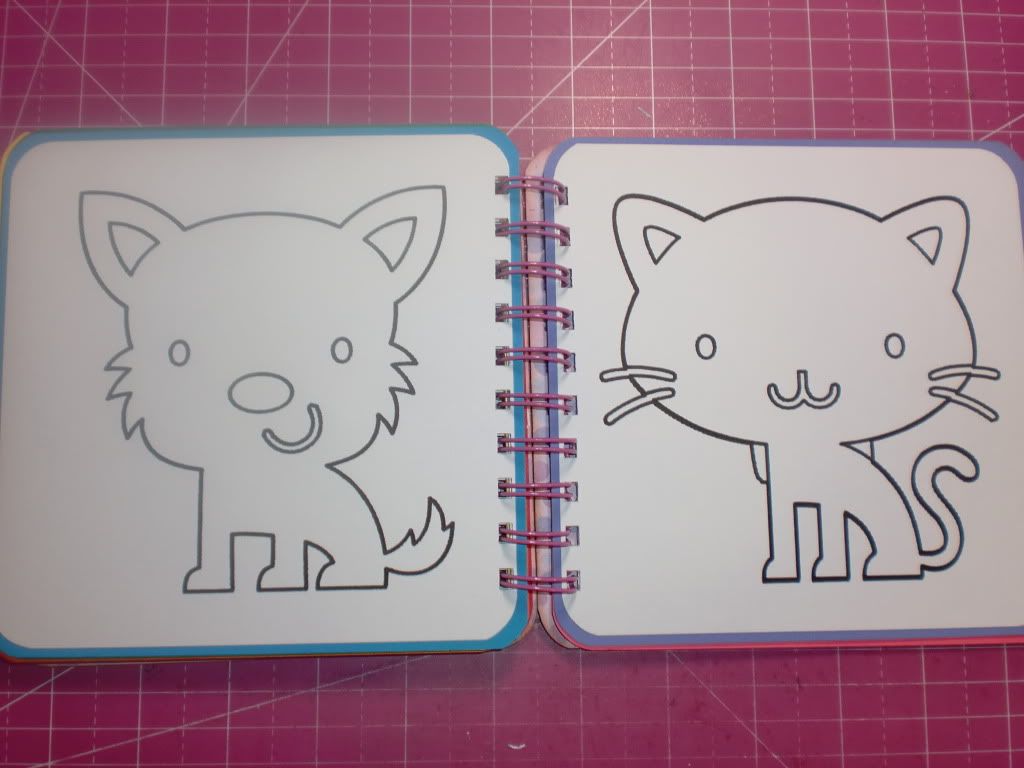
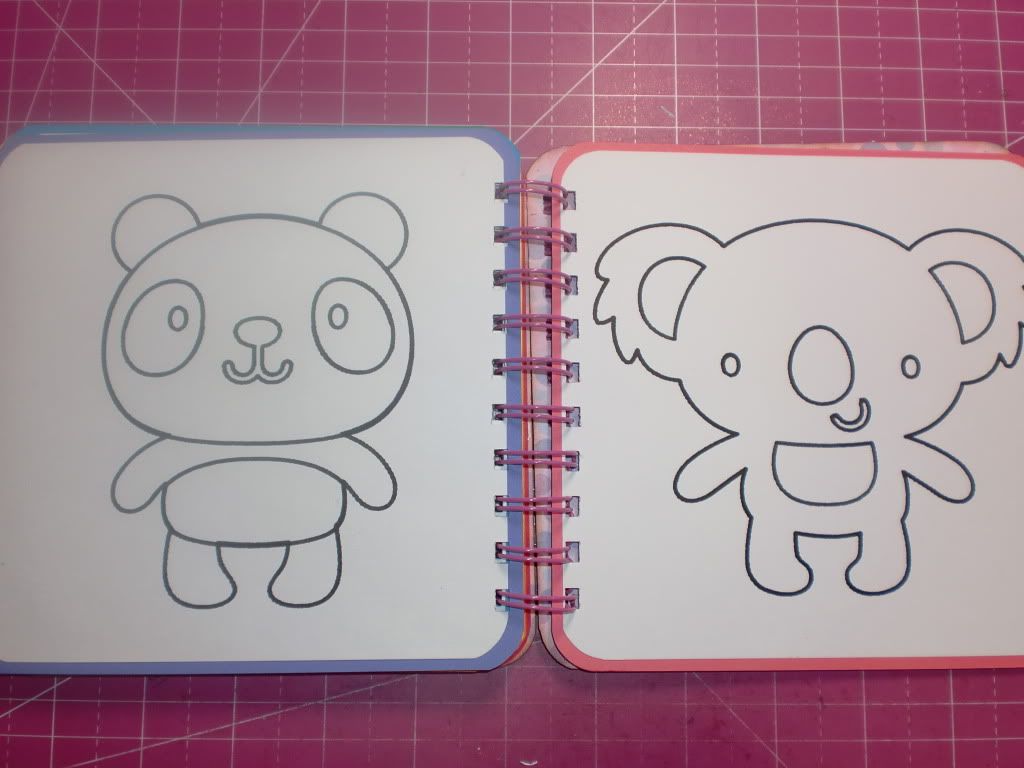
Now, here's an Animal Coloring book for her little sister.  I made it like this so that she can learn the animals names and sounds!!  (She already knows so many, but has so much fun saying their names, and sounding out the sounds they make!!  MOOOOO!!)
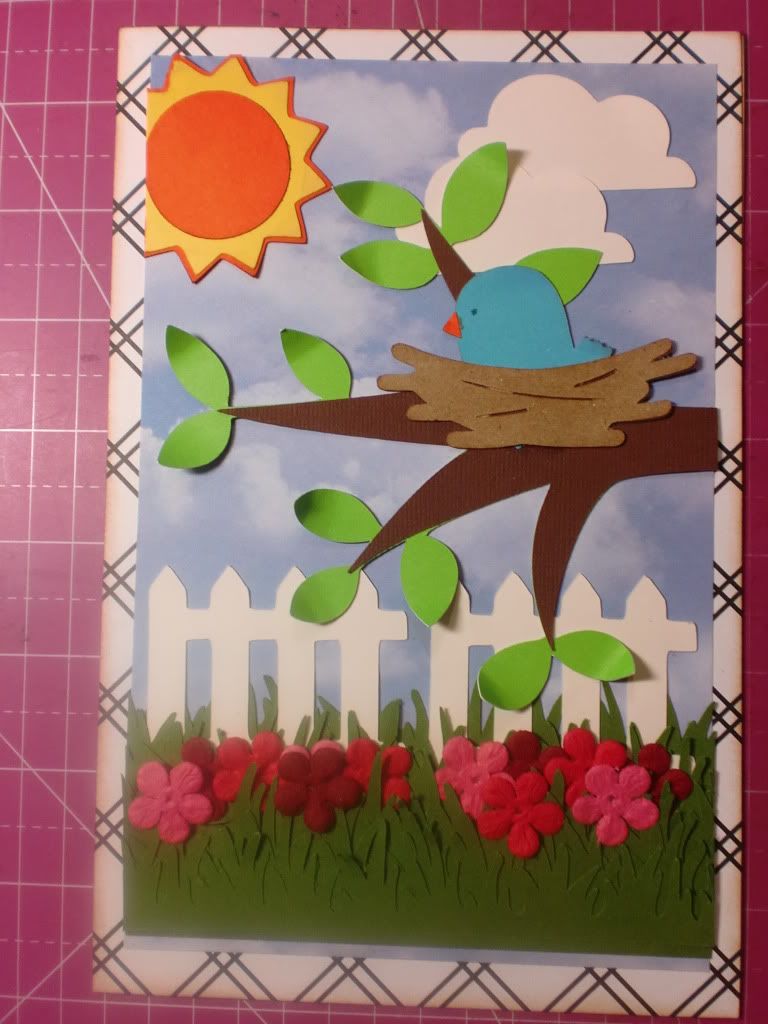
Cover:


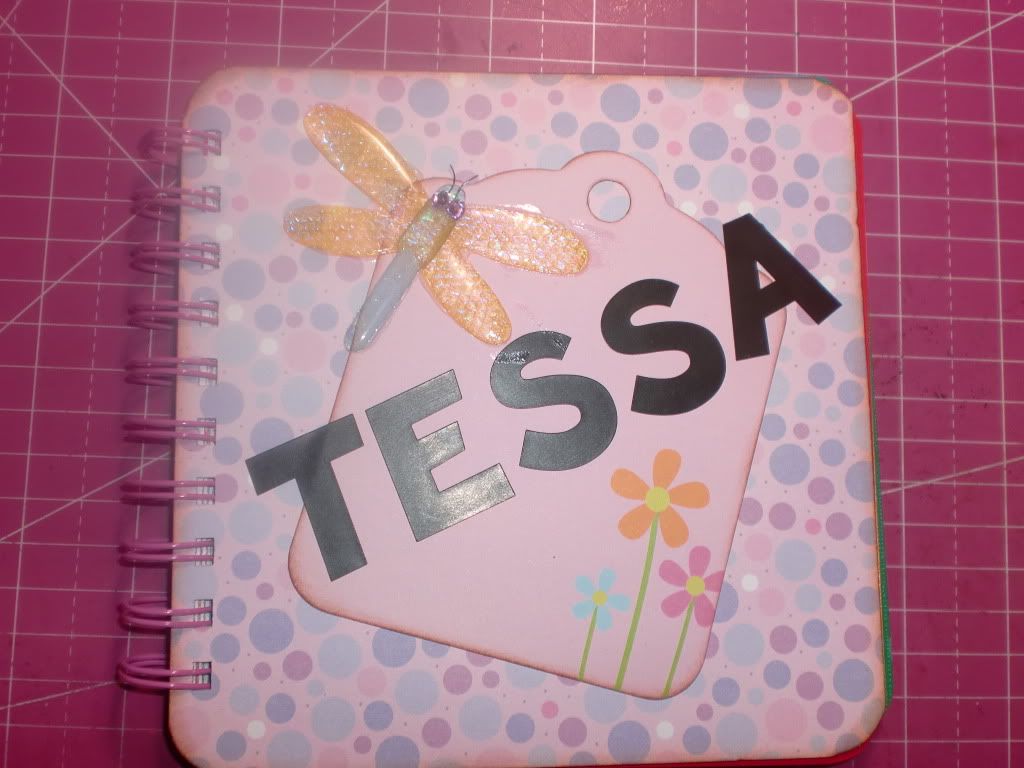
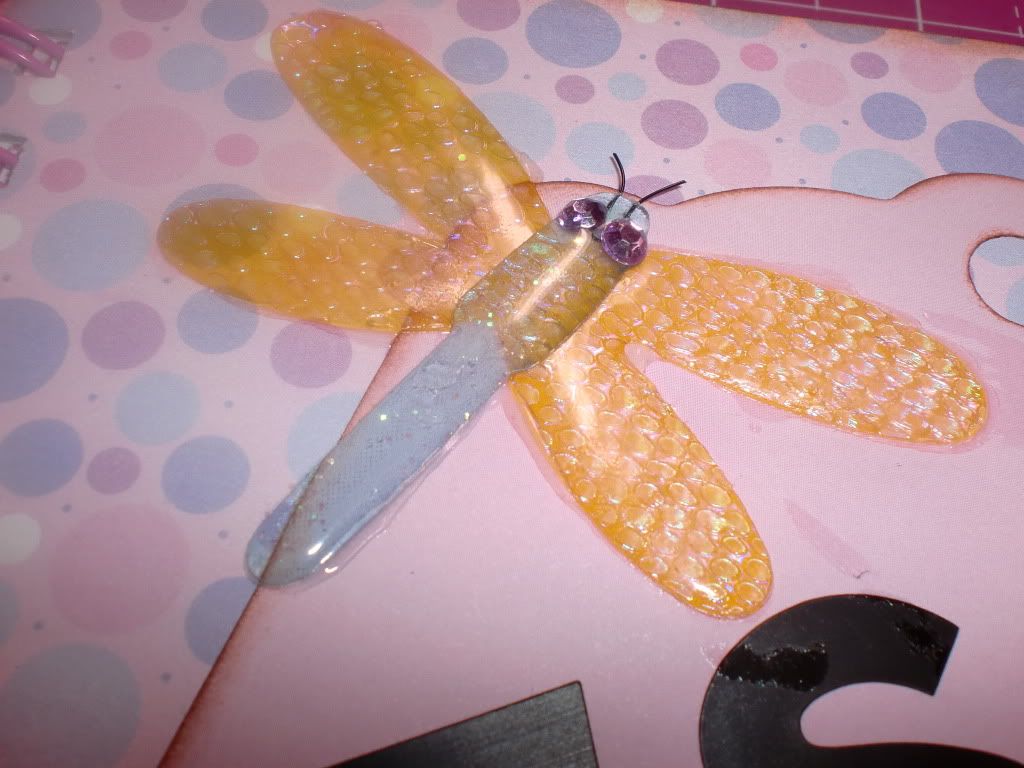
Close up of the Dragonfly sticker:


and the inside pages:


I had to throw the adorable apple in there:


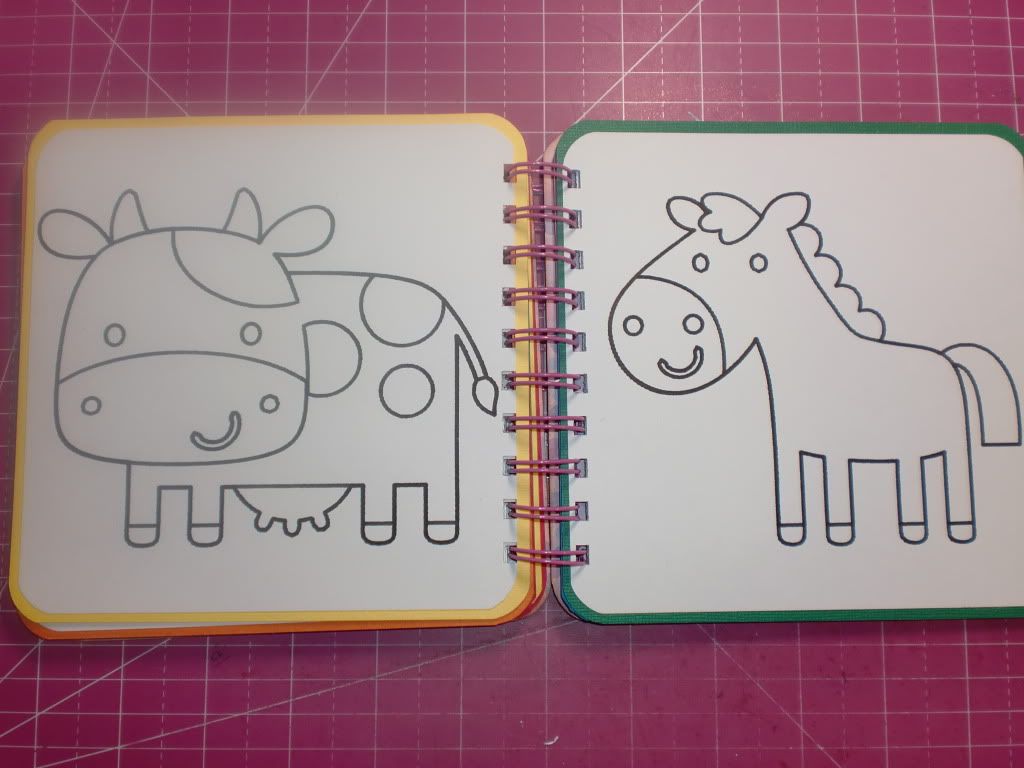
And that's it!  This book measures 6" X 6".  A smaller book for smaller hands! :) 

Gotta love those Cricut Markers!!

Have a good one!


"Don't glue anything I wouldn't glue!!"
               

Room With A View

 So, I thought I posted this card a while ago, but I can't see it on my blog.  So I apologize if I did post it already.

I wanted to create a card for a very talented gardener friend of mine.   I knew I could never replicate  a garden, but I thought a card that seemed as if you were looking out a window would be a cute idea for her. I used a variety of different cartridges for this card.
  Here's what I did:
 Everything is cut from the Cricut except the flowers along the grass.  Those came in a jar from Michaels. (Hehe)
I tried to tuck the flowers into the grass a little bit, to make it look a little more realistic.  I also fluffed up the blades of grass for the same effect.
I also curled the leaves from the tree too.  I knew they would stay curled up, because I still had to add the "window" on top.
I placed a piece of acetate onto the window panel paper, (hard to see in a photo)  and then I popped the window up with those 3D foam squares:
LOTS of foam squares.  Ha Ha!
Here's how the 3D looks:

And here is the finished product:
Maybe this view has less glare:

I like how it turned out.  I hope my friend liked it!! :)
Have a GREAT week everyone!!


"Don't glue anything I wouldn't glue!!"
              

You're Tea-riffic!


 Hello everyone!

I have a quick post with 2 (basically the same) cards to show you.  I bought a stamp set a while ago that is all about tea and coffee.  But with my illness, I haven't had a chance to use it until now!!

Here are the cards:
and:
Now, I know all of you stampers out there color your stamps.  I WISH I could do that!!  However, when I color with my 2 and 5 year old nieces, they do a MUCH better job than I do.  It's always where I was sitting that has the marker/crayon marks on the table...and nothing is inside the lines!!  My poor eyes.  So I don't even attempt to color in stamps on my cards. 
But, eeh... I think it looked ok without coloring it in. 

I think I'm going to create a pocket card similar to these, that will hold tea bags on the inside.  I have a friend who drinks tea all the time, who would get a kick out of a card like that.  So... we'll see if it's actually something I get done. Lol.

Have a good one!!


"Don't glue anything I wouldn't glue!!"
               

Tuesday, May 29, 2012

Thinking Of You -- Guy Cards

 Hello There!

Today I have two cards to share.  I was asked to make two 'Thinking Of You" cards for a 19 year old guy who is in the hospital.  Very sad. :(  They didn't want 'get well soon,' so this was kind of a toughie for me.  First of all, it's hard enough to make "manly" cards, but for a guy you don't even know...it can be even more difficult. 

I've been searching online and in books/magazines lately for sketches to help me with ideas, and I saw a couple that I liked, so I utilized them.  

Here are my two cards:
I hope they are 'manly' enough. Haha.

Have a great day!! Thanks for looking at my cards!


"Don't glue anything I wouldn't glue!!"
                

Sunday, May 27, 2012

Graduation Goodie!!

Happy Sunday Ya'll!

I hope everyone is having a nice weekend.  I would like to share another project I made a few days ago.  After I gave my sister-in-law the teacher gifts I had made for her kids to give to their teachers, (See my previous post) she called me and said that those candy pencils were so stinkin' cute, and wondered if I could make something for her to give to her own class. (She is a Kindergarten teacher.)   She asked if I could make some that looked like diplomas.  Of COURSE!!  How easy is that, just a Rolo candy bar wrapped with white paper..and tied with a red ribbon!!  Right?!

So... of course, being the crafty gal that I am, (lol) I couldn't just wrap a candy bar with a piece of paper and give it away!!  So I decided I would make the diplomas actually be a little certificate for the kiddos!  Since I didn't know any of her student's names, or what to really put on a Kindergarten graduation diploma, (haha)  I decided on something simple.  Here's what I came up with:
Short, sweet, and to the point.  I added a Peachy Keen Face stamp in the star to just make them Oh-So Cute!!
I made these on the Cricut using the border from... SHOOT!  I can never remember which Cartridges I use!!!!  The border is from the cut that is a certificate that says "Awarded To"  I believe it's from Plantin Schoolbook.  (But I could be very, very wrong! It has been known to happen! lol)  And wouldn't you know, I can't remember which cartridge the "you did it" is from either.  (I know there was one on about seven different cartridges that I had, so I can't remember which one I picked.  I can find out if anyone would like to know. )   And I was able to get 2 of these per 8.5" x 11" piece of cardstock!  That made them the perfect size to roll around a Rolo candy bar!
Well, that's cute and all...but I couldn't stop there.  These are for little kids after all!  I need to go the extra mile! (hehe)  So I wanted to add a Graduation Cap too!
I asked my sister-in-law if she wanted a little message on them from the teacher, and she did.  So here is what I added on the back of the hats:
(I had to block the last name due to all those Kindergarten teacher stalkers out there! haha.)
And I slapped 27 diplomas onto 27 hats, and here is the finished project:


Cute, right?  I hope you like them as much as I do!! And I hope the kids got a kick out of them!  


Thanks for stopping by! Have a good one!


"Don't glue anything I wouldn't glue!!"
             

End-Of-Year Teacher Gifts

 Hi crafty friends!!

First of all I need to apologize for my posts being so sporatic these days.  It's very rare that I feel well enough to craft, let alone get online to post about them.  I absolutely love sharing all of my creations, though...and love hearing feedback from all of my followers! :)   So thank you for stopping by!!

Today I  have some school-themed projects to show you.  My sister-in-law asked me to create some thank you cards that she could give as gifts to her kids teachers this year. I was so very excited because I wanted to do that, but I didn't want to suggest it.  They aren't MY kids, so I feel like I'm stepping on toes when I do suggest something.  So I was thrilled when she came to me and asked!! YAY!!!  I asked how many she wanted for each teacher, and she replied, "How ever many you can make!!"  But since she only gave me three days notice, I couldn't put as much detail and thought into them as I normally do for a single card.  I still think they turned out great though! 

Here's the first set:
The only difference in these are the sentiments, and the black border strip.  Otherwise, they are a matching set.  I made six of each, so 24 for the set.
Here's the second set:
I loved how I could use the notebook paper border punch on the fold of this card, so that it looked like torn-out notebook paper, and still was a functioning card! :)

Here is the packaging I came up with:


It's just paper bags, with a spellbinders die cut out for a window.  I of course placed some acetate over the window, and decorated the bags with school-themed papers.  Each bag contains 2 dozen cards for each teacher. I really, really hope the enjoy them!!!

I also made each teacher a card to give from my niece and nephew. My nephew's teacher like's Mickey Mouse, so here's her card:
 Inside:

And I didn't know anything about my Niece's teacher, so this is what I came up with for her:
Here's a side view of the clipboard top:

I absolutely love this card.  I think it is one of my favorites I've ever made.  Simple, yet cute!  
I also wanted to made something extra for the teachers, so I saw these on YT (I believe??) a long time ago, and thought they were perfect for this occasion!
They are candy pencils!!  It's actually a (tube of?) Rolo Candybar inside! 
I stamped the "No. 2" on the side...I love adding extra details on projects like that!!

 Here's everything it takes to make one:
Super duper simple!  I love the person who came up with this idea!! (I unfortunately don't know who it is though, to give credit where it's due!)
Well, that's it for now.  Thanks for checking out my projects!!  Have a great Memorial weekend!


"Don't glue anything I wouldn't glue!!"
               

Sunday, April 1, 2012

April Fools!!!

Hi everyone!

Happy April Fools Day!!  Have you all played a great prank on someone today!?  Hopefully you were the prankster, not the victim!!

Growing up, I wasn't a big fan of this day.  I have three brothers, no sisters... so I was always the victim.  I tried not to be gullible, but it didn't always work!  I think the best prank happened when I was about 2, my brother Scott was 4, and another brother Larry was about 19.  Larry was getting ready for work, and Scott came in from outside and told him that all four tires on his Jeep were FLAT!!!  Larry, of course, was angry, and ran outside as fast as he could to see what would possibly cause all four tires to go flat.  And he turned around, and there was Scott standing at the front door just CRACKING UP!!  He got pranked by a FOUR YEAR OLD!!! :)  Good times.  My brother Scott has always been the biggest tease.  He absolutely loves pulling pranks.   I hated that growing up, but looking back it was pretty funny.  Now he has an eleven year old son that is JUST like him.  So he's getting a taste of his own medicine! haha.

For my craft today, I decided to send an April Fools Card to my Nephew.  (Scott's kid.)  Do you know how hard it is to come up with a CARD forApril Fools!?  It was sure hard for me anyway!!  I had to dig into the brain of my mom for this one.   I went to her last week and asked, "Do you have ANY idea of something funny that I could use for a card for April Fools?"  She thought for a second, and said, "Why don't you make a real fancy Christmas card, and make sure it says 'Merry Christmas' on the front.  Then, when it opens up, you can say April Fools!"  I LOVED that idea!!!!!

Instead of using a Christmas card though, I used a Halloween one.  Not because Halloween is my favorite holiday, but because I already had this card half done!!  I had this simple A2 size card already:
So I cut the card in half to use the front, slapped it on some Halloween patterned paper and onto a 5x7 card.  Added the 'Happy Halloween' sentiment, and it was ready to go!
And for the extra trick for April Fools, I made it open on the left instead of the normal right-side way!! YAY!!

Thanks for the idea mom!!  I hope you like my card for today.  

Have a nice day, and watch out for all those lil' pranksters out there! 


"Don't glue anything I wouldn't glue!!"