"What we do for ourselves dies with us. What we do for others and the world remains and is immortal."
-Albert Pine

Thursday, March 24, 2011

A Couple 'Thank You' Projects

Hello friends!

I decided to make a couple little, simple 'thank you' projects this past week.  I had a couple people that I needed to thank.  I will start with the Girly Thank You.

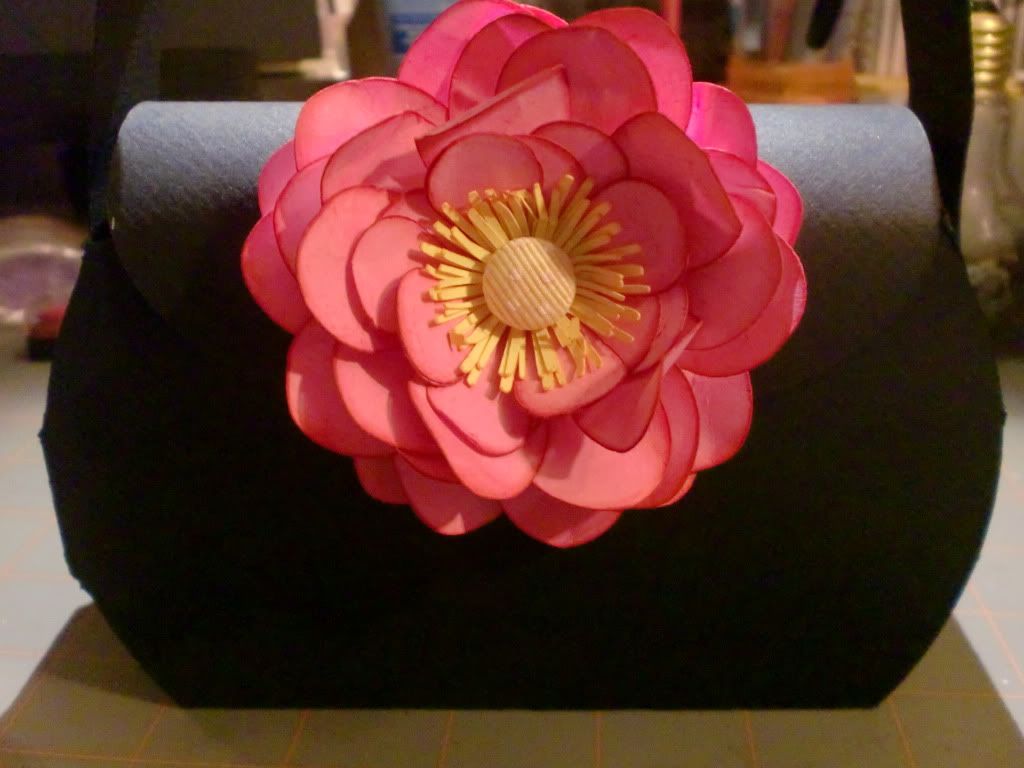
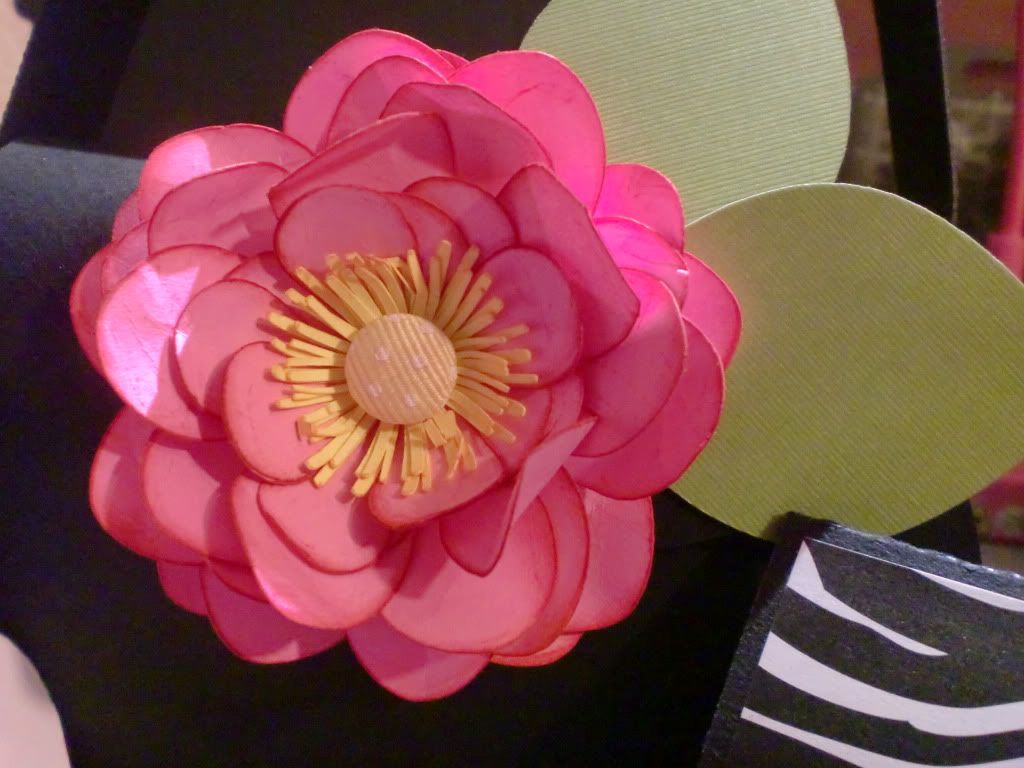
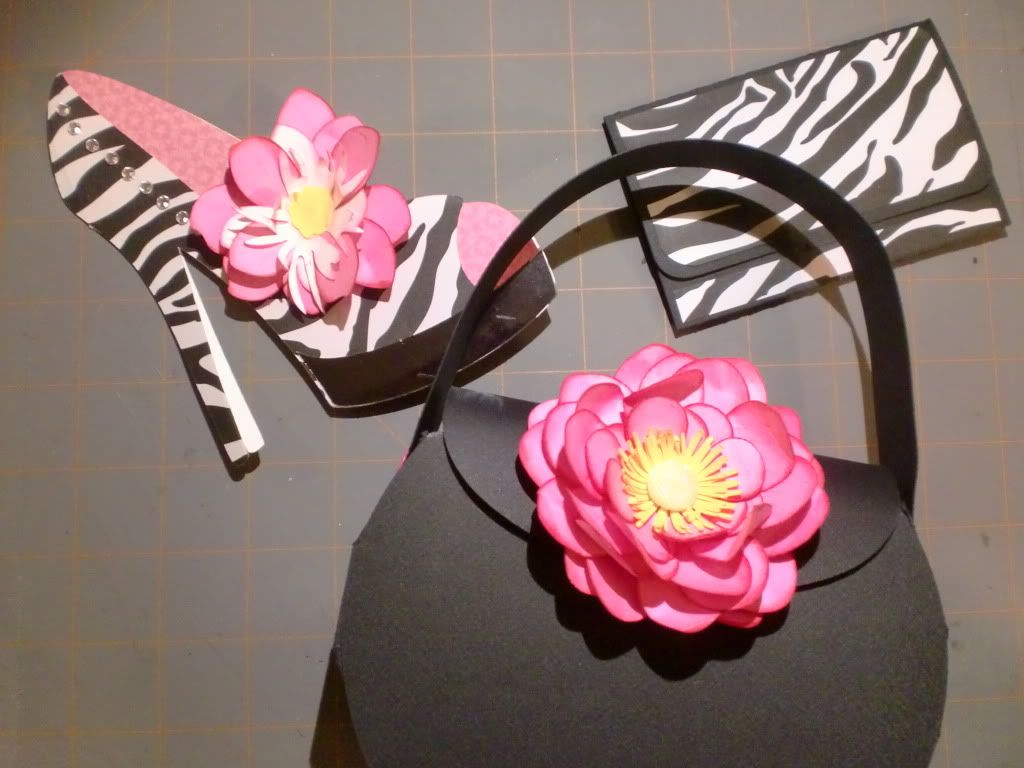
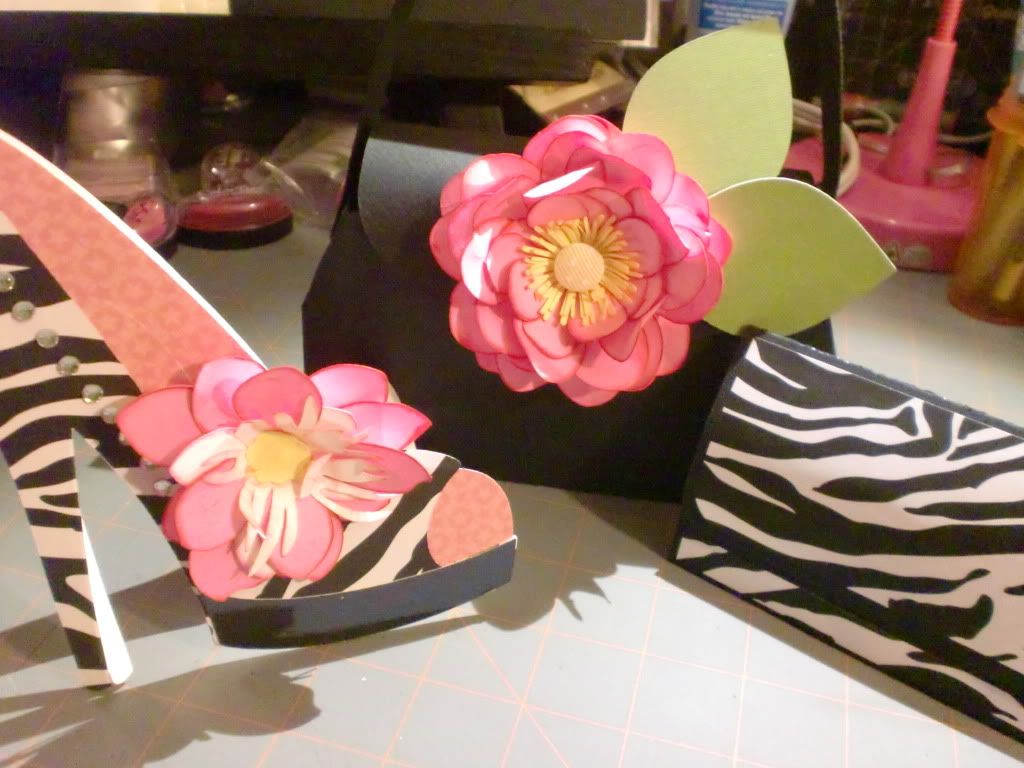
Since this is for a lady, and one that I don't know all to well, I decided to go with a generic "Girly" theme.  For the card, I decided to use a svgcuts file of a high-heel shoe.  I absolutely LOVE how it turned out!!  And, if I actually found a pair of shoes that looked like this, I would buy them in a heart beat!  Ha.
I added rhinestones along the side of the show, for some added bling:
This flower comes with the cut file, and I couldn't decide if I liked it or not.  I really liked the shoe without it.  Personally, I wouldn't wear a shoe with a huge flower on it...but I did like it on the card.  This is the flower:
It is a lot of layers, and I inked the edges for just a finished look.   The sole of the shoe is some black, metallic paper that I have. I like how it finished the look.  Here is the completed card:

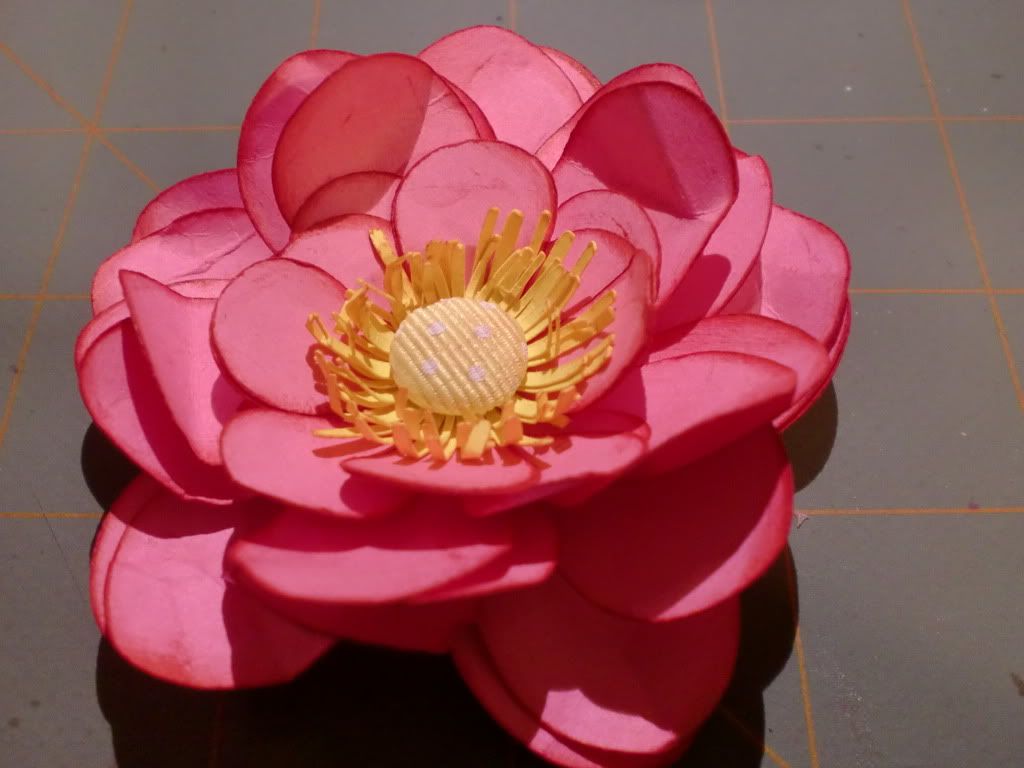
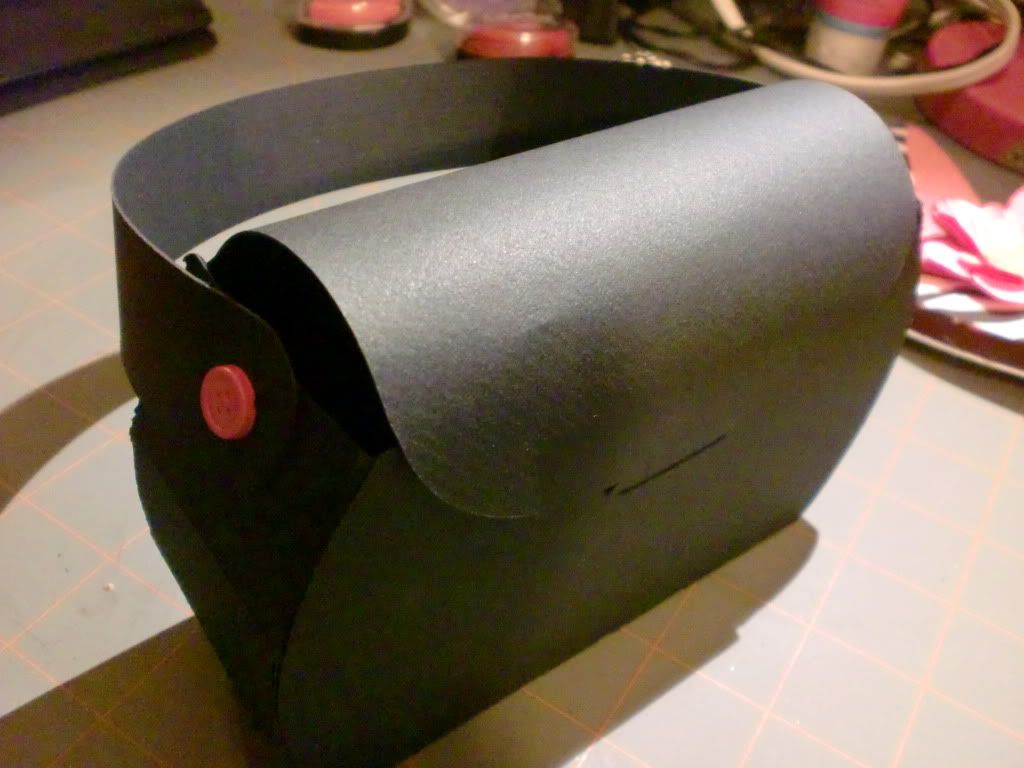
Next, I made a purse for the gift bag.  This purse is also from the same cut file.   I love it because it has a movable handle.  I have not seen any like that with the cricut, although, I LOVE the tags, bags, boxes, and more cartridge!!!  But, this is the purse I used:
I used cute little button brads to connect the movable handle.  Here are some shots of the handle ... being moved. Lol.
Since I didn't add any zebra print to the purse, I figured that it needed a flower.  Here's the flower I used:
And the flower with the added leaves:
I also like this purse because I didn't need to add any type of closure, it just has a tab that slips into a hole. Easy!
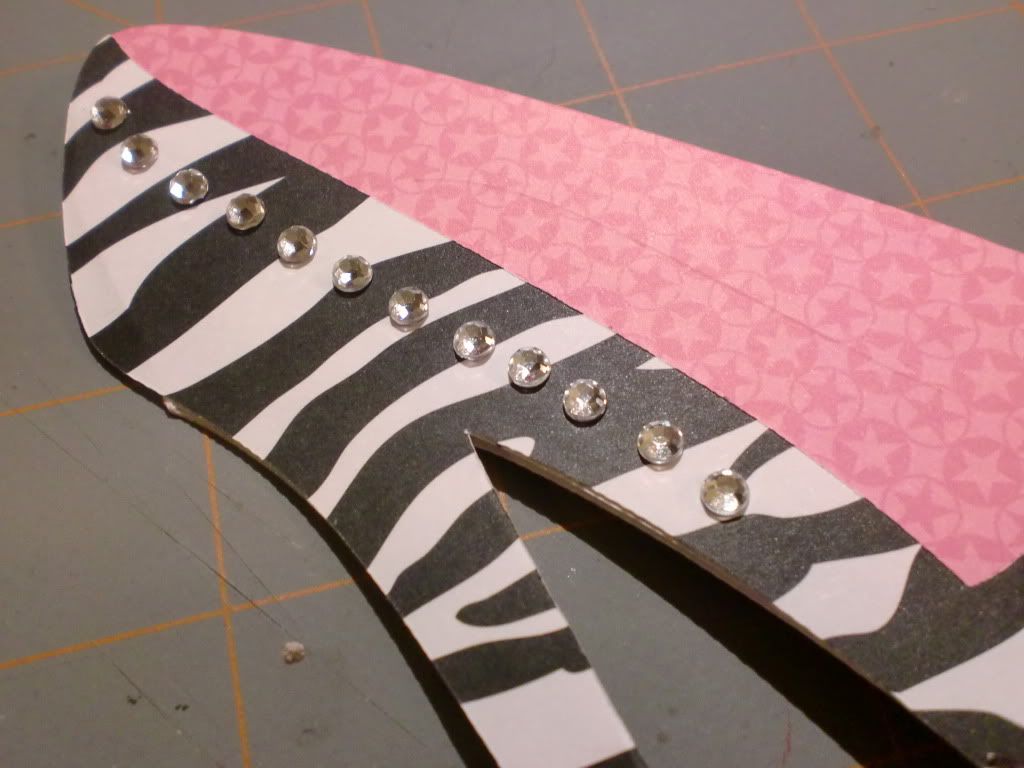
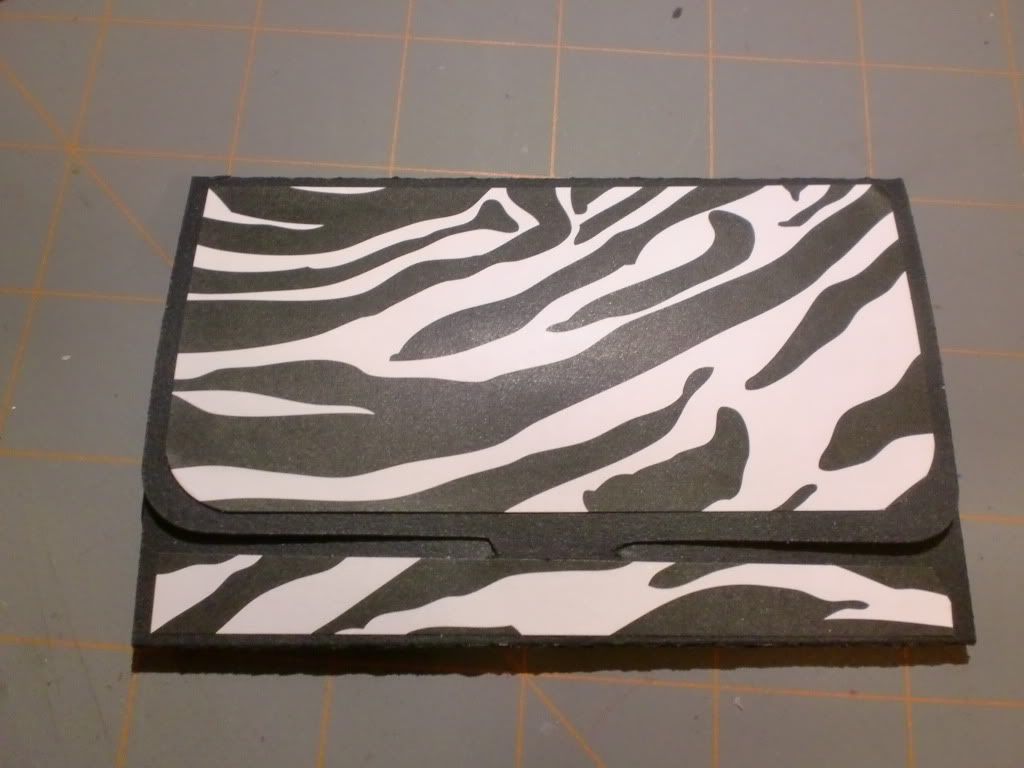
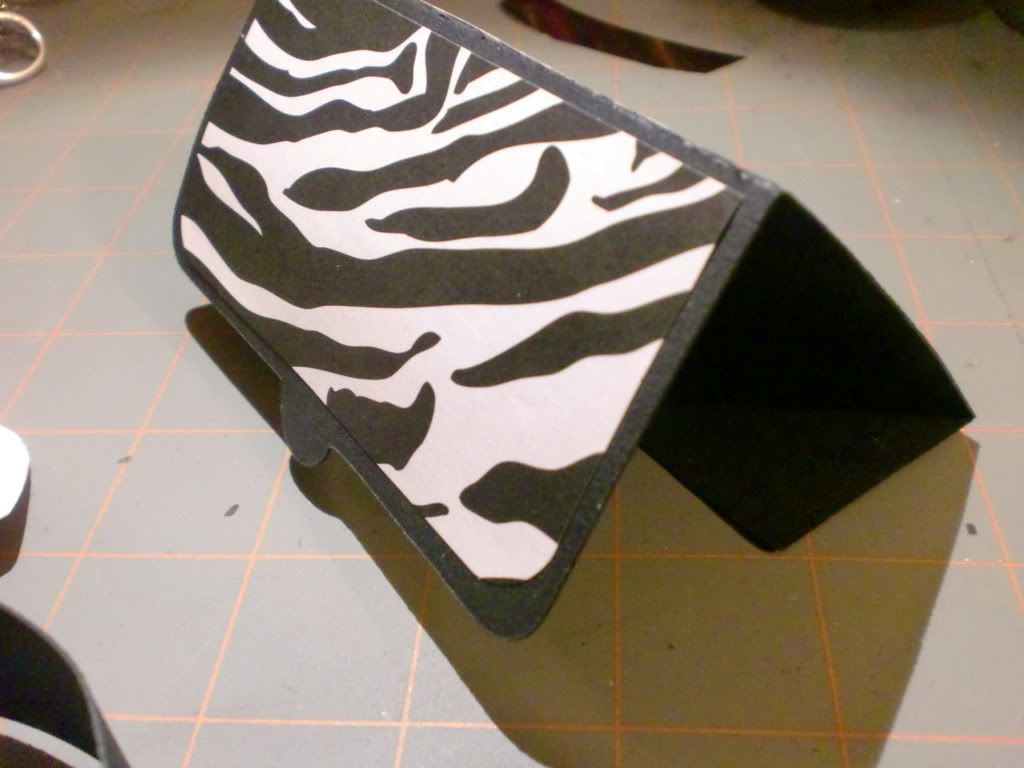
For the finishing touch... what's a pair of shoes, with a matching purse...without a matching wallet!??!  I used this gift card holder from the Wild Card Cricut Cartridge.  And added some zebra print to finish it off:
And here is a odd angle of the gift card wallet while opened.  haha.
That's it!  That's the first 'Thank You' project!  I am happy with how it all turned out.  Here are some pictures of the entire set:
I'm pretty sure I will be making this project, well..a similar one...very soon!!

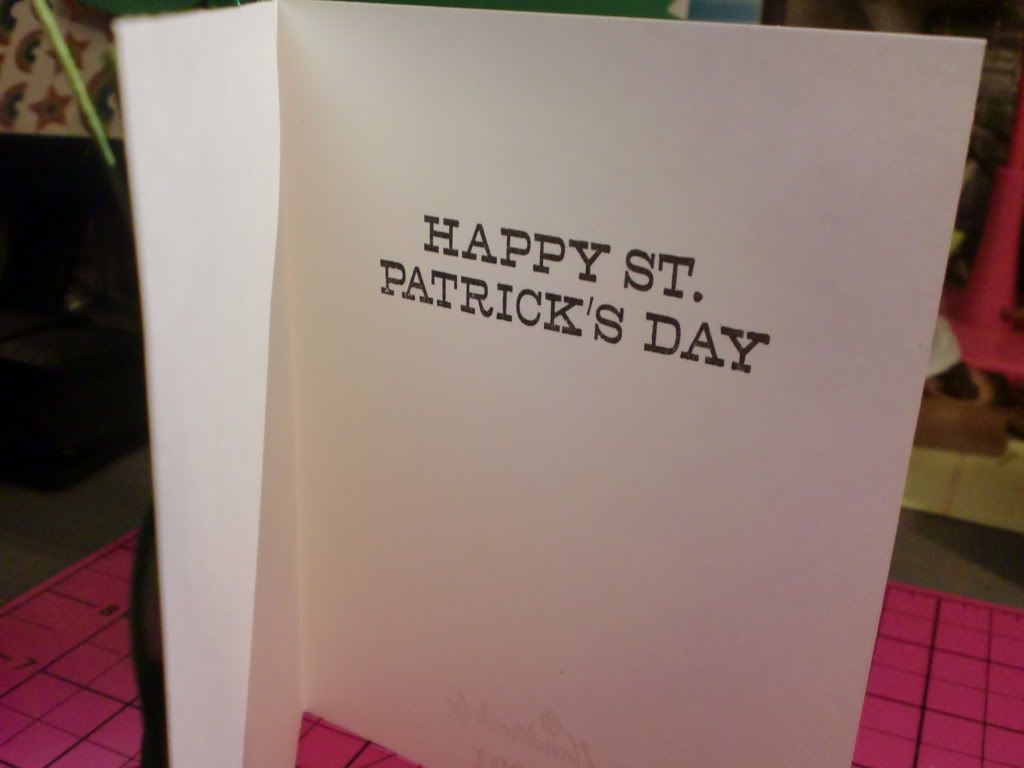
Now for part2  of my post!  This thank you project is for a man, so I had to turn of my 'girly' mindset. I know that he is a fan of nautical decor, so I ran with that theme!
 Here is the card:


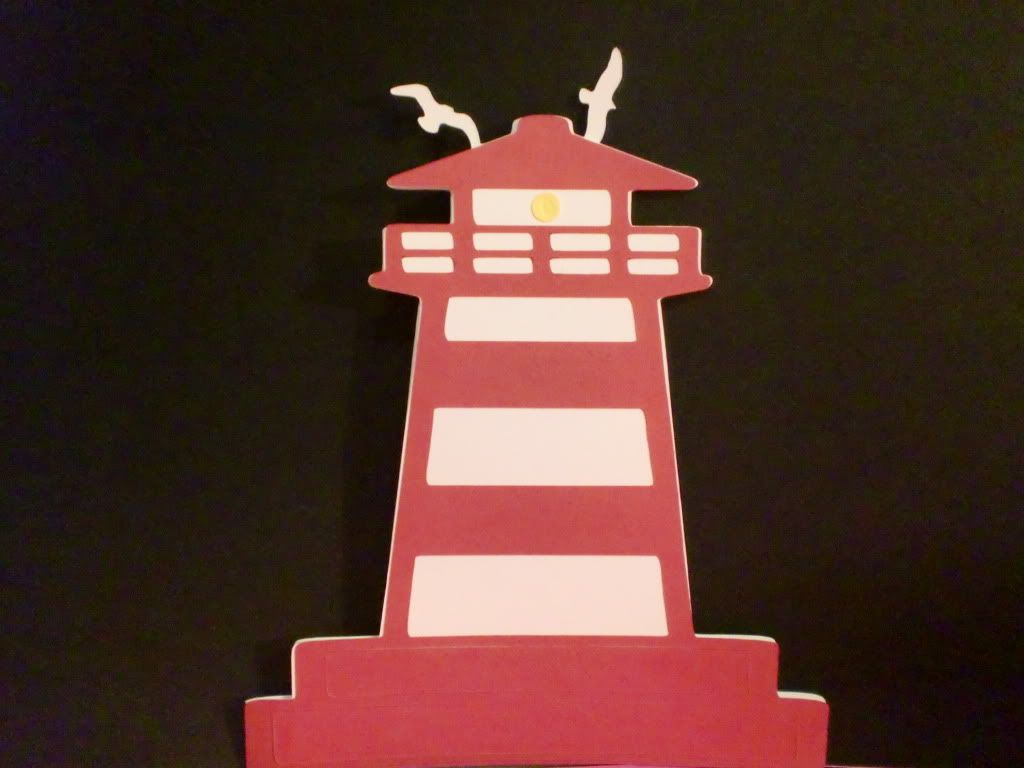
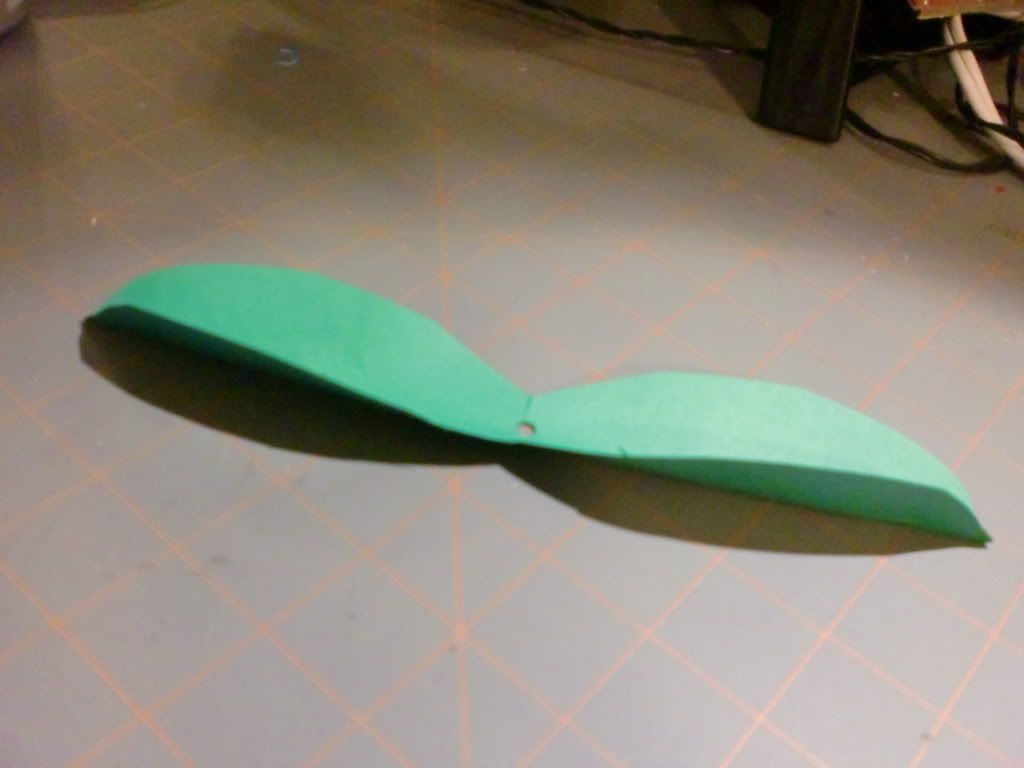
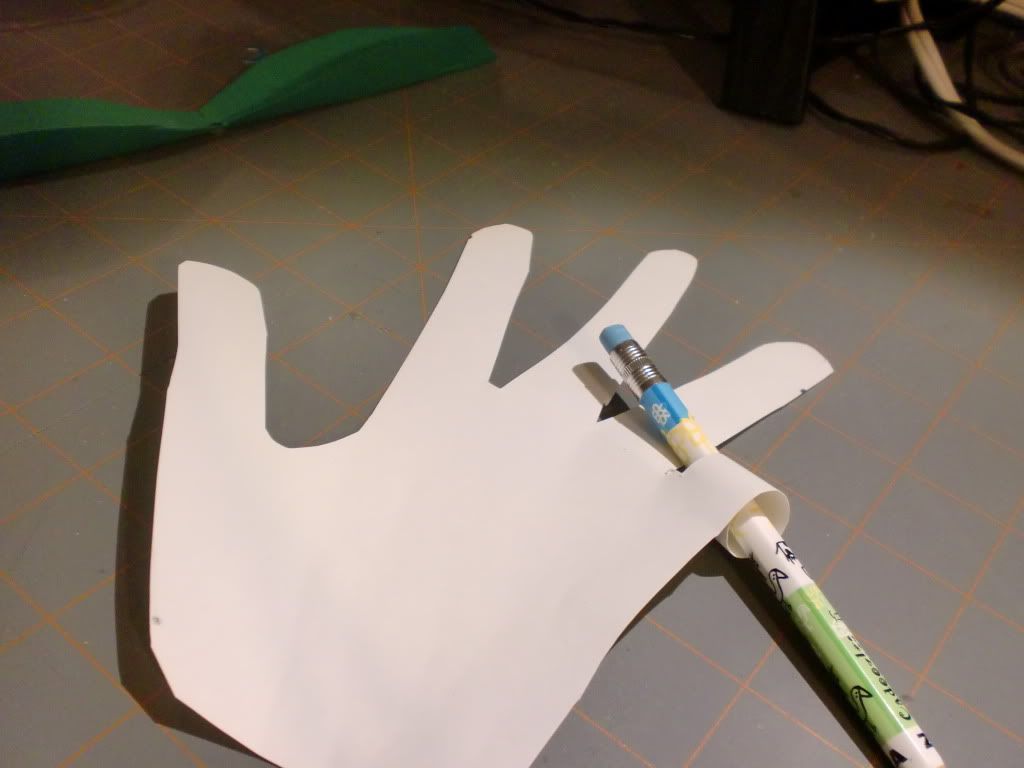
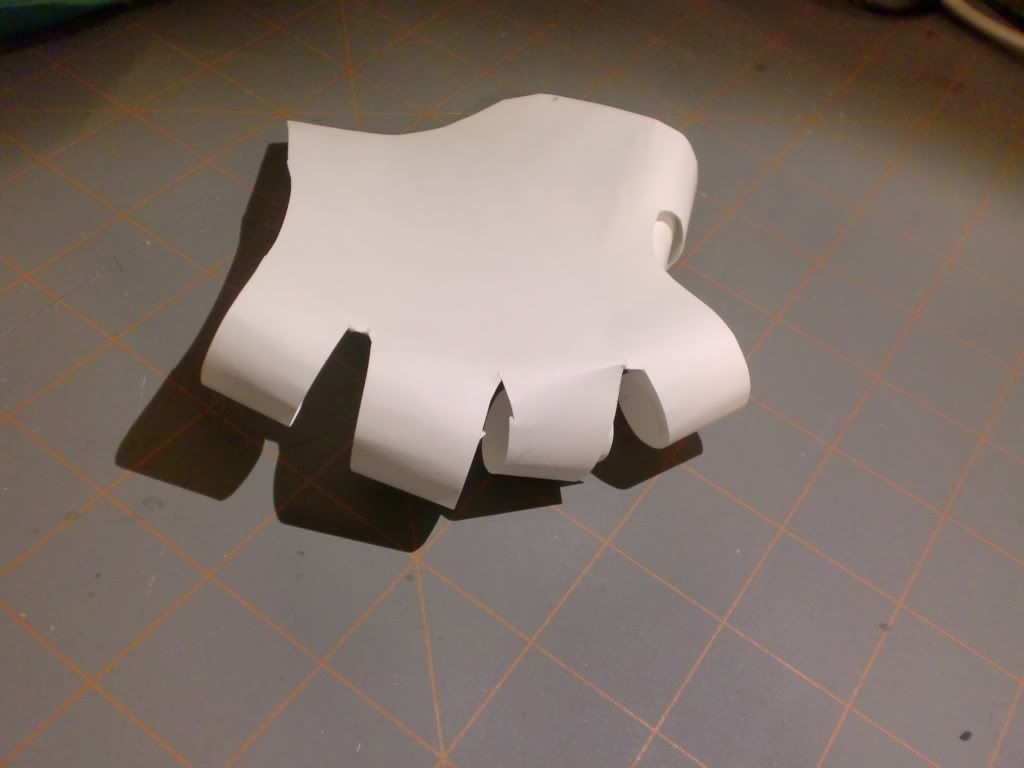
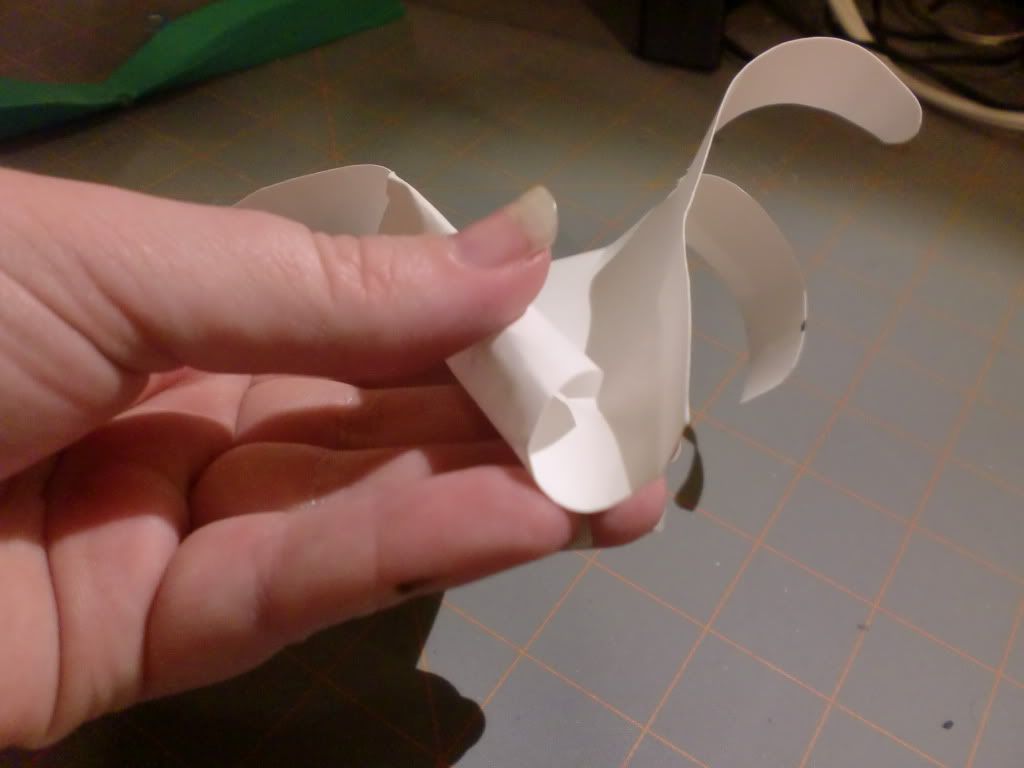
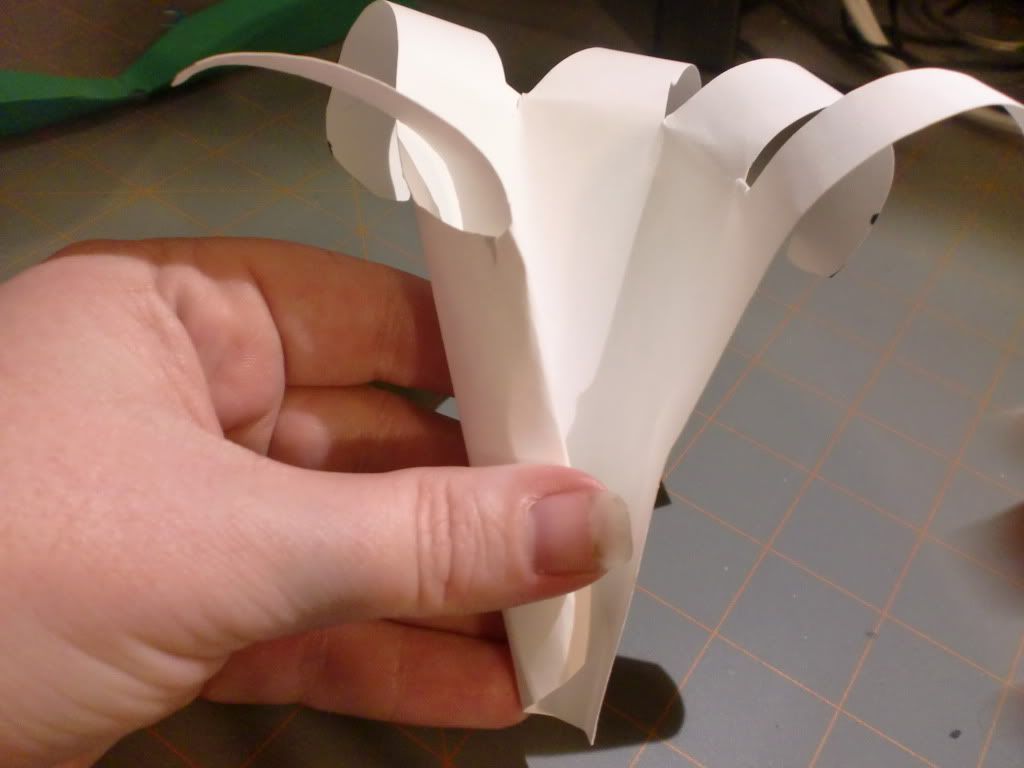
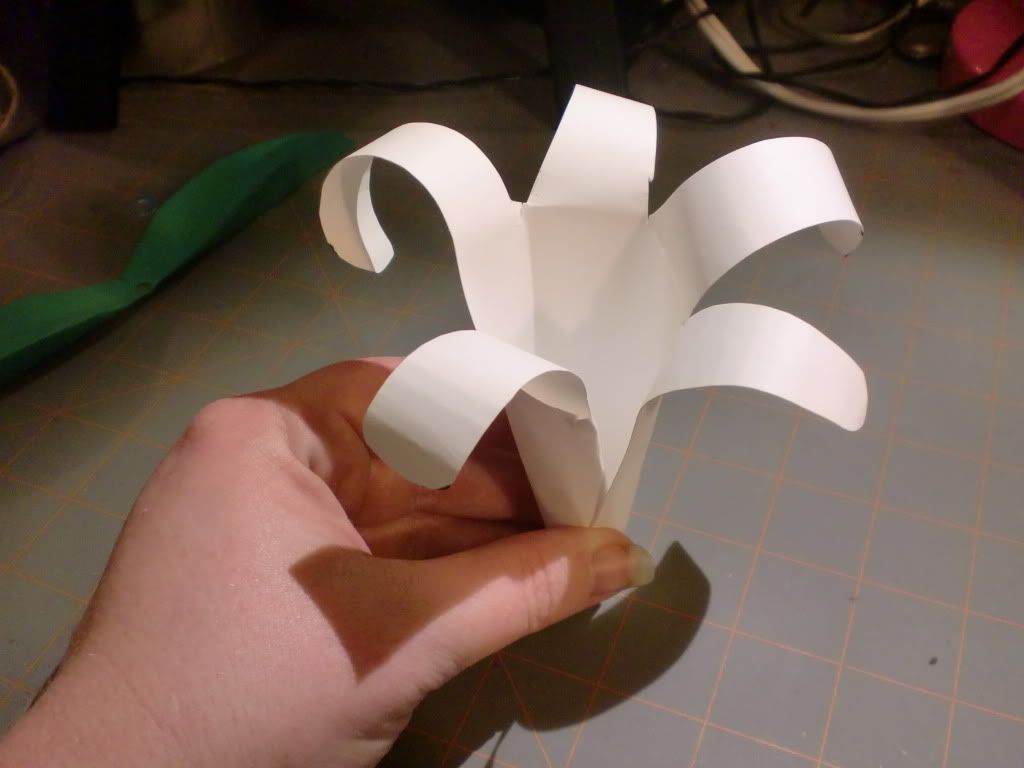
I love lighthouses.  LOVE them!  Everywhere I looked for a cut file, I just couldn't find one that I liked enough.  There are so many beautiful lighthouses out there, and I felt that my card wouldn't do them justice.  So I decided to go with the Life Is A Beach cricut cartridge.  The lighthosue on that cartridge is a tall, skinny one.  I just manipulated it to be short and fat.  Haha.  I then flipped one, and welded them together to make a card.  I also welded some seagulls (also from the Life Is A Beach Cartridge) to the top, backside of the card... so when it was closed, it would look like they are soaring in the background.

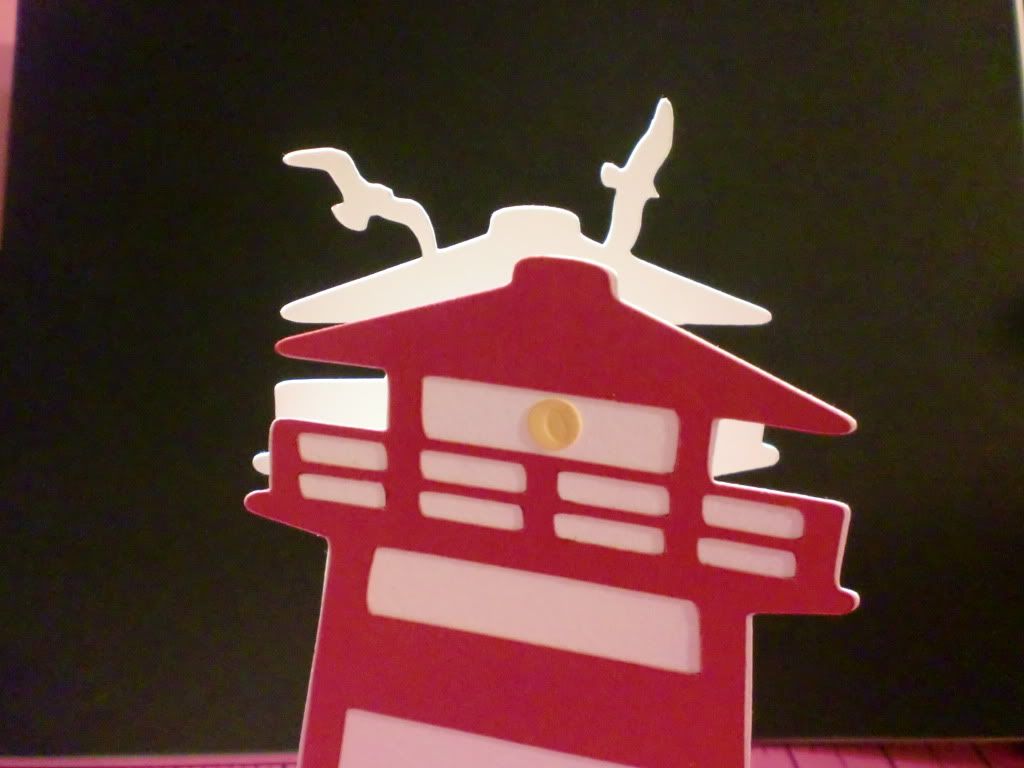
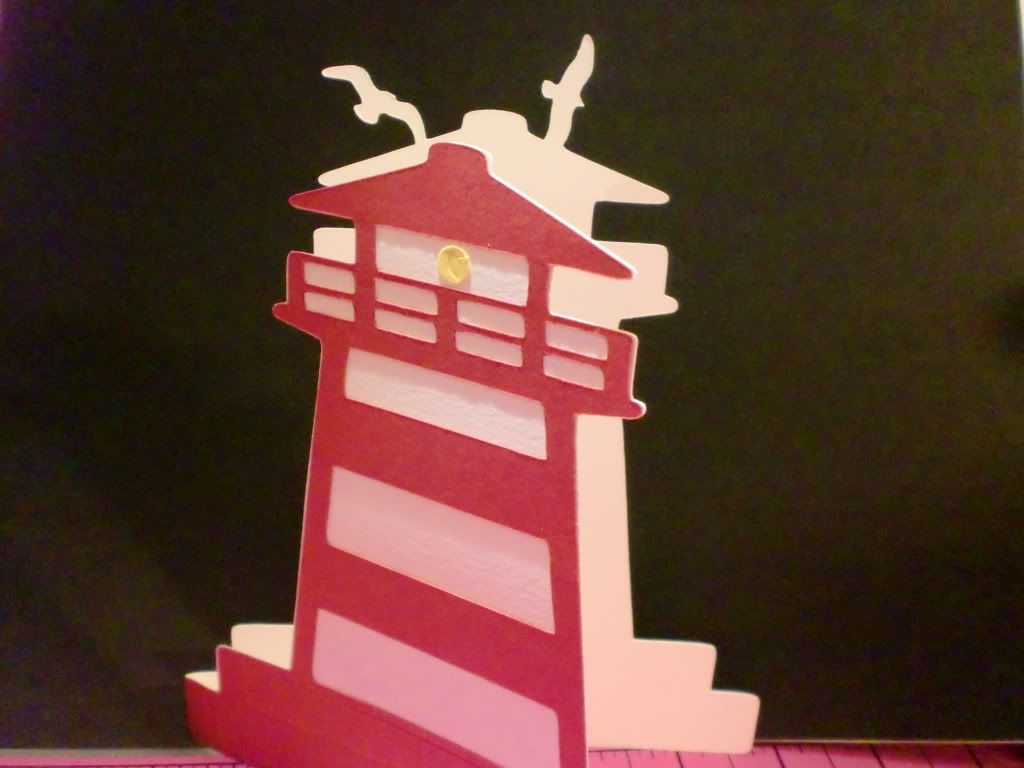
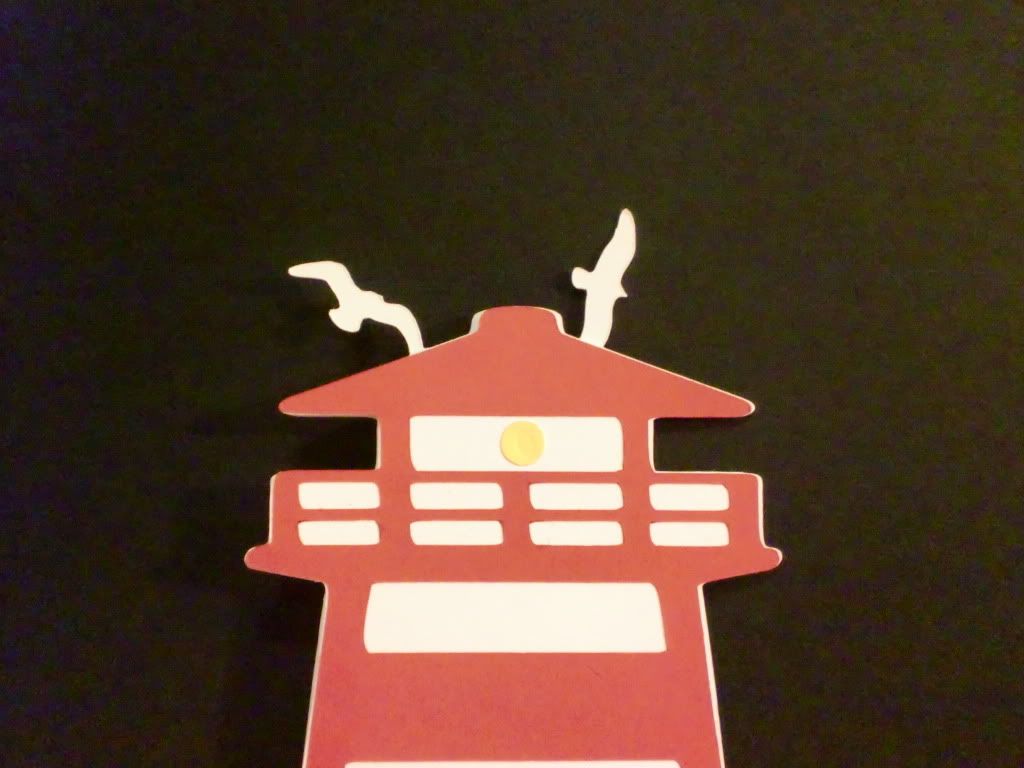
As I was piecing together this card, I kept thinking.."oooh this is NOT going to be good!"  But I really liked how it turned out!  Simple and sweet. My favorite! haha. The reason that I manipulated the lighthouse to make it wider, is so that I would have more room to write inside.  Also, it was easier to weld two of them together.
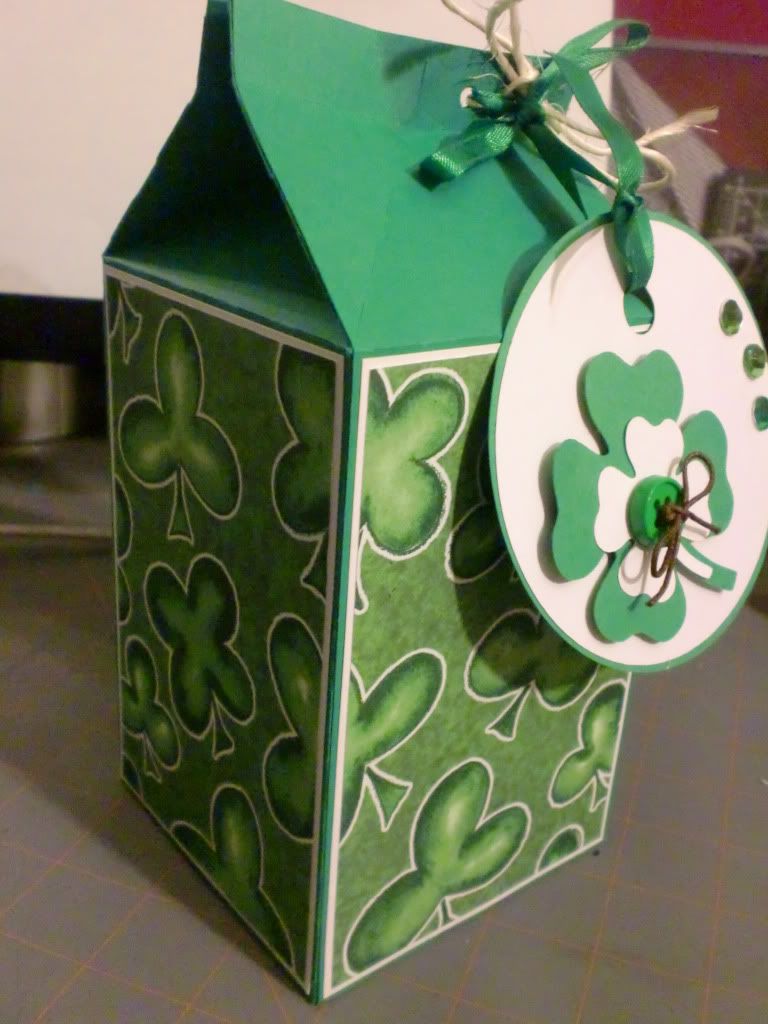
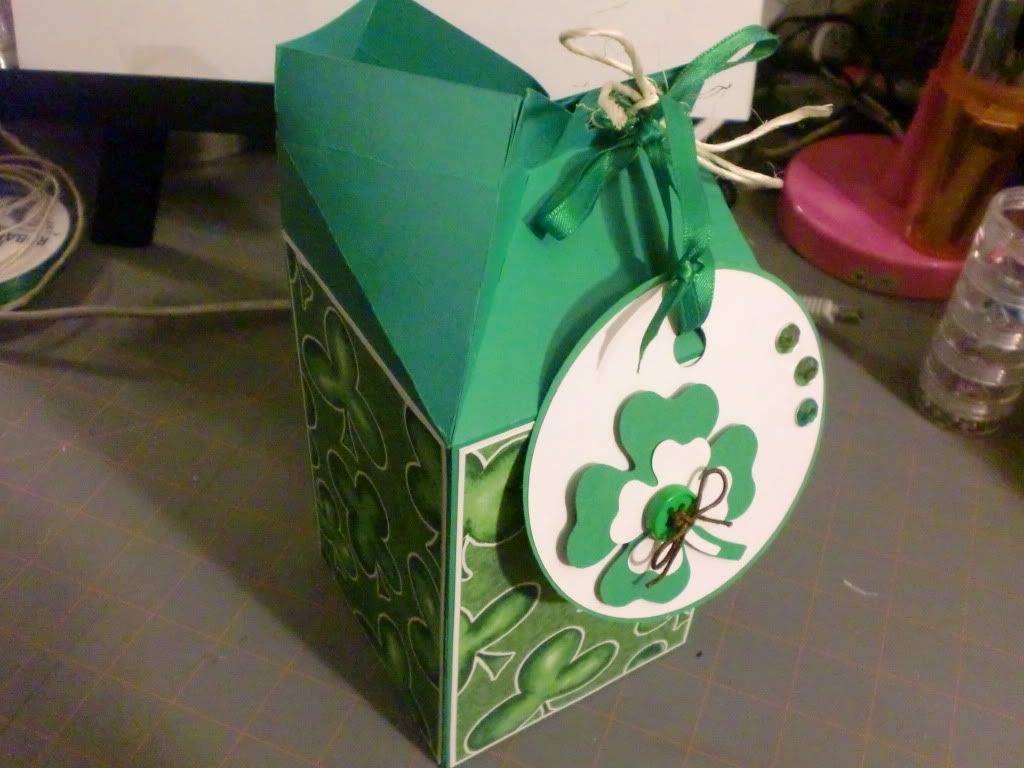
Next is the box.  I decided to use a Gable box.  This box is from the Elmo's Party cricut cartridge.  I just welded circles for the handles rather than keeping the 'Elmo head' (since the recipient is older than three! lol.)
I also welded a 'window' onto the gable box, and added some acetate behind it to make it more of a window. :)  I also added a anchor sticker that I had in my stash, and cut two ship wheels to put on the sides. (Ship wheels are also cut from the Life Is A Beach cartridge.)
Finally, the gift card holder.
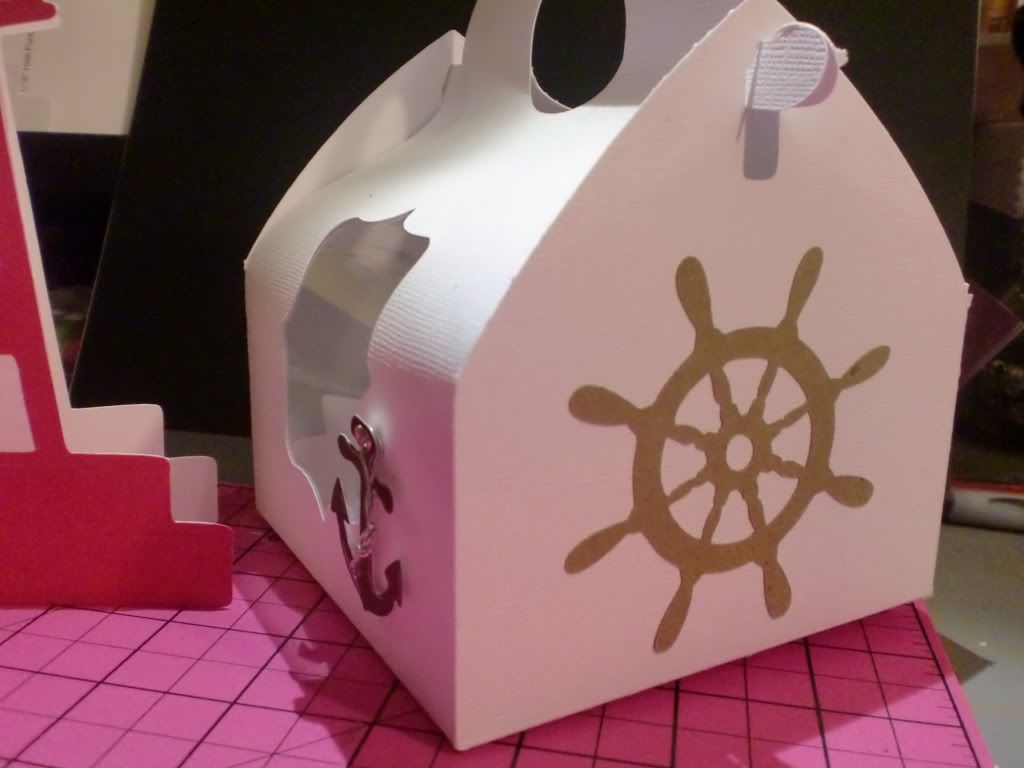
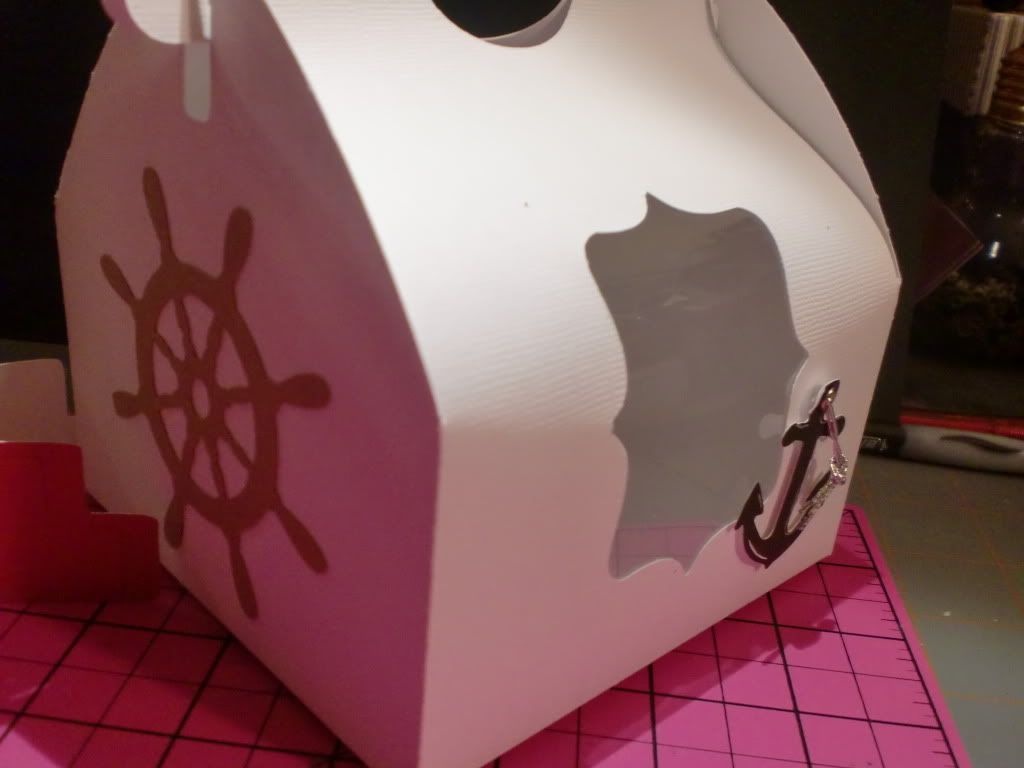
This is actually from the Going Places cricut cartridge.  It is under the 'Slider Envelope' function key These envelopes are ideal for gift card holders!!.  When I saw this cut, I know it would be perfect for this project!


And there you have it!  My projects are complete!! I juse filled the purse and gable box with some candy, and then put the gift cards/and holders inside too. I hope the recipients liked them!!

Thanks for looking at my projects, and I always love comments!! :)

Since this is a post about thank yous, I also wanted to give a shout out to Momo from www.madebymomo.blogspot.com   I have been a follower of her blog for a while now. (I think she was one of the first people I followed.)  I have never met her, or spoke to her, but I can tell she is a super fun lady, and has an amazing talent for crafting!  She is doing a 'link you blog' thing on her blog, where if you have less than 200 followers, you can post your blog there...and hopefully get some followers, and find some new inspiring blogs to follow as well!   Since I was the 222nd person to post my blog, it looks like I will have a busy night of blog-looking! :)   Thanks to Momo for doing this!!

Sunday, March 20, 2011

A Kid's Craft....Easter Lilies!

Happy Sunday!

Today I decided to post an old craft that I did with my niece.  Last year, I was able to see my niece a lot.  My mom watched my brothers kids while he and his wife worked.  So, if I was having a good day, I was able to hang out with my mom and my niece (nephew was in school.)  My niece was three at the time of this craft, and she was just so very excited about crafting!!  She would sit in my craft room and wok for HOURS at a time!!  She loved punches, and paper, and stickers, and "grue" (glue.)   She always wanted to make cards or different projects to take home to her mommy and daddy.  She was so proud of them, and I had so much fun making crafts with her!!

Since she first picked up a pencil/marker/crayon, she loved having me trace her hands.  Eventually, she learned to do it by herself.  So when I saw this craft project in Disney's Family Fun magazine, I knew we just had to make it!!!   They are  Hand Print Easter Lilies.

Here is how we made them:

Start with white cardstock, and trace your kids hands, or let them trace their own if they are old enough! :)

I like to trace a little wider than the actual size of the hand, because I cut on the inside of the line, rather than right on the line. (So the line does not show on the finished flower.) 


Go ahead and cut out the hand prints, and set them aside for now.  next, take a piece of green cardstock and fold it in half.  (This will be your leaves...eventually. haha)
You can either draw free hand, or you could always weld two leaves together (if you have gypsy or a design studio) and cut them out on the cricut.  I just drew this one free hand...I'm SURE you can tell!! Lol.
Make sure to draw the leaf on the fold, so that when you cut it out, it is two leaves, connected in the middle. (I really hope that made sense.)
This is what it should look like, after it is cut out:
 Next, punch a hole in the center:

To finish the project, you will need pipe cleaners (green and yellow) and either tape or glue. You will also need a pencil or something round to curl the 'fingers' of the hand print with.

Take your pencil, and curl the fingers back one at a time:


Once all the fingers are curled back, take the base of the hand, and fold it as if you are creating a cone type shape.
 
You can take the bottom shut, or use a drop of glue.  (I used tape for this tutorial, but I usually use glue.)

Now, keep in mind that when you are making these..you will probably want to find supplies that coordinate better than what I have here! Lol.  My leaves color doesn't match my pipe cleaner, and I really don't like the color of the yellow pipe cleaner that I had on hand. :(
But here is the rest of the supplies you need, and what they look like so far:

With the yellow pipe cleaner, you will need to cut two pieces that are each about 2" long, and curl the ends like shown. 
Take the green pipe cleaner, and insert it into the bottom of the lily:
Push the green pipe cleaner up through the lily so that you have enough space to work with.  You will be able to pull it back down. 
Take the two yellow pieces that you have created, and twist them onto the green pipe cleaner (stem)
Pull the stem (green pipe cleaner) back down through the flower, so that the yellow sits at the base of the flower.
Next you will add the leaves.  I like to pinch the ends up, so that it adds some depth to the leaves.  This is how I form them:
Take and slide the pipe cleaner through the hole in the leaves
I add a drop of glue to the base of the flower, where the leaves meet the flower, to hold it in place.

You are done!! 
You can add ribbon to the step, bunch a few of them together, etc.  I love that they are made out of the hand prints of your children, grandchildren, nieces/nephews, etc!  It makes them so much more special.  My sister in law loved these so much when she was given hers last year, that she asked me to come into her kindergarten class and do them with her students for their parents!!
They are fun, simple, and do not take much time at all! :)

If you have any questions or comments, don't hesitate to contact me!!!
Thanks for looking at my project today!

Thursday, March 17, 2011

Everyone's Irish Today!!!

HAPPY ST. PATRICK'S DAY!!!

As I am out grocery shopping today, I think I shall pinch everyone who isn't wearing green!!  Although, that could quite possibly get me beat up...so...scratch that thought! 

I absolutely love this holiday!  It is one of my favorites, and always has been.  I made a few cards, and mailed them off without taking pictures of them!! ARG!  I find myself doing that more and more these days.   I'm losing it. :)

Here is the ONE card that I actually took a picture of.  


It is a regular A2 size card, the background paper is a foil-type, so it's shiny when you get it in the right light.  I placed 14 eyelets along the side of the card, and laced it with green ribbon.  I love the look that gives.  I've done it on a few different projects in the past.   
The shamrock is cut from Paper Doll Dress Up (Maybe..it's on of the Paper Doll Cricut Cartridges) And then I put some green Crystal Color Lacquer on the shamrock.  It makes it look glossy, and hardens to an almost plastic-like feeling. I love that stuff!  (My mom actually found it for me at a Quilt Show earlier this year.)   Here is a close-up of the shamrock:
  And on the inside, I just stamped Happy St. Patrick's Day
I think this was my favorite of all the St. Patrick's Day cards I made this year, so I am glad I at least took a picture of this one!! Ha.


I also made a St. Patrick's Day Milk Carton Box for my Mom.  I wanted to just give her a little something for giving me an Irish Heritage!  Ha ha.  Here's the finished product: 
I tied the top back half closed with twine and green ribbon.  If I put smaller items inside the carton, I would go ahead and glue the top half closed....so it would open like a regular milk carton:
But with this one, I needed it to be able to open across the entire top.  (I should have just filled it with Hershey kisses or something. Lol)  Here's just another view:
And here's a closer picture of the tag:

This box stands about 7.5" tall, and is 3.5" square. I really love making these.  I really love making all types of boxes, bags, and gift-packaging.  The more unique...the better!  This milk carton is an svgcuts file.  But, I also have directions to cut them by hand.  There are instructions and tutorials all over the web. 


Well, that's all for now.  I hope everyone has a WONDERFUL St. Patrick's Day!!!