Hey there!!
I haven't posted in a long time, I have been so busy making various projects...and have had no time to post them! :( Boo.
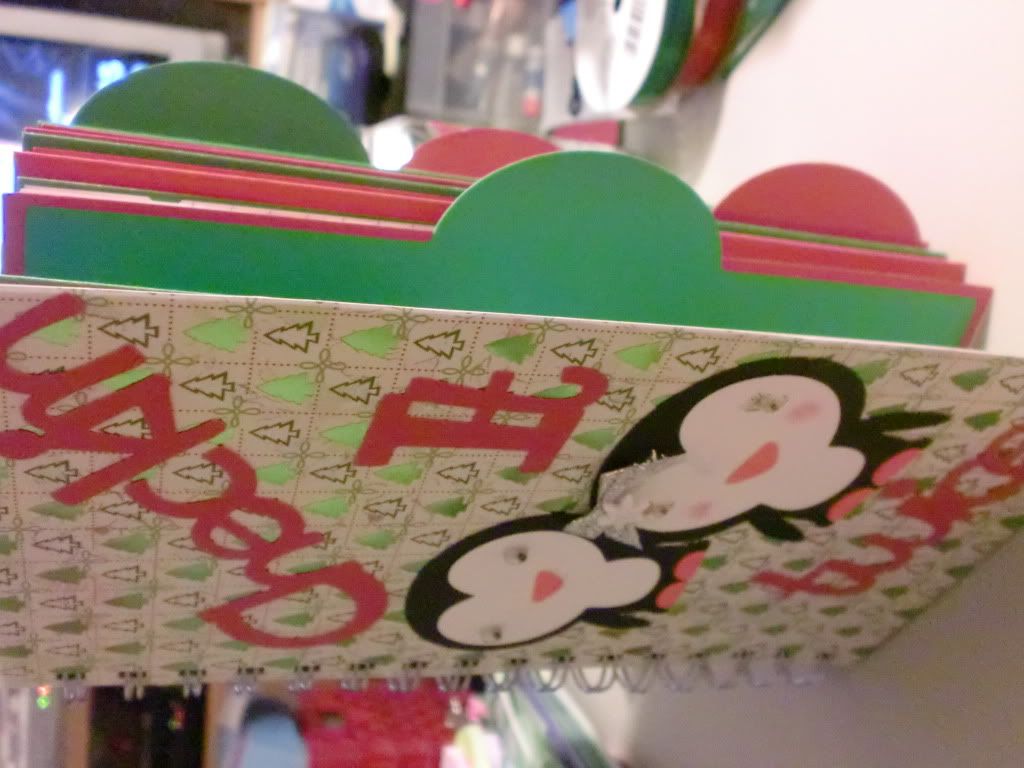
I started making these Autograph books last May. (yeah, I know!) I didn't work steadily on them, but just did a page here and there when I had spare time between other projects. My brothers typically take their kids to Disneyland in the winter, so I had plenty of time. Then the holiday season came, and I had many, MANY other projects to make, and the autograph books were pushed aside. So, around December 27th, I hear that one family is heading off to Disneyland in January! AND.....I only had about three pages done! EEK! It was time to buckle down!
Luckily I finished theirs in time, and I hope they get to meet all the characters, and get a ton of autographs! The kids were excited to have them, I can't wait 'till they get back to hear how it went!
I have a LOT of pictures. I tried to make each child's book a little different from his/her brother or sister's book. So the characters and names are different in their books. Keep in mind, I had five of these to make, and I didn't have that many options in some of the Cricut cuts, so I did what I coul.d I am going to show two different books in this post. Again, I have a LOT of pic's!
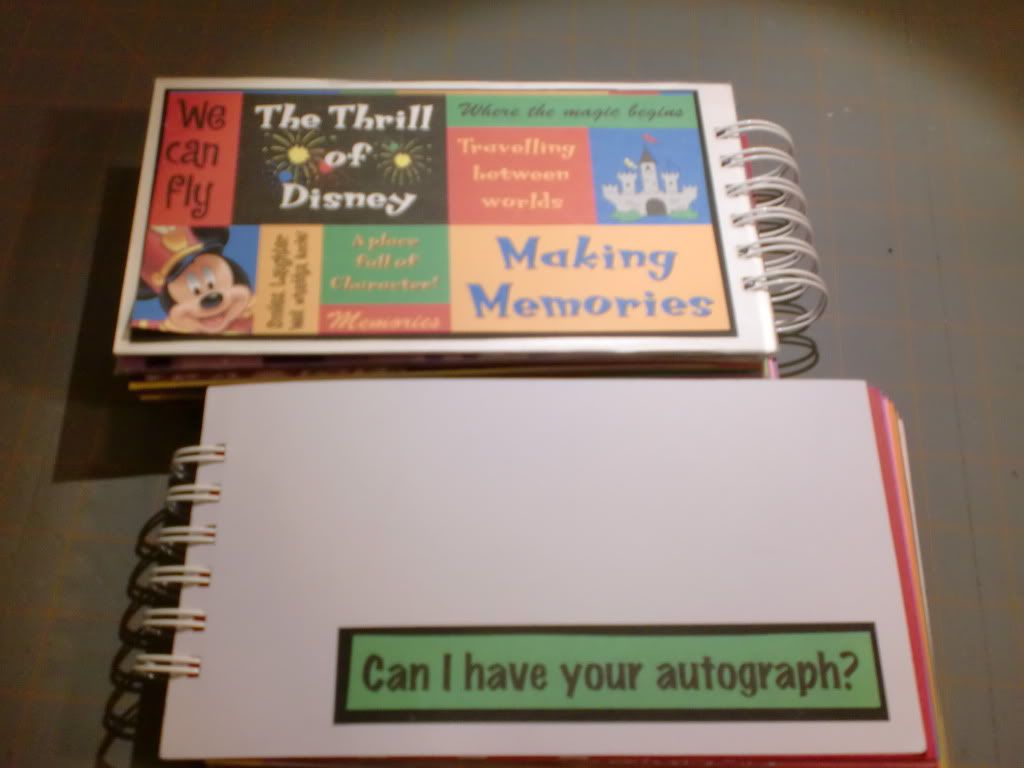
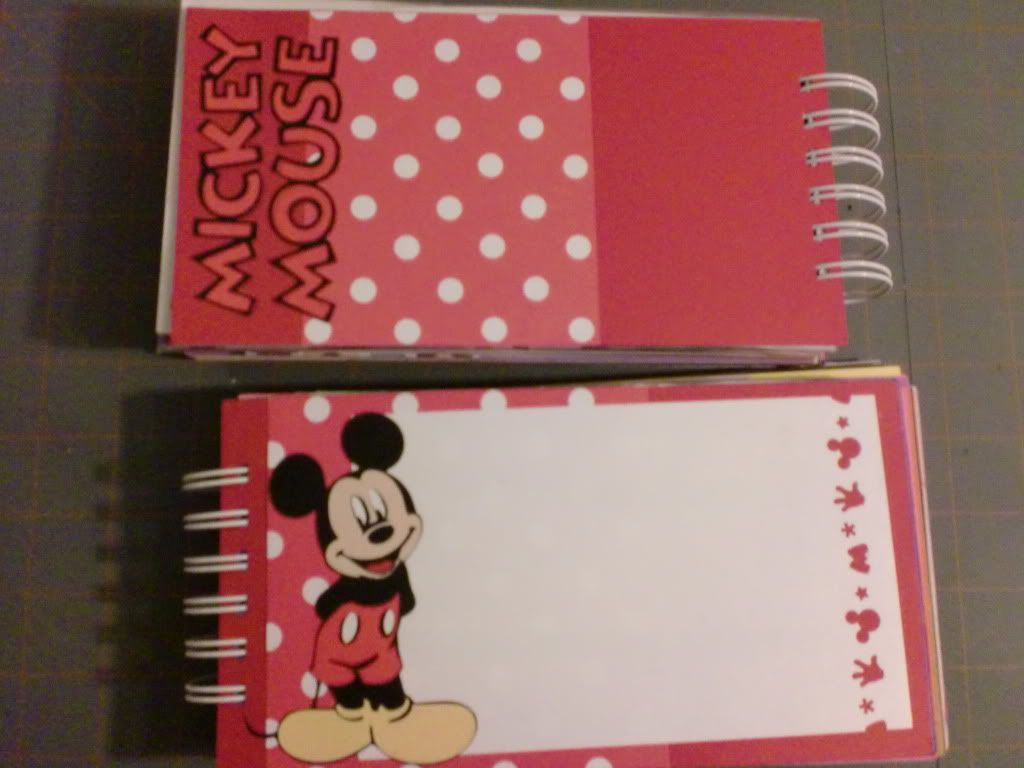
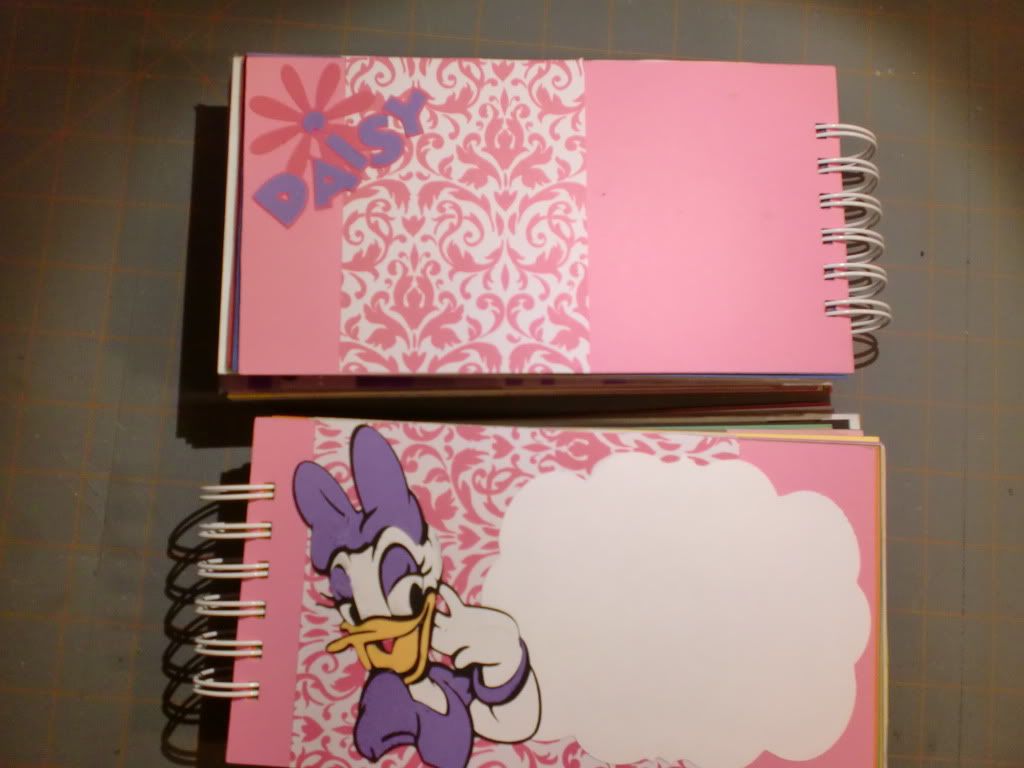
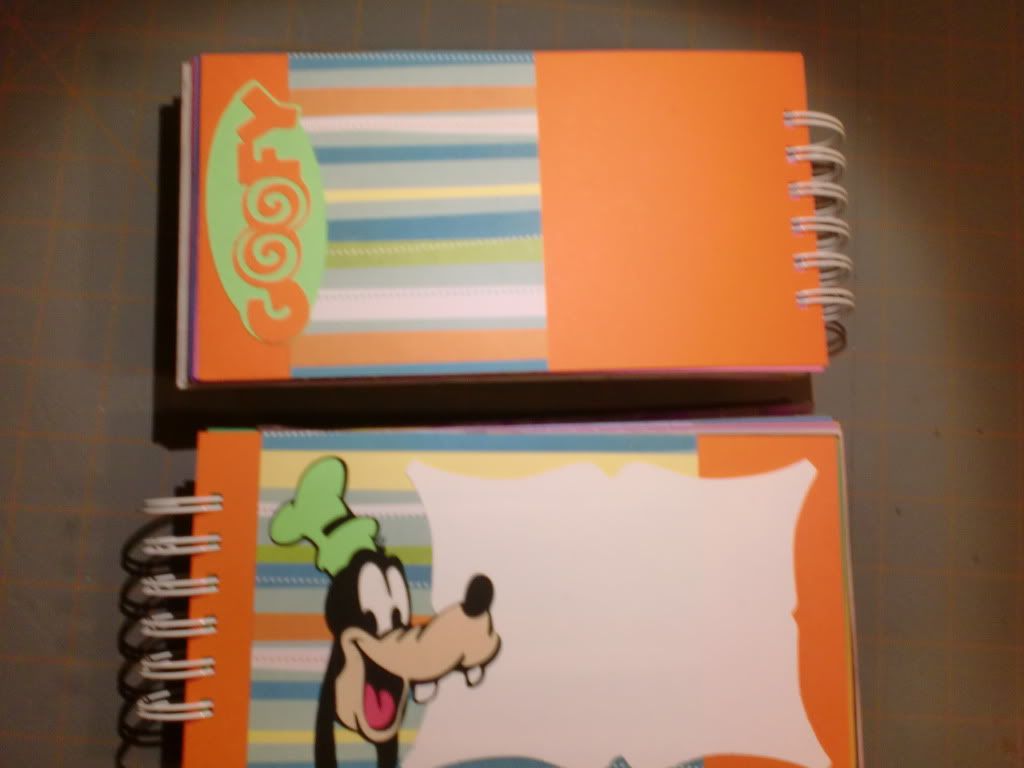
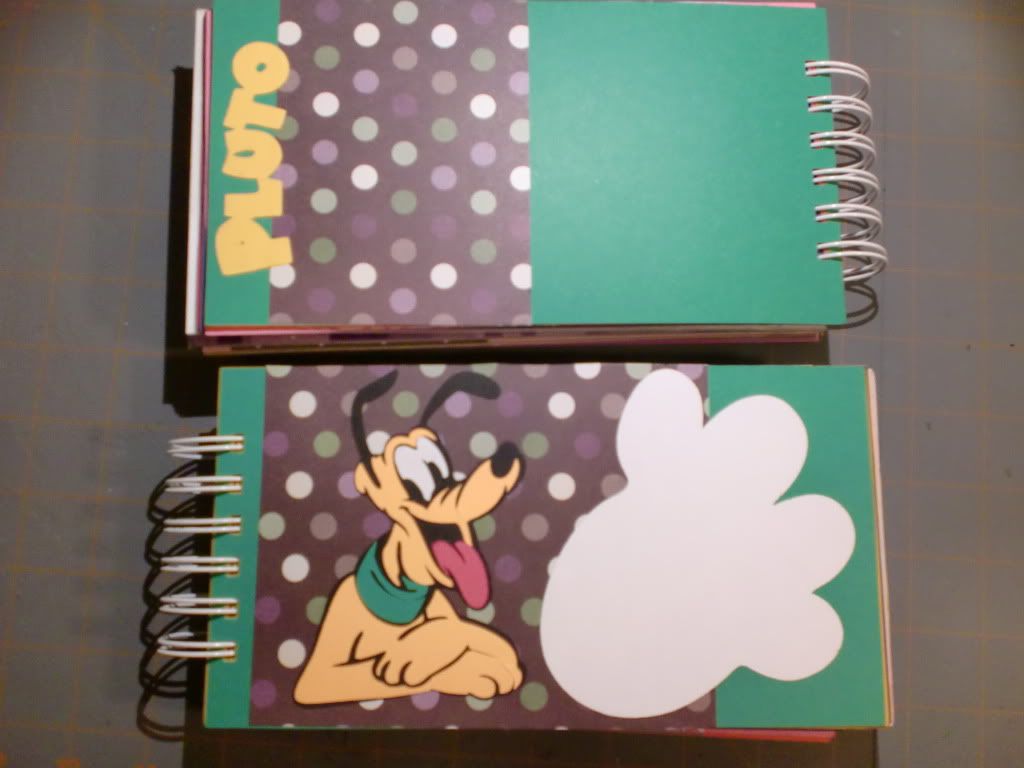
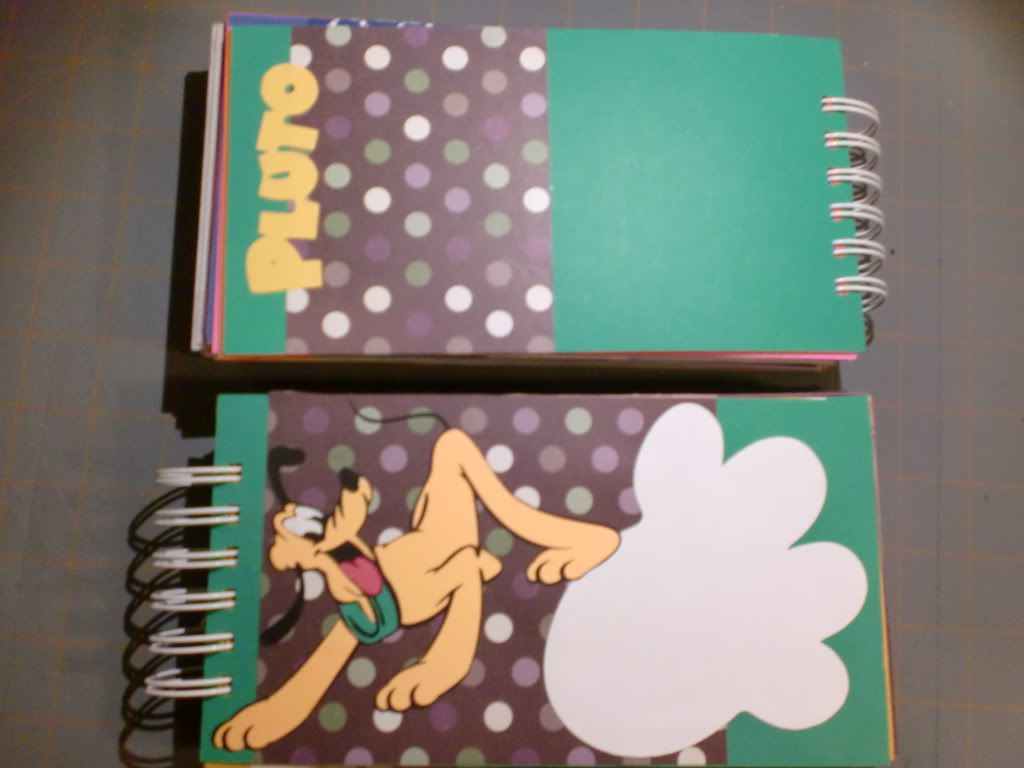
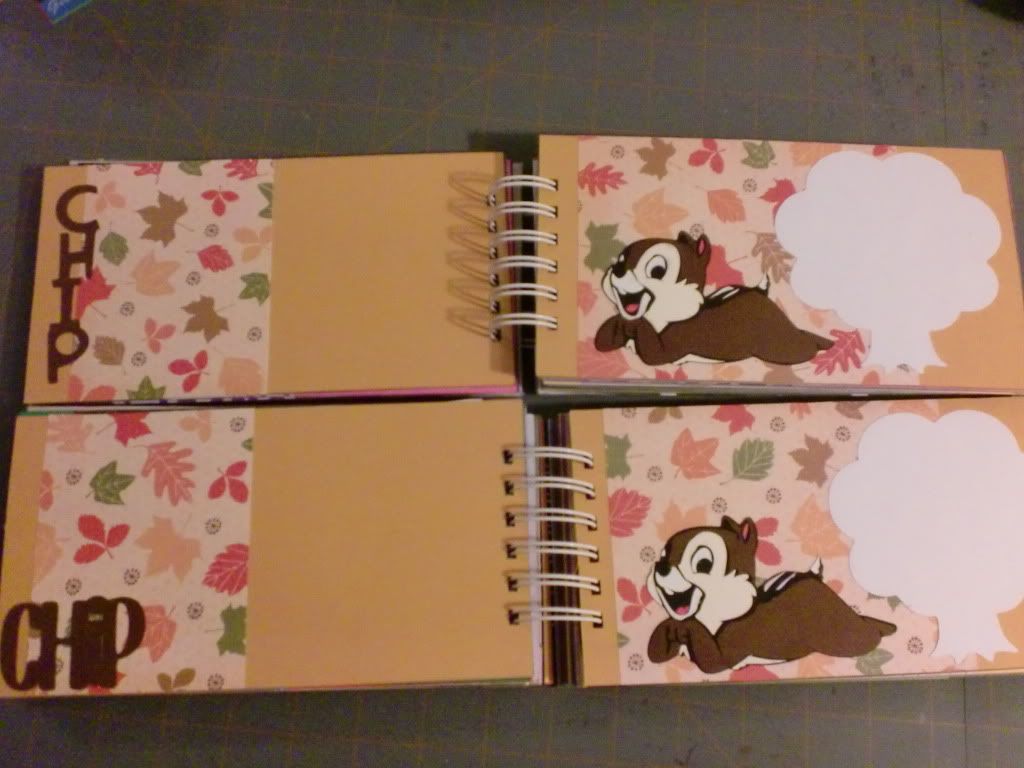
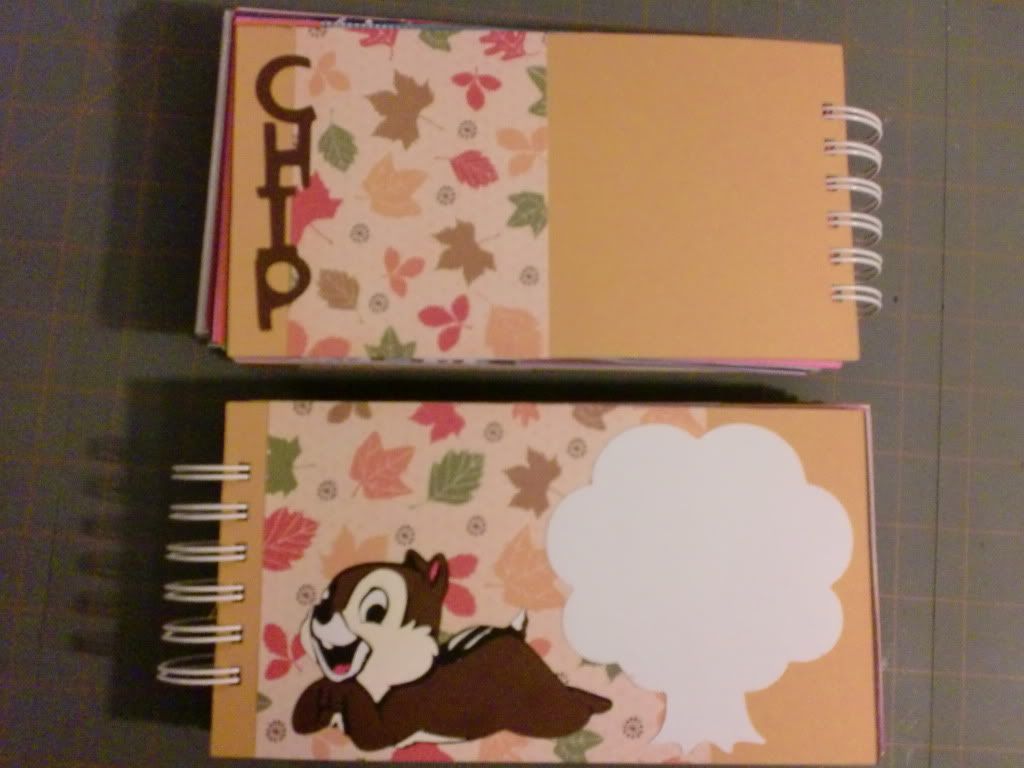
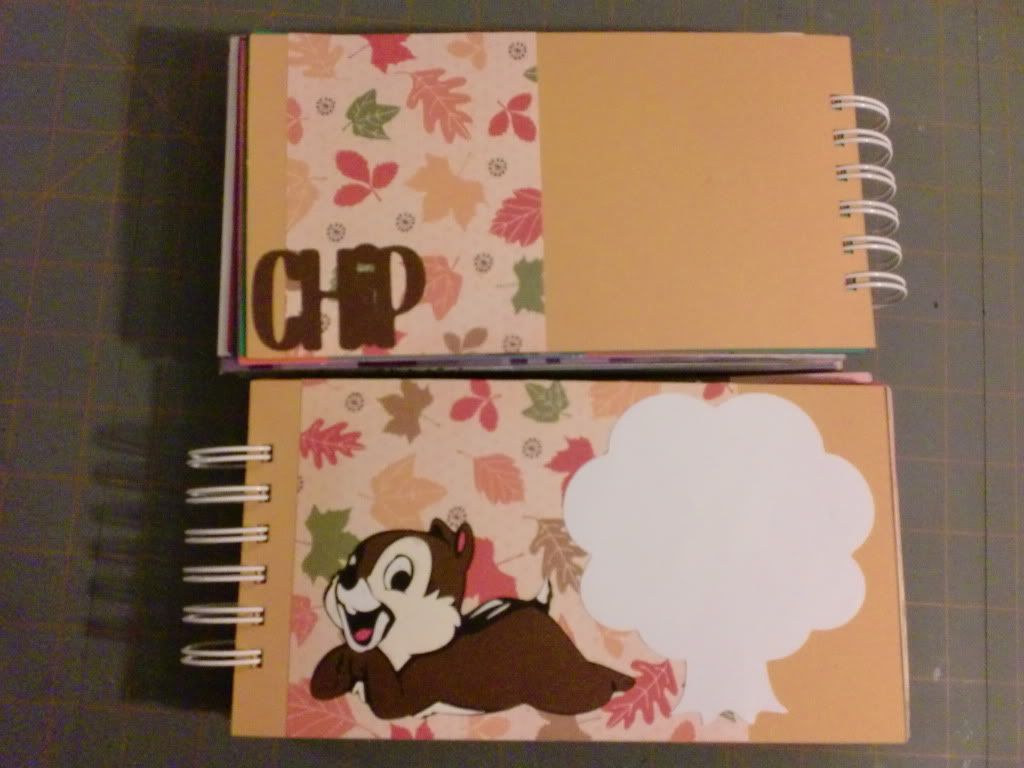
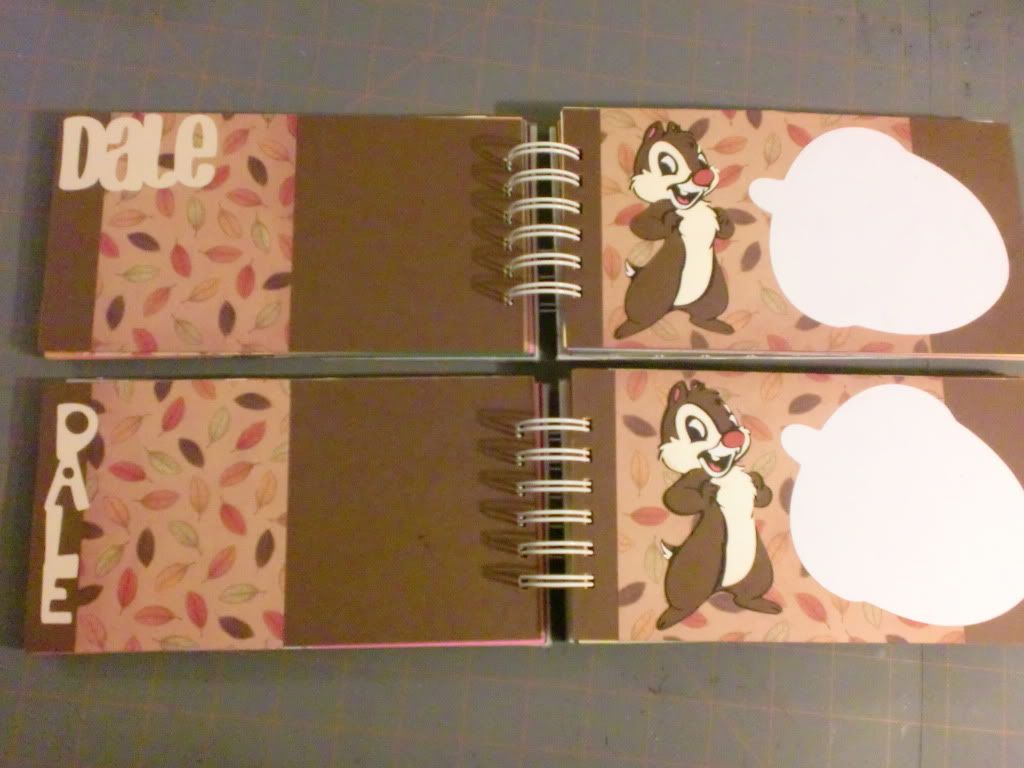
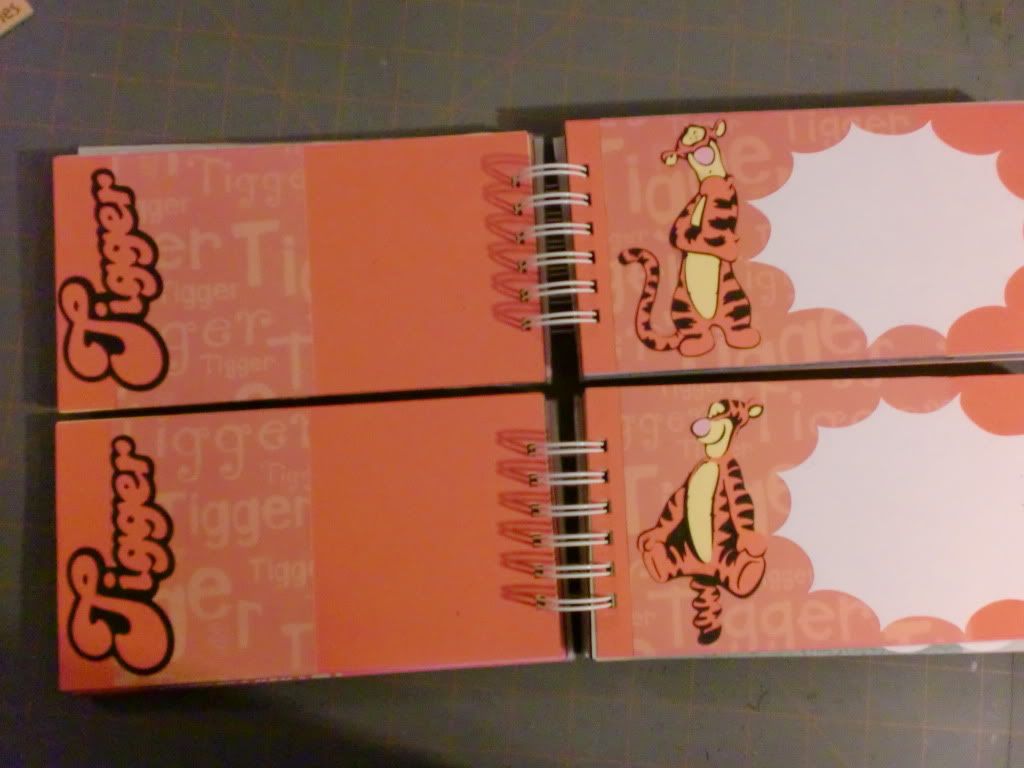
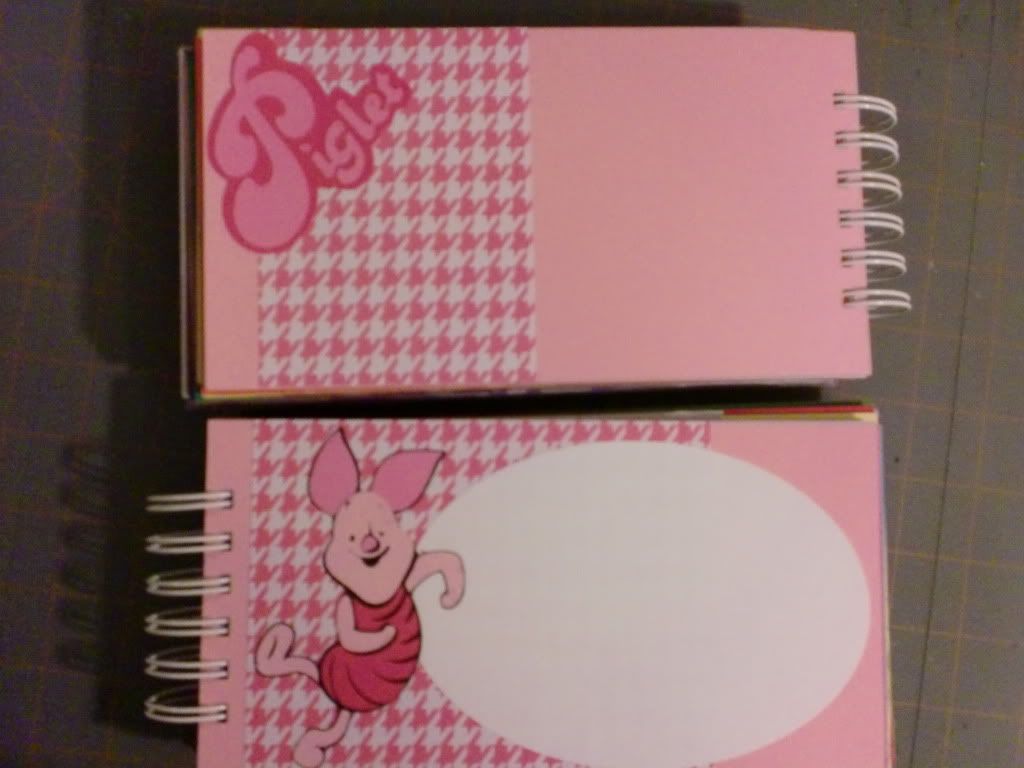
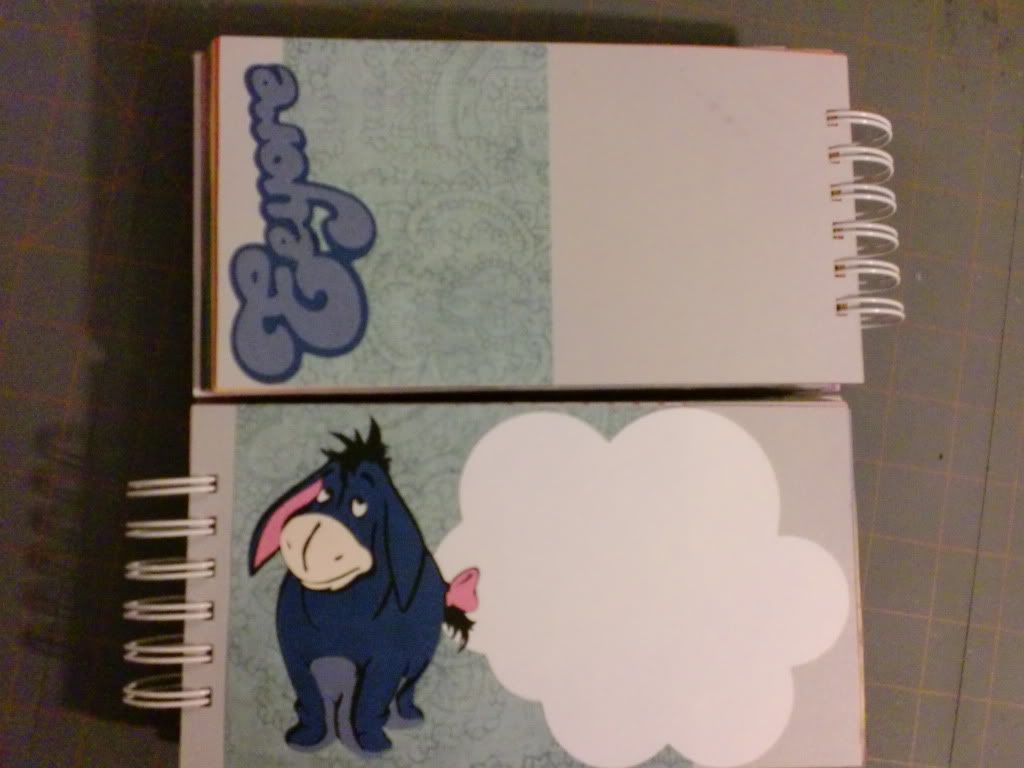
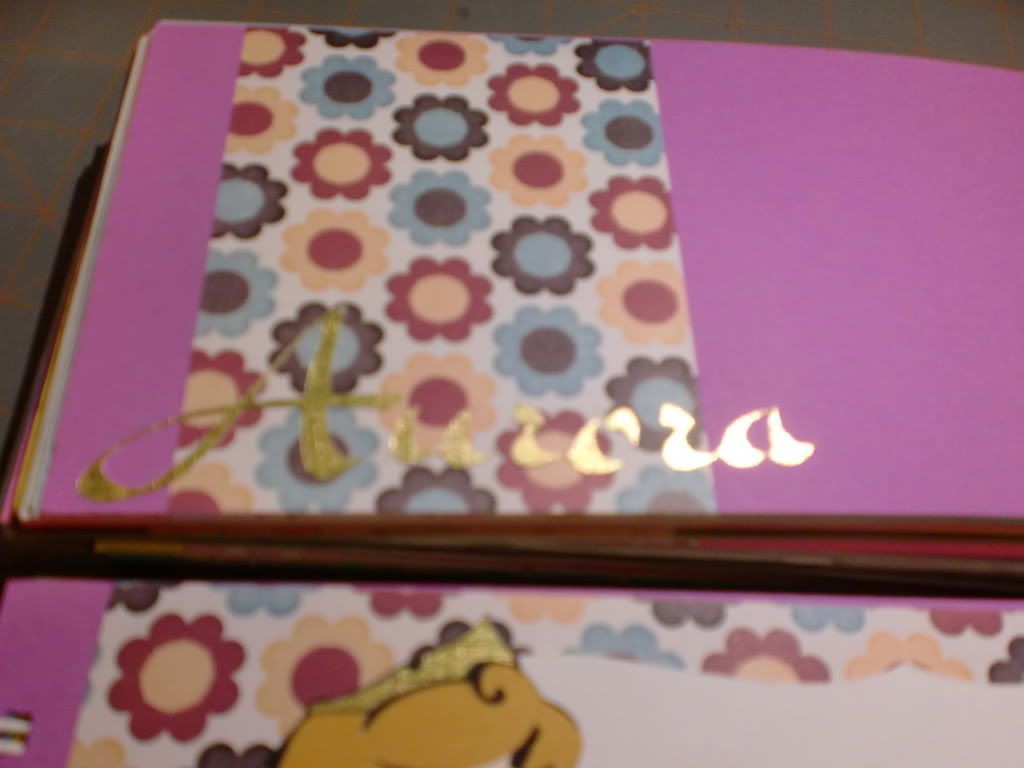
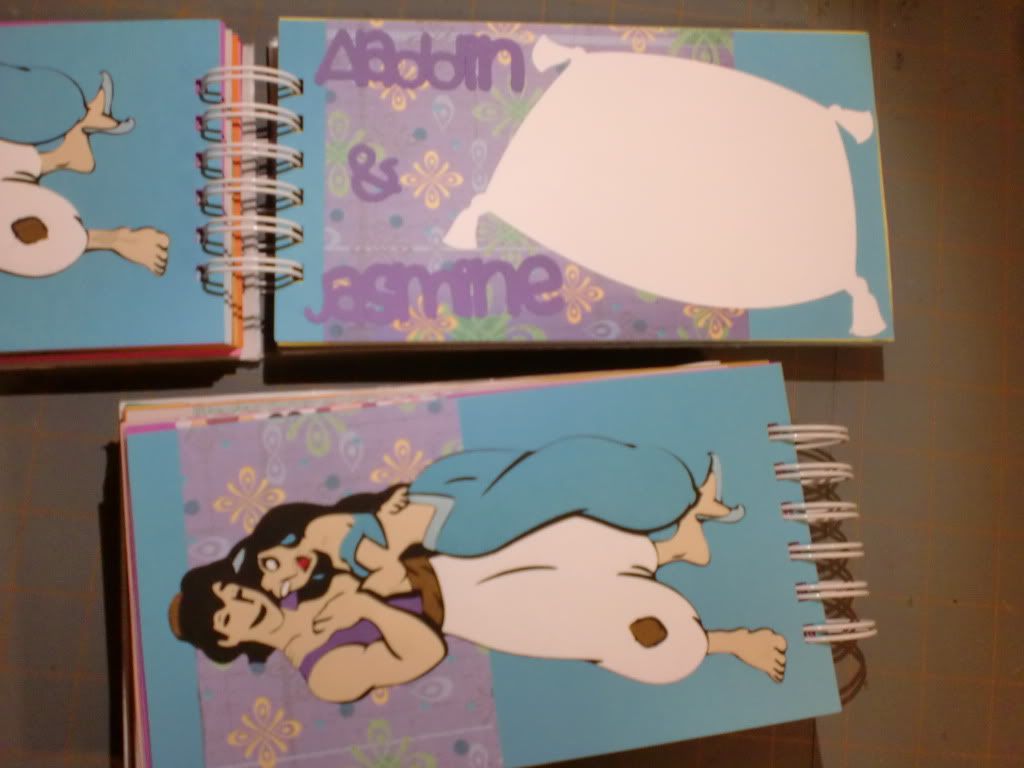
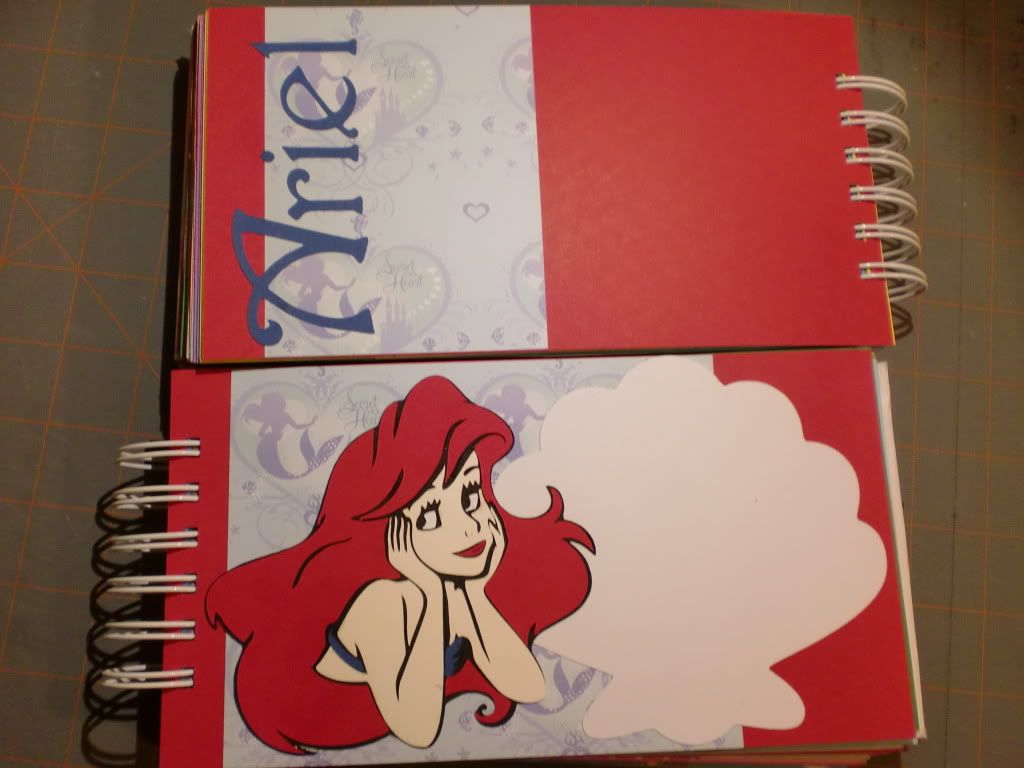
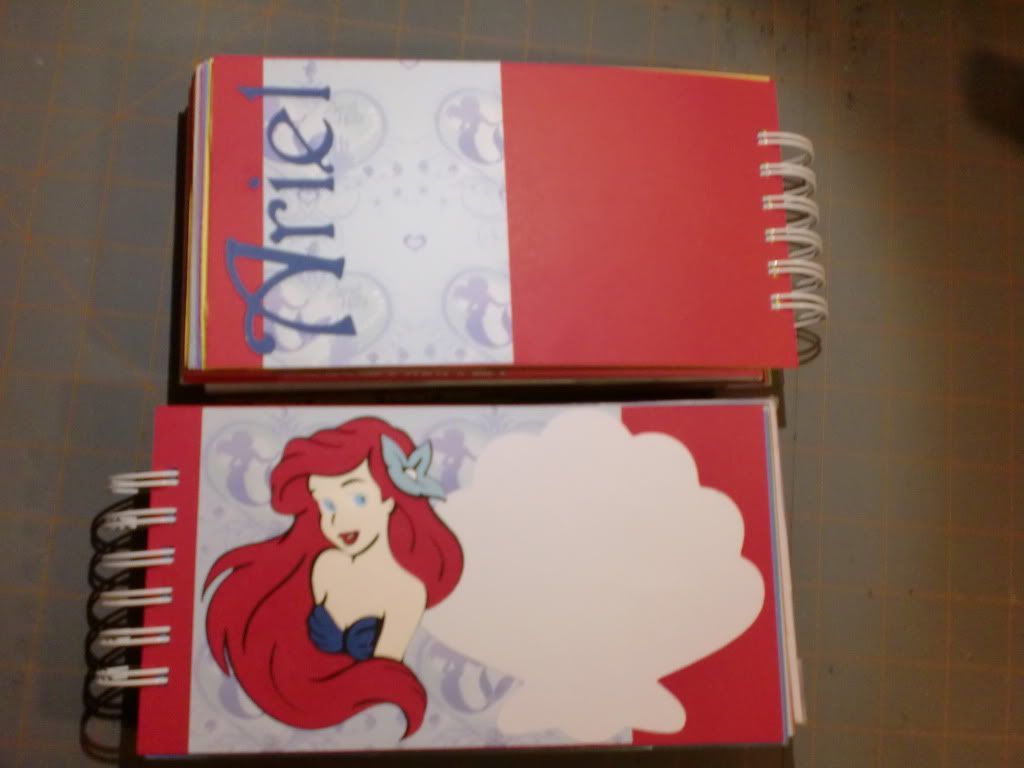
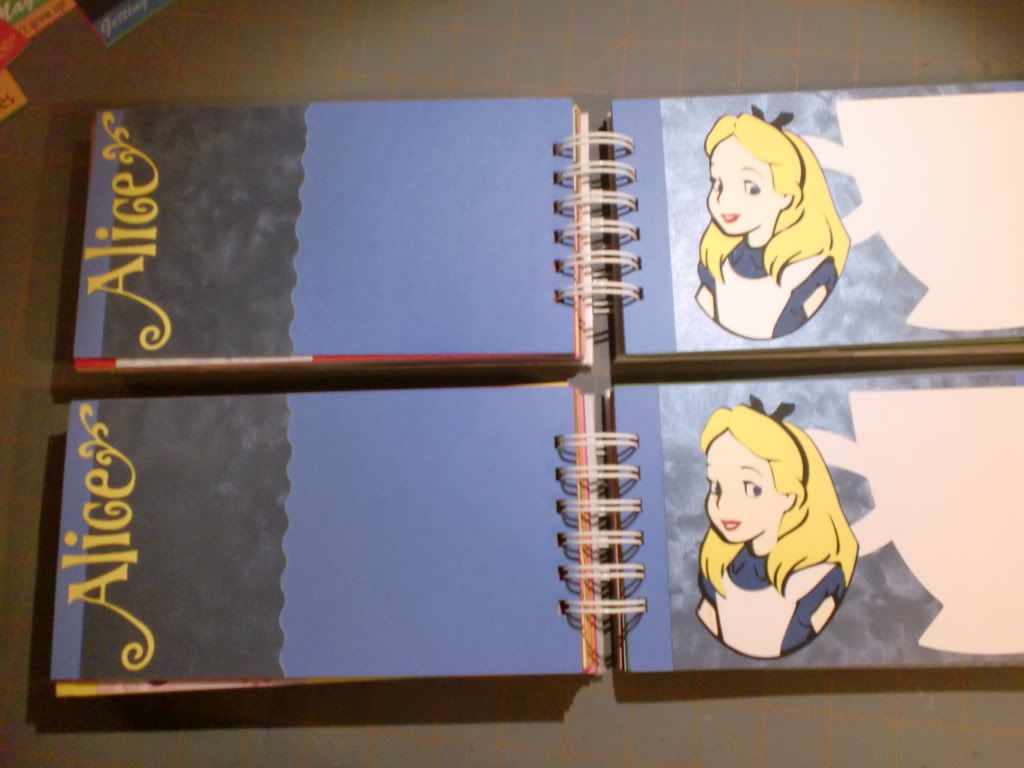
Also, I designed the book with room for the character's autograph on the right page, and left room for a photo of the character on the left page!! My brothers typically get a picture of their kids with the characters, and I thought it would be neat to display them next to their autographs!! :)
And now, here are the pictures!
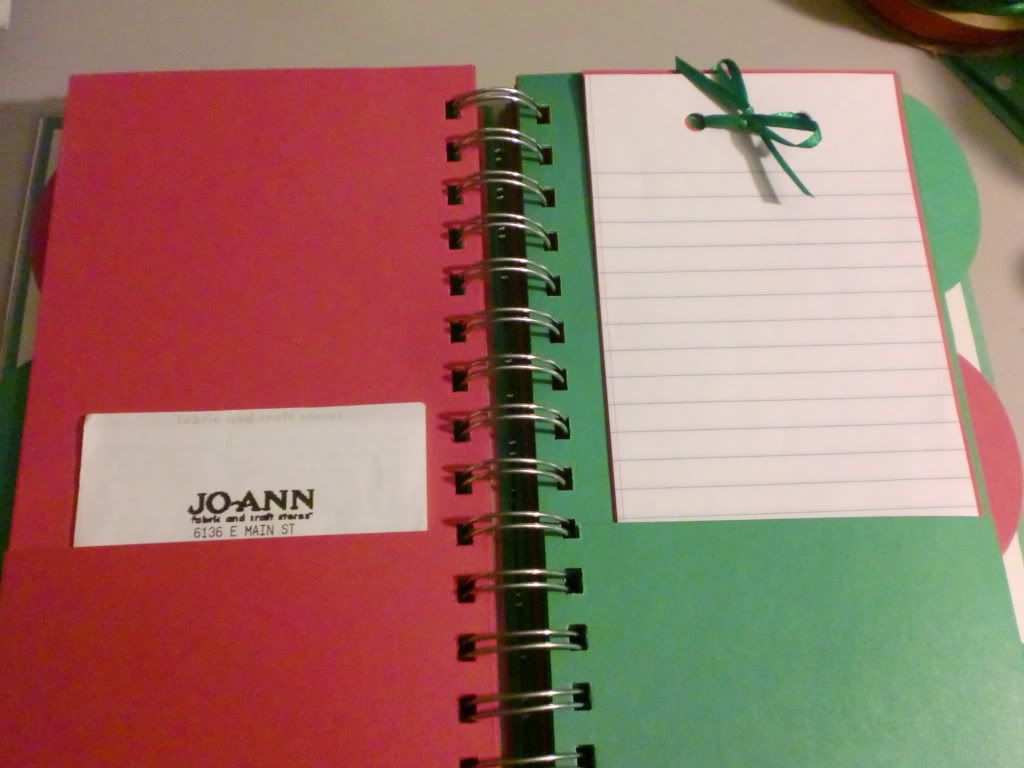
Here is the inside cover and front page:
Mickey Mouse!
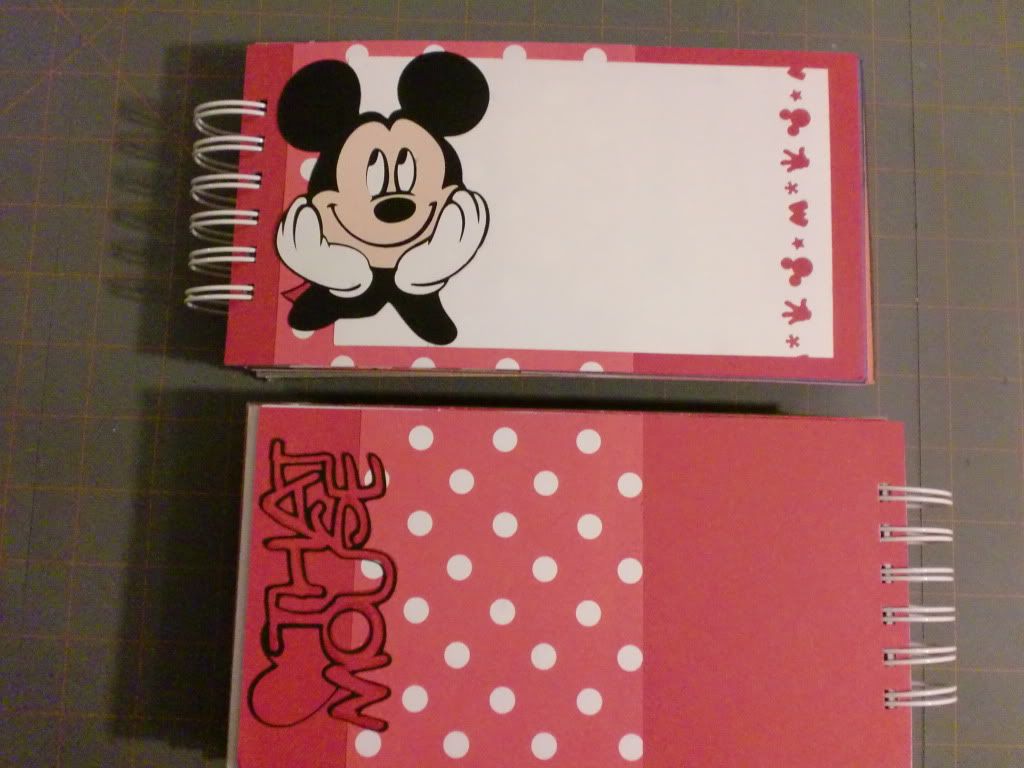
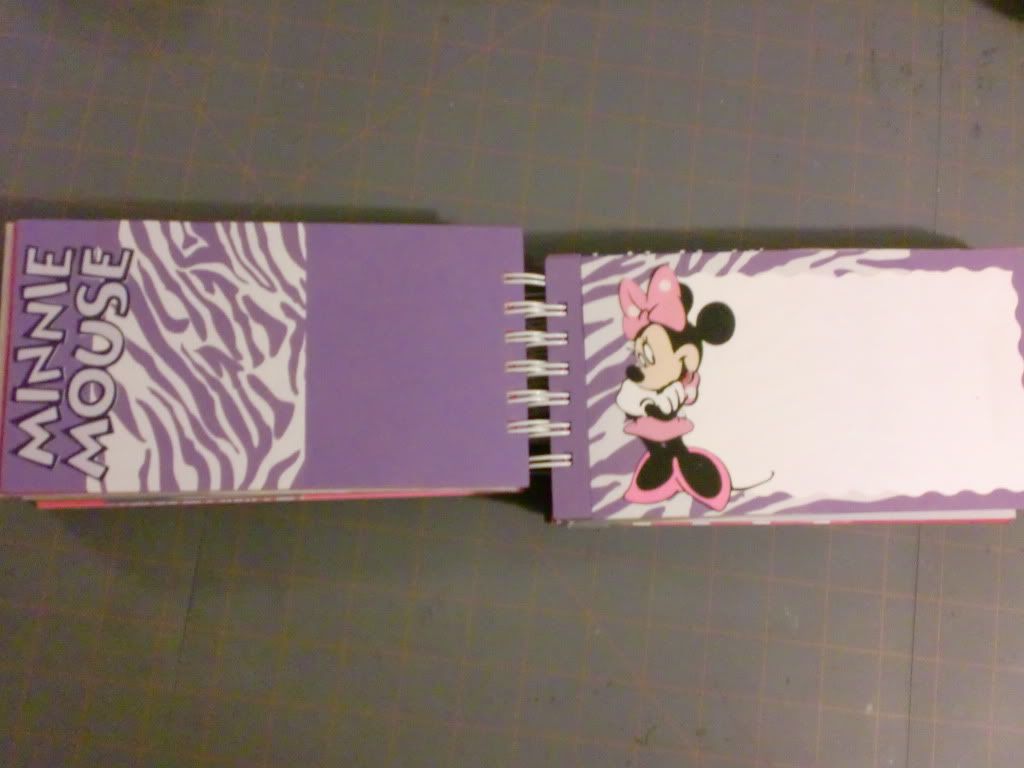
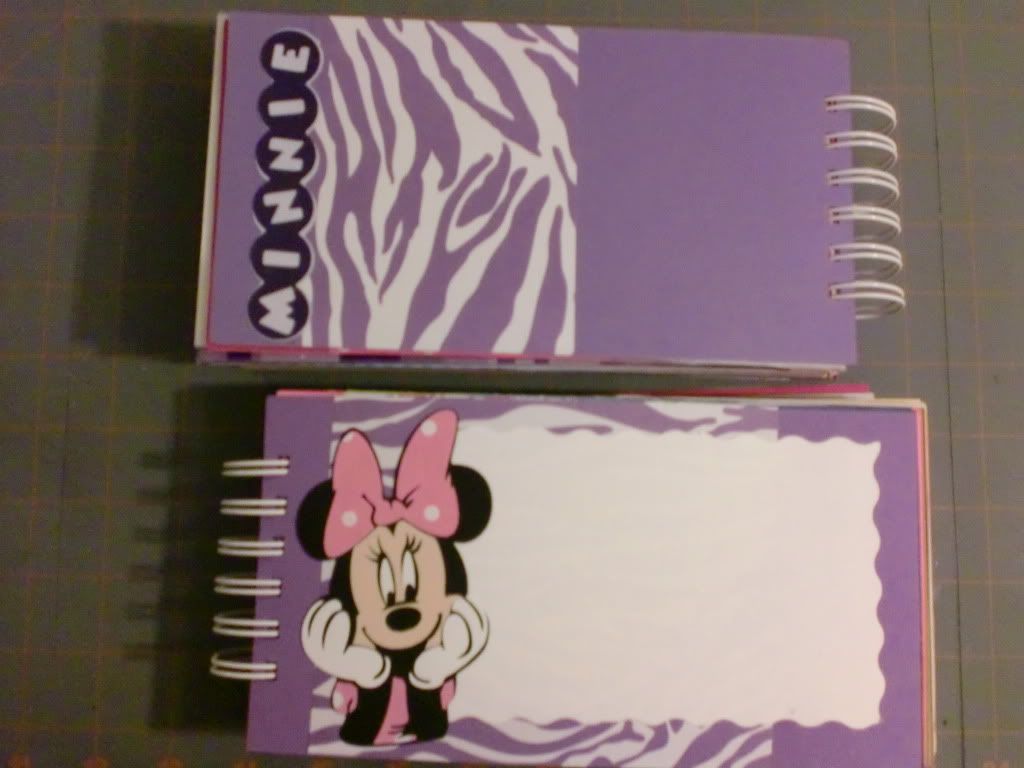
Minnie Mouse:


Daisy Duck:

Goofy:

Pluto:
Chip:
Dale:
Winnie The Pooh!!

Tigger:

Piglet:

Eeyore:


Cinderella:

Aurora (Sleeping Beauty):

Aladdin & Jasmine:
Belle:


Ariel:
Alice:
Snow White:

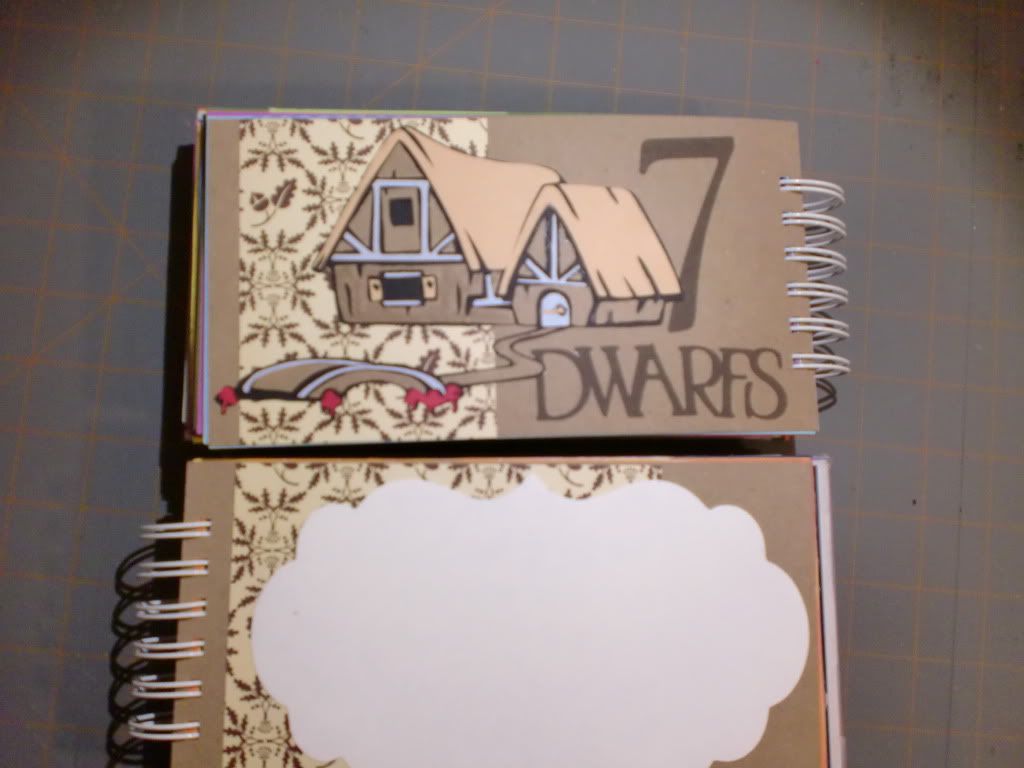
The 7 Dwarfs:
Tinkerbell:

Faries:

Woody:

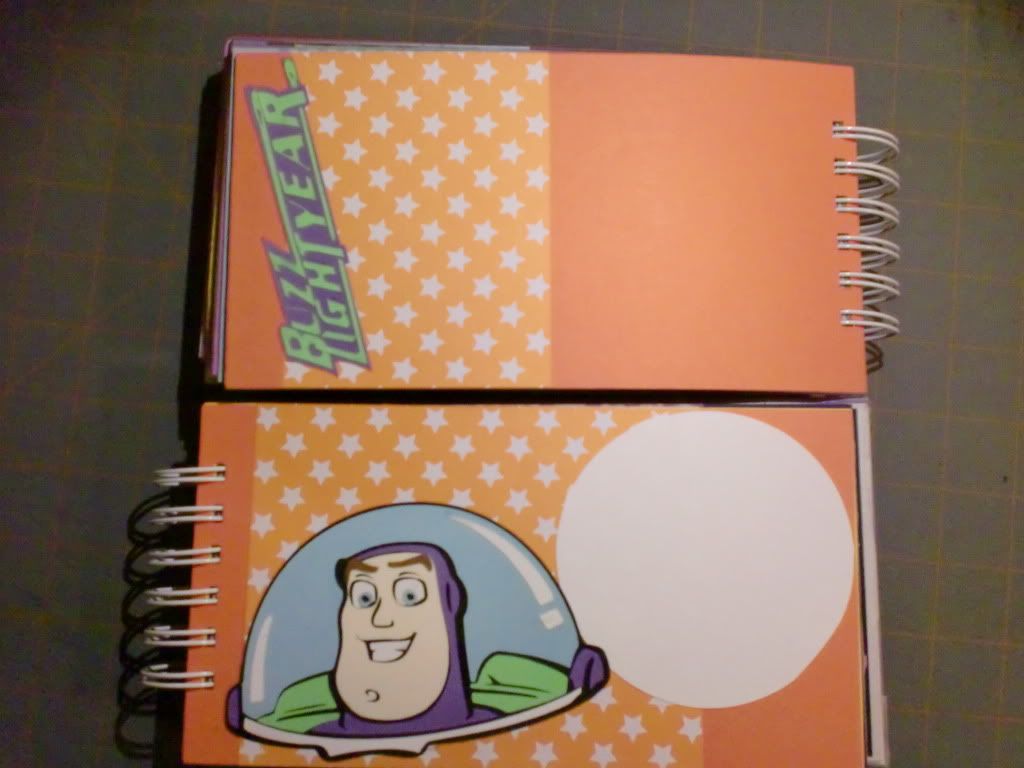
Buzz:
Inside of Cover and first page, along with Inside of Back Cover and last page:

Outside Covers:

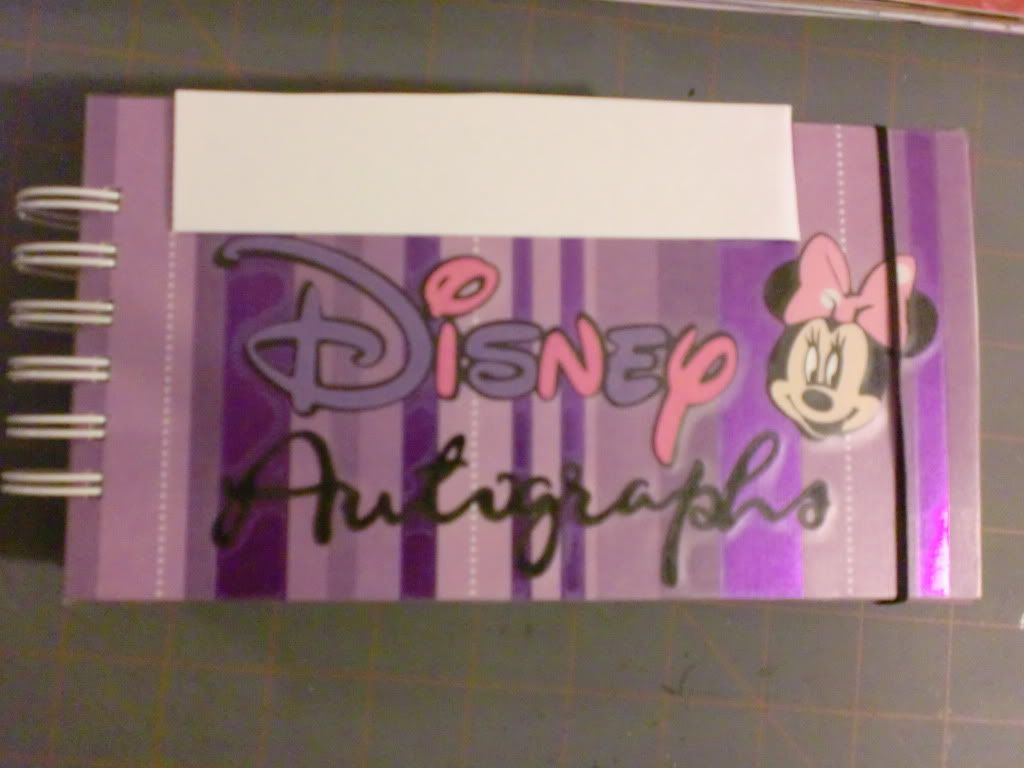

I put paper over the kids names on the covers. Just because they are not MY kids, so I'm not showing their names in the pictures I post online.. :)
The book covers are laminated for protection. The covers are made out of thick chipboard. I punched two holes in the back cover, inserted eyelets and elastic strap for a closure. I like that style of book closure. It's so easy to do, and keeps the books closed tightly so they don't get damaged in backpacks / purses / suit cases /etc at Disneyland!!
The books measure 4.5" tall by 8" wide. And all of the characters were cut at 4"
Wait, I lied. Not ALL of the characters are cut at 4", but most are. The faries are cut at 3" I believe... And Buzz Lightyear is also smaller, but i can't remember off the top of my head what he is cut at.
I had so much fun making these books!! I hope the kids have just as much fun getting them autographed! :)
Thanks for looking!